I am excited to share with you some bits and pieces of my latest travels to southern California! In the meantime, I'll share with you a pretty dish that works well as the weather starts to warm up and we say goodbye to winter. These little leaves take a few cues from the classic cheese plate, where it's not just about the rich and salty cheese, but all of the accoutrements that come with it- the thinly sliced fruits, crunchy toasted nuts, and sweet and floral honey drizzles. I chose feta not only because it's easy to find but because it packs a clean salty punch. I'm sure goat cheese would work wonderfully, though. I chose pear versus apple because it's a bit softer in texture and does not compete with the crunch of the walnuts. Endive, as delicate of a vegetable as it is, proves sturdy enough to hold this delicious relish. These make perfect appetizers as you can make them a few hours ahead of time. They are also delicious served atop a simple salad of mixed greens. I hope you enjoy!
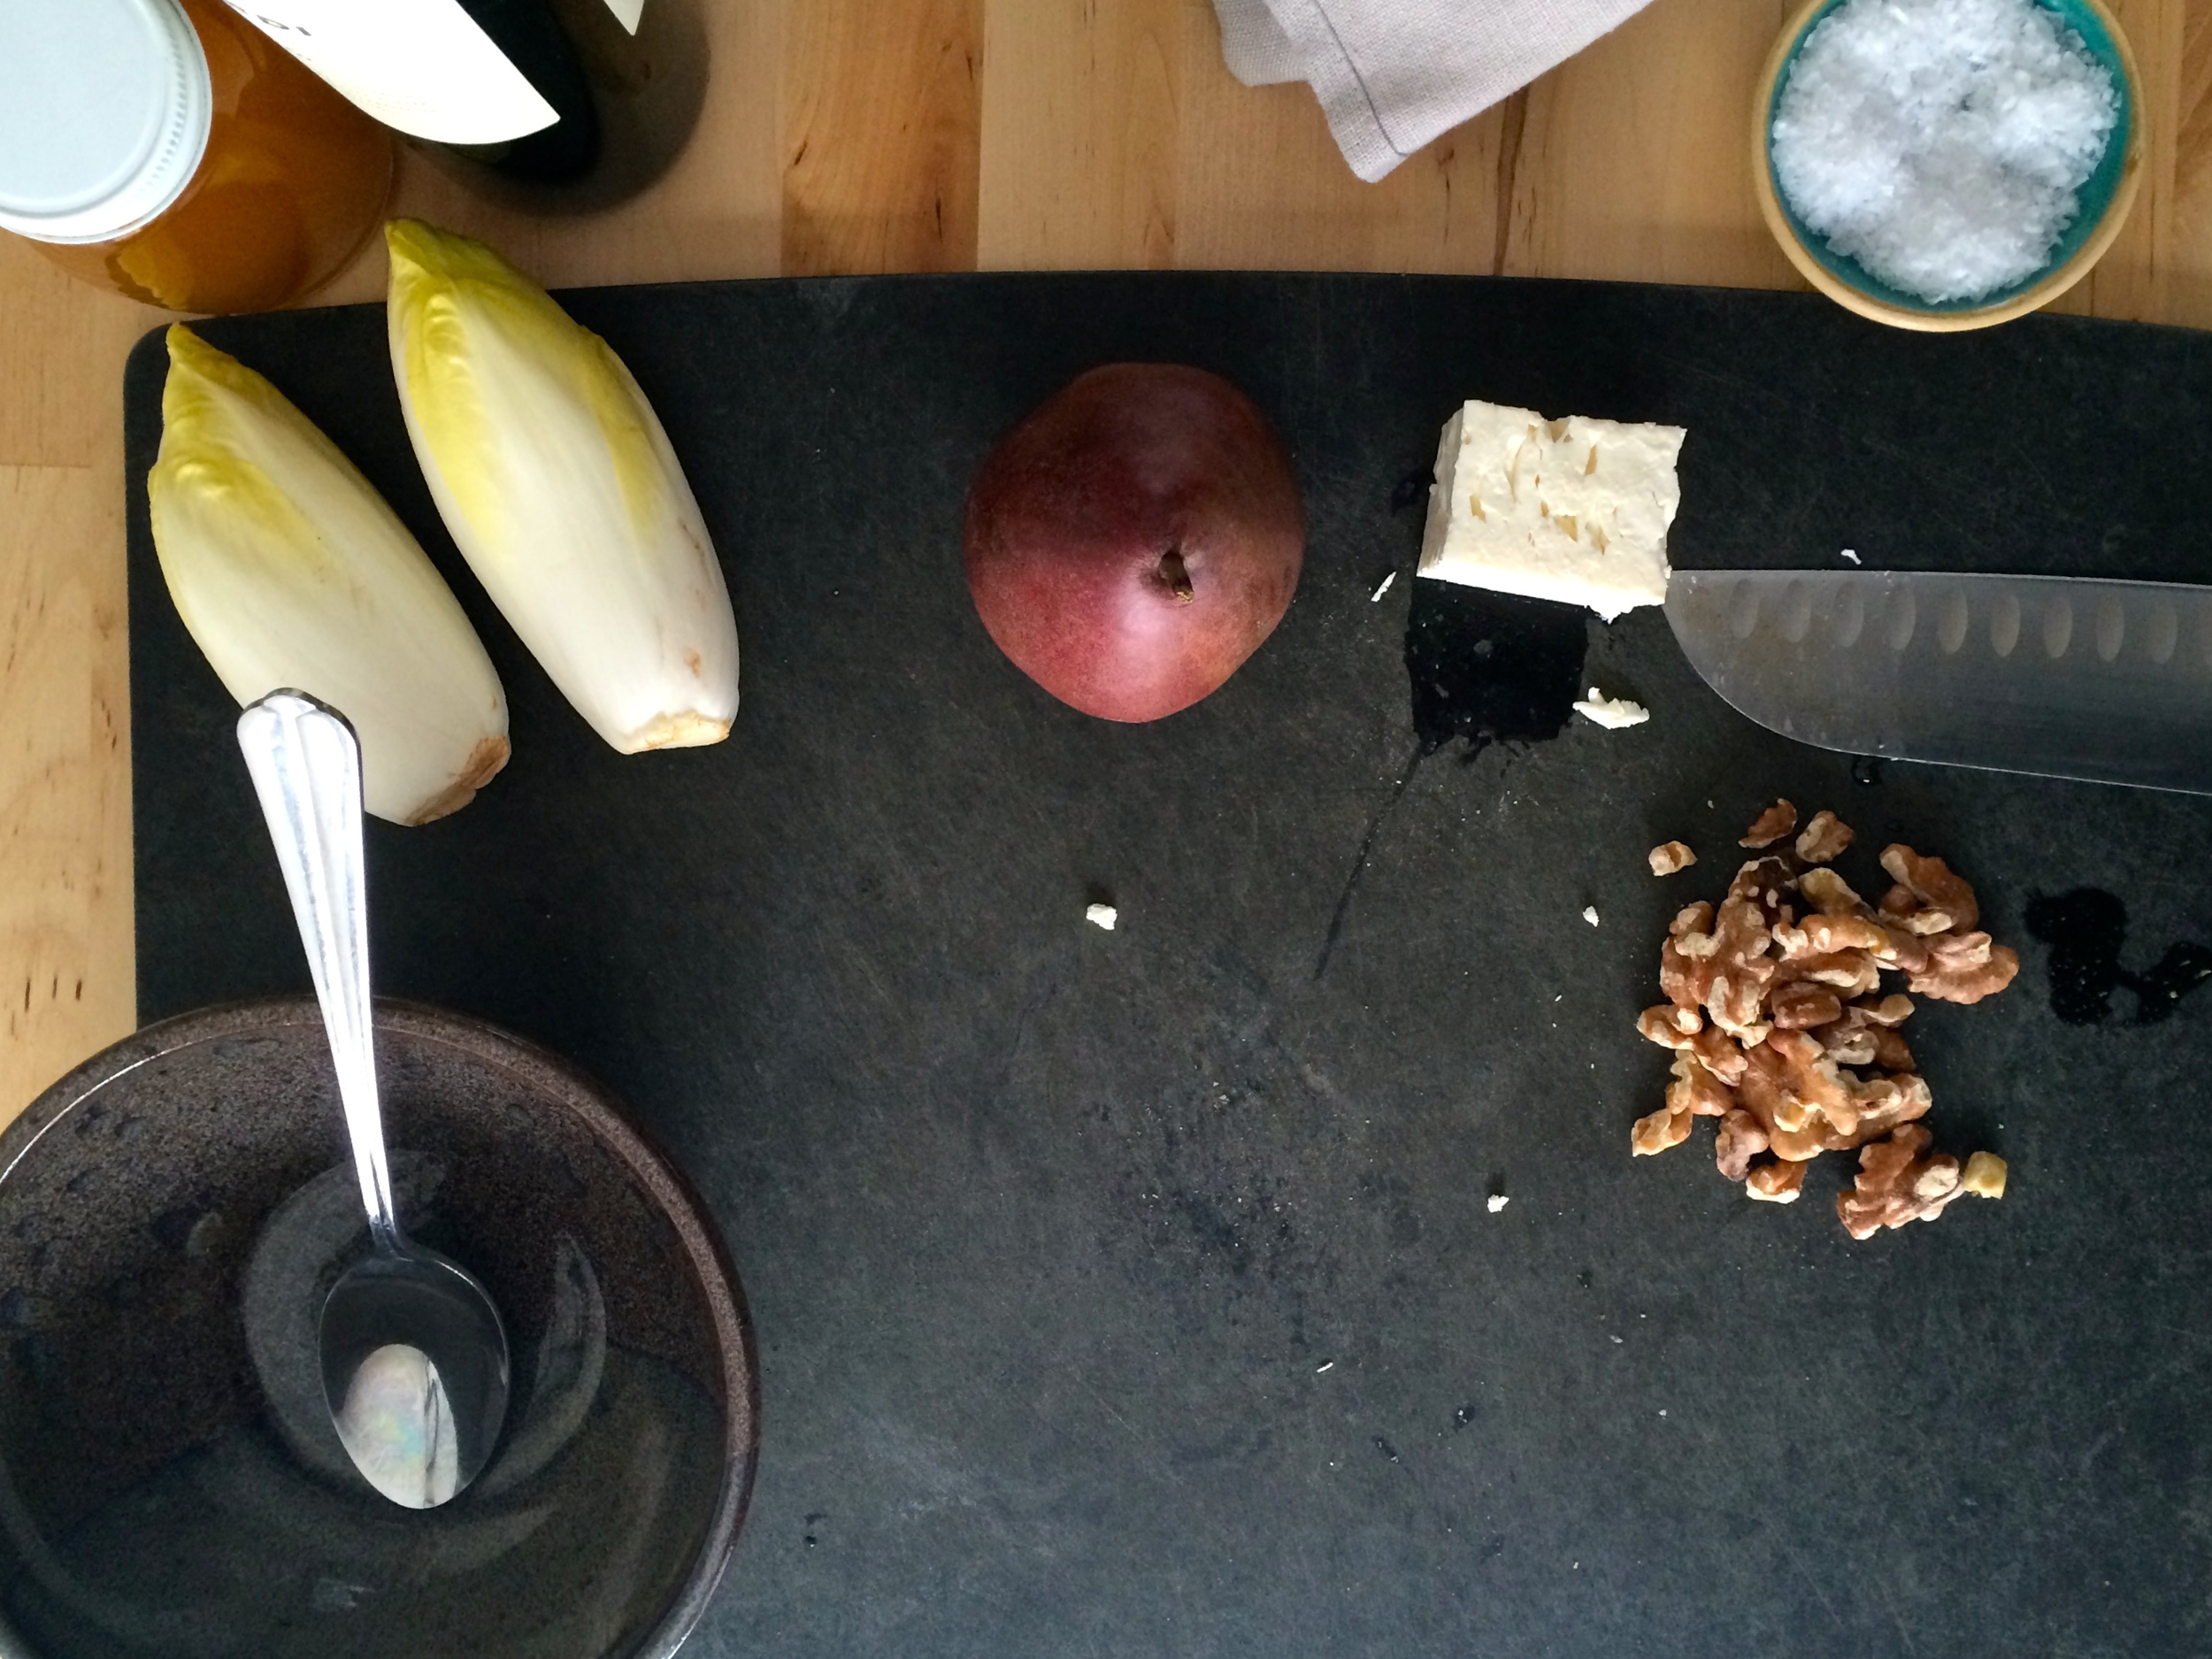
Endive with Pear, Feta, and Walnut Relish
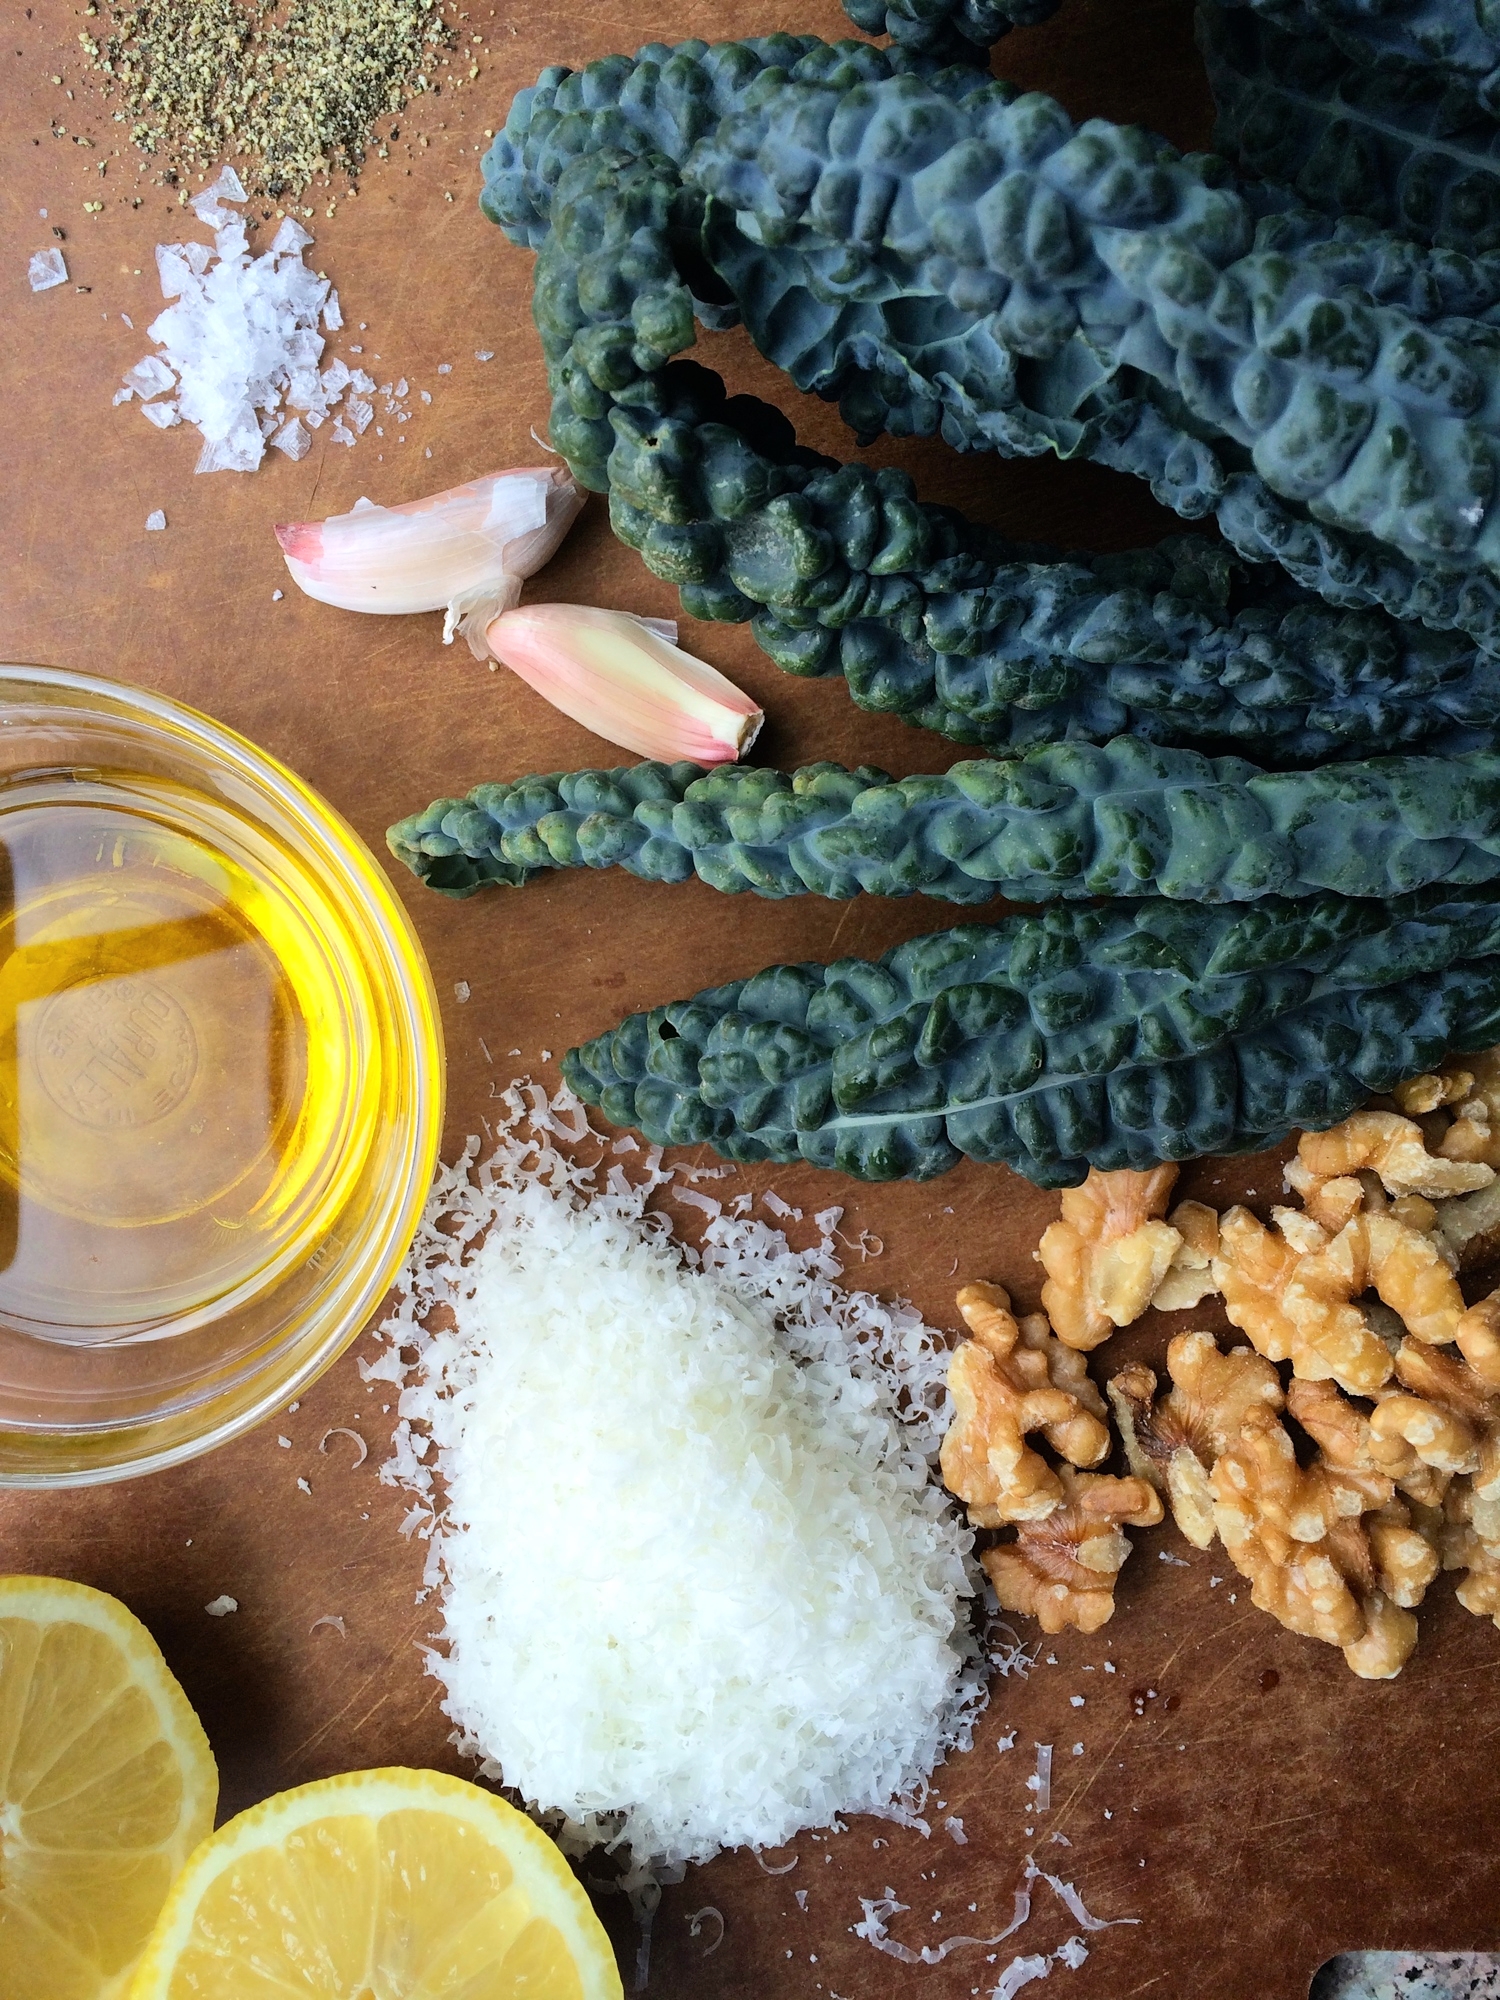
2 endive heads
1/2 pear, diced (I used a Comice pear because it's particularly sweet and juicy)
1/3 c. crumbled feta cheese**
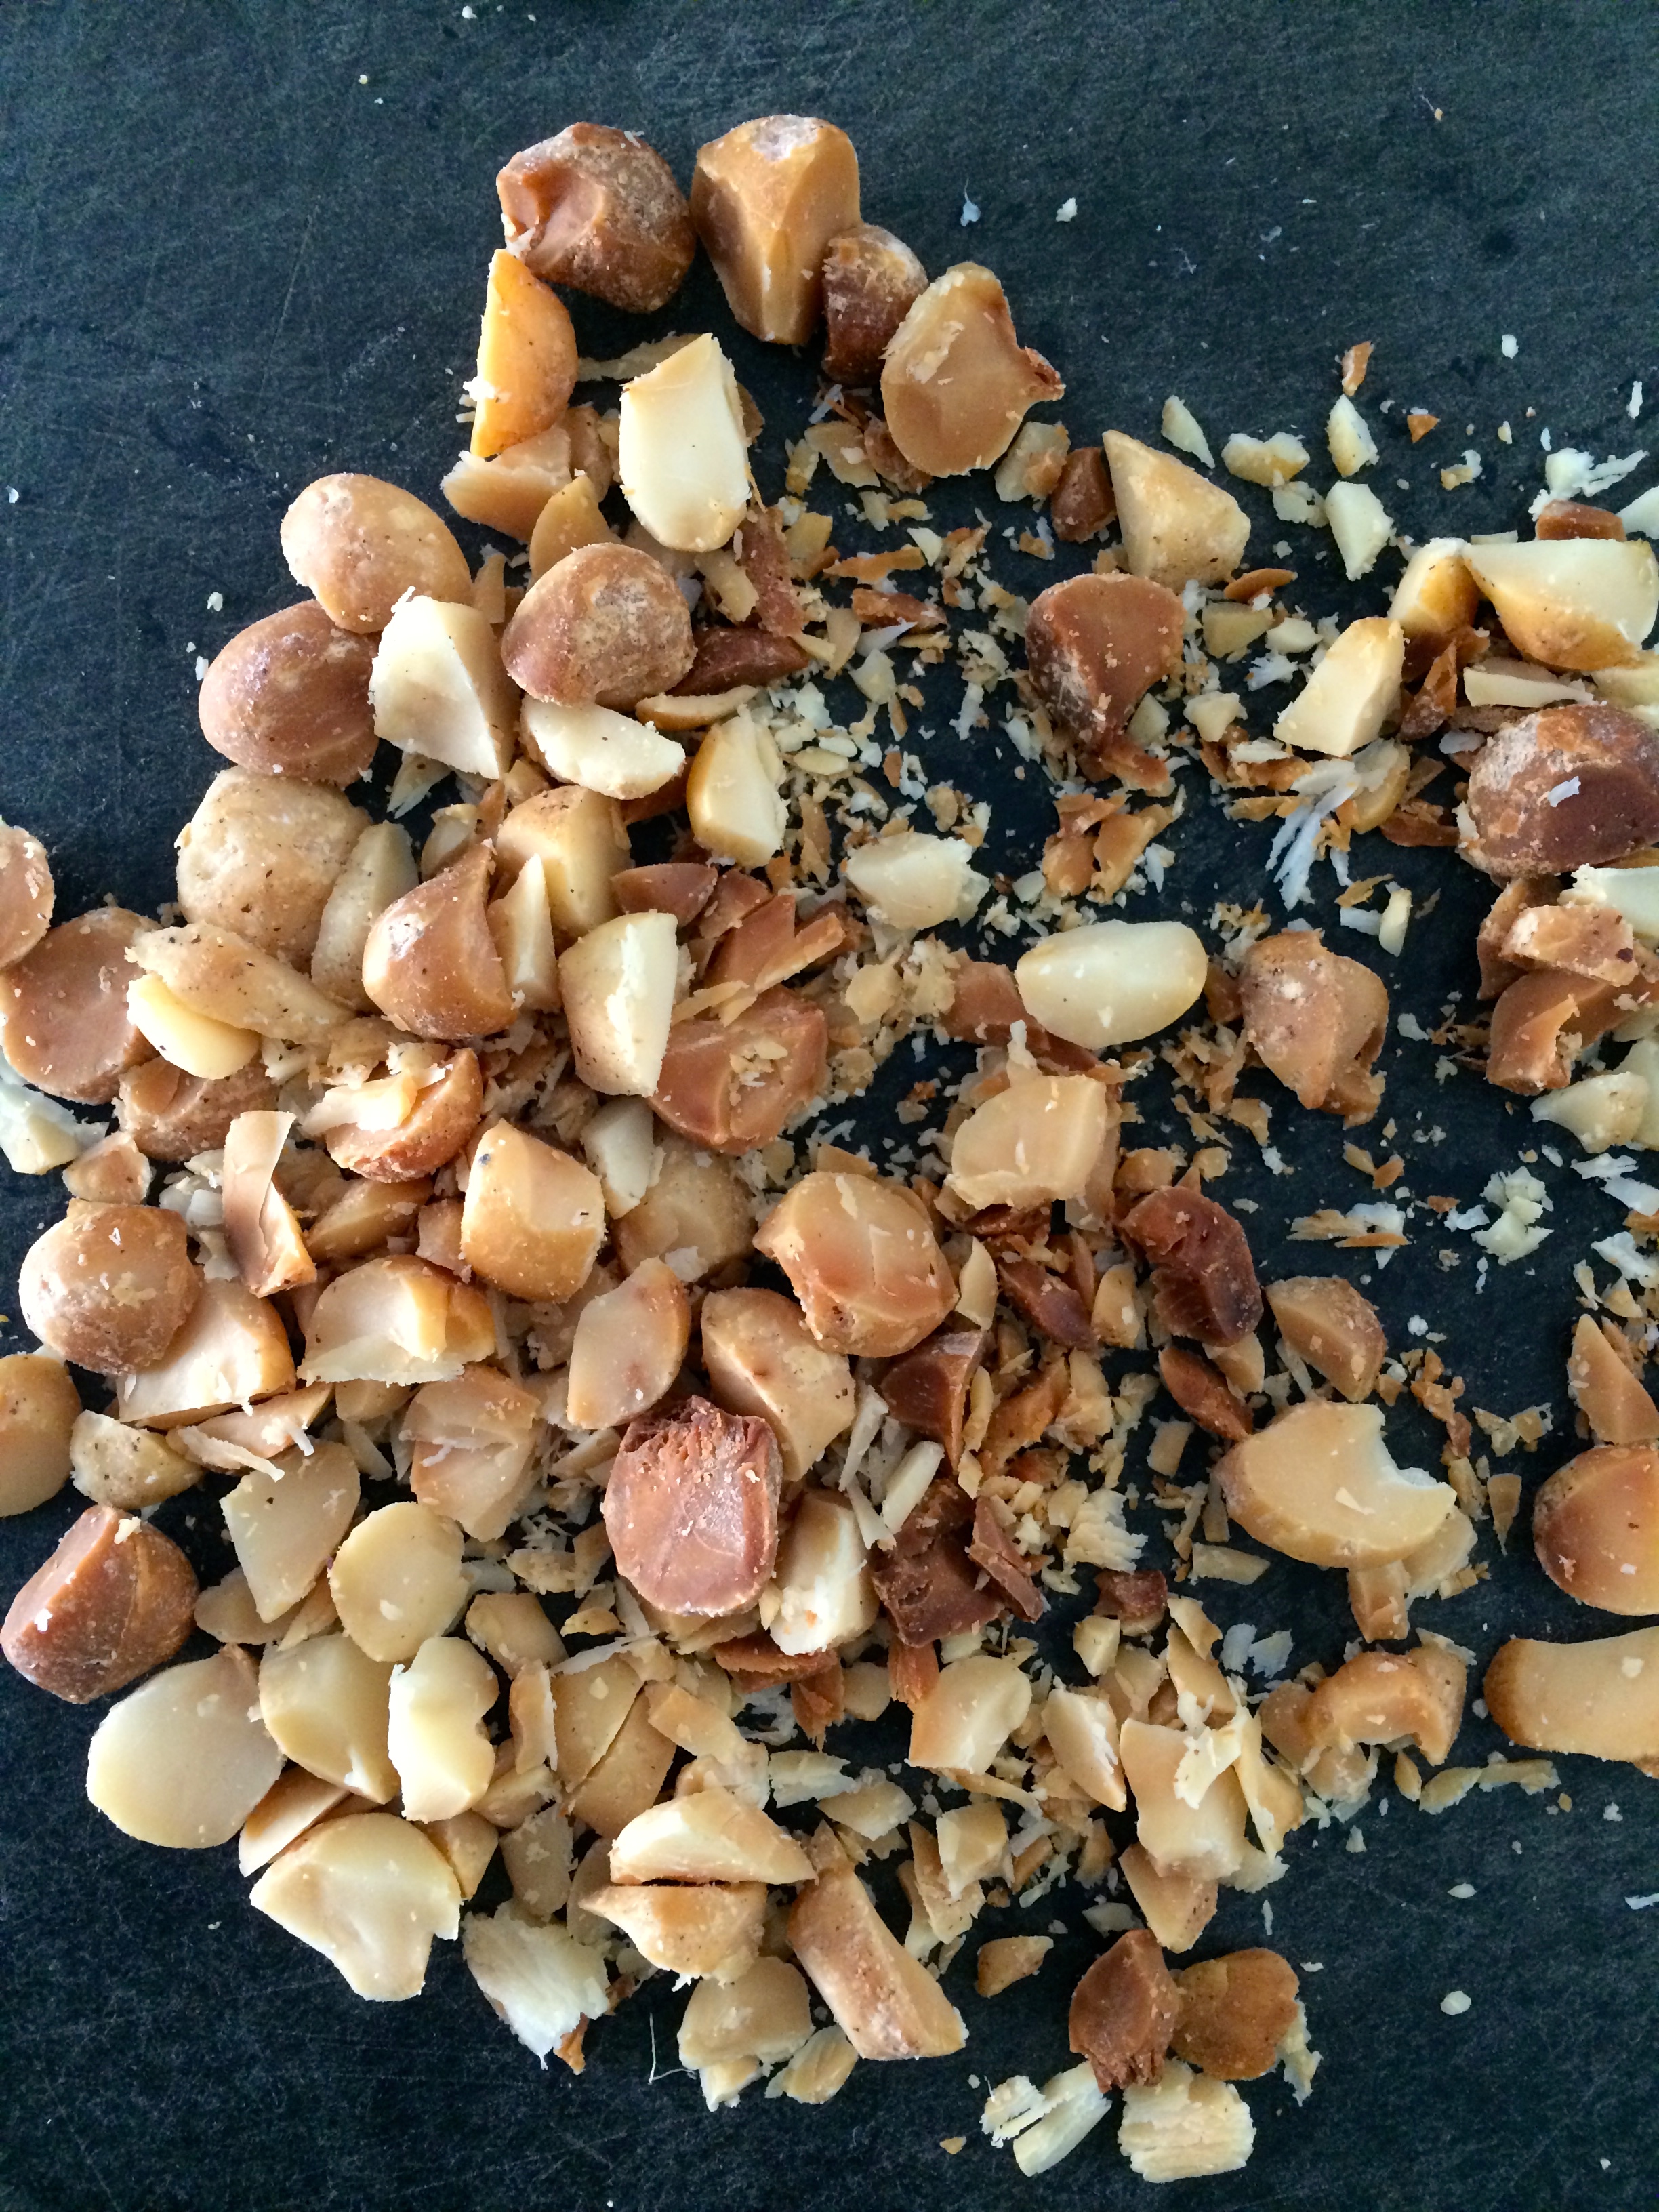
1/3 c. walnuts
Zest and juice of 1/2 lemon
Local honey, for drizzling
Extra-virgin olive oil, for drizzling
Good quality thick balsamic vinegar, for drizzling (optional)
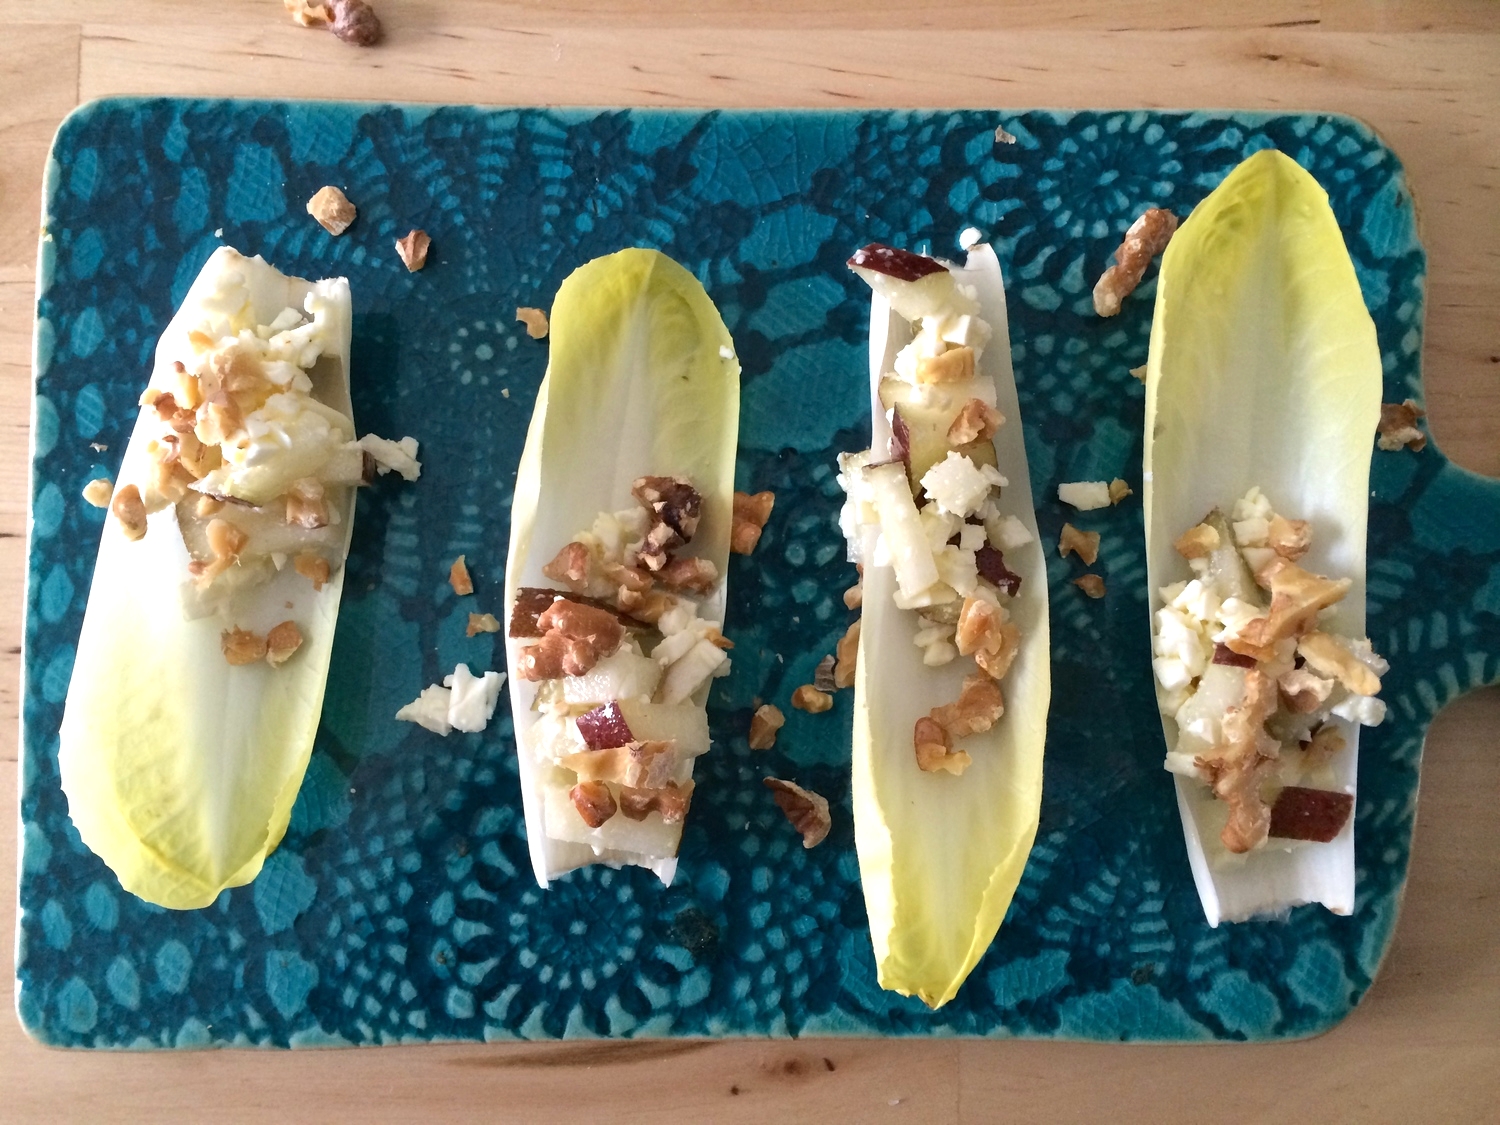
Toast the walnuts in an oven at 400 degrees Fahrenheit or in a dry skillet on the stove-top for 8-10 minutes or until golden. Remove from heat, allow to cool, and roughly chop.
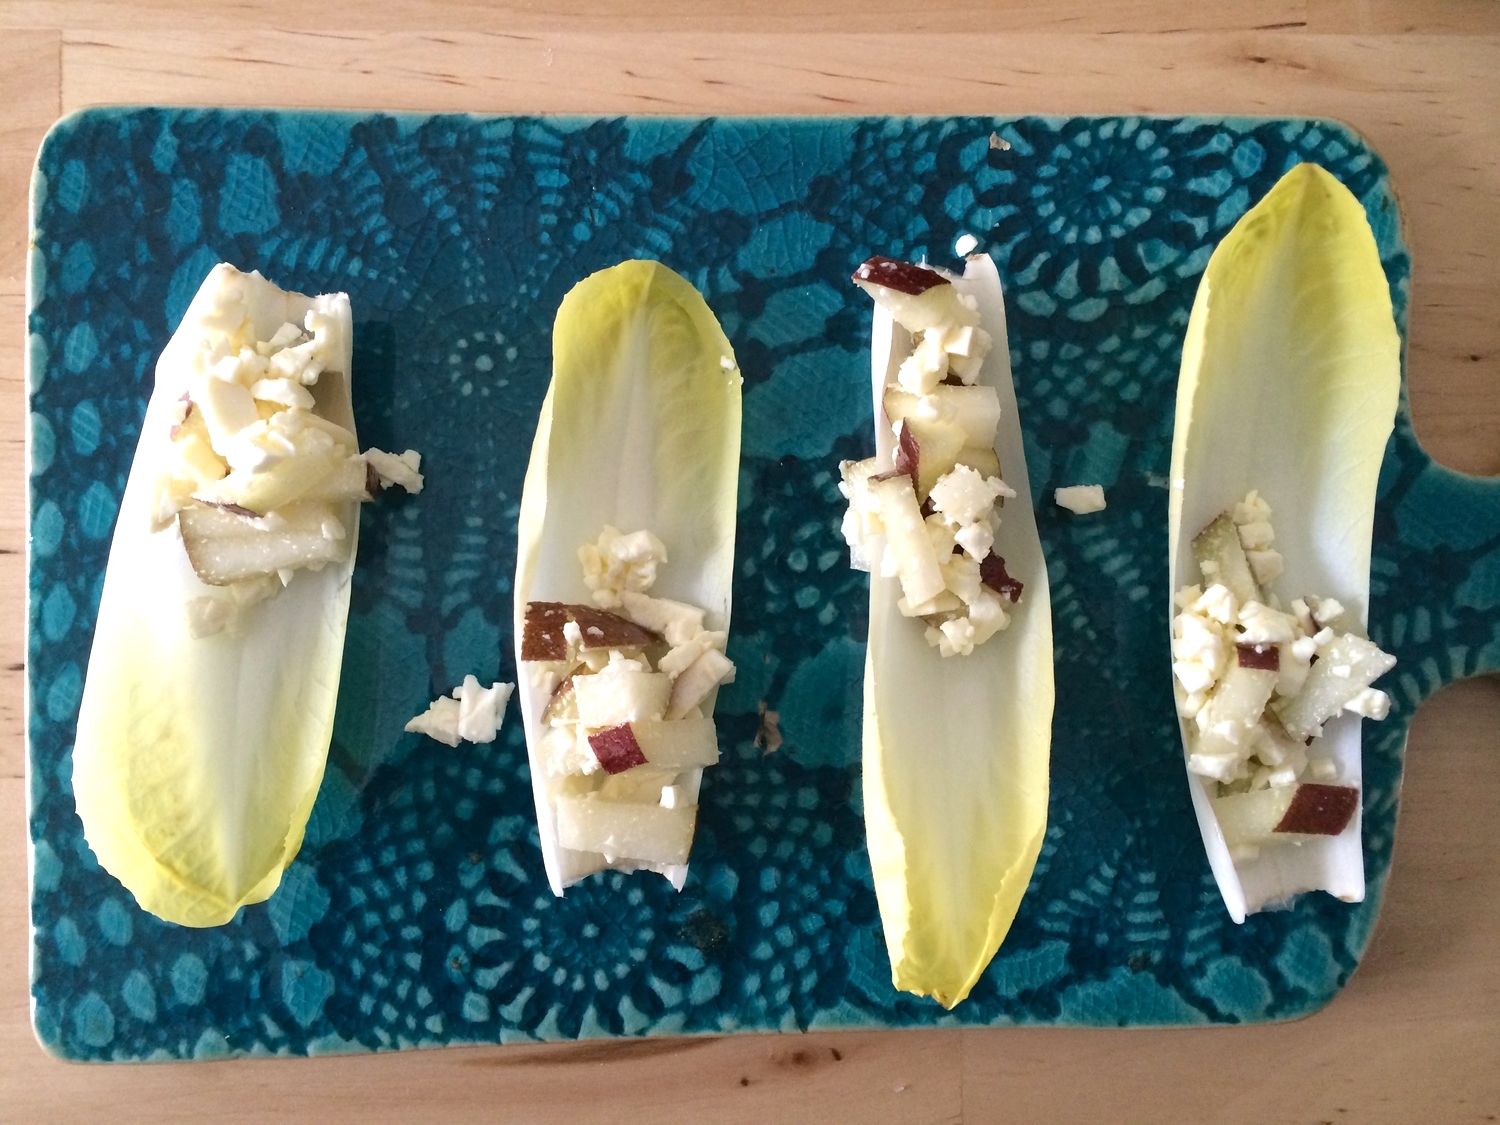
In a medium bowl, mix the diced pears with freshly crumbled feta, and the zest and juice of 1/2 lemon.

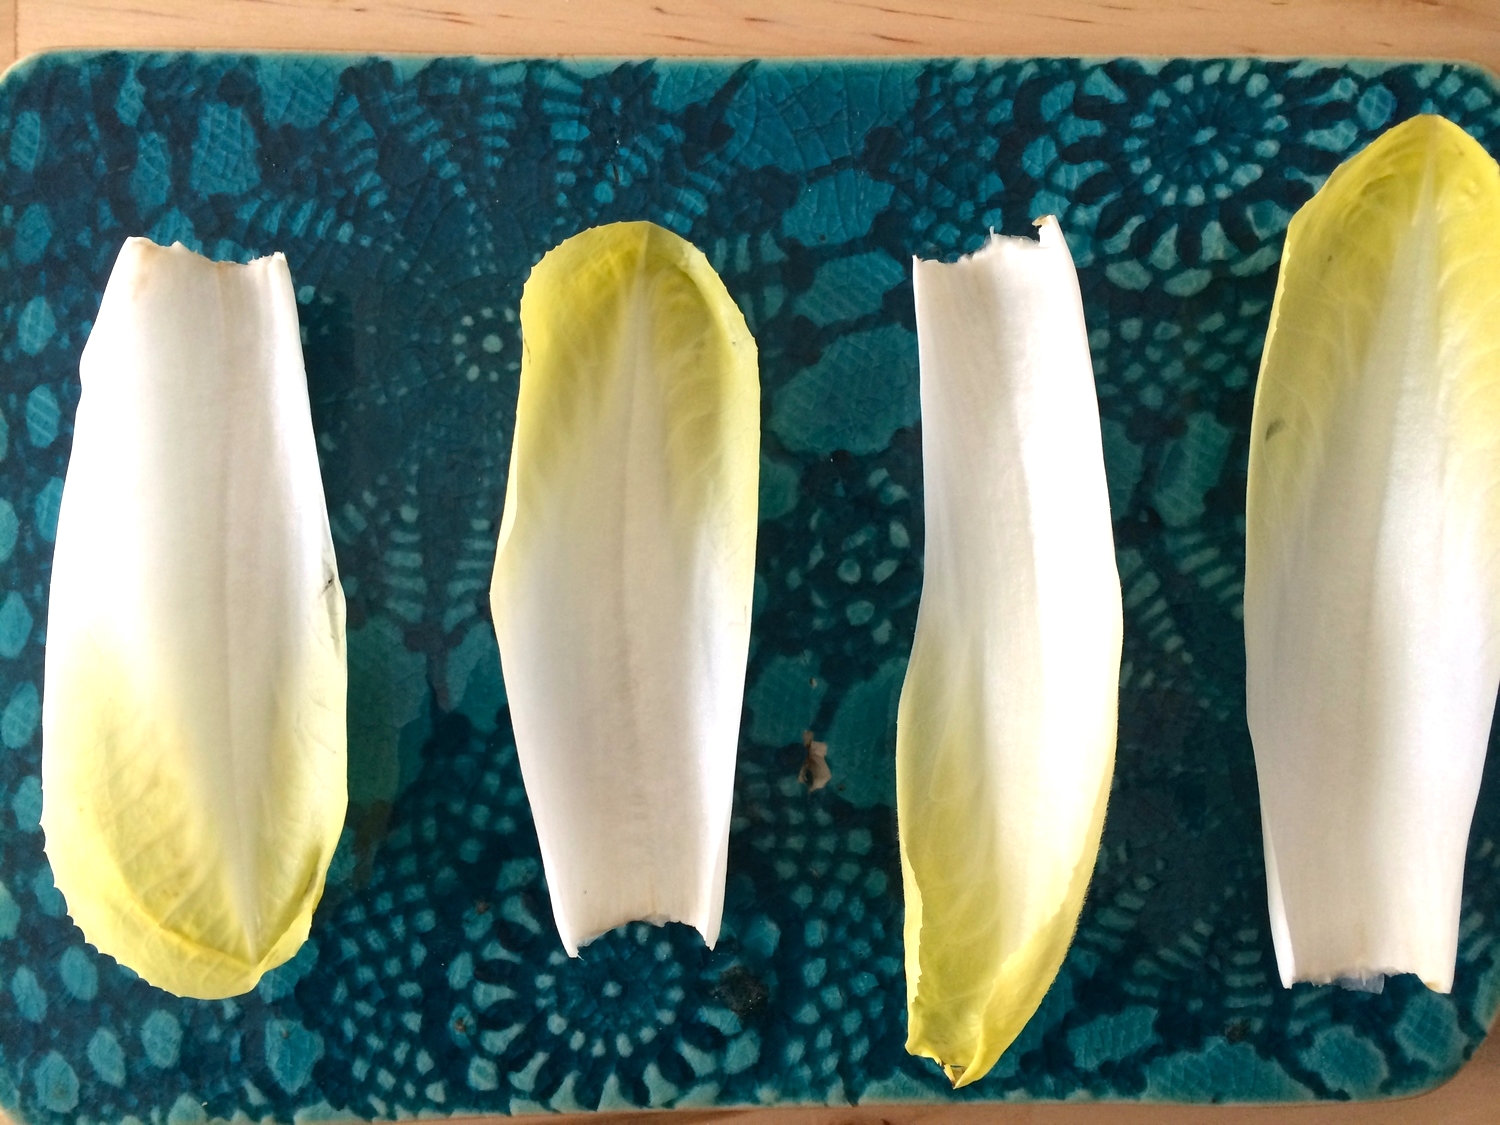
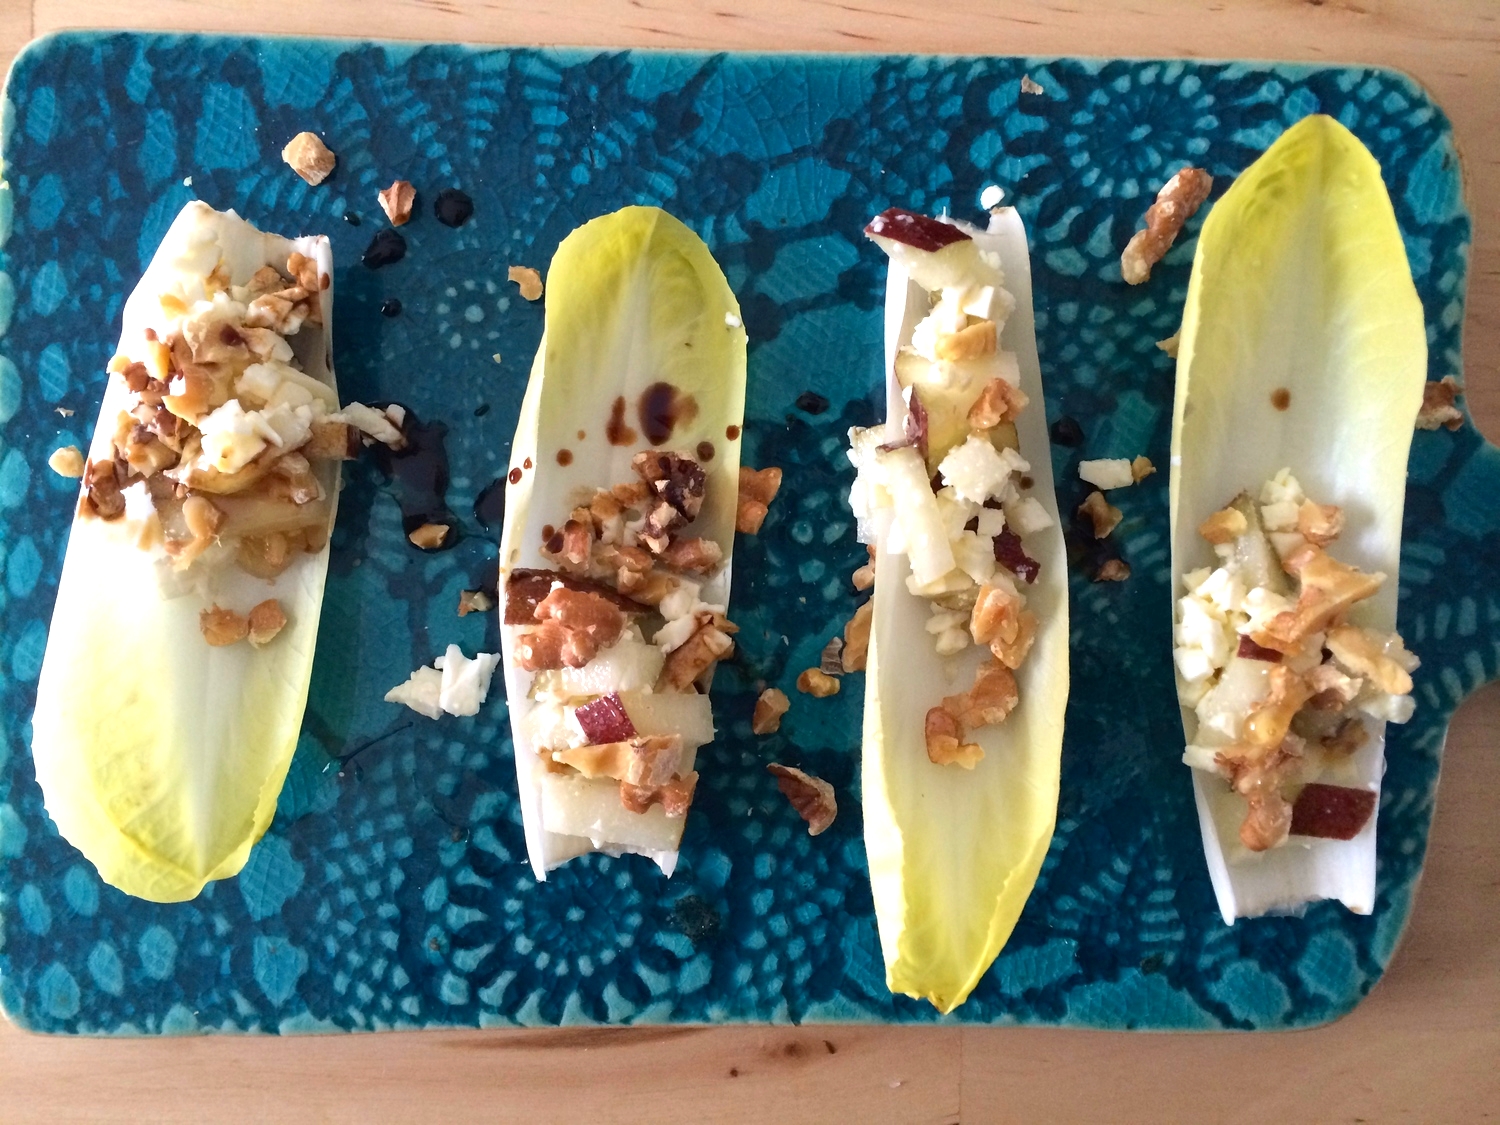
Trim about 1/2 inch from the bottom of each endive head. Remove the outer leaves, one by one, and place on a platter. Fill each leaf with a bit of the feta and pear filling. Sprinkle chopped walnuts over top, and drizzle with local honey and extra-virgin olive oil and if available, a little balsamic vinegar. Enjoy!
Makes 16-20 bites, depending on the size of the endive.
**I prefer to buy feta in the blocks and crumble myself. I find that pre-crumbled feta is often drier and less flavorful.