• Home
    • About Nourishing Matters
    • About Emily
    • Frequently Asked Questions
  • Recipes
    • Offerings
    • Past Programs and Events
    • Experience and Teaching Style
    • Articles and Features
    • Travel
Menu

nourishing matters

Street Address
City, State, Zip
Phone Number
where wholesome meets delicious

Your Custom Text Here

nourishing matters

  • Home
  • About
    • About Nourishing Matters
    • About Emily
    • Frequently Asked Questions
  • Recipes
  • Work with Me
    • Offerings
    • Past Programs and Events
  • Yoga
    • Experience and Teaching Style
  • Press
    • Articles and Features
  • Adventures
    • Travel

Lemon Ricotta Pancakes

April 24, 2015 Emily Watson

Most people who know me know that I tend not to order pancakes out at restaurants because I am incredibly picky. I like them a little bit crispy on the outside, especially around the edges, and tender on the inside with a nice crumb. I do not care much for completely fluffy, cakey pancakes or super sweet ones. My favorite pancakes throughout most of college were the ones at the local diner in my college town of Hanover, New Hampshire. Lou's had the best blueberry buttermilk pancakes. They were enormous. Plate-sized, in fact. I could usually manage a short stack or a single pancake with some sort of egg dish or simple scrambled eggs. Now I am talking about buttermilk pancakes, which are a bit of a different animal than these ricotta cakes I have here. Ricotta pancakes, if you have never had them, are a something special. Ricotta keeps them moist and tender, but they get a lift from beaten egg whites. I associate them with spring when the weather is warmer and when berry season is just around the corner because berries pair beautifully with ricotta.

In this version, I use the zest and juice of a lemon because I love the brightness it gives. I also use two different "flours." Almond meal provides a toothsome quality and the mild almond flavor works well with the ricotta and lemon. It also supplies some good protein. Oat bran provides extra fiber, iron, and a little protein too. The key to keeping these light, despite these heavier flours, is to beat the egg whites separately and fold them into the batter.

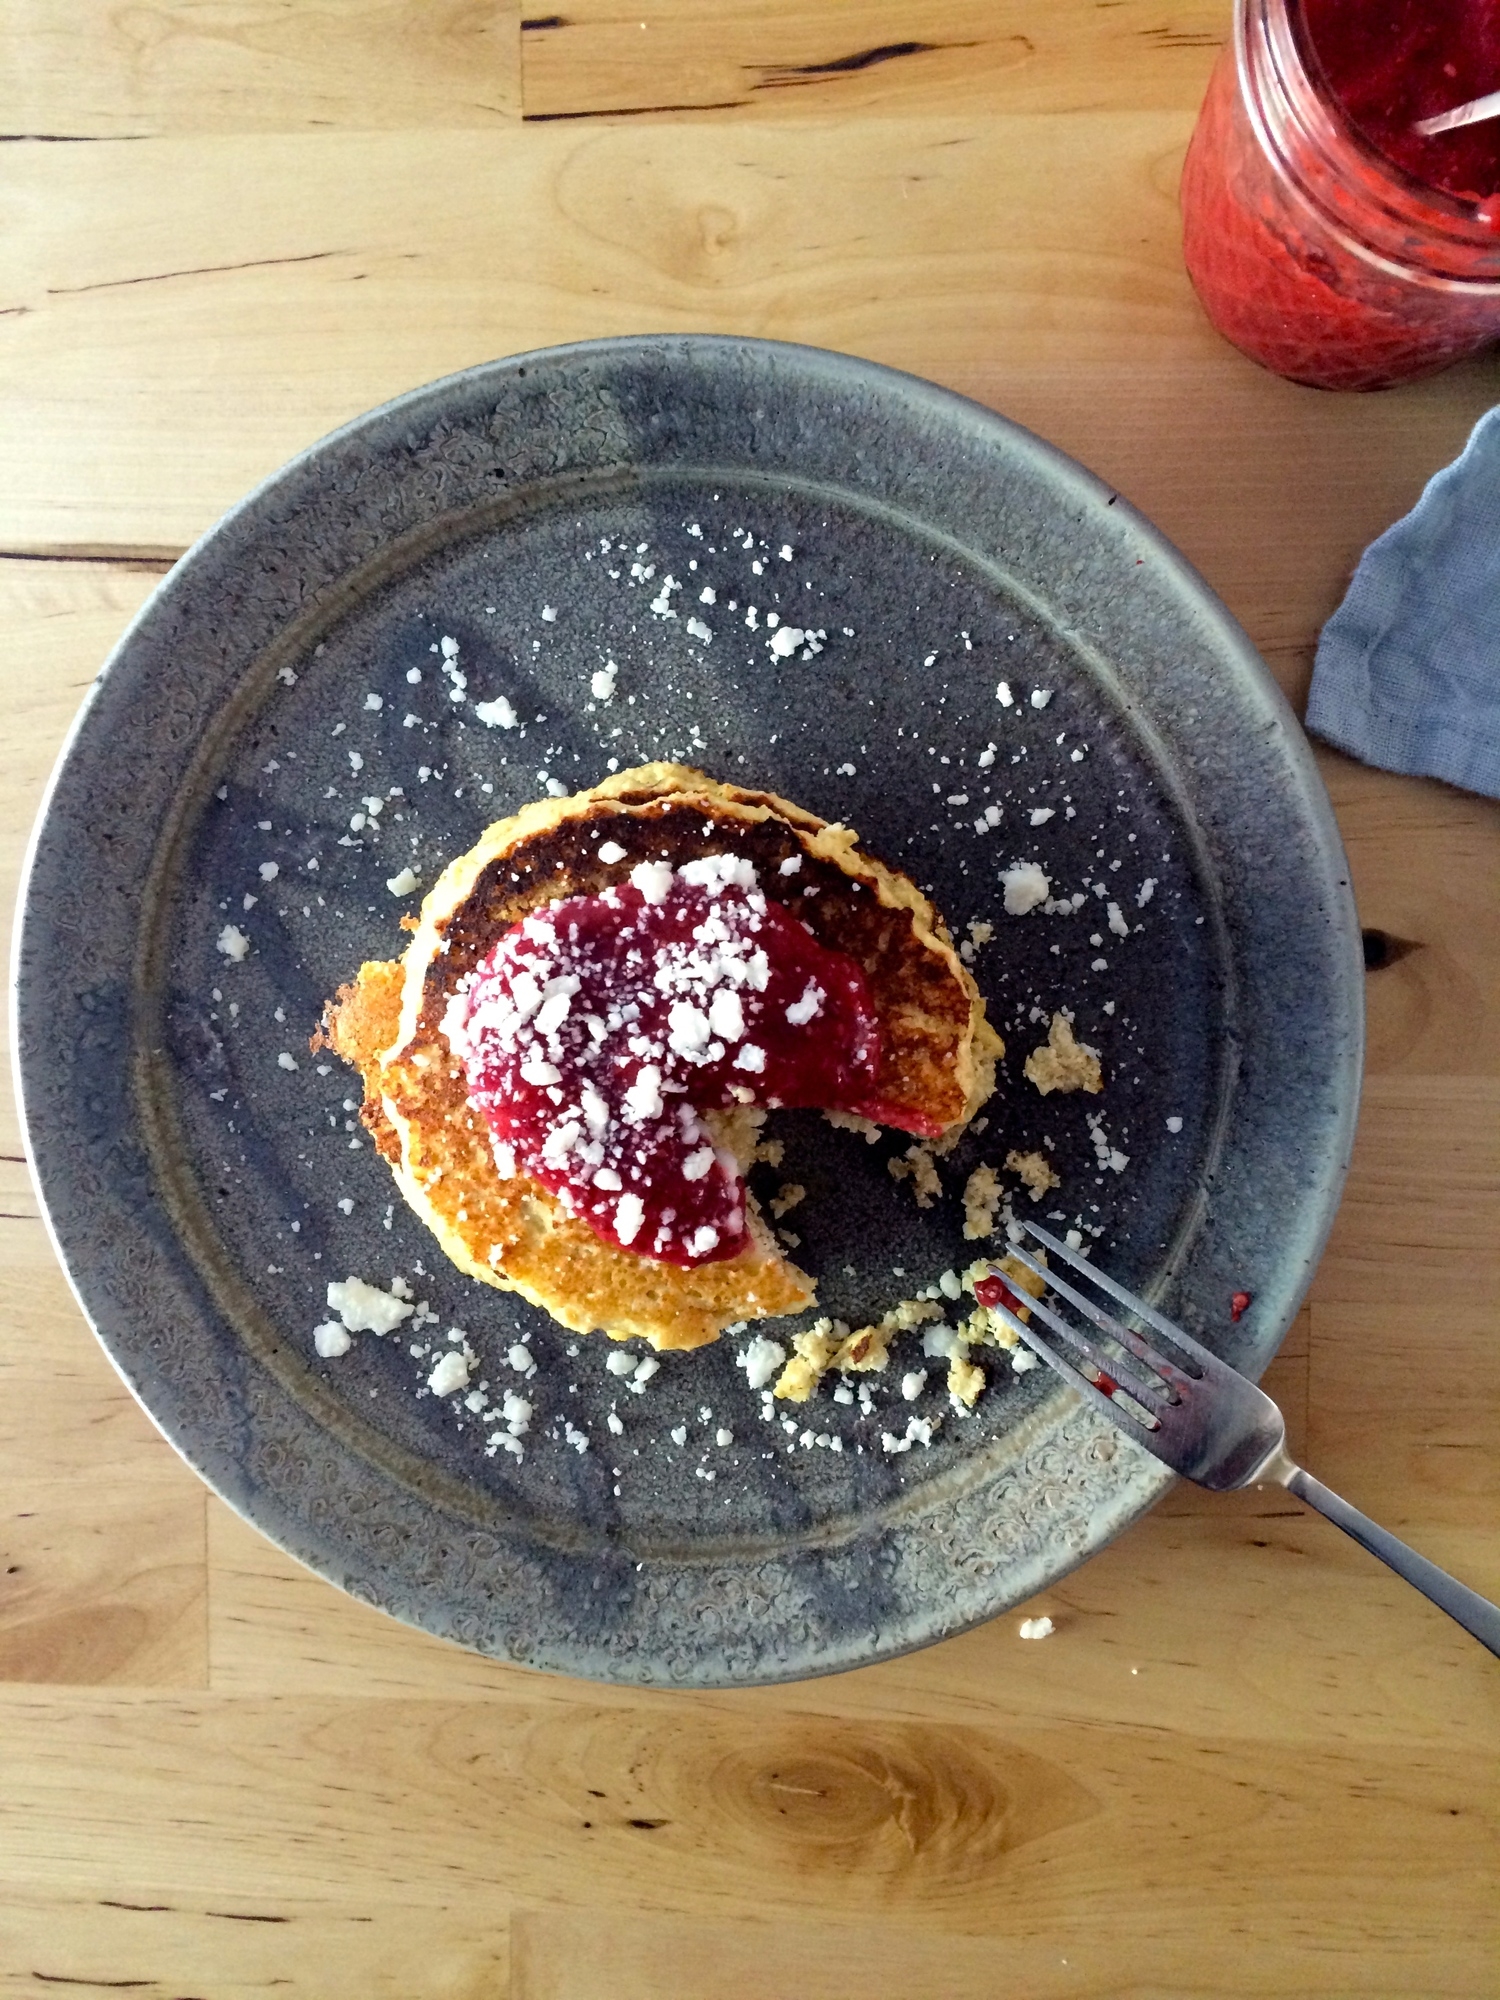
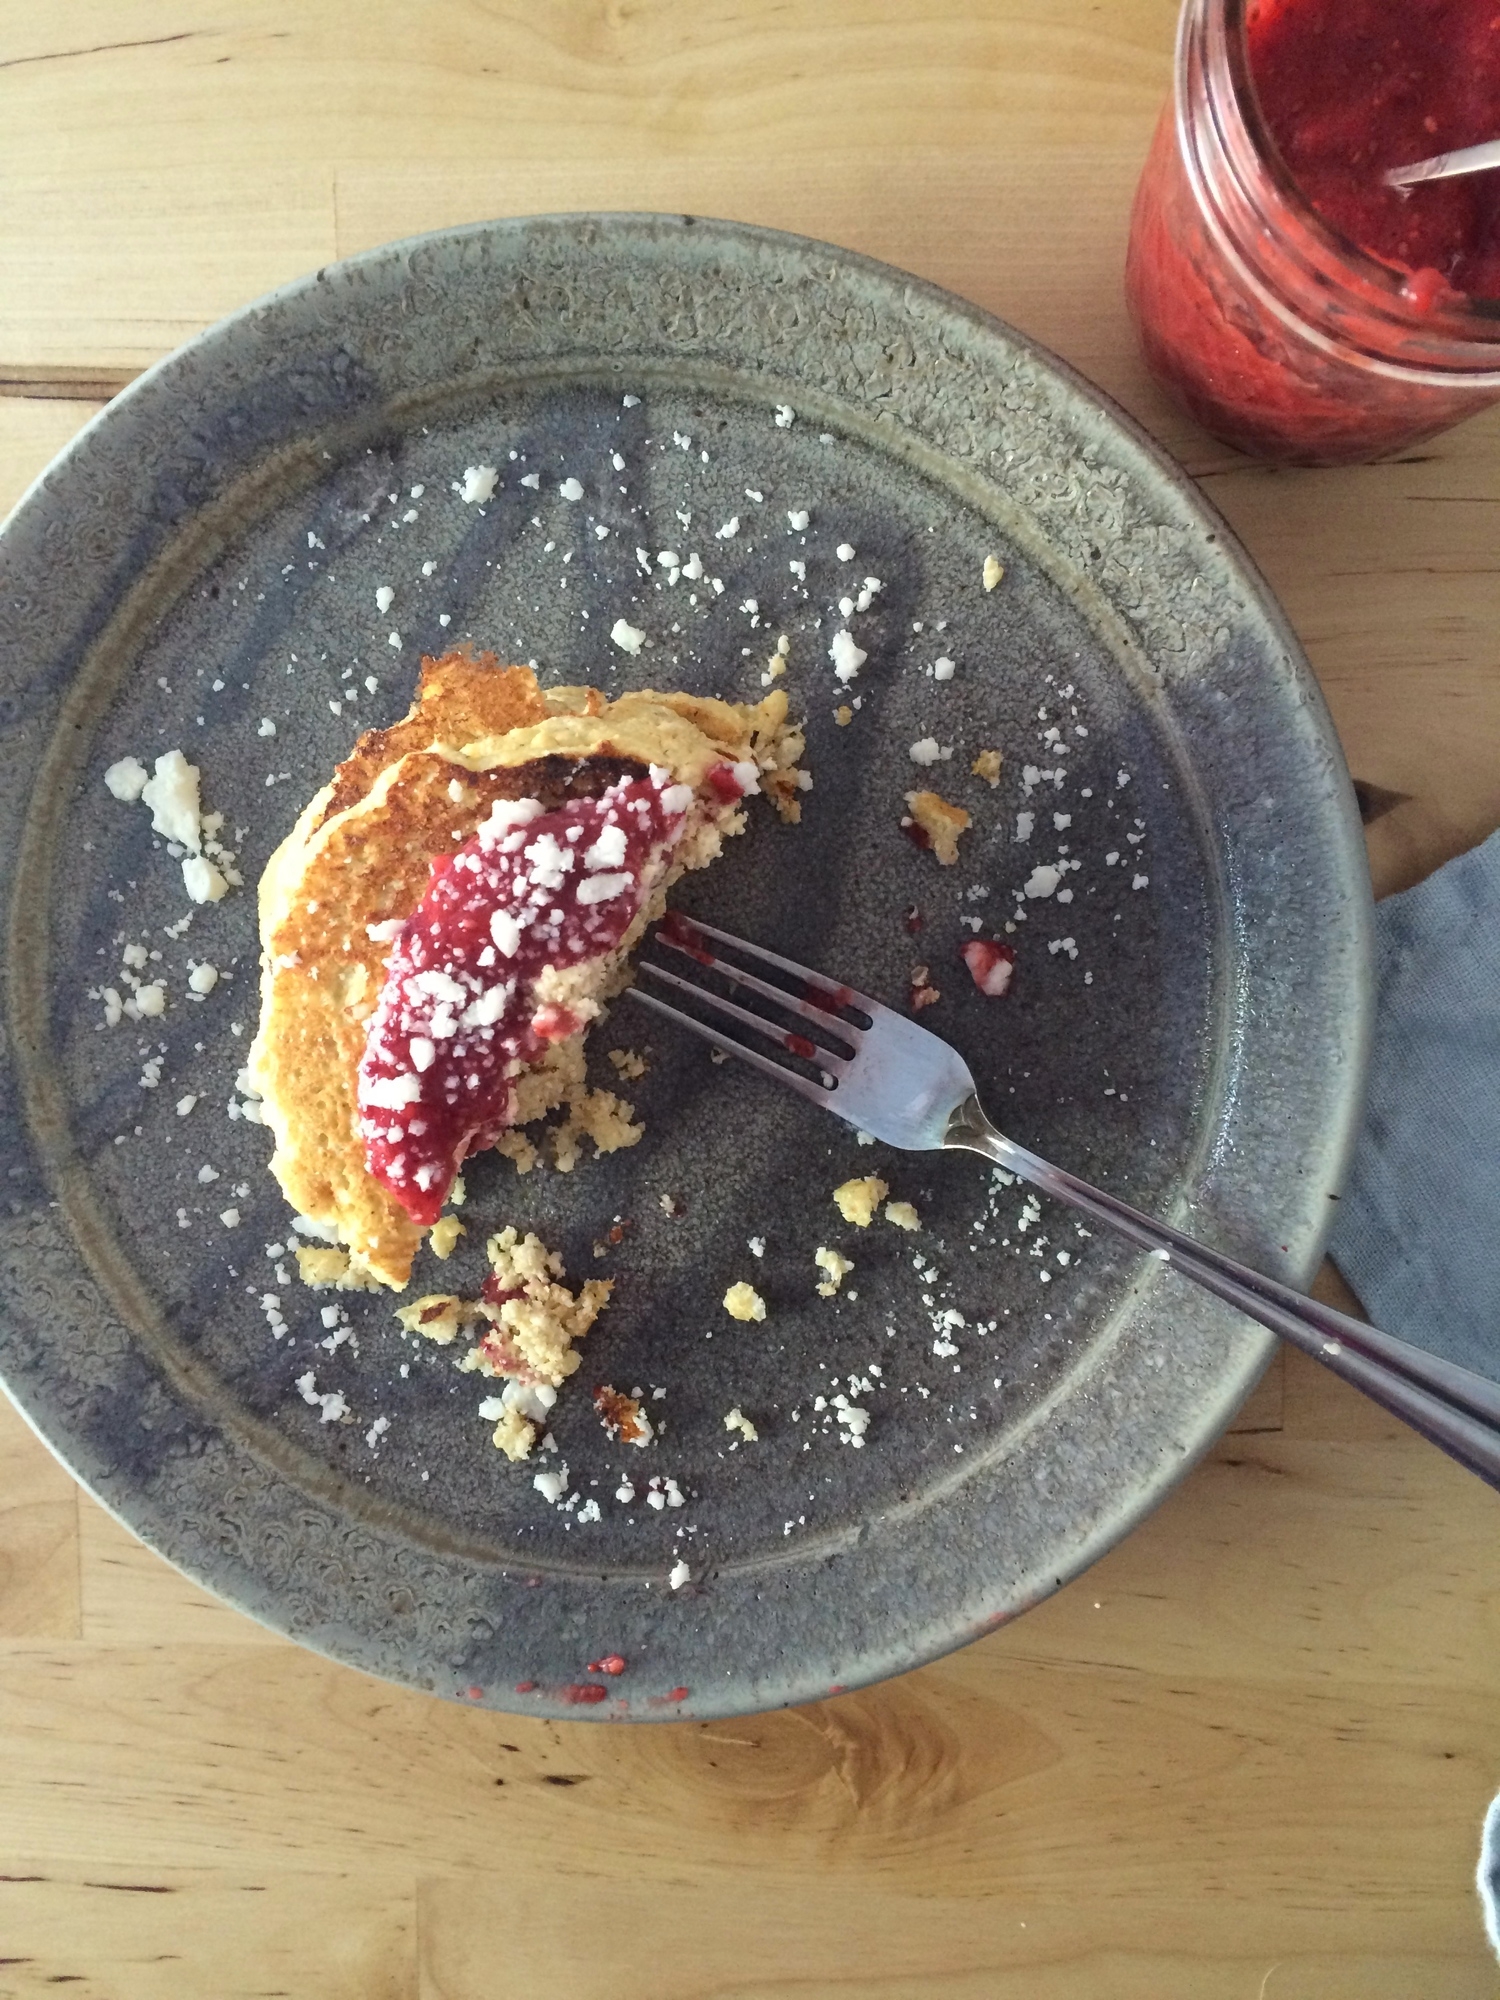
I topped mine with my strawberry vanilla chia jam and coconut butter, but experiment with what you like- honey, almond butter, yogurt, or go big with whipped cream. I recommend about four pancakes per person if this is the only thing served for breakfast or brunch, but fewer per person if other dishes are available. They are best served immediately, but can be kept in a warm oven (200 degrees Fahrenheit) for up to 20 minutes without drying out or stored in the refrigerator for a few days, understanding they will lose some of their lightness. I have frozen other pancakes for up to a month, but the ricotta cheese in these does not freeze as well so I do not recommend it. I hope you enjoy!

Lemon Ricotta Pancakes

1 cup almond meal
1/2 cup oat bran
1 teaspoon baking powder
1/4 teaspoon salt
2 eggs, whites and yolks separated
1/2 teaspoon pure vanilla extract
1/2 cup whole milk or part-skim ricotta cheese
1/4 cup milk (I used 1%, but any milk of choice should work)
1 lemon, zested and juiced
1 tablespoon honey
1 tablespoon coconut oil or vegetable oil for cooking
Topping ideas: strawberry chia jam, coconut butter, honey, yogurt, whipped cream

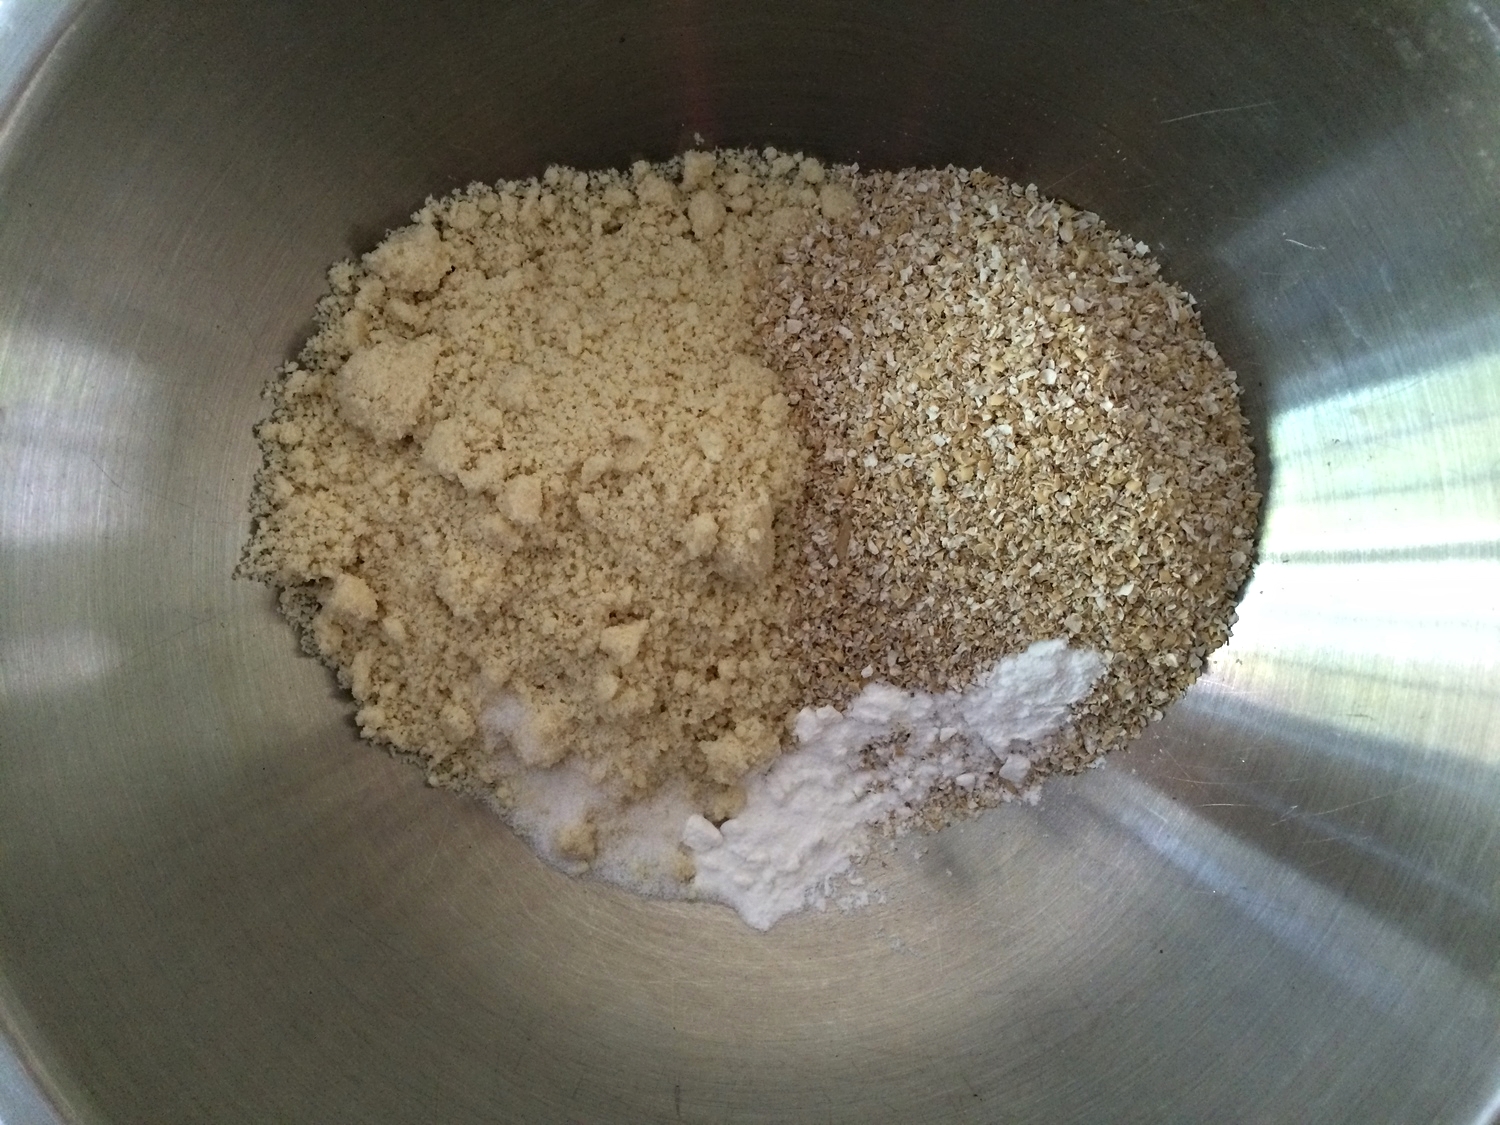
In a small bowl, mix the dry ingredients (almond meal, oat bran, baking powder, salt), breaking up any lumps from the almond meal. Set bowl aside.

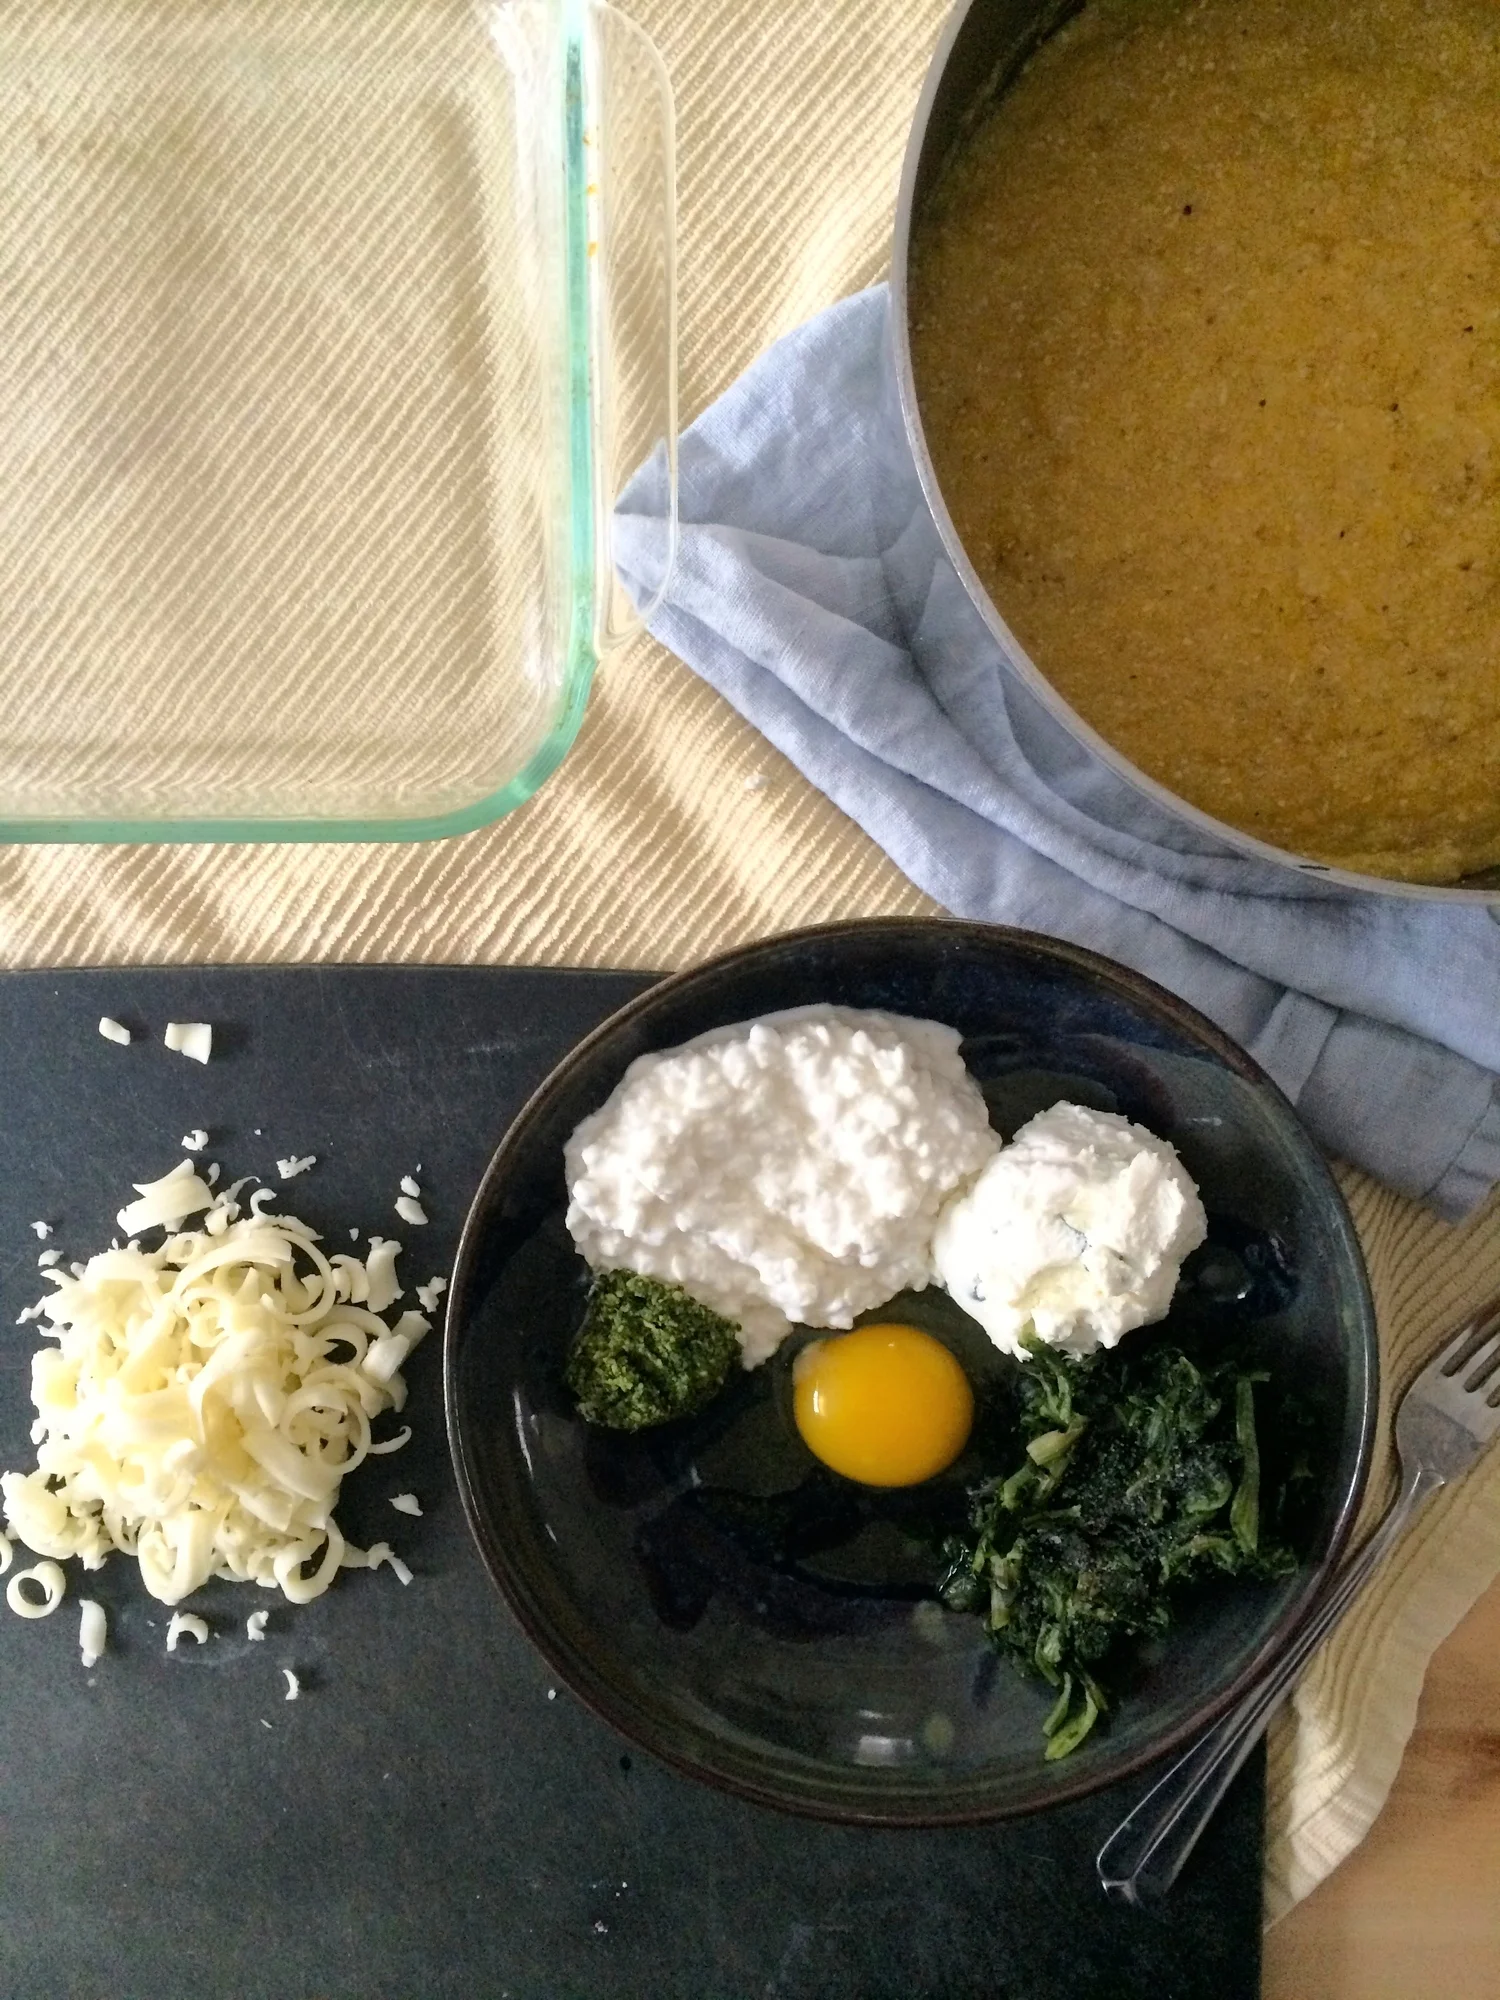
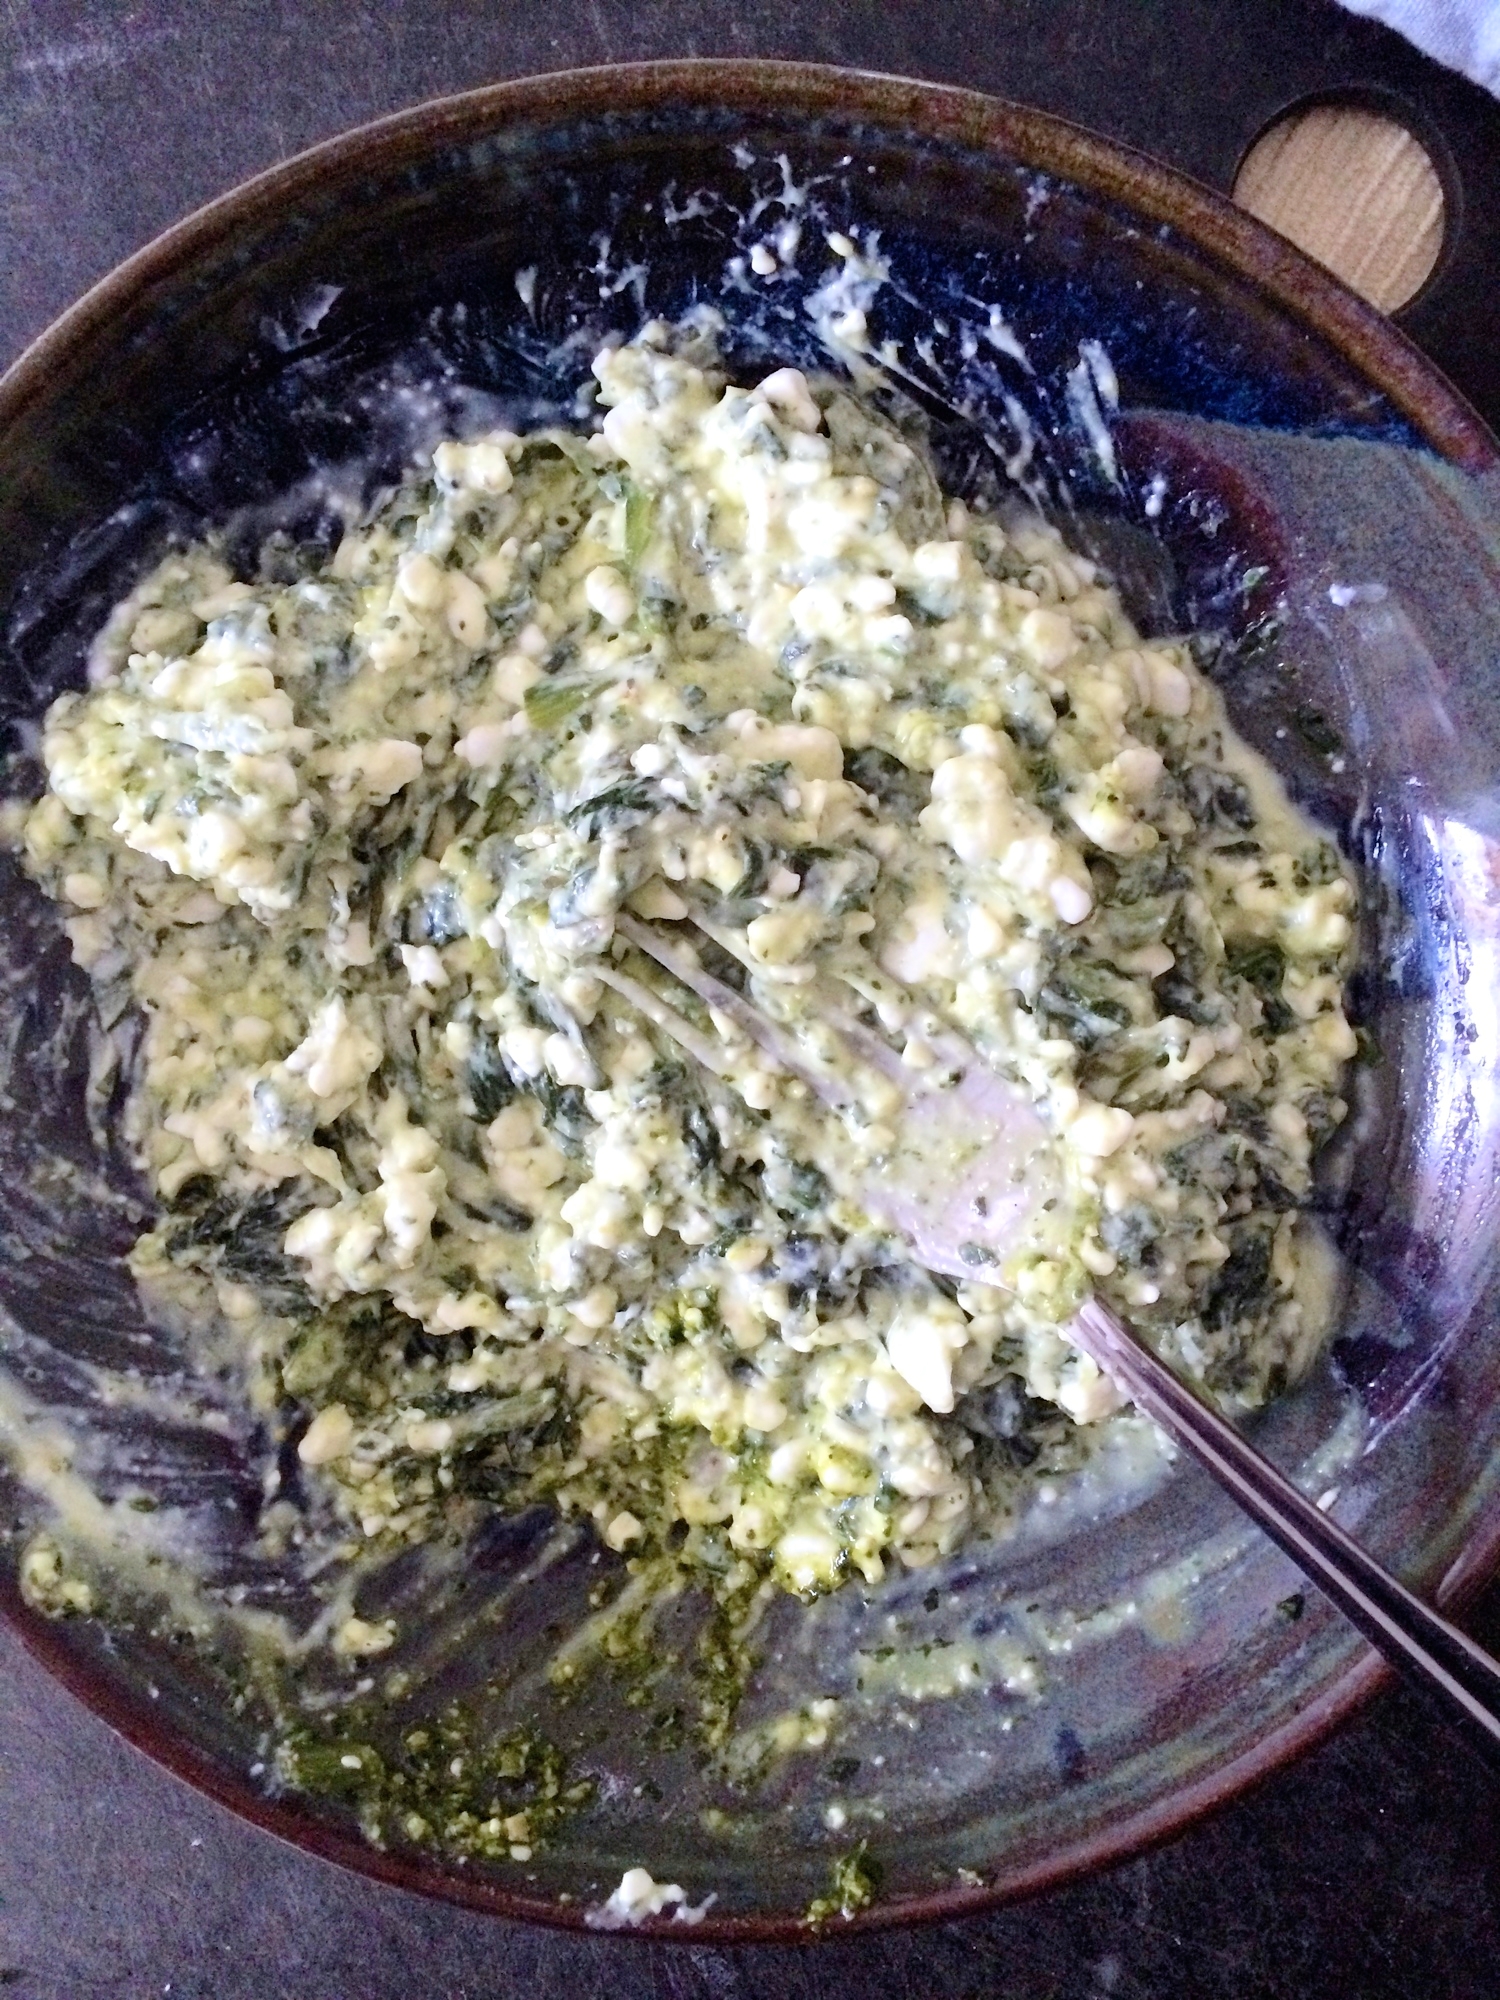
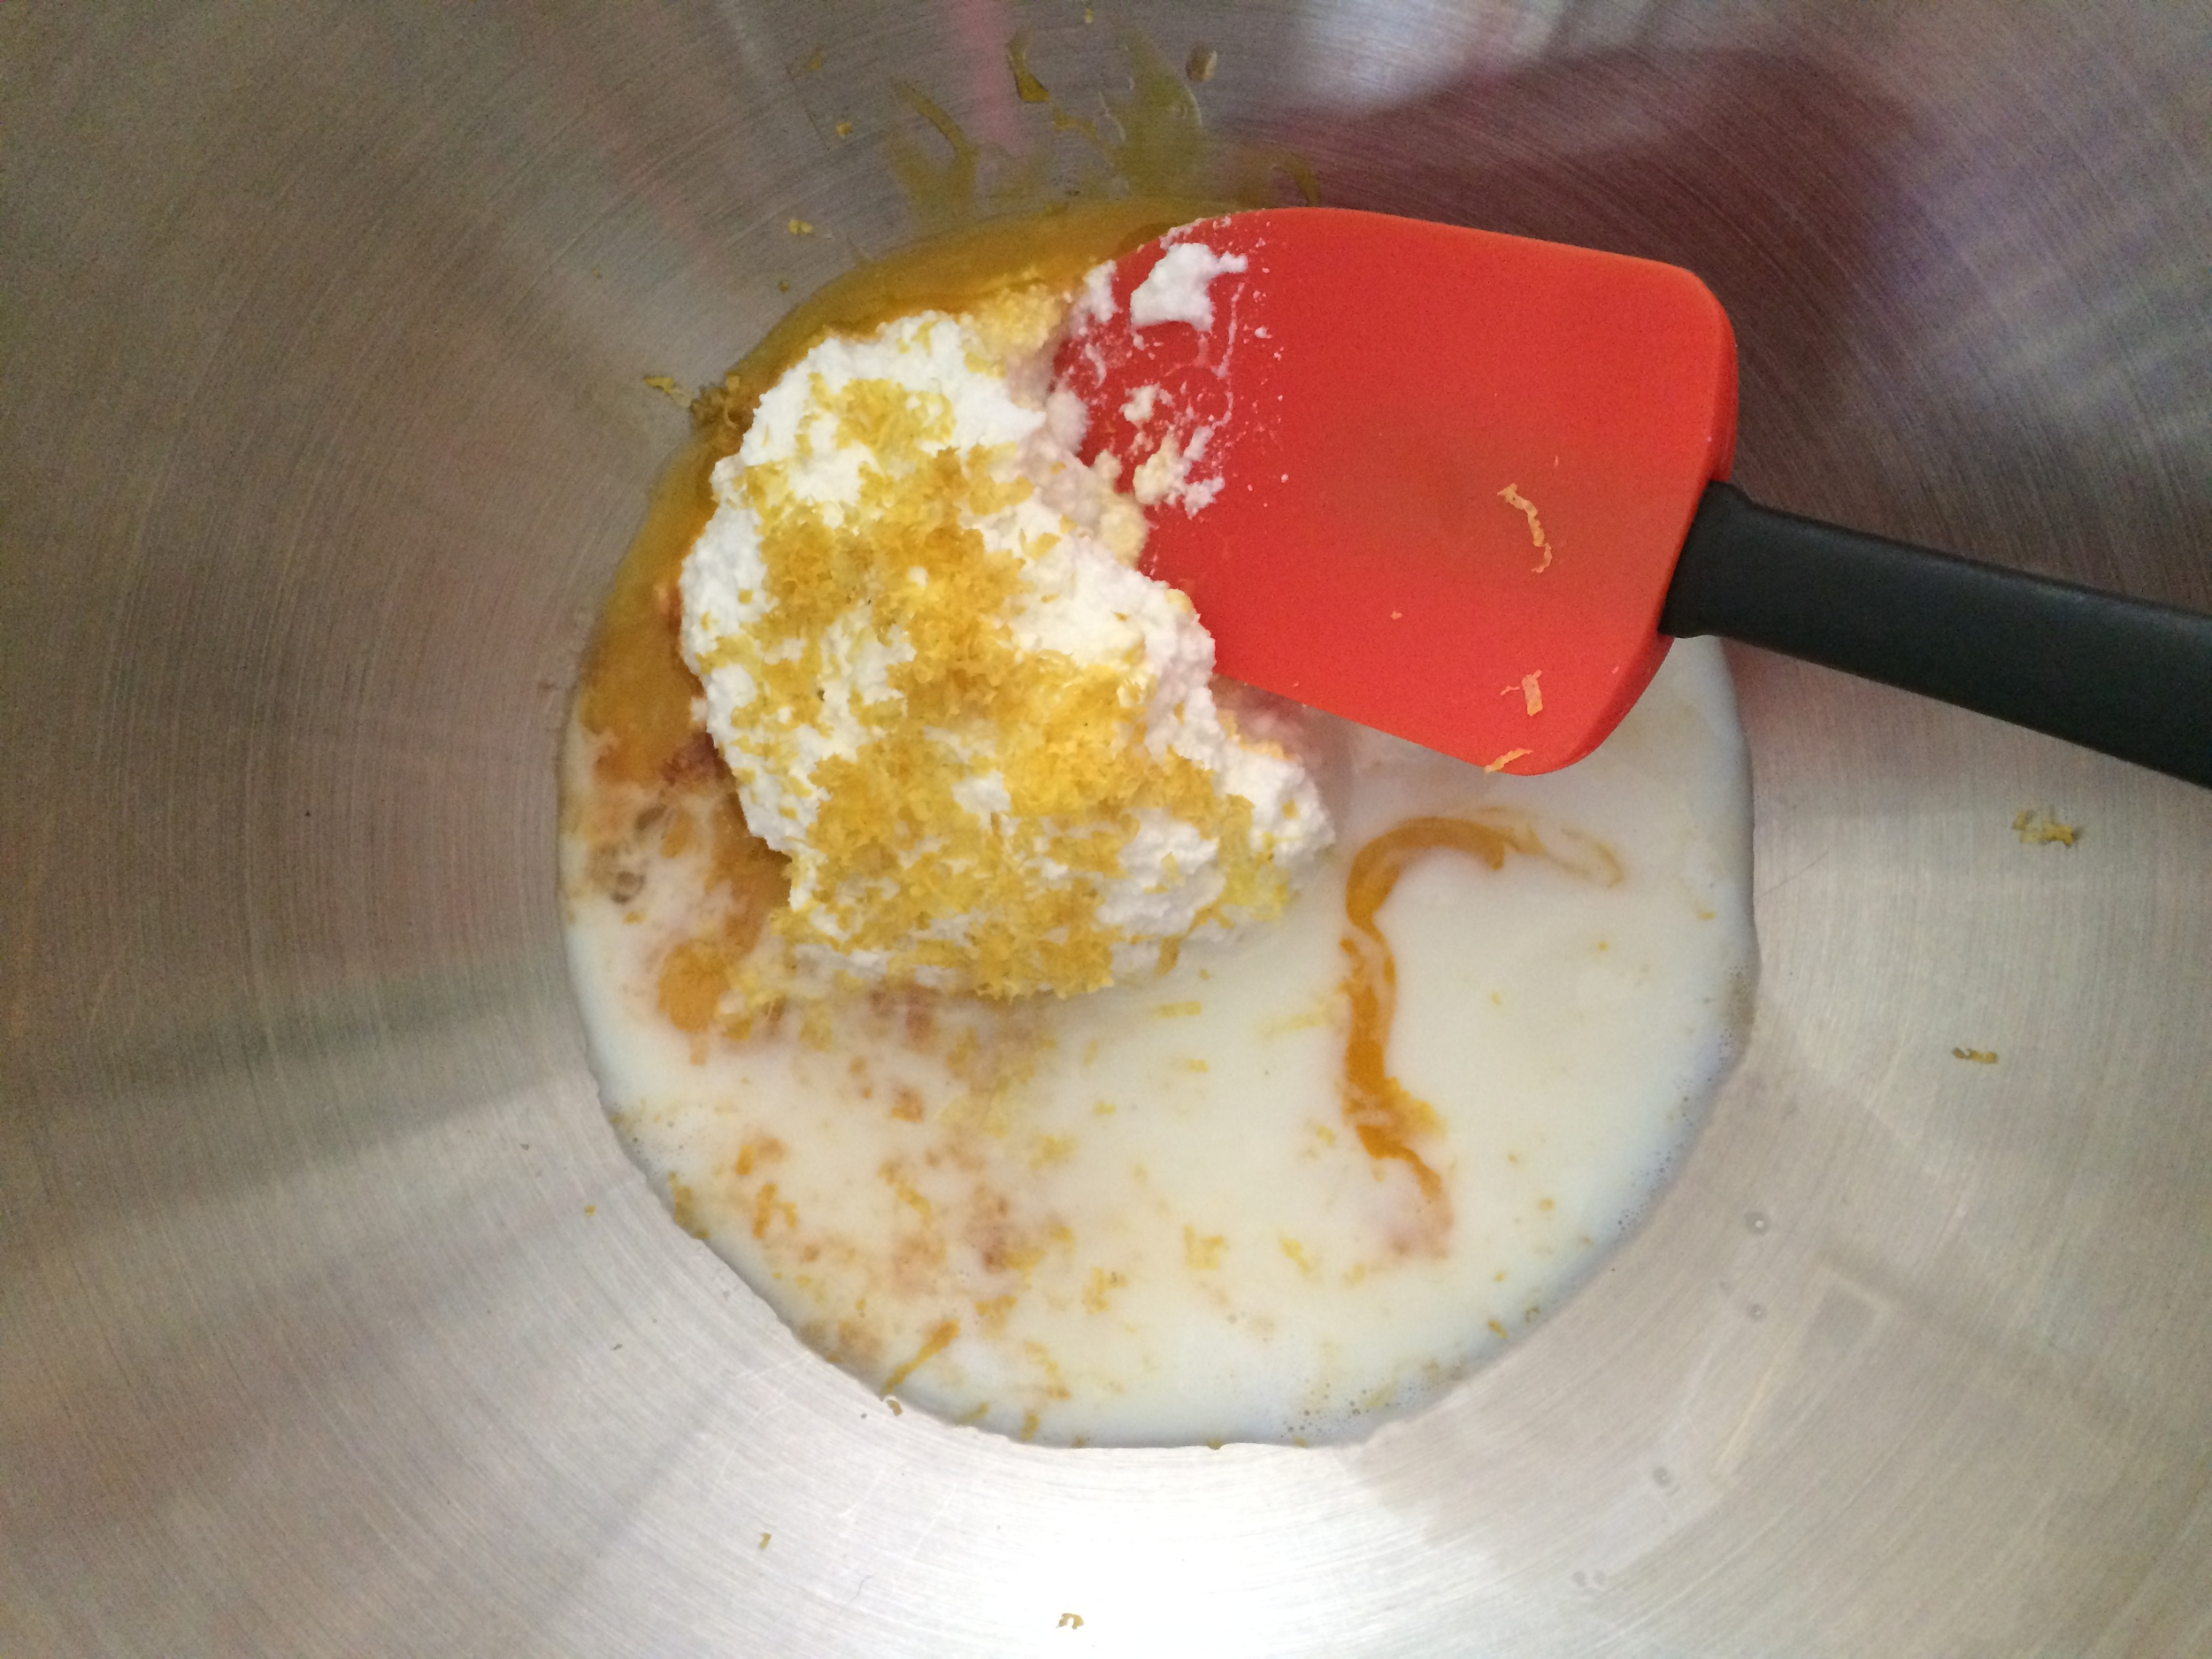
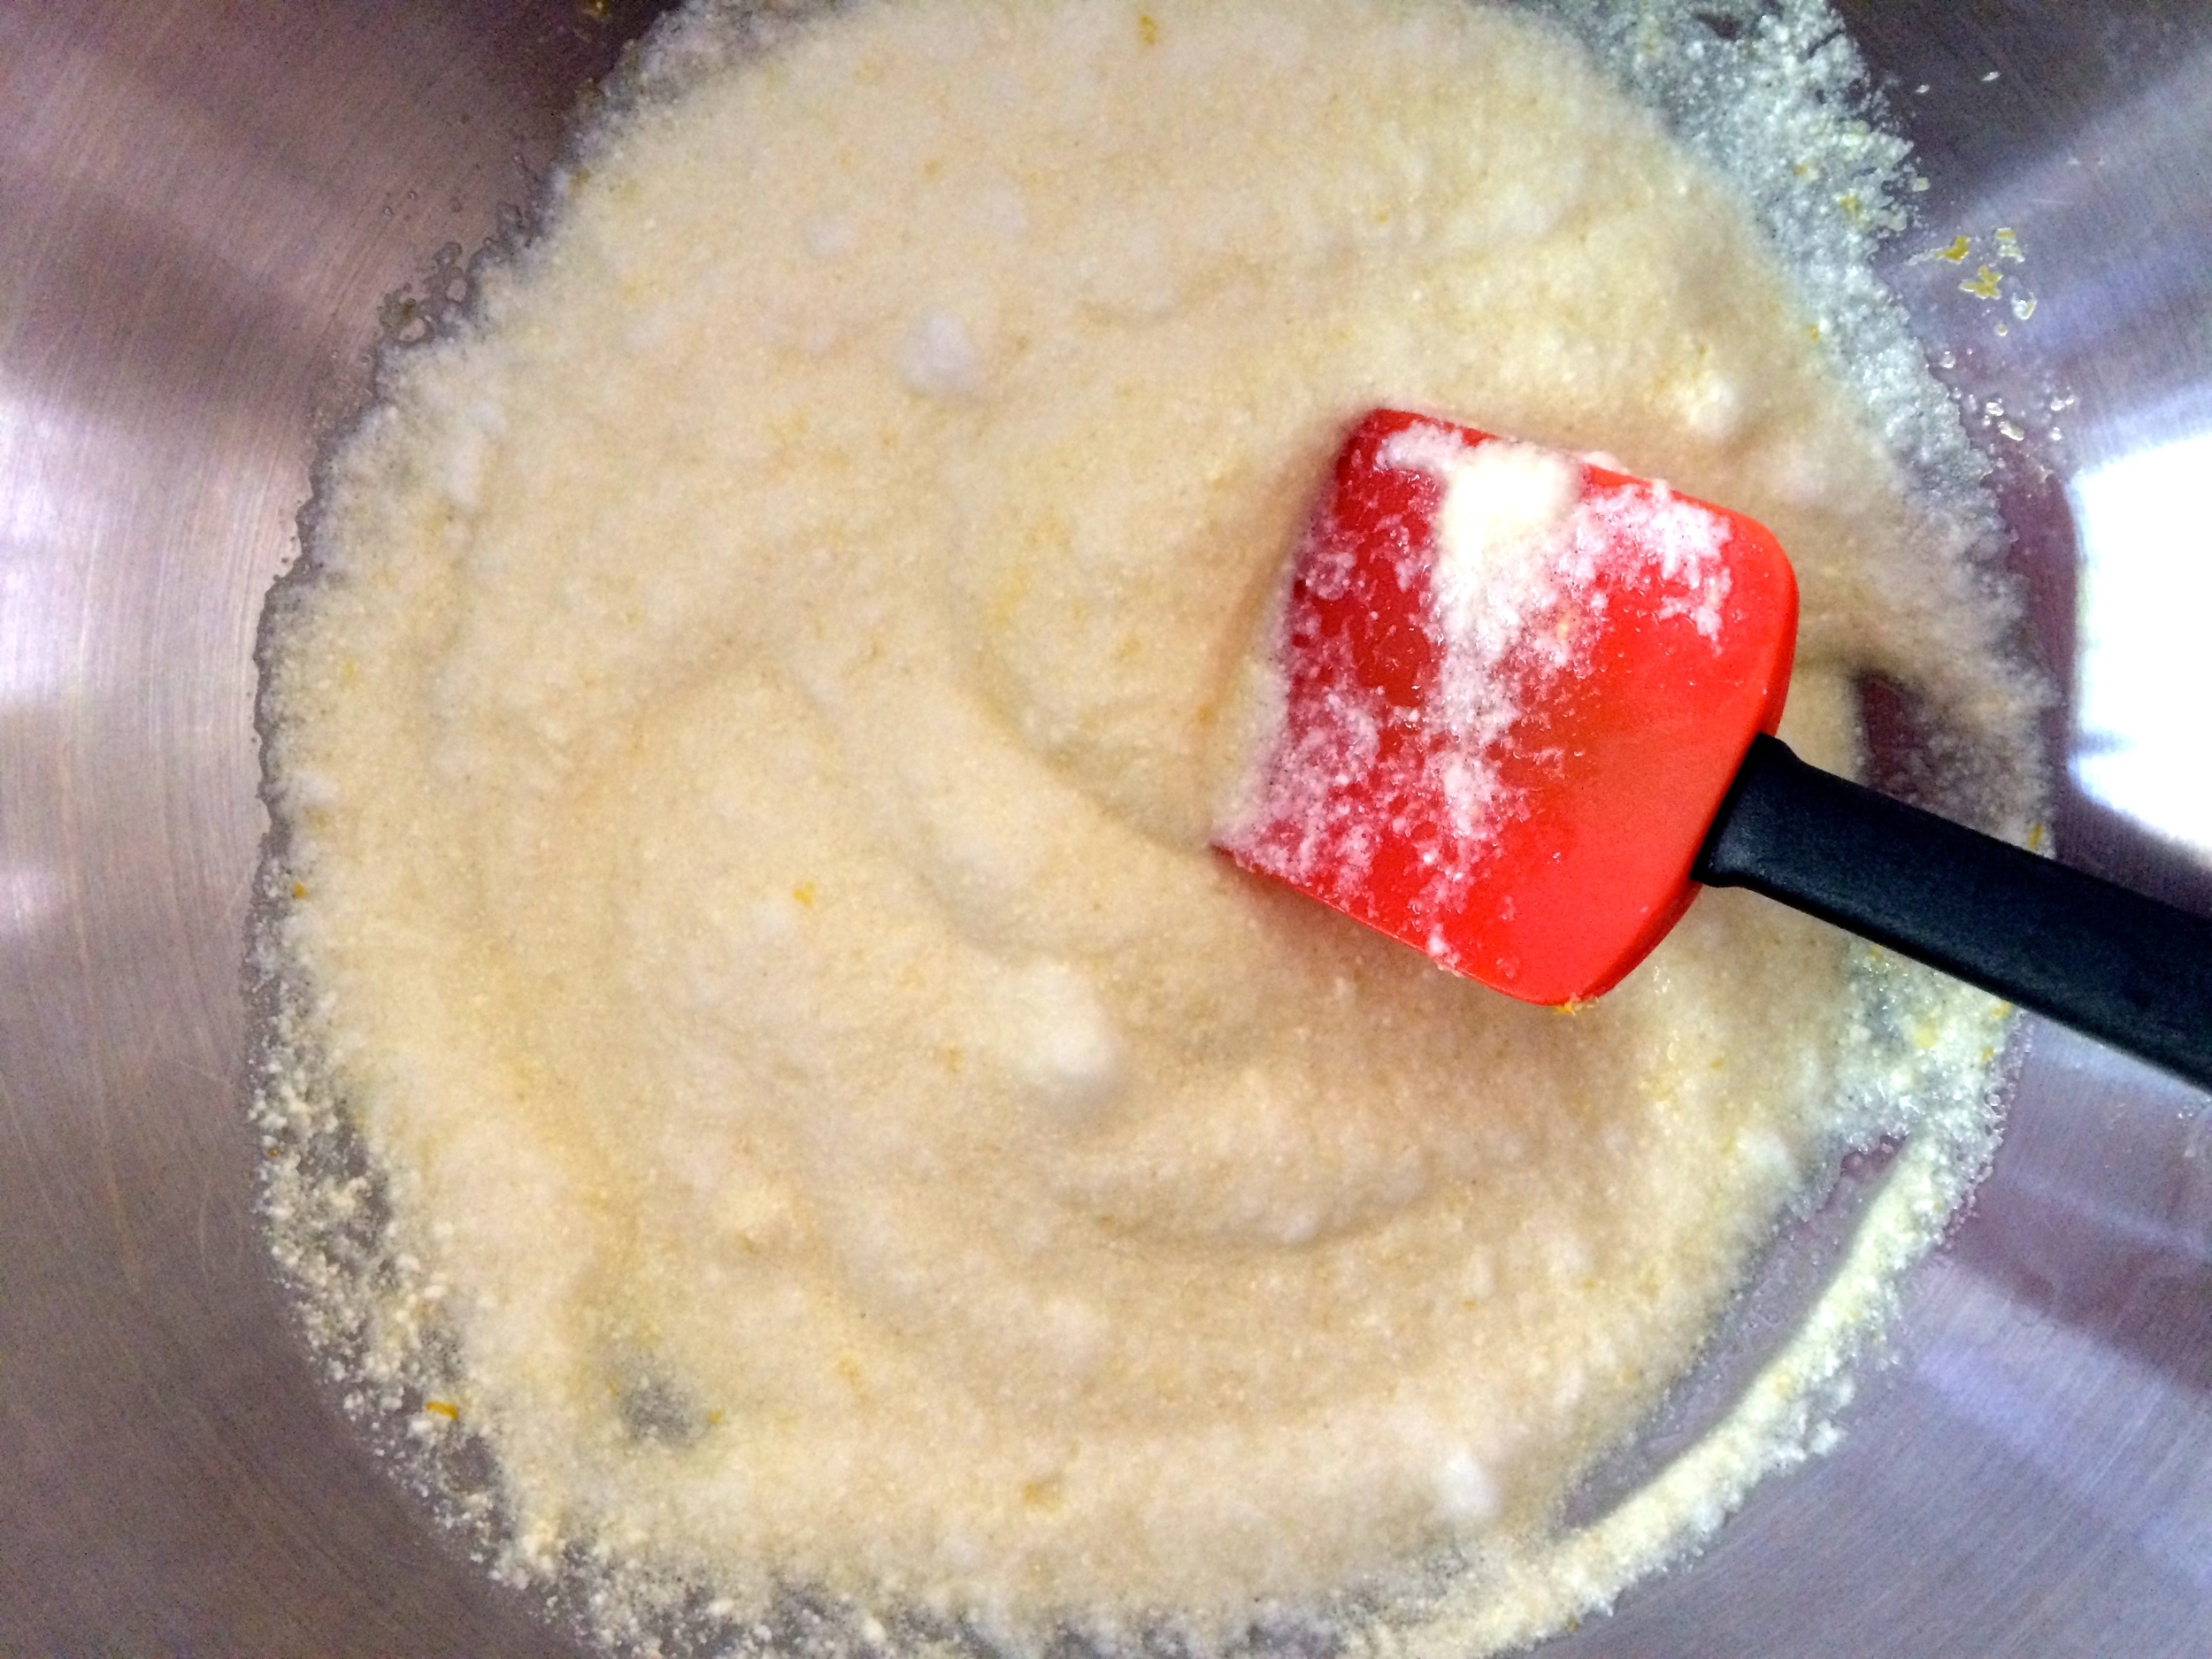
In a larger bowl, whisk the egg yolks, vanilla extract, ricotta cheese, milk, lemon zest and juice, and honey together until combined.

IMG_5624.jpg
IMG_5627.jpg
IMG_5636.jpg
IMG_5629.jpg
IMG_5630.jpg
IMG_5631.jpg
IMG_5637.jpg
IMG_5641.jpg
IMG_5642.jpg

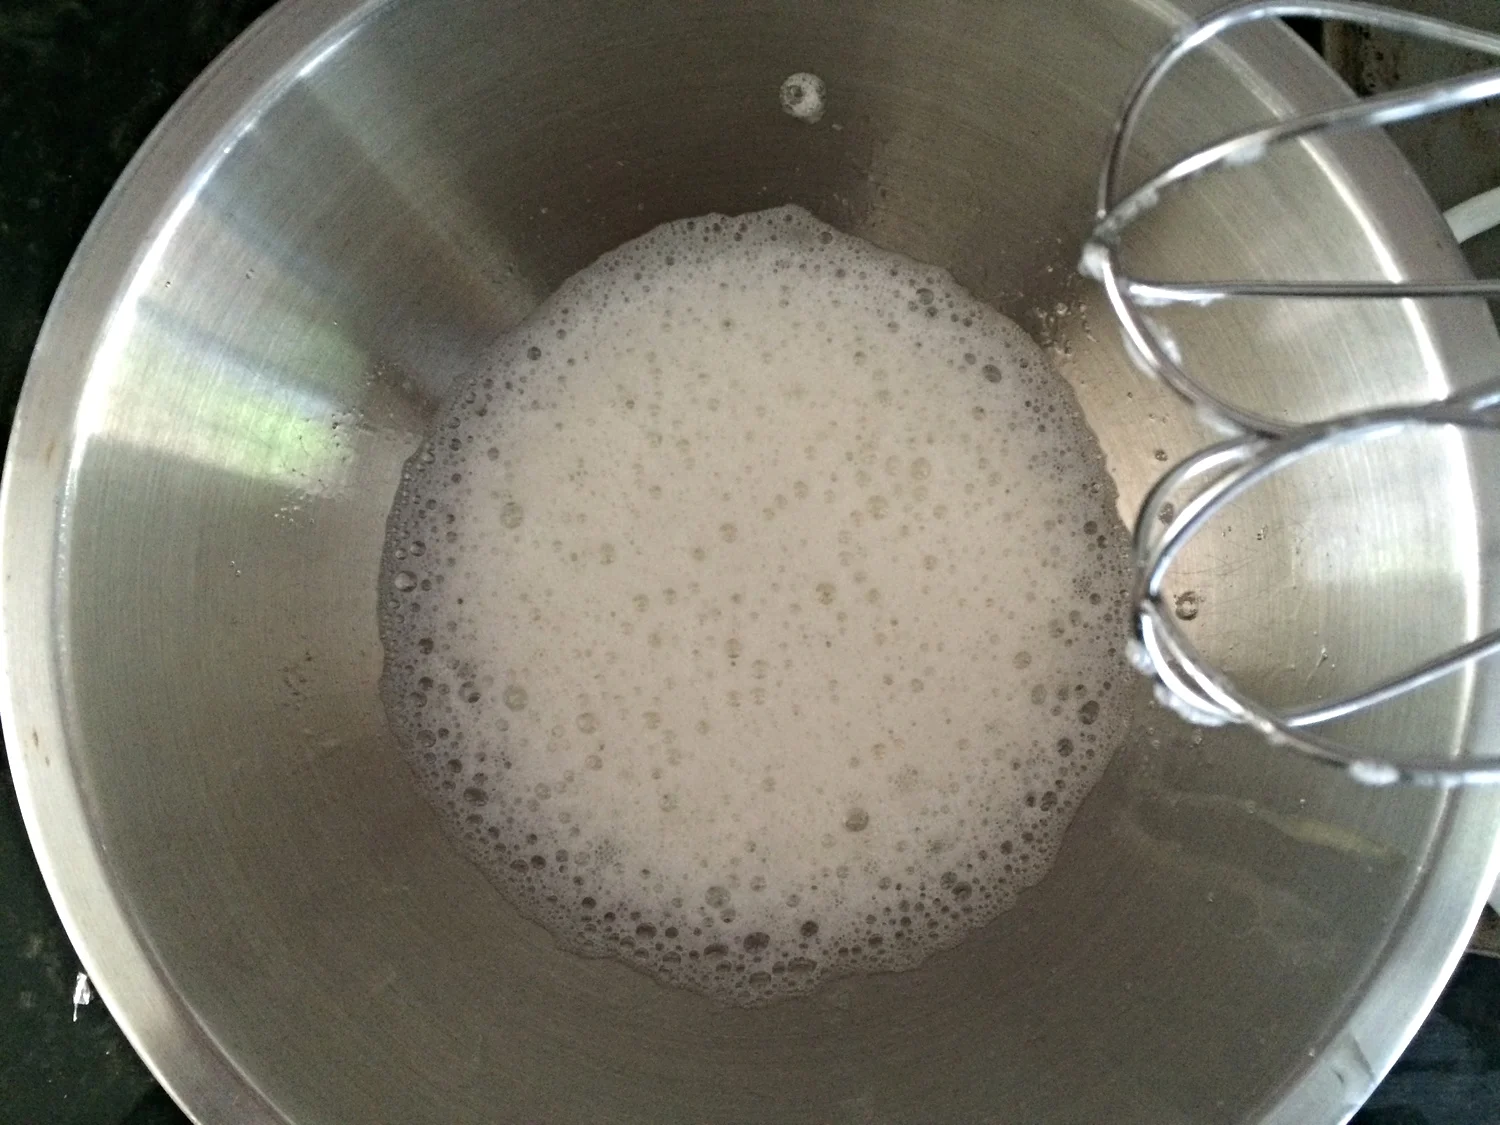
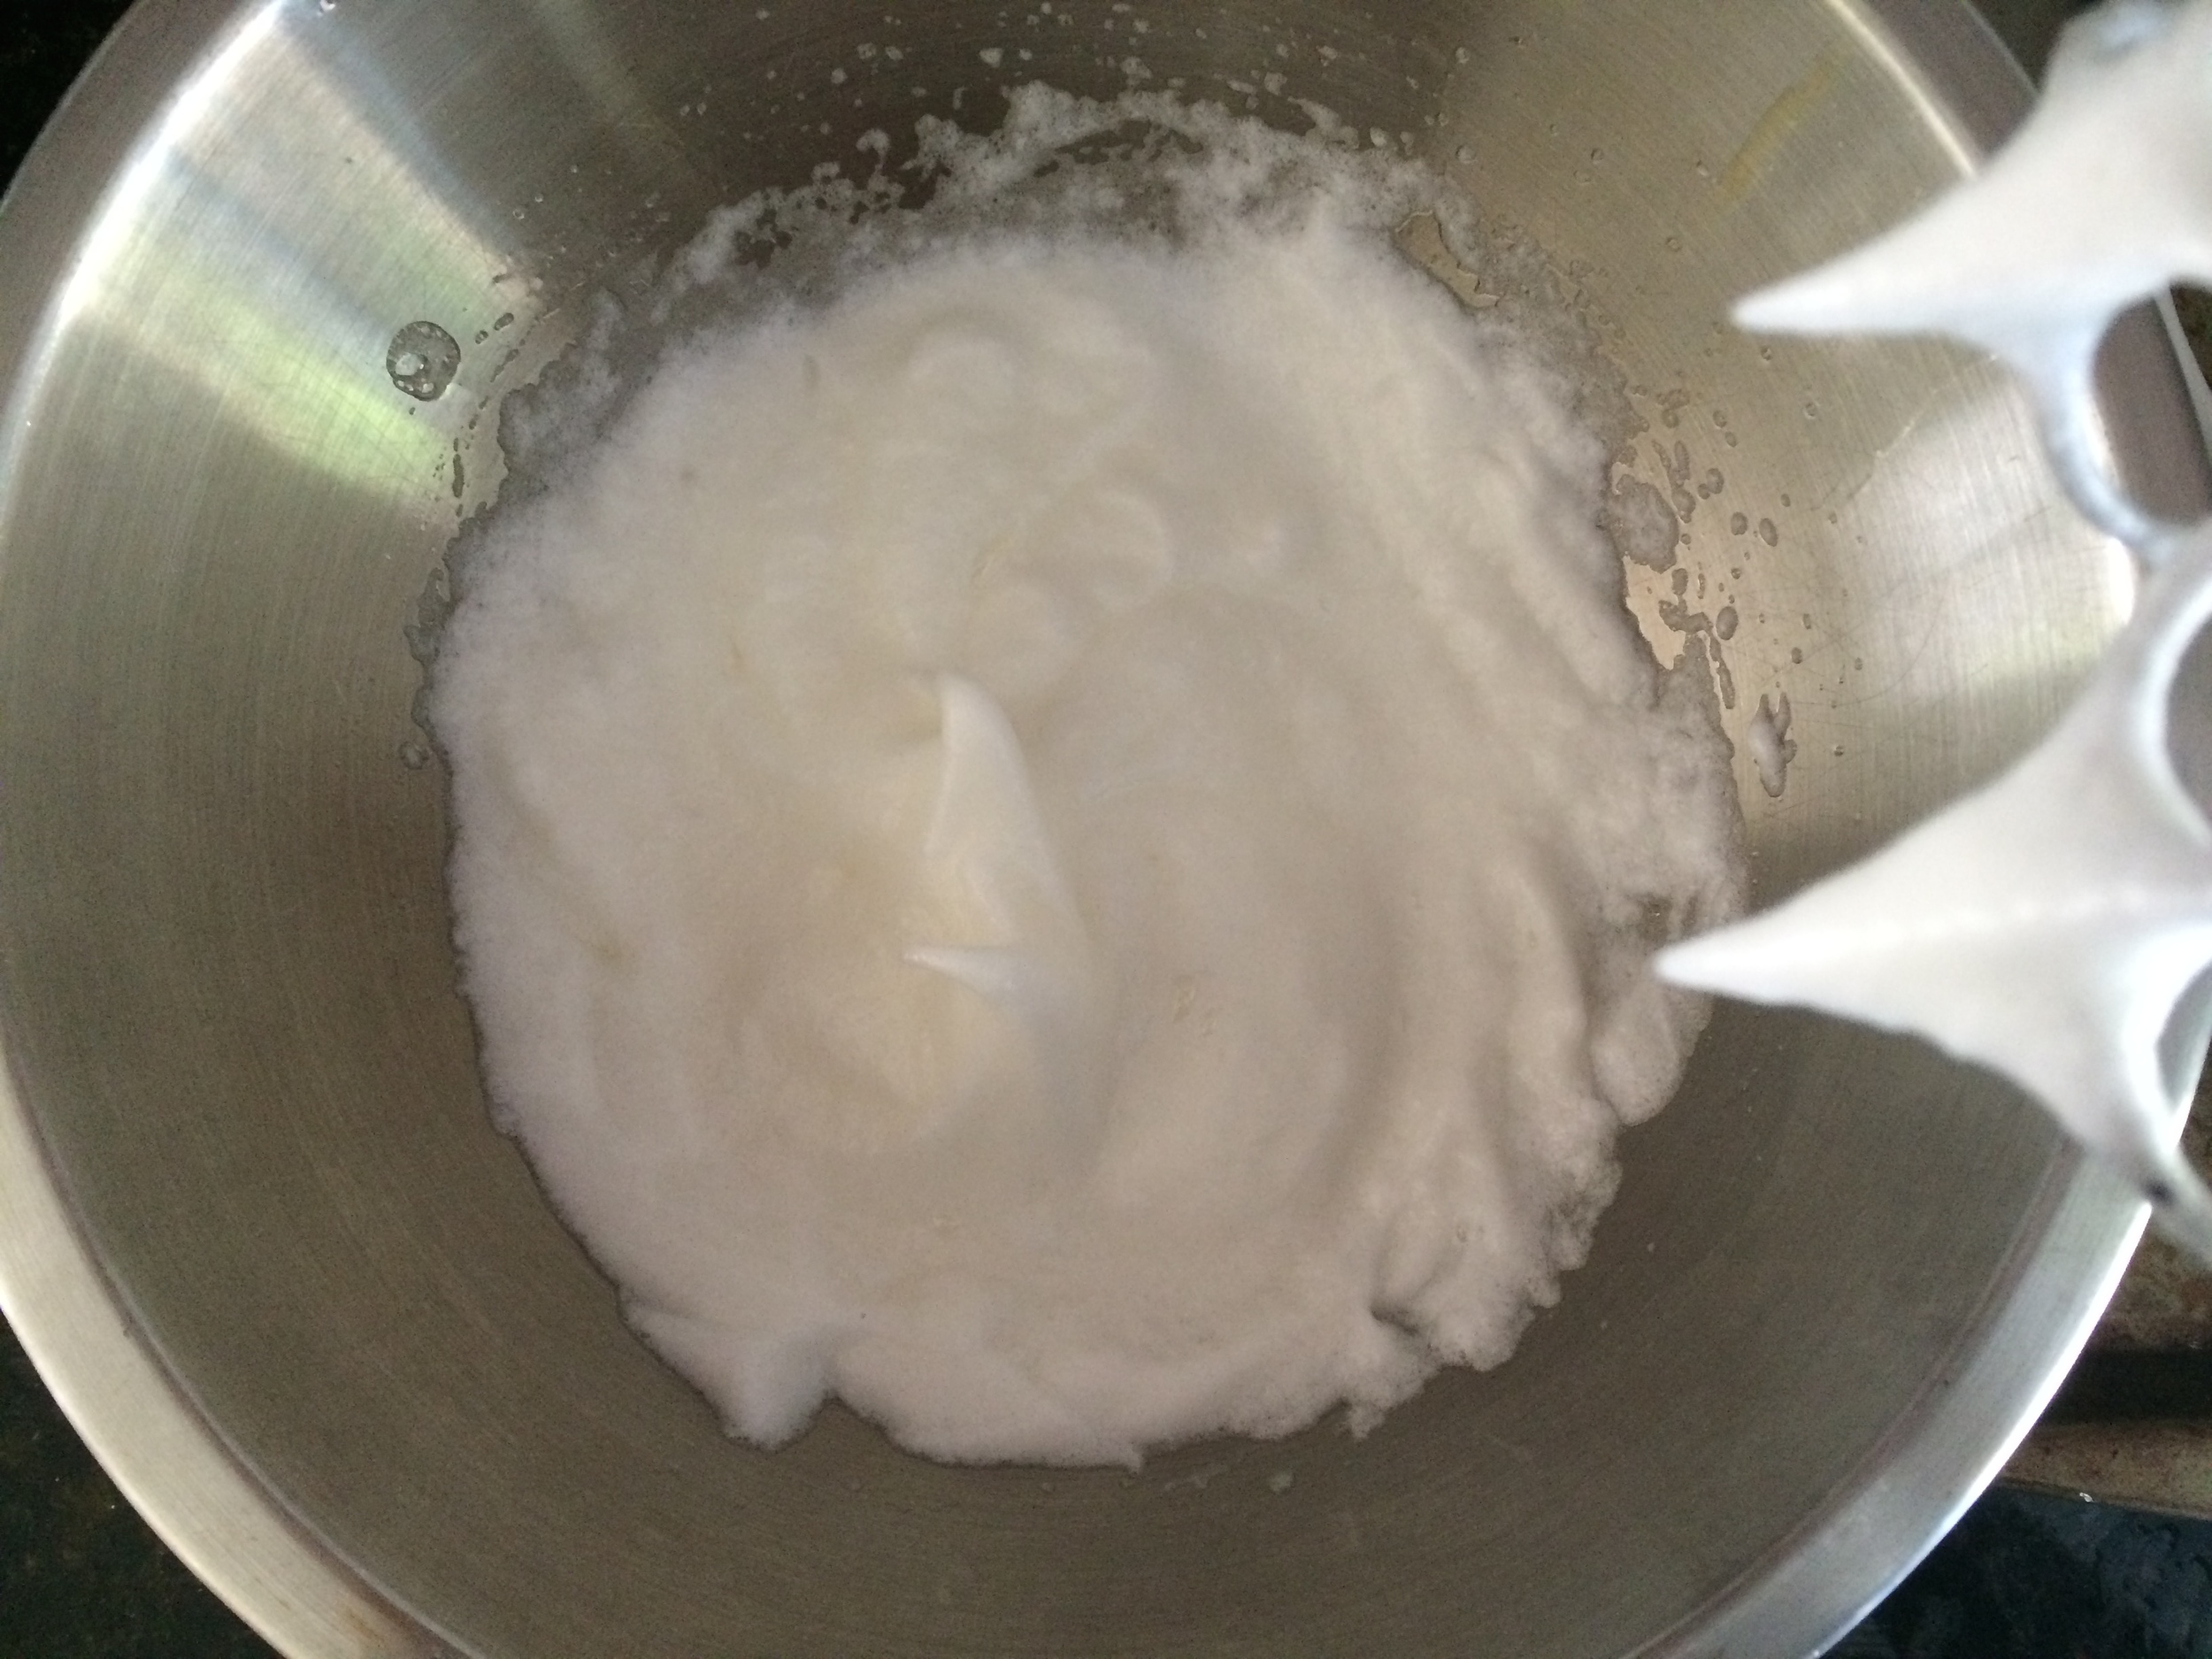
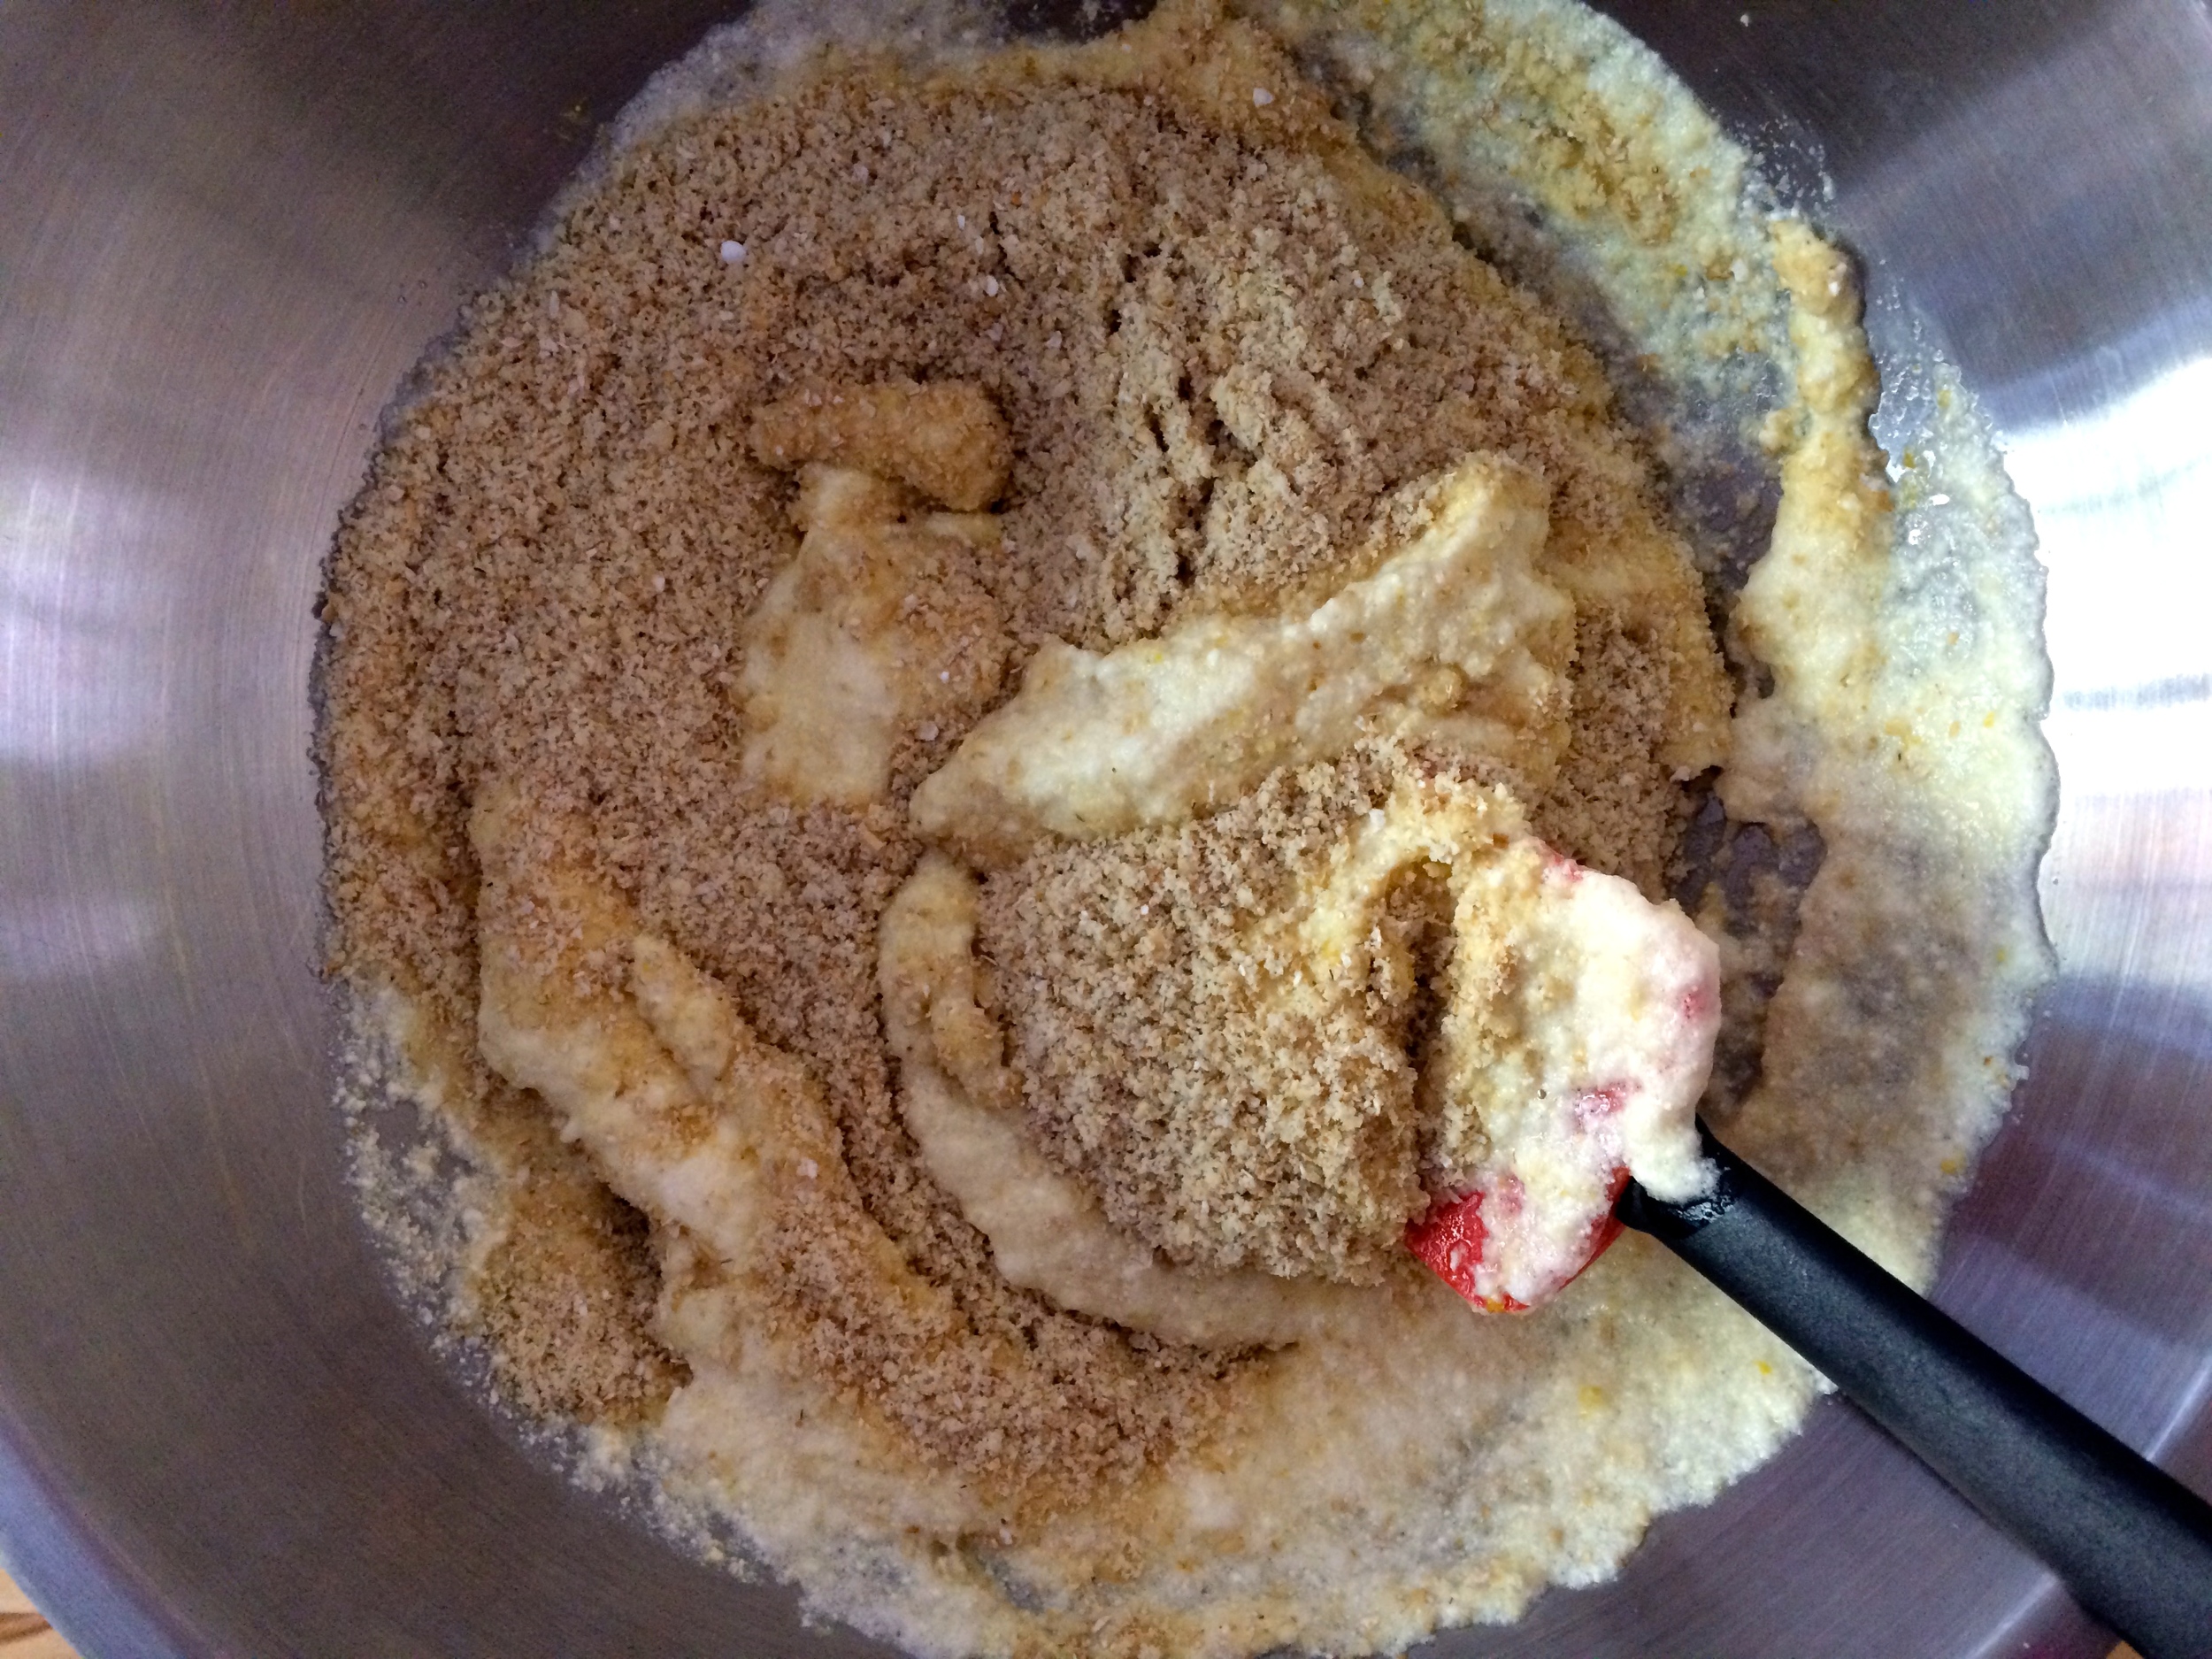
Beat the egg whites in a bowl for 3-5 minutes on high until soft peaks form. Fold the egg whites into the wet ingredients. Once combined, fold the dry ingredients into the mixture, careful not to deflate the egg whites too much.

IMG_5649.JPG
IMG_5651.jpg
IMG_5653.JPG
IMG_5655.jpg

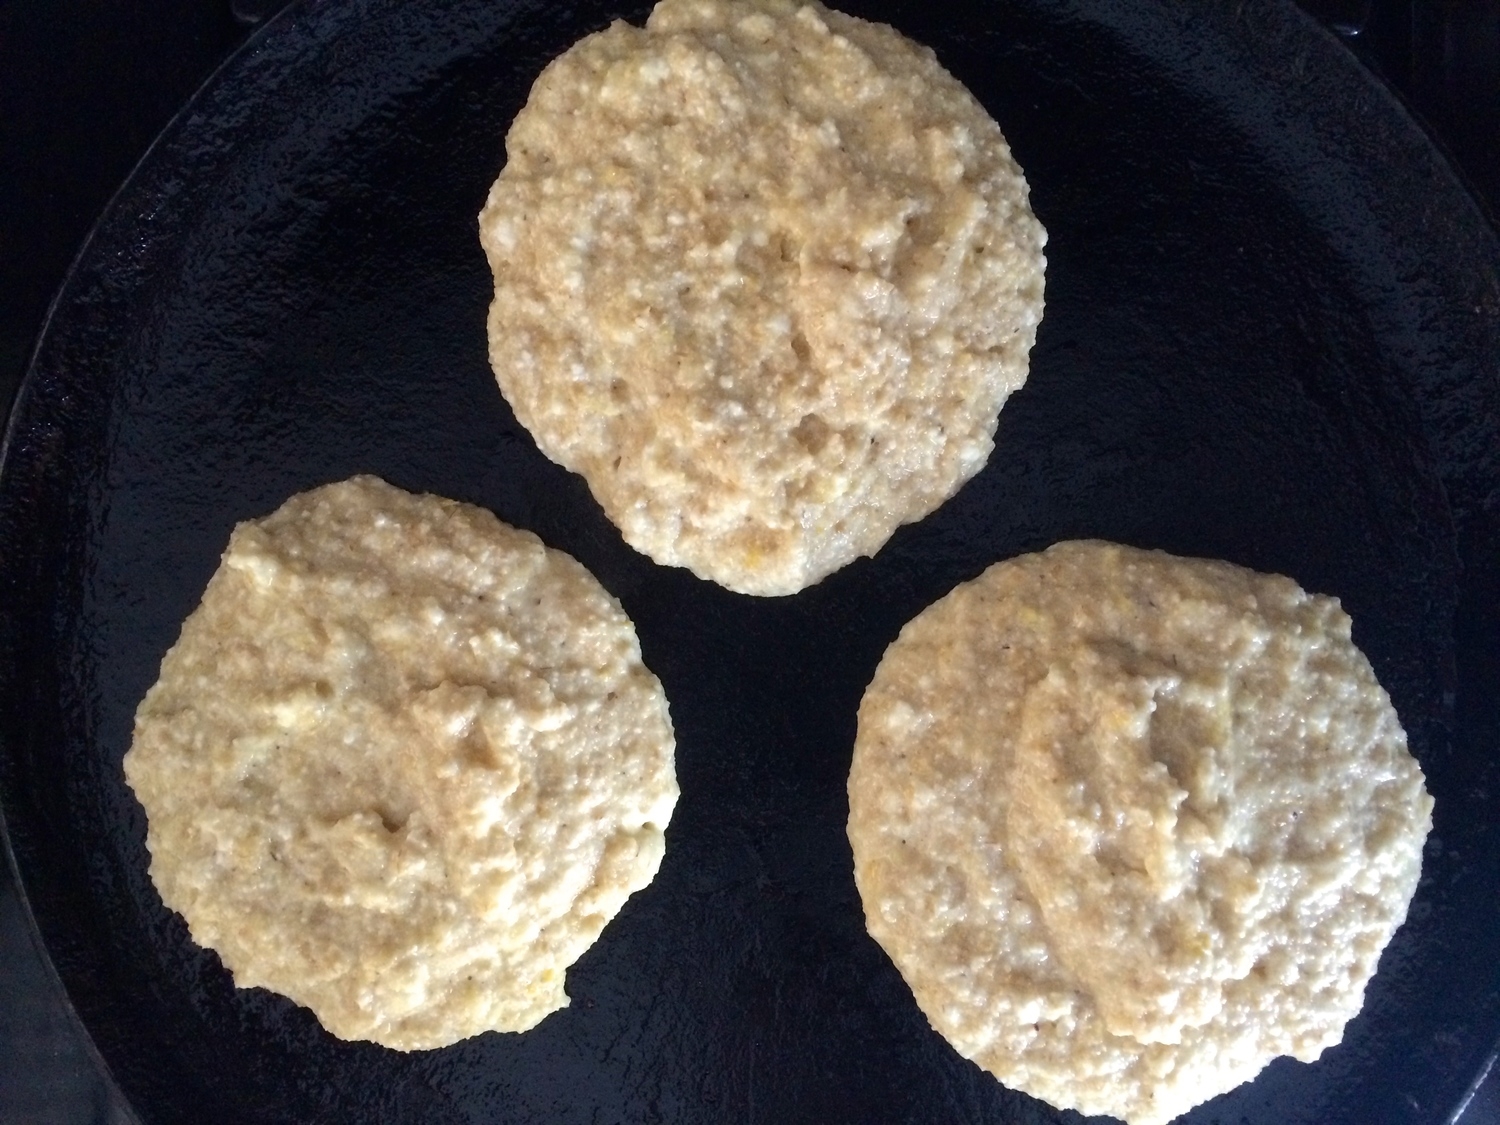
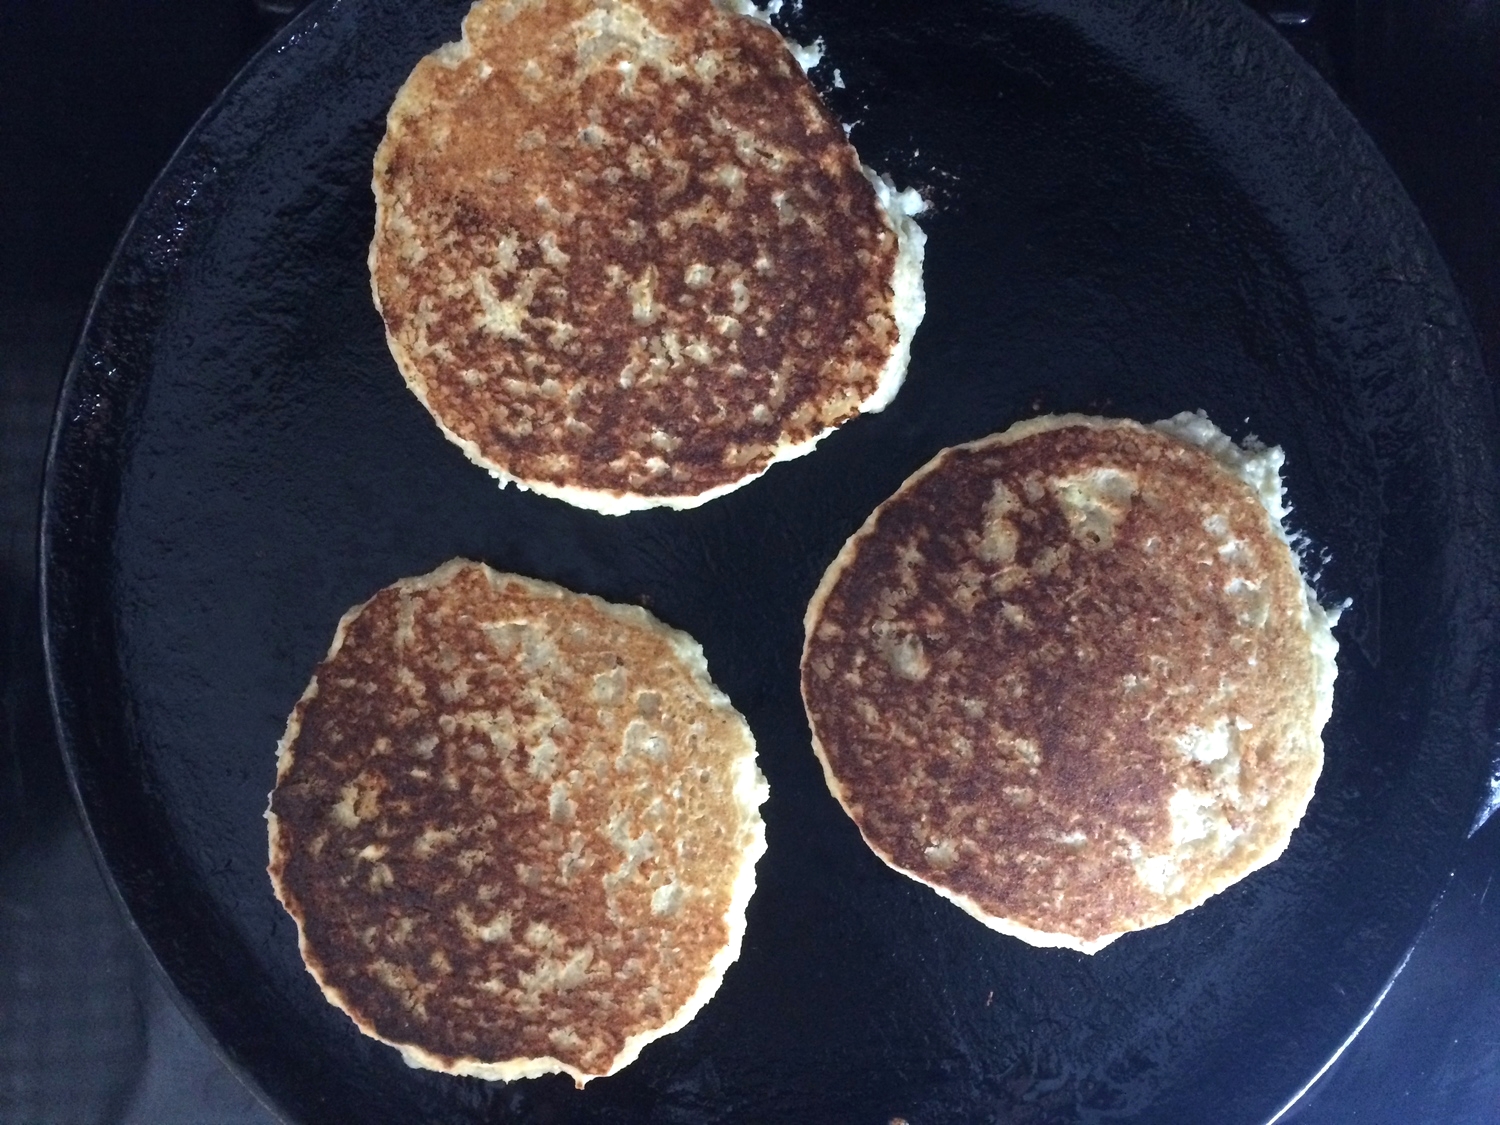
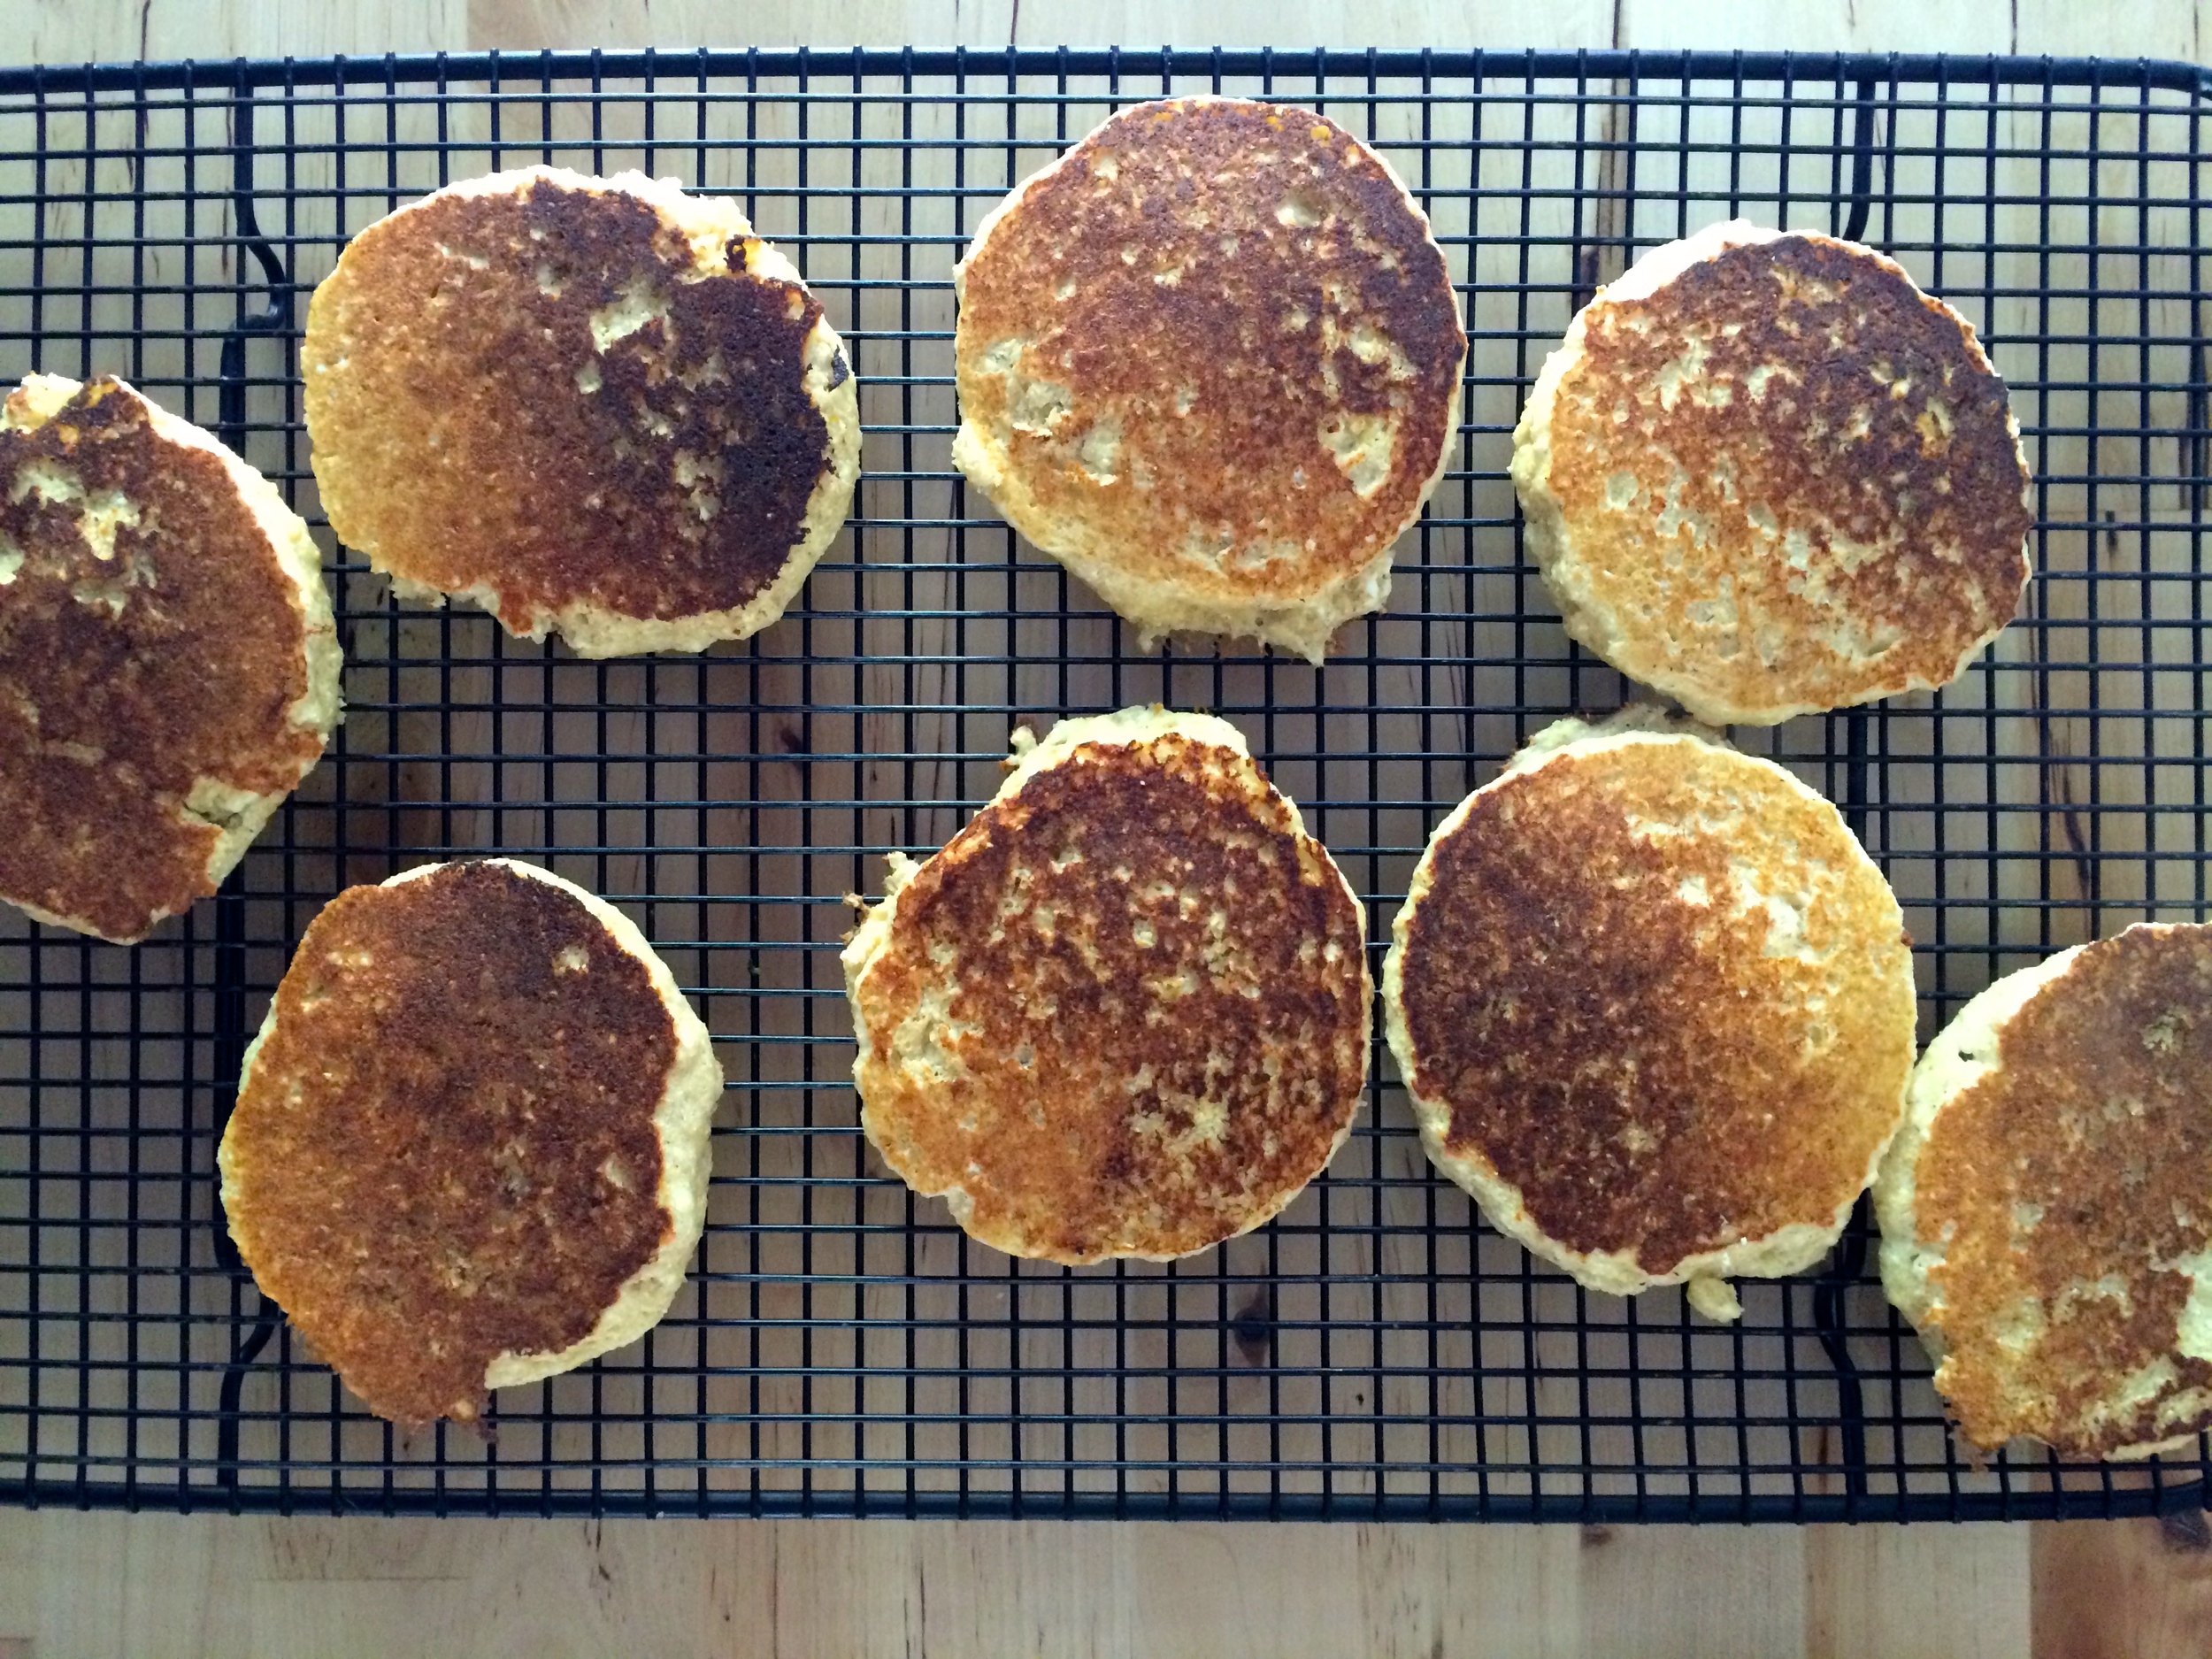
Heat a griddle or cast iron pan over medium heat. Add 1 teaspoon of coconut or vegetable oil to pan, swirling to coat. Use a 1/4 cup measuring cup and spoon the batter onto pan. Cook for 3-4 minutes per side or until golden brown. These take a bit longer than regular pancakes and will not produce the same bubbles on the surface when ready, so just use a spatula to lift the pancake and check for doneness. Move pancakes to a wire rack and continue with the next batch, adding about 1 teaspoon of oil to the pan per 3 pancakes. 

Pancakes can be kept warm in a 200 degree Fahrenheit oven for about 30 minutes before running the risk of drying out. Top with your desired toppings and serve. Makes 8 pancakes, enough for 2-3 people.

IMG_5674.jpg
IMG_5676.jpg
IMG_5681.JPG
In Breakfast Tags recipe, ricotta, breakfast, vegetarian, gluten-free, almond meal
Comment

Spring Spinach and Goat Cheese Stuffed Grits

April 21, 2015 Emily Watson

Last fall, my Mom and I ventured to Nashville, Tennessee for a rare, but special, Mother-Daughter weekend. Neither of us had never been there, so we could not wait to explore the area. Our main stop was attending the Fall Supper Club that the beautiful McKel Hill of Nutrition Stripped hosted at Bloomsbury Farm. I have so many wonderful things to say about the dinner, but her pictures from the event really do the best at expressing how lovely it was (and if you look closely, you can even see pictures of my Mom and me at the farm:) ). From the picturesque greenhouse setting, to the delicious food served family style, to the live music by Elenowen, I was reluctant to head back to our hotel for the evening. It was pretty neat to finally meet McKel in person, and she has a wonderful positive energy about her that is even more magnetic than it is on her website.

During the rest of our stay, we wandered around Nashville, learning that Nashville is not really a walking city, that despite that fact, it is not easy to find cabs there, and that Marché Artisan Foods is worth a visit for breakfast, brunch, or lunch...whatever you call that first meal of your Saturday morning. I had read some good reviews for Marché on Yelp, which our hotel doorman- and the line out the door upon our arrival- confirmed. The food coming out the kitchen looked simple, but delicious. When we finally got a table, I knew immediately what I wanted because I had seen a few of them go by me on the waitress' trays only to be devoured by happy customers. I cannot remember exactly what they called it, but it was essentially a grits casserole stuffed with ricotta, goat cheese, spinach, and mozzarella. A fried egg lounged on top. Being from North Carolina, I have a thing for grits, and the stiffer texture of the grits in this casserole was really satisfying. I had been wanting to recreate what I had at Marché's for some time, and after a few attempts, I think this one is a winner, albeit a bit lighter than their version.

This is a perfect make-ahead dish for a breakfast or brunch, especially with Mother's Day right around the corner. Then again, I have been eating it for lunch and dinner, and find it absolutely satisfying.

I have to take a moment to thank my friend Olivia and her mother for supplying me with three ingredients that really made this dish so special when I made it this last time. Olivia and I recently became friends during a yoga teacher training program, and I was so fascinated to learn that her mother in Virginia grows vegetables for the local farmers' market and raises goats for goat's milk, yogurt, and cheese. Olivia, being incredibly generous and kind, recently gifted me an Egyptian Walking Onion plant, a dozen eggs, and a jar of homemade goat cheese flavored with bits of Egyptian Walking Onion. The goat cheese is heavenly...worthy of being eaten by the spoonful, and the eggs have a deep sunset yellow yolk. The scallions have the slightest garlic flavor. To celebrate these food gifts and my new friendship with Olivia, I incorporated all of those ingredients into this dish, giving it tremendous flavor and brightness. I urge you to seek out a local goat cheese and local eggs, maybe finding fresh chives or scallions at the local farmers' market to really get the best flavor. I hope you enjoy!

Spring Spinach and Goat Cheese Stuffed Grits

Grits:
4 c. water
1 1/4 c. stone-ground yellow or white grits, coarse cornmeal, or polenta
1 t. salt
2 T. olive oil

Filling:
1 c. chopped frozen spinach, thawed and squeezed dry to yield about 1/2 c. chopped spinach
1/2 c. whole milk ricotta cheese
1/2 c. fresh goat cheese
1 egg
1/4 t. salt
1 T. basil pesto
2 scallions, white and light green parts, chopped or a handful of chives, chopped
1 c. grated mozzarella cheese

Garnish:
2 scallions or a handful of chives, finely sliced
Parmigiano-Reggiano, for sprinkling
1-2 eggs per person

Begin with the grits. Bring 4 cups of water to boil over high heat in a medium saucepan. Add the grits, whisking to combine. Bring to a boil, and then reduce heat to low, stirring occasionally to prevent sticking on the bottom. When the grits are tender, after about 45-50 minutes, and the mixture has thickened, remove from heat, add the salt and olive oil, and stir to combine. Taste and adjust the seasoning to your liking.

IMG_5407.jpg
IMG_5408.jpg

Meanwhile, prepare the filling. In a medium bowl, combine the drained spinach, ricotta cheese, goat cheese, egg, salt, basil pesto, and chopped scallions. Stir to combine.

In a square baking dish, pour half of the grits into the pan, spreading into an even layer. Sprinkle with 1/2 c. of grated mozzarella cheese. Spoon the filling over top and spread until even. Sprinkle the filling with the remaining 1/2 c. of grated mozzarella. Carefully spread the remaining grits over top in an even layer. Cover and place in the fridge for at least 2 hours or overnight.

IMG_5409.jpg
IMG_5412.jpg
IMG_5414.jpg
IMG_5415.jpg
IMG_5417.jpg
IMG_5418.jpg
IMG_5421.jpg
IMG_5429.jpg

Preheat oven to 400 degrees Fahrenheit. Remove any covering from the grits. Place the pan in the oven and bake for 45-50 minutes or until the top is golden. Remove from oven and let cool 15 minutes before serving. Garnish with chives or scallions, Parmigiano-Reggiano, and an egg or two, if desired. Serves 6.

Notes:
* I used these Carolina Grits for the grits. There is a lot of debate on what the differences between polenta, grits, and cornmeal are, and those differences are based on the type of corn used and the degree of milling. For this recipe, try to find a coarser ground corn meal- not too fine, often labeled stone-ground.
* You can use fresh spinach, either steaming it gently or sautéing it, and then squeezing any excess moisture out of it before chopping.
* Pecorino romano or parmesan cheese work well to garnish, too. 

IMG_5434.jpg
IMG_5447.JPG
IMG_5451.JPG
In Breakfast Tags recipe, cornmeal, breakfast, brunch, goat cheese, ricotta, spring, vegetarian, gluten-free, make ahead
5 Comments

Frozen Chocolate Covered Banana Nut Butter Bites

April 15, 2015 Emily Watson

Now that it is finally getting warmer, I am craving frozen treats. I frequently find my older sister munching on these frozen chocolate covered bananas. Have you ever had them? The whole concept sounds totally delicious except for the fact that my sensitive front teeth cannot handle taking a bite out of the things. Way too cold. I had come across a recipe for smaller chocolate covered banana slices back in college, made them, and liked them, but I always felt that they could use a little oomph. Hence, these little bites. Now I thought I was pretty darn smart for coming up with these little sandwiches, but it turns out that there are already similar creations out there- or at least there is already a similar creation out there. I only found this out after starting to write this post, when I took a break to peruse Pinterest and behold, there was a version right there on my welcome page. So to celebrate great minds (and tummies) thinking alike, here is the link to that recipe.

These little bites combine a few of my favorite things: bananas + nut butter + chocolate. This is essentially a template for a frozen banana sandwich, but you can really customize it to what you like. I used peanut butter and almond butter, but you could use sunflower seed butter, pecan butter, even coconut butter. Now that I am typing that, I think coconut butter would be really tasty...I melted a 70% dark chocolate for the coating, but if you prefer milk, do that instead! The beauty is that you really cannot mess this up. It is guaranteed that you will get a delicious result.

These are a fantastic post-workout snack given that they will help you replenish your carbohydrates and supply you with protein. The bananas give you a little potassium, and if you top with hemp seeds, you get even more healthy fat. These can be made on the weekend to keep you fueled for your week ahead. Just grab a few from the freezer when you need a pick-me-up.

Frozen Chocolate Covered Banana Nut Butter Bites

1 medium banana, peeled and sliced into 1/4 inch slices (you can snack on the pointier ends)
3-4 T. nut butter of choice, I used half peanut butter and almond butter
4 oz. chocolate, I used 70% dark but other types will work
Toppings, optional: sea salt, chopped toasted almonds, toasted coconut, cacao nibs, hemp seeds

Line a small baking sheet or a plate with parchment paper. Place about 1/2 teaspoon of nut butter on one half of one banana slice and top with another slice, pressing down gently to create a banana- nut butter sandwich. Complete with the remaining bananas. Place the baking sheet in the freezer for about 1 hour for the sandwiches to firm up.

IMG_5304.jpg
IMG_5308_2.jpg
IMG_5312.jpg
IMG_5315.jpg

Right before removing the sandwiches from the freezer, melt your chocolate. I used a double boiler method, placing the chocolate in a metal bowl over simmering water and stirring to melt, but you can also melt the chocolate in a microwave safe bowl in 20-30 second increments, stirring after each increment. Remove the chocolate from the heat once completely melted. Prepare your toppings if you choose to use them.

IMG_5327_2.jpg
IMG_5337_2.JPG

Remove the banana sandwiches from the freezer. One at a time, dip the bananas in the melted chocolate, and use two forks to remove them, allowing the excess chocolate to drip off. Return to the parchment. The cold bananas will cause the chocolate to harden quickly, so be ready to sprinkle your topping of choice on top before the chocolate sets. Complete with the remaining banana sandwiches. Return to the freezer for at least 30 minutes so the chocolate can fully harden. Store in the freezer. My medium sized banana made 13 bites, but it depends on the size of your banana as to how many will be made and how much nut butter you will use.

IMG_5378.JPG
IMG_5353_2.jpg
IMG_5371.JPG
In Sweets Tags recipe, bananas, chocolate, nut butter, peanut butter, almond butter, snack, vegetarian, gluten-free
5 Comments

Broccoli Rabe and Chickpeas with Toasted Garlic Breadcrumbs and Pine Nuts

April 15, 2015 Emily Watson

Broccoli rabe, also known as rapini, is wild looking vegetable. You can often find it in the produce section attempting to be tamed by a twist tie that is at capacity. As soon as you undo that little wire, it's you versus the broccoli rabe as it unfurls itself all over your kitchen counter. I learned early on that the trick lies in chopping as much of it as you can with the twist tie still secured in place. That way you control it, not the other way around. Even its flavor is a bit wild. Its leafy bitterness begs to be tamed by a healthy dose of some kind of fat. Here in Philadelphia, especially at Tommy DiNic's, that richness most often takes the form of roast pork and sharp provolone on a soft Italian roll. Having lived in this city for almost four years, I would argue that this sandwich epitomizes Philadelphia food scene even more than the Philly cheesesteak, at least among Philadelphians.

Prior to living in Philadelphia, one of my first introductions to the vegetable took the form of a classic Italian pasta dish, Orecchiette with Broccoli Rabe and Sausage. Broccoli rabe was sauteed in a garlicky, spicy oil that was seasoned with the sausage, then tossed with orecchiette, the cooked sausage, lots of Parmigiano-reggiano, and topped with crunchy breadcrumbs and more Parmigiano-reggiano. It is one of the first dishes I made my boyfriend, and a dish that I have since recreated at home too many times to count, making changes here and there, depending on what I have on hand and what we are craving. I have substituted local turkey sausage for pork sausage, added chickpeas to the sausage, left out the sausage and added chickpeas, added pine nuts, used spaghetti and penne instead of the orecchiette, and even tossed in a little ricotta at the end. I decided to mix things up once again, and this time I left out one primary ingredient- the pasta itself. Blasphemous, I know, but I did this to highlight the incredible versatility of this vegetable and this particular flavor combination. Here are just a few ideas:

  • Serve it alone as a side dish
  • Serve atop crostini smeared with ricotta cheese
  • Add it to your next sandwich or even to a cooked sausage
  • Spread it atop a pizza with ricotta, fresh mozzarella, or even goat cheese prior to baking
  • Serve it beneath a poached egg
  • Serve it atop polenta
  • Toss the broccoli rabe and chickpeas with pasta and sprinkle with the garlic, cheese, and breadcrumb mixture
  • Toss the broccoli rabe and chickpeas with macaroni and cheese and sprinkle with the garlic, cheese, and breadcrumb mixture
  • Really, the possibilities are endless!

However you decide to try this, it is best to wait until close to serving to add the crunchy garlic and breadcrumb mixture. I can say, that after eating many versions of this as leftovers, it is still delicious, even if it is just a teensy bit soggy.

Broccoli Rabe and Chickpeas with Toasted Garlic Breadcrumbs and Pine Nuts

1 bunch broccoli rabe (rapini)
1 t. salt
3 T. olive oil, divided
3 garlic cloves, finely chopped
2 T. unseasoned panko breadcrumbs
1 1/2 T. pine nuts
1/4 t. crushed red pepper flakes
1/2 c. cooked chickpeas, drained and rinsed
3 T. grated parmigiano-reggiano or parmesan cheese, divided
salt to taste

Prepare the broccoli rabe first. Bring a large pot of water to a boil. While the water heats, remove the tough bottom stems of the broccoli rabe and discard. Chop the remaining stems and leaves into 1-inch pieces. Add 1 teaspoon of salt to the boiling water, and add the broccoli rabe. Turn heat to medium and allow broccoli rabe to cook for about 3 minutes. Drain in colander and set broccoli rabe aside.

IMG_5212.jpg
IMG_5215.jpg
IMG_5217.jpg

Make the garlic oil and topping. Heat 2 tablespoons olive oil over medium heat. Add the chopped garlic cloves and cook, stirring often, for 8-10 minutes or until garlic turns golden and starts to crisp. Be careful not to burn. Remove the garlic from the pan with a slotted spoon and allow to drain on a paper towel. Add the breadcrumbs, pine nuts, and red pepper flakes to the oil remaining in the pan, and cook for 8-10 minutes while stirring, until breadcrumbs turn deep golden and pine nuts become toasted. Remove from pan using a slotted spoon and place on the same paper towel as the garlic.

IMG_5220.jpg
IMG_5222.jpg
IMG_5224.jpg
IMG_5226.jpg
IMG_5230.jpg

Add another 1 tablespoon of olive oil to the skillet with any residual oil and heat to medium-high. Add in the drained broccoli rabe, the cooked chickpeas, and a sprinkling of salt. Stir to combine, and cook for 5 minutes until everything is heated through. Remove from heat, sprinkle in 1 tablespoon of cheese, and stir. Prior to serving, sprinkle with the remaining cheese and the garlic, breadcrumb, pine nut mixture. Enjoy! Serves 4 as a side dish, tops 1 pizza, mixes in with 1 lb. of pasta, tops 4 sandwiches, or tops several crostini.  

IMG_5254.JPG


In Side Dishes Tags recipe, chickpeas, broccoli rabe, pine nuts, Italian, vegetarian
6 Comments

Shaved Carrot Salad with Beluga Lentils and Toasted Almonds

April 13, 2015 Emily Watson

This salad is all about texture. It takes a vegetable that many of us always have lying around in the fridge- the humble and ubiquitous little carrot- and transforms it into something a little unexpected. Instead of finely grating it or slicing it into coins, I have used a vegetable peeler to create long fettuccine like carrot noodles. A light lemony, herby, and spiced olive oil dressing coats the noodles, allowing them to wilt just ever so slightly. As you twirl the vegetables around your fork, the lentils and almonds cling on, providing just the right amount of nuttiness and earthiness to each bite.

To create the flavor of the dressing, I was inspired by one of my favorite sandwich shops in Chapel Hill, NC called Sandwhich. My favorite sandwich to order was the Mr. Crunch, a lovely prosciutto and mozzarella sandwich with a zingy lemon and oregano olive oil dressing and fresh mint served on a baguette. One of the highlights, however, was the mini cup of gorgeous sliced Moroccan pickled carrots that came with every meal. The carrots were tangy, minty, with a hint of earthy spice. This flavor profile may have been surprising to find at a little sandwich shop in North Carolina if it had not been for the fact that the chef-owner was indeed Moroccan.

I tried recreating a version of those carrots, borrowing from flavors of Morocco. I included lemon, cumin, cinnamon, almonds, fresh mint, and a little drizzle of pomegranate molasses, which is both tart and sweet and which lends a subtle depth to the dressing. Honey would make a wonderful substitute. I added beluga lentils, a sturdier, more robust lentil for a little extra protein and for the gorgeous contrast they create with the long, skinny carrots. The way the carrots are shaved here is nothing new, but it is a little unexpected. I think I first saw the idea at Gourmande in the Kitchen in Sylvie's Raw Kale, Cabbage and Carrot Chopped Salad with Maple Sesame Vinaigrette. It also takes a little more patience to shave carrots like this rather than just slicing or grating, but the results are worth it.

This salad gets better with a little time as the flavors meld and the carrots soften just a bit. Just be sure to toss in the almonds right before serving because their crunch is most satisfying. I also have a few serving suggestions. I found that this salad paired very well with goat cheese and with avocado. Toss in a few goat cheese crumbles and avocado hunks before serving. Or pair with goat cheese toasts on the side for your first course. If you are having a spring get-together, serve the salad atop baguette slices smeared with goat cheese for a beautiful spring appetizer.

Shaved Carrot Salad with Beluga Lentils and Toasted Almonds

1/2 c. beluga lentils, rinsed
1/4 c. raw almonds
1 lb. carrots, washed and peeled
1/2 t. ground cumin
1/8 t. ground cinnamon
1/2 t. salt
1 lemon, zested and juiced
1 t. pomegranate molasses or honey
2 T. extra-virgin olive oil
1/4 c. fresh mint, washed, dried and chopped
1/4 c. fresh Italian parsley, washed, dried and chopped

Begin with the lentils. Place the lentils in a small pot and cover with water by 1-2 inches. Bring the water to a boil and then reduce to a simmer, cooking for 15-18 minutes uncovered or until lentils are tender but not mushy. Drain and set aside.

IMG_5110.JPG
IMG_5115.jpg

Meanwhile, toast the almonds. Place the almonds in a skillet over medium- low heat and toast for 8-10 minutes or until almonds are toasted, shaking pan often. Remove from heat, cool slightly, and roughly chop. Set aside.

IMG_5103.jpg
IMG_5107.jpg
IMG_5105.jpg

Shave the carrots into a bowl using a vegetable peeler. I find it easiest to shave from the top to the bottom first as you rotate the carrot and then flip the carrot upside down and continue the process. I found I was able to shave the most carrots this way.

IMG_5112.jpg
IMG_5121.jpg
IMG_5124.jpg

Make the vinaigrette. Combine the cumin, cinnamon, salt, lemon zest and juice, pomegranate molasses, and extra-virgin olive oil in a bowl and whisk until combined.

In a bowl, combine the carrots, lentils, mint, parsley, and dressing, and toss to combine. Taste to adjust for salt. Toss in the almonds right before serving. Enjoy! Serves 4.

IMG_5150.JPG
IMG_5185.jpg
IMG_5172.jpg


In Salads Tags recipe, gluten-free, vegan, salad, mint, lentils, vegetarian
2 Comments
← Newer Posts Older Posts →
Hi! I'm Emily. I love to cook whole, nourishing foods, and this is where I share my kitchen experiments and sometimes a little bit of life.

Hi! I'm Emily. I love to cook whole, nourishing foods, and this is where I share my kitchen experiments and sometimes a little bit of life.

Featured
  • July 2017
  • May 2017
  • April 2017
  • March 2017
  • February 2017
  • January 2017
  • December 2016
  • November 2016
  • October 2016
  • September 2016
  • August 2016
  • July 2016
  • June 2016
  • May 2016
  • April 2016
  • March 2016
  • February 2016
  • January 2016
  • December 2015
  • November 2015
  • October 2015
  • September 2015
  • August 2015
  • July 2015
  • June 2015
  • May 2015
  • April 2015
  • March 2015
  • February 2015

  • Appetizers 18
  • Breakfast 18
  • Life 4
  • Mains 39
  • Miscellaneous 2
  • Salads 21
  • Sandwiches 6
  • Side Dishes 8
  • Smoothies 4
  • Snacks 10
  • Soups 14
  • Spreads Dips Sauces 5
  • Sweets 6
  • Vegetarian 1

  • almonds
  • appetizers
  • autumn
  • avocado
  • breakfast
  • brown rice
  • chickpeas
  • chocolate
  • cilantro
  • coconut
  • coconut milk
  • fall
  • gluten-free
  • kale
  • lentils
  • make ahead
  • mint
  • oatmeal
  • recipe
  • salad
  • snack
  • soup
  • spring
  • summer
  • sweet potatoes
  • tahini
  • vegan
  • vegetarian
  • walnuts
  • winter

subscribe

Sign up with your email address to receive new posts directly

We respect your privacy.

Thank you!

All photographs, recipes and content are property of Nourishing Matters, unless otherwise noted. Please do not redistribute without my permission. Thank you!

Powered by Squarespace