• Home
    • About Nourishing Matters
    • About Emily
    • Frequently Asked Questions
  • Recipes
    • Offerings
    • Past Programs and Events
    • Experience and Teaching Style
    • Articles and Features
    • Travel
Menu

nourishing matters

Street Address
City, State, Zip
Phone Number
where wholesome meets delicious

Your Custom Text Here

nourishing matters

  • Home
  • About
    • About Nourishing Matters
    • About Emily
    • Frequently Asked Questions
  • Recipes
  • Work with Me
    • Offerings
    • Past Programs and Events
  • Yoga
    • Experience and Teaching Style
  • Press
    • Articles and Features
  • Adventures
    • Travel

Kale and Beluga Lentil Salad with Lemon Yogurt Dressing

July 17, 2015 Emily Watson

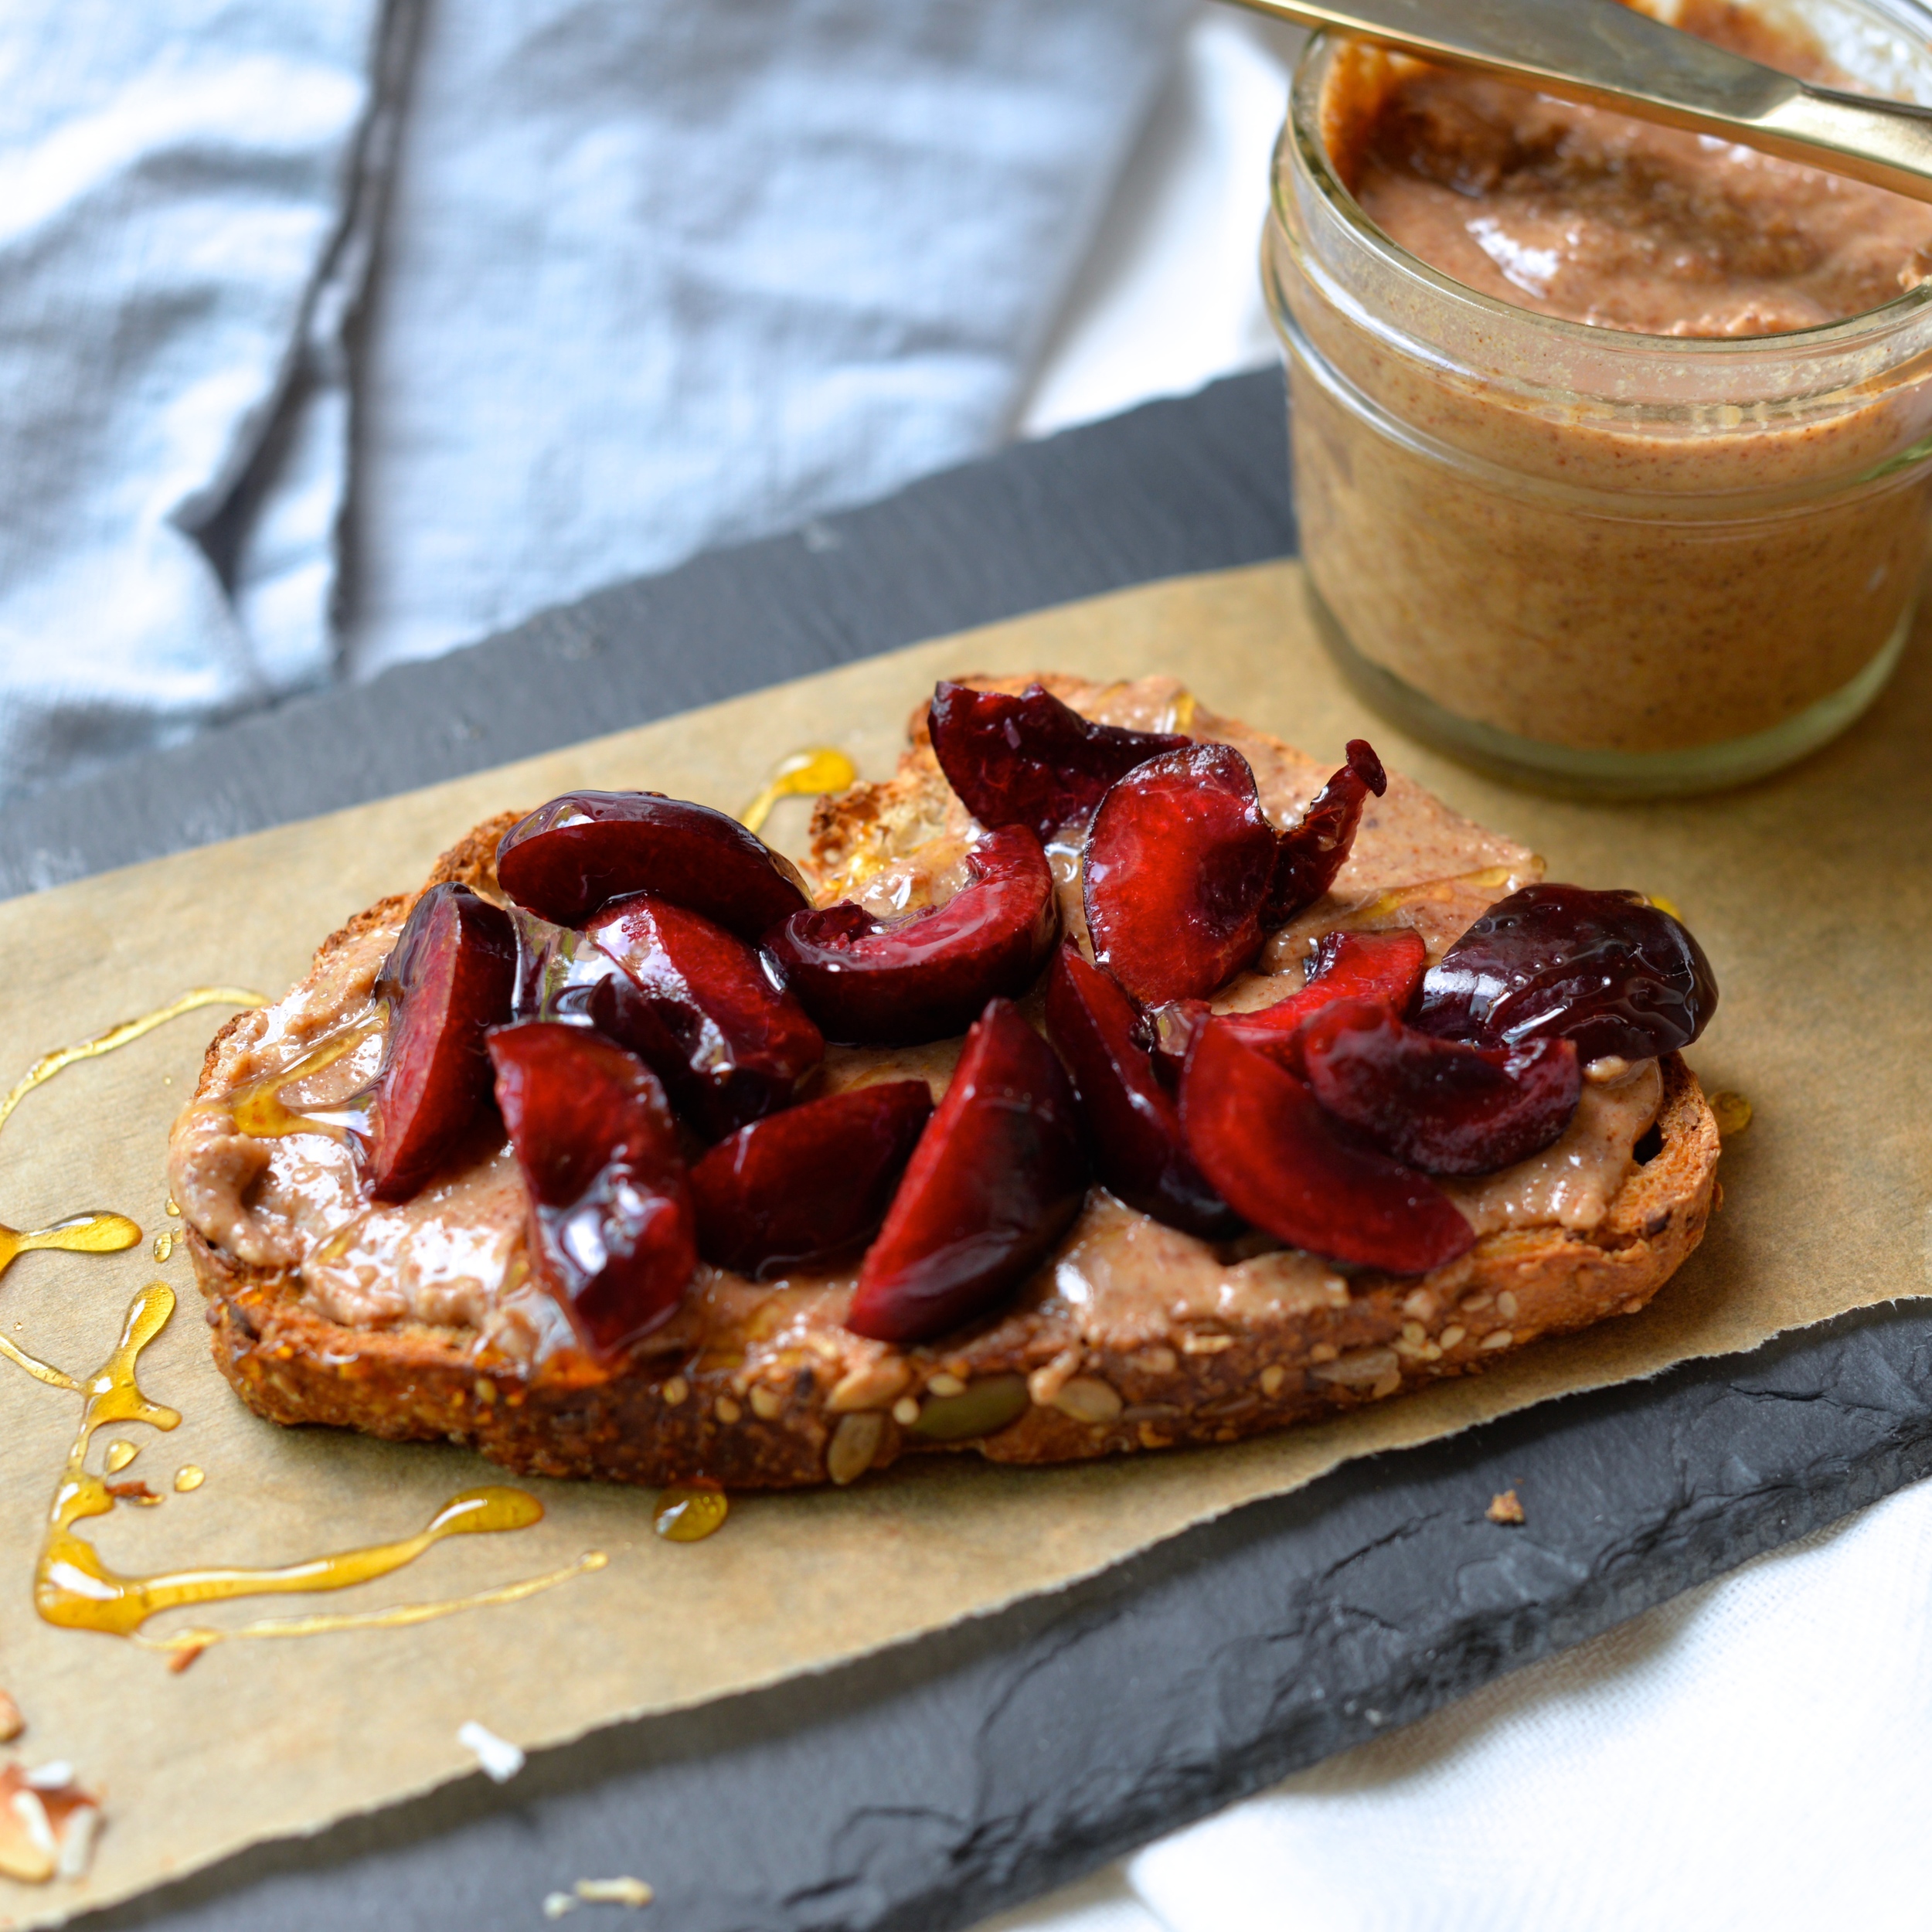
I am finally incorporating some greens back into my repertoire. It is not that they disappeared entirely, but I got a little lazy. The idea of washing, drying, de-stemming, and chopping fibrous leafy things all seemed a bit much. I blame it on the heat, and on the fact that I have not been able to go to the farmer's market in over a month since we have been out of town so often. I find the farmers' market very inspiring- seeing all of the producers there makes me want to celebrate their little labors of love, and without trips there, I veered off of the vegetable path. It became easier to sink into a routine of eating eggs, avocado, and cheese on toast rather than actually making a crunchy, green thing with some nutritional value. Finally my body seems to have had enough of avocado and coconut butter, eggs and cheese, and banana and peanut butter as excuses for lunch because suddenly I found myself cleaning, de-stemming, and chopping all sorts of green things- curly kale and lacinato kale, Swiss chard, red leaf lettuce, and zucchini...recipes for dishes with each of these coming soon, by-the-way. I did not know yet what I was going to do with them all, but it was much easier to do it all in one swoop and store them in containers in the fridge, ready to go for when I actually figured that part out.

I am usually pretty good about doing this prep-now-cook-later-thing with my greens. I learned a few years ago, especially when I was busy in grad school, that one of the barriers to making most vegetable dishes is the prep time in getting them recipe-ready. It is so much easier to get them all clean and ready right when I bring them home from the market or grocery store and store them in plastic containers lined with tea towels or paper towels so that I can have them easily available. It sounds idealistic, but once it becomes a habit, it is a godsend. Just do not be like me and fall off the wagon and start eating all of your meals on toast. Or if you do fall off, try to get back on. Life happens, and we adjust. 

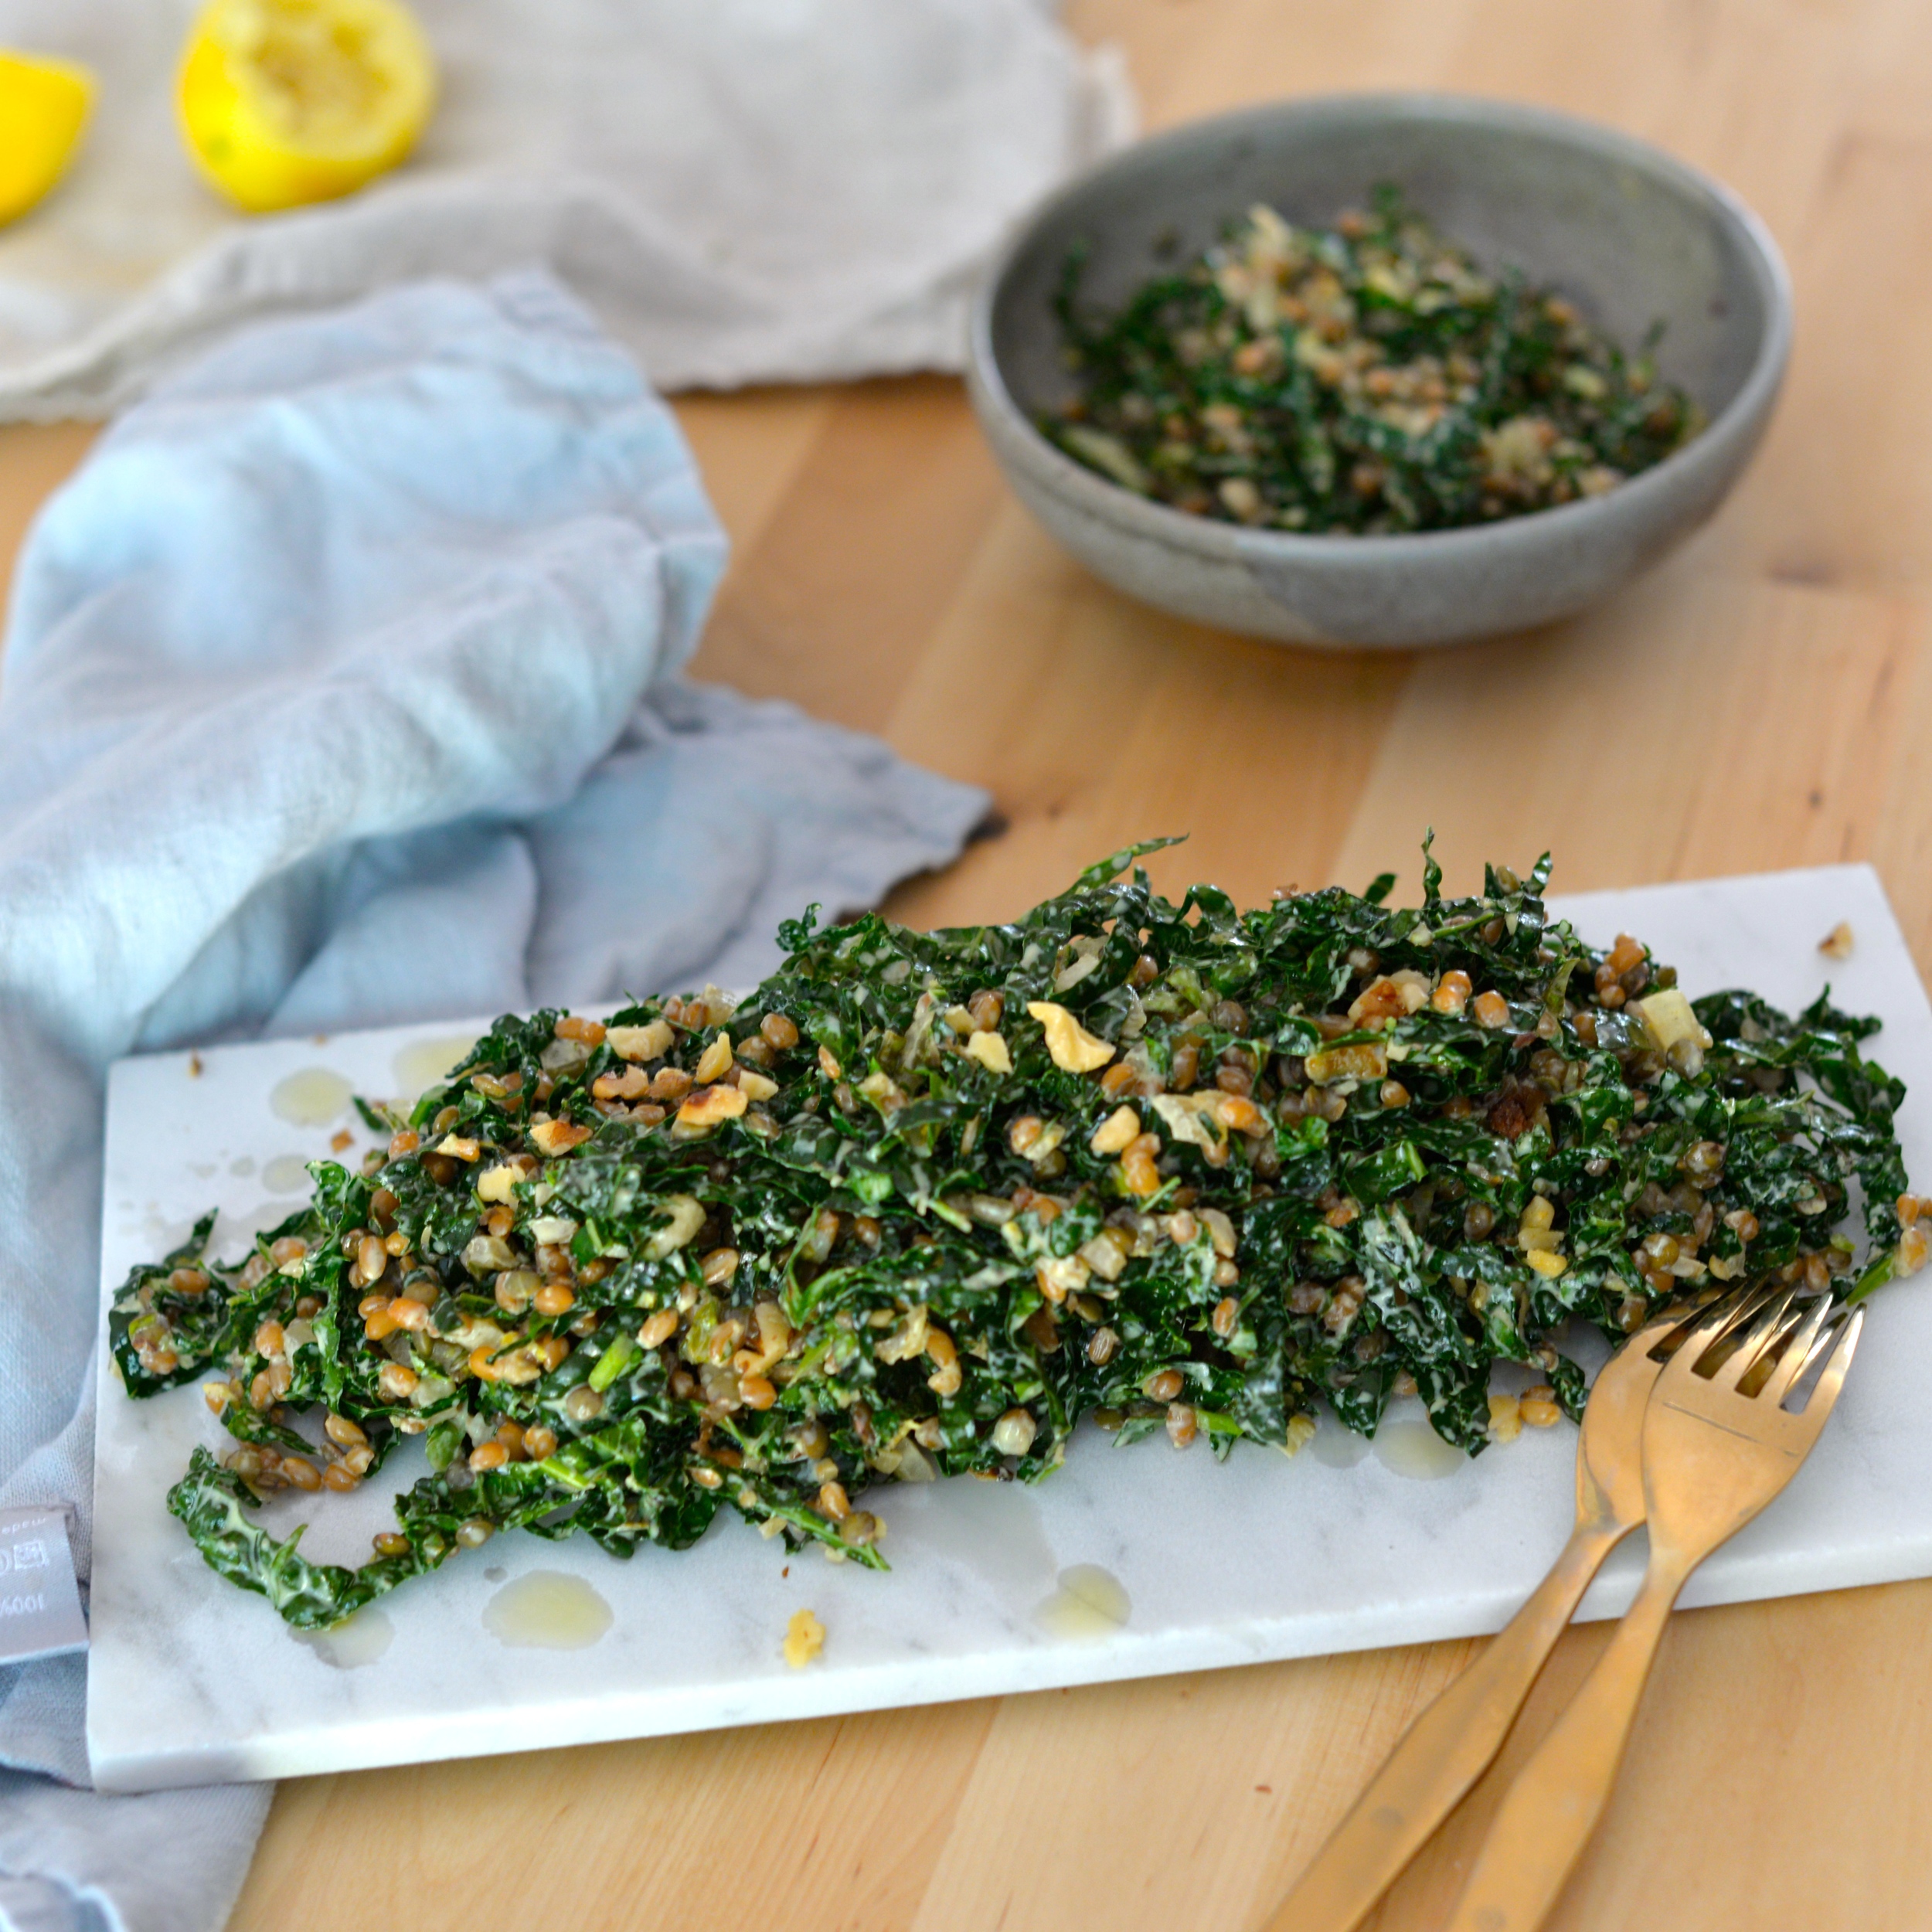
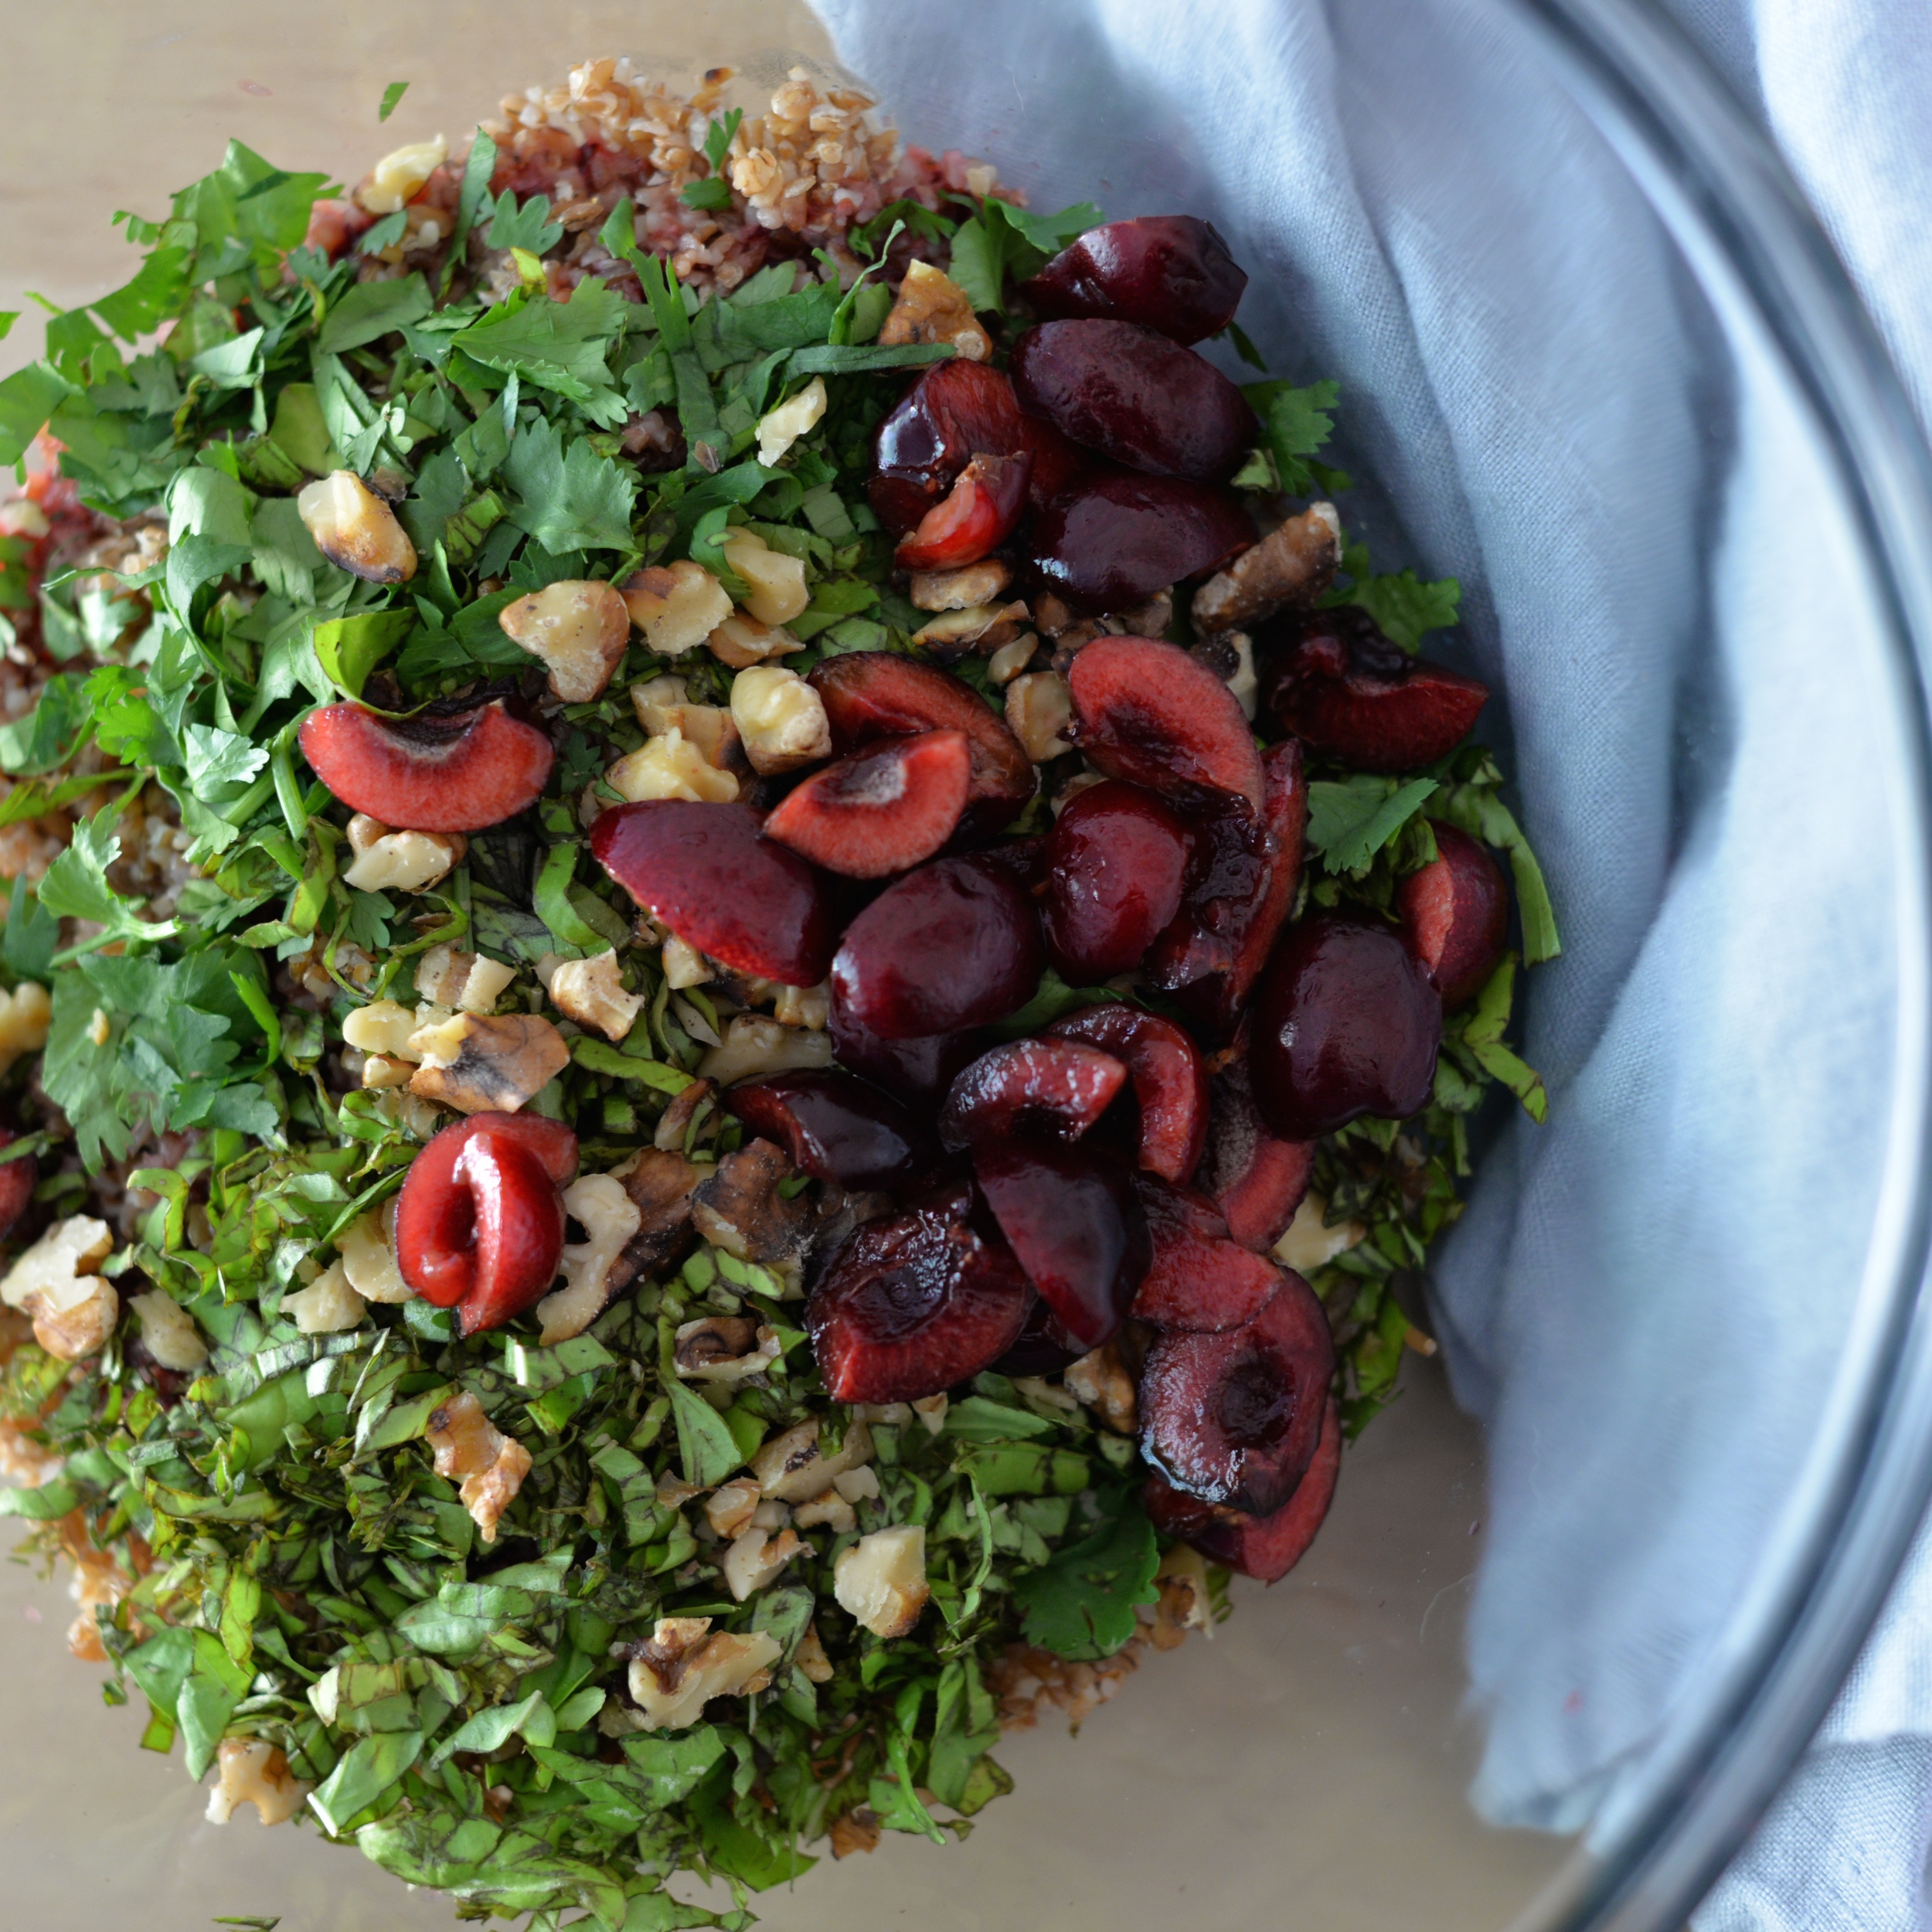
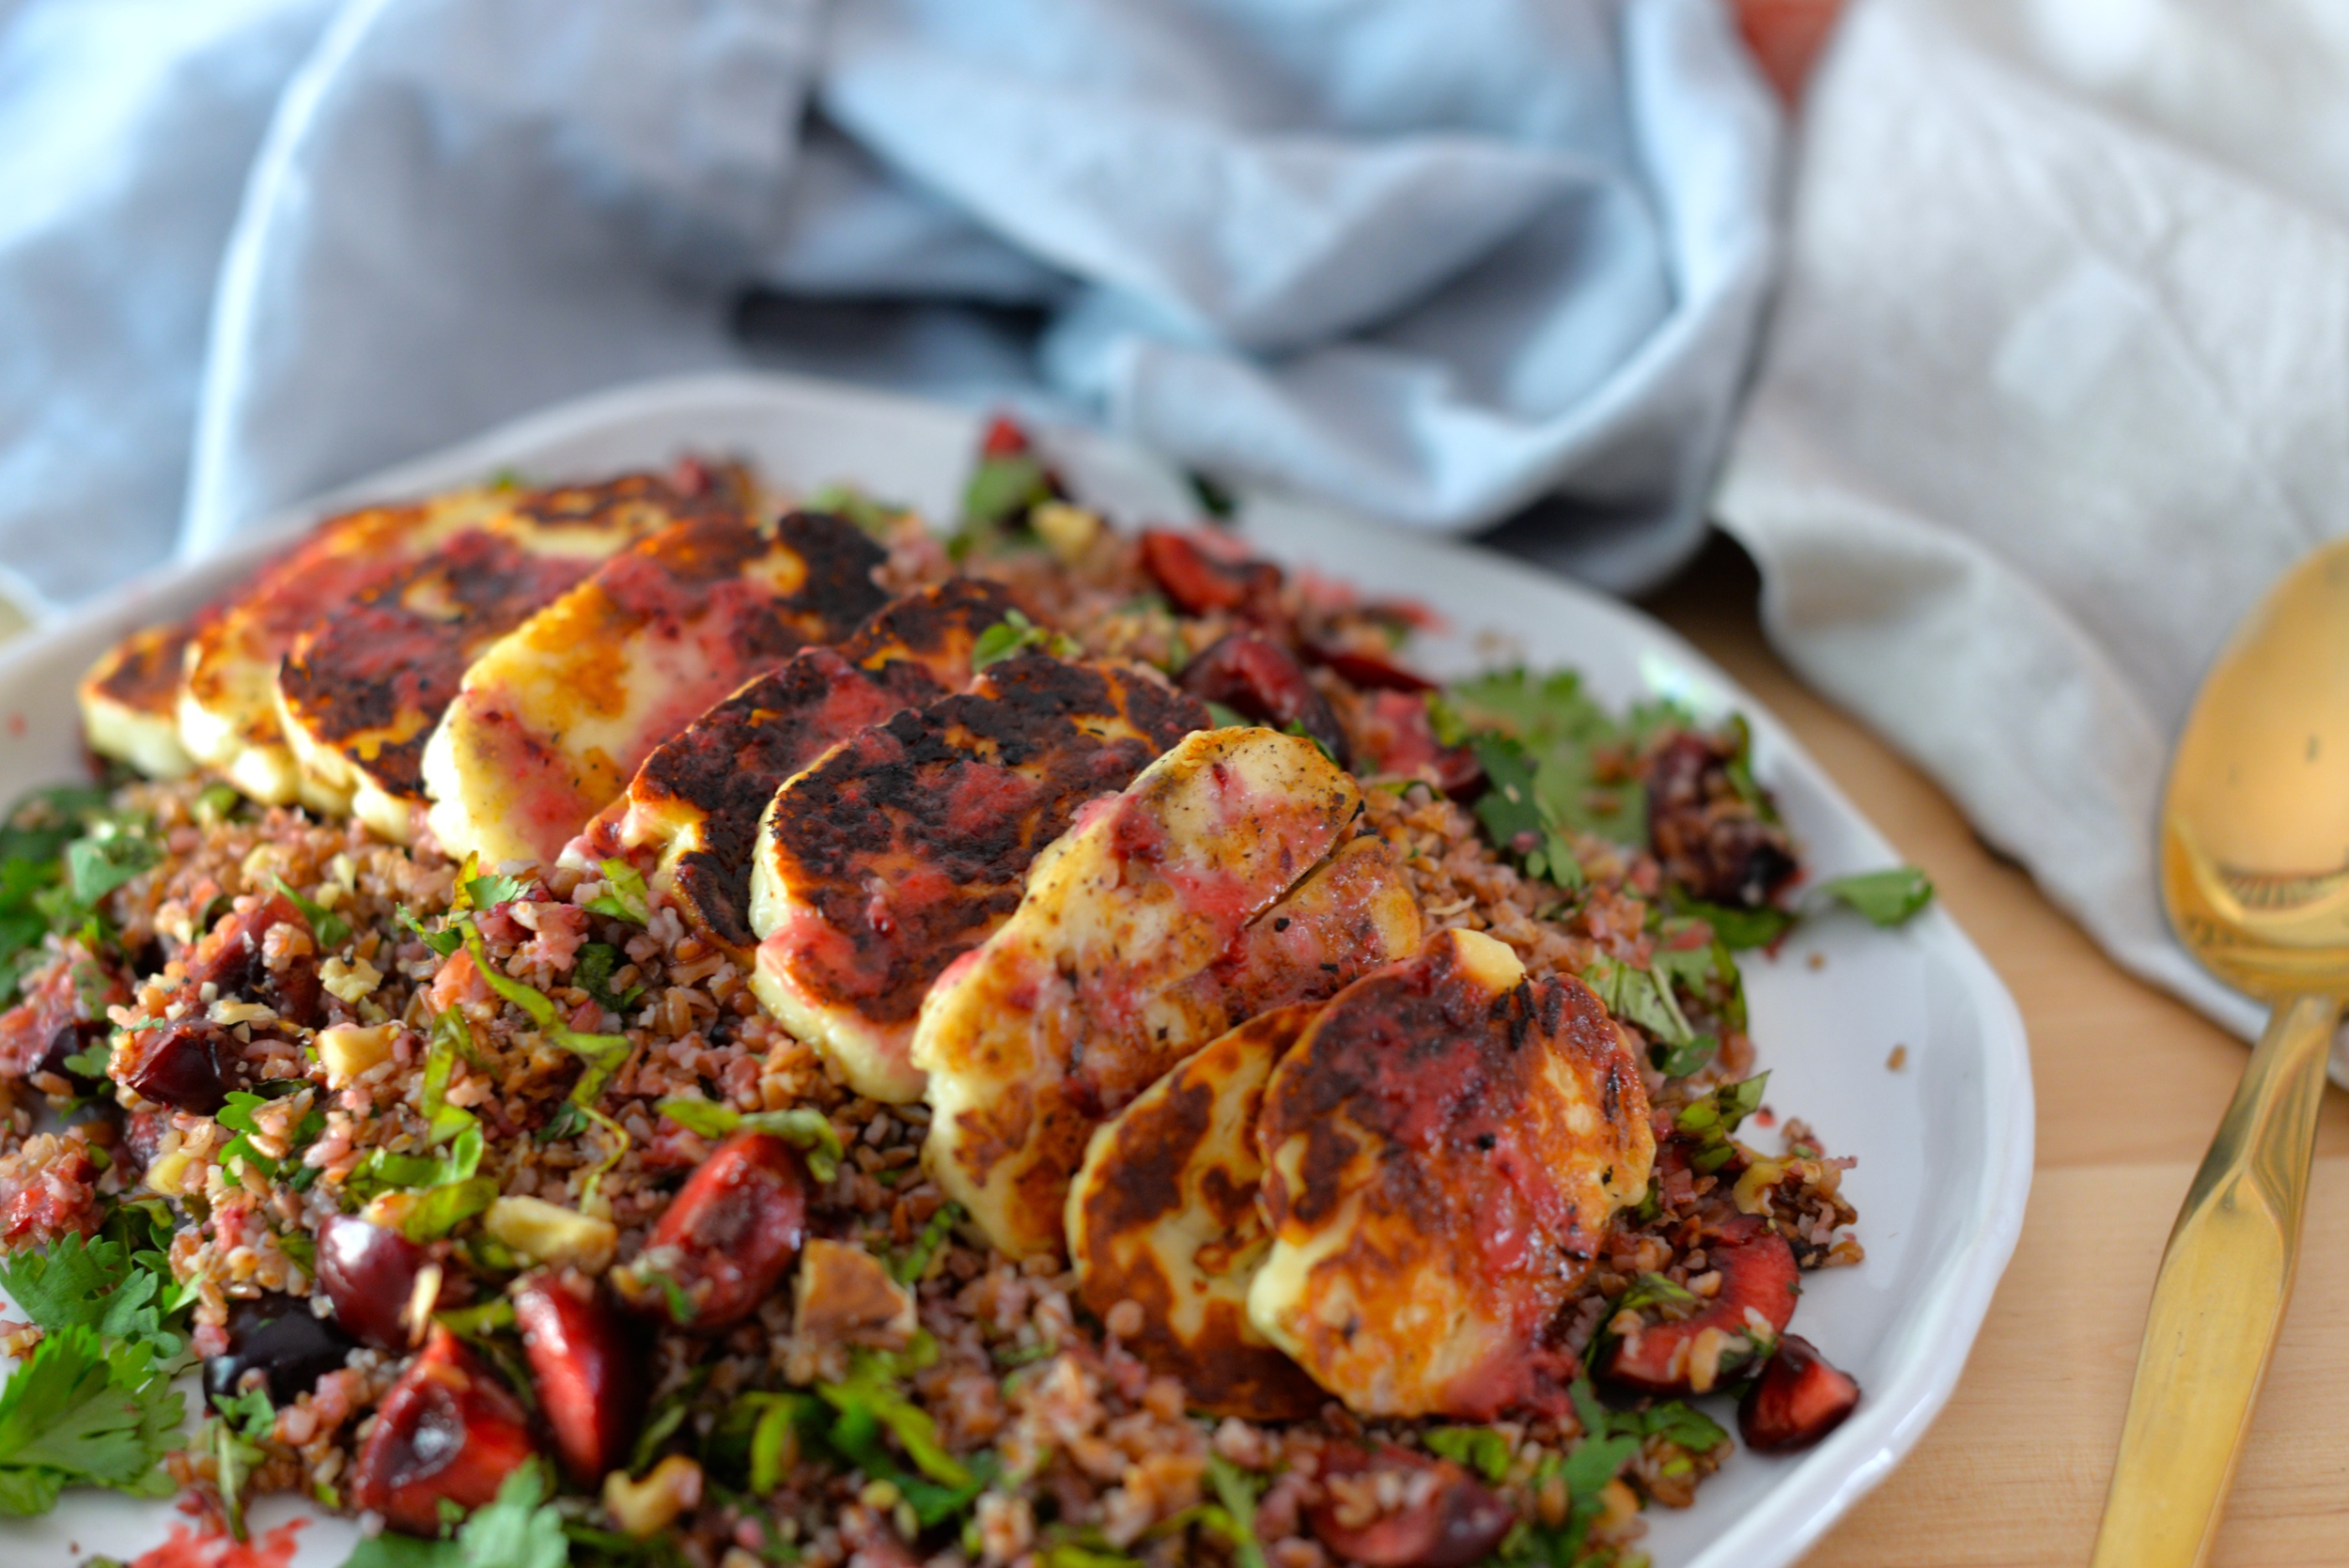
Now on to the actual recipe. This is a really satisfying salad. The different textures, the bulk, the brightness, all make this a salad that you keep digging your fork into. Kale is the perfect "lettuce" for this sort of salad because it can stand up to the weight of the dressing. Lacinato kale softens better than the curly kind, so that is really what I prefer here. Basil and parsley are here to break up the "green" flavor that kale can have, so I am generous with them. Plus, fresh basil makes me happy that it is summer. I threw in some cooked beluga lentils that I had in the freezer and thawed and tossed in cooked barley that I had also in the freezer and thawed. Beluga lentils provide a nice little toothsome quality to this salad but canned (and drained) chickpeas could work in a pinch, as would any grain, rice, or small pasta you like.

The onions are cooked down to give just a touch of sweetness, cumin is there for its earthy flavor, and the Greek yogurt and lemon add a creamy tang that brightens it all up. This is a great salad to make ahead of time as it slowly becomes more tender without feeling wilted. Yay for greens!

Kale and Beluga Lentil Salad with Lemon Yogurt Dressing

4 tablespoons extra-virgin olive oil, divided
1 small onion, finely chopped
1 garlic clove, minced
scant 1/2 teaspoon ground cumin
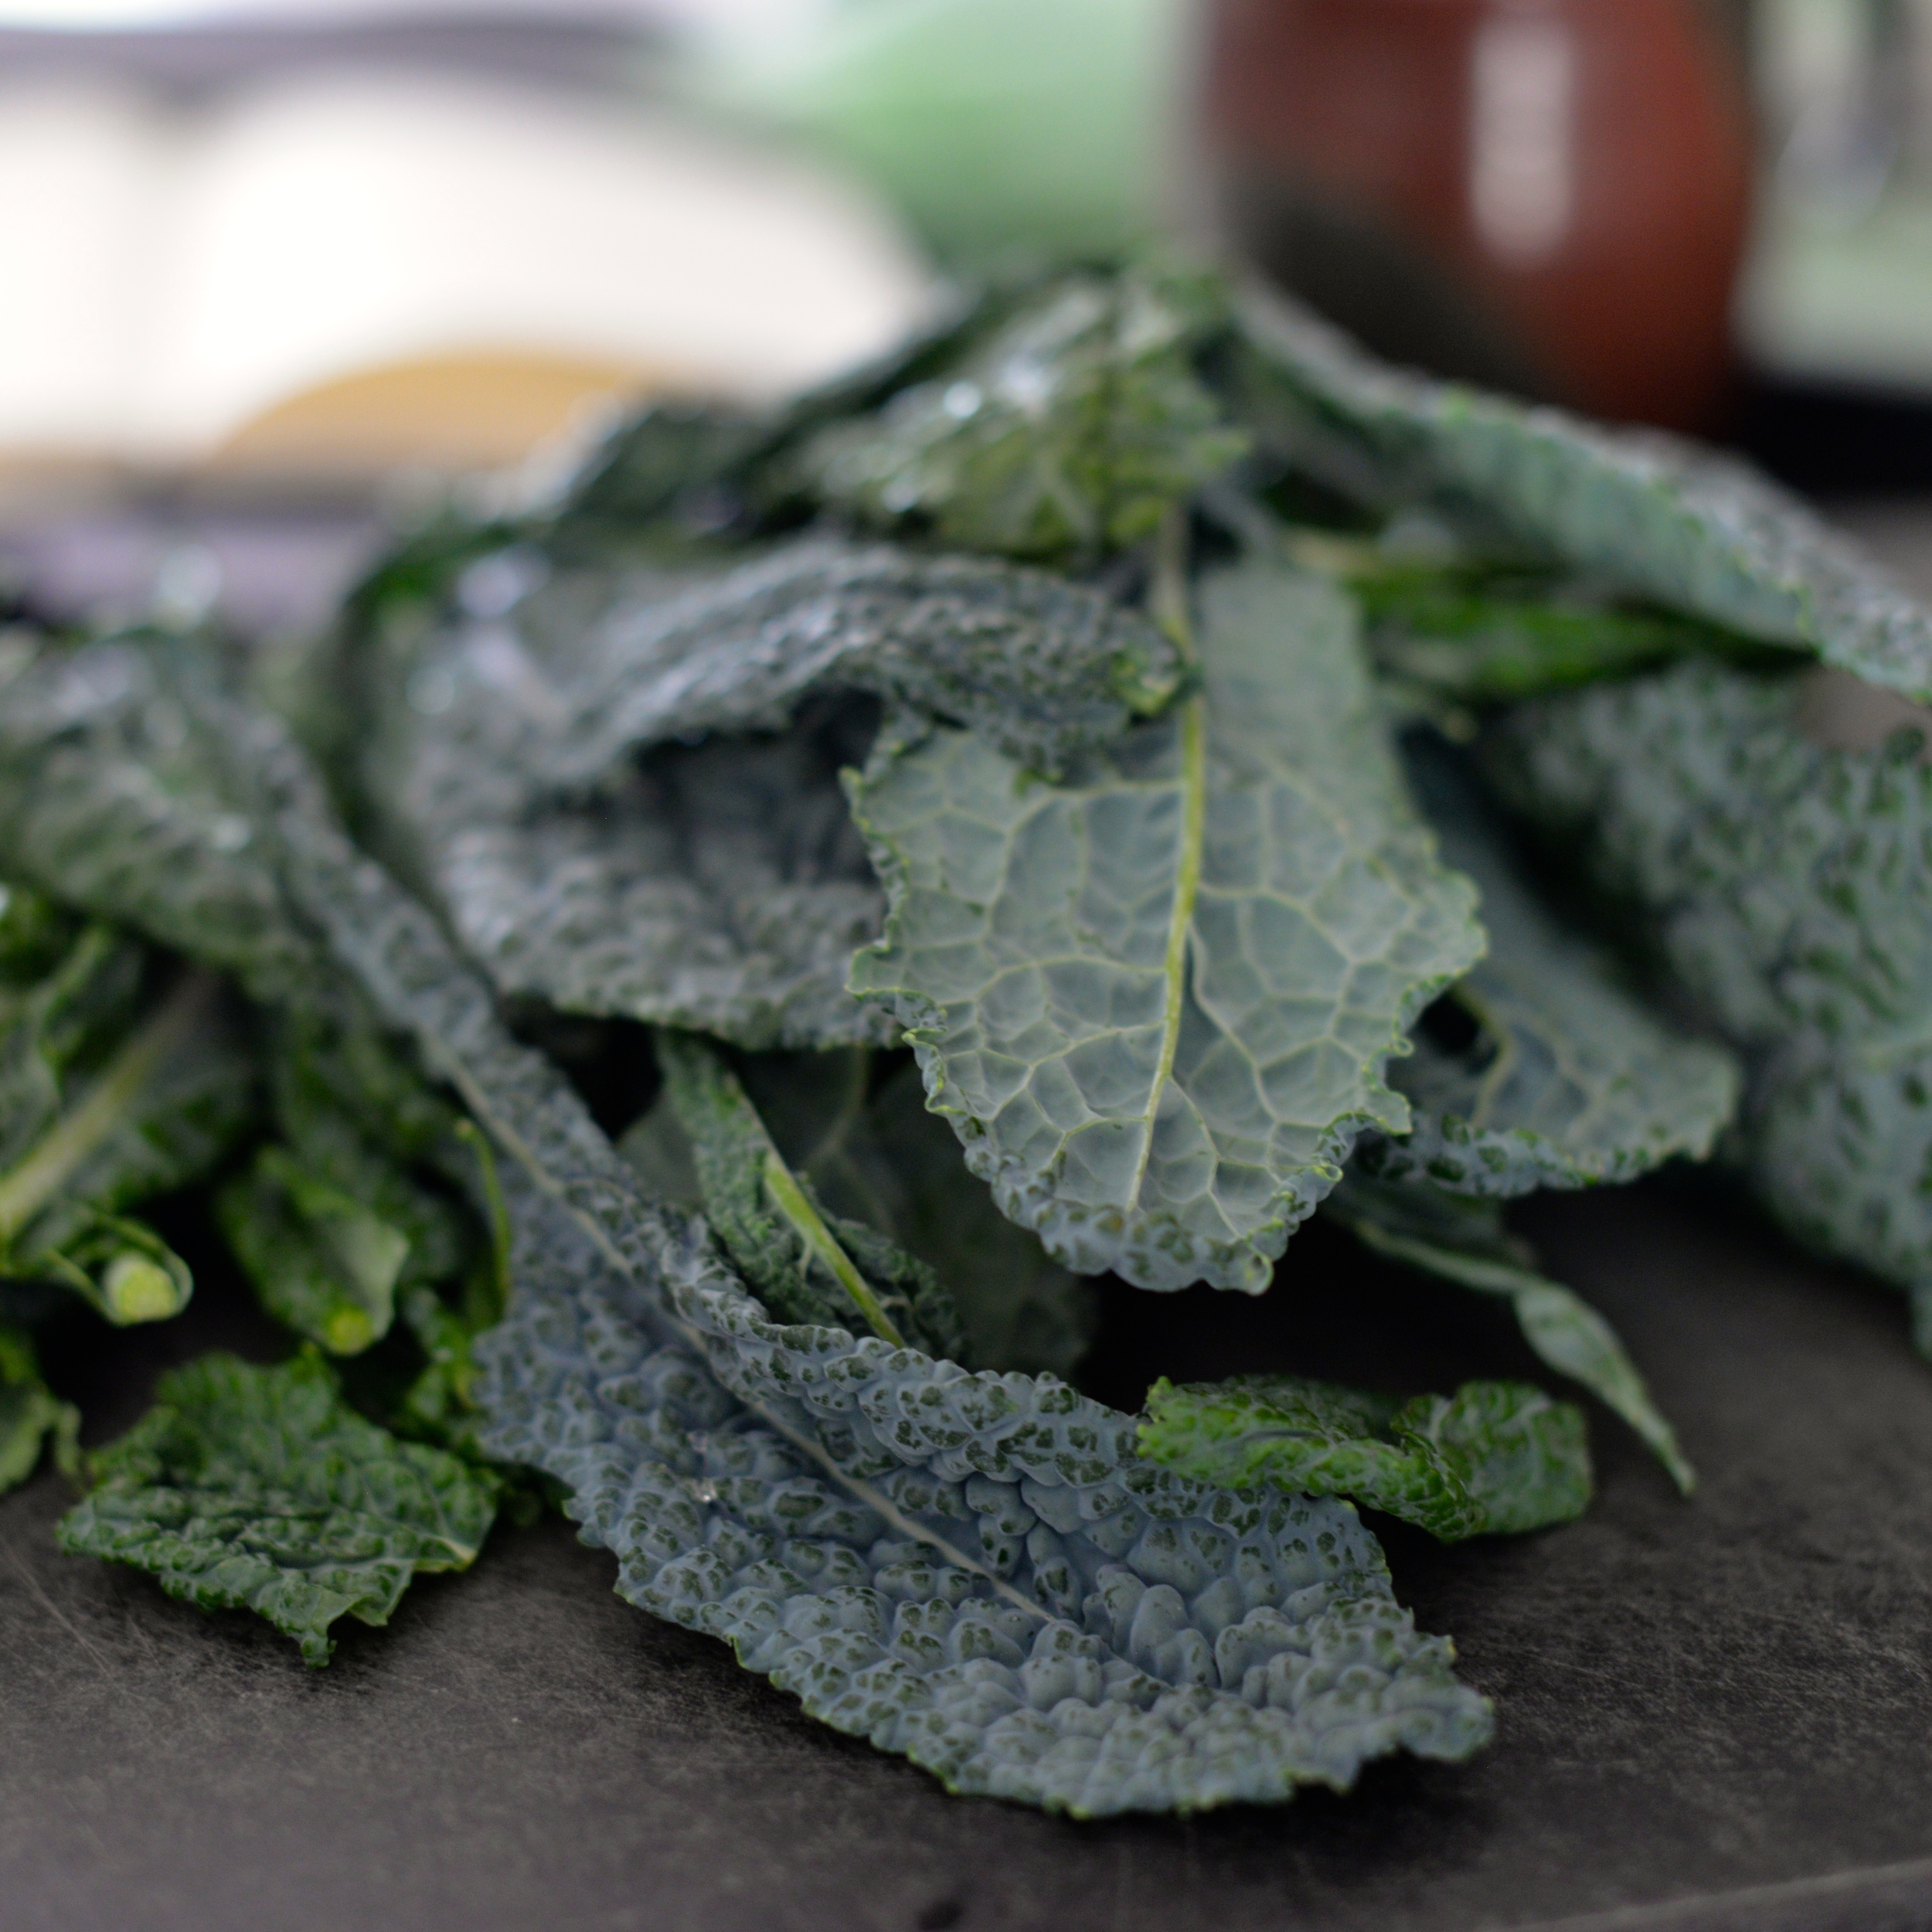
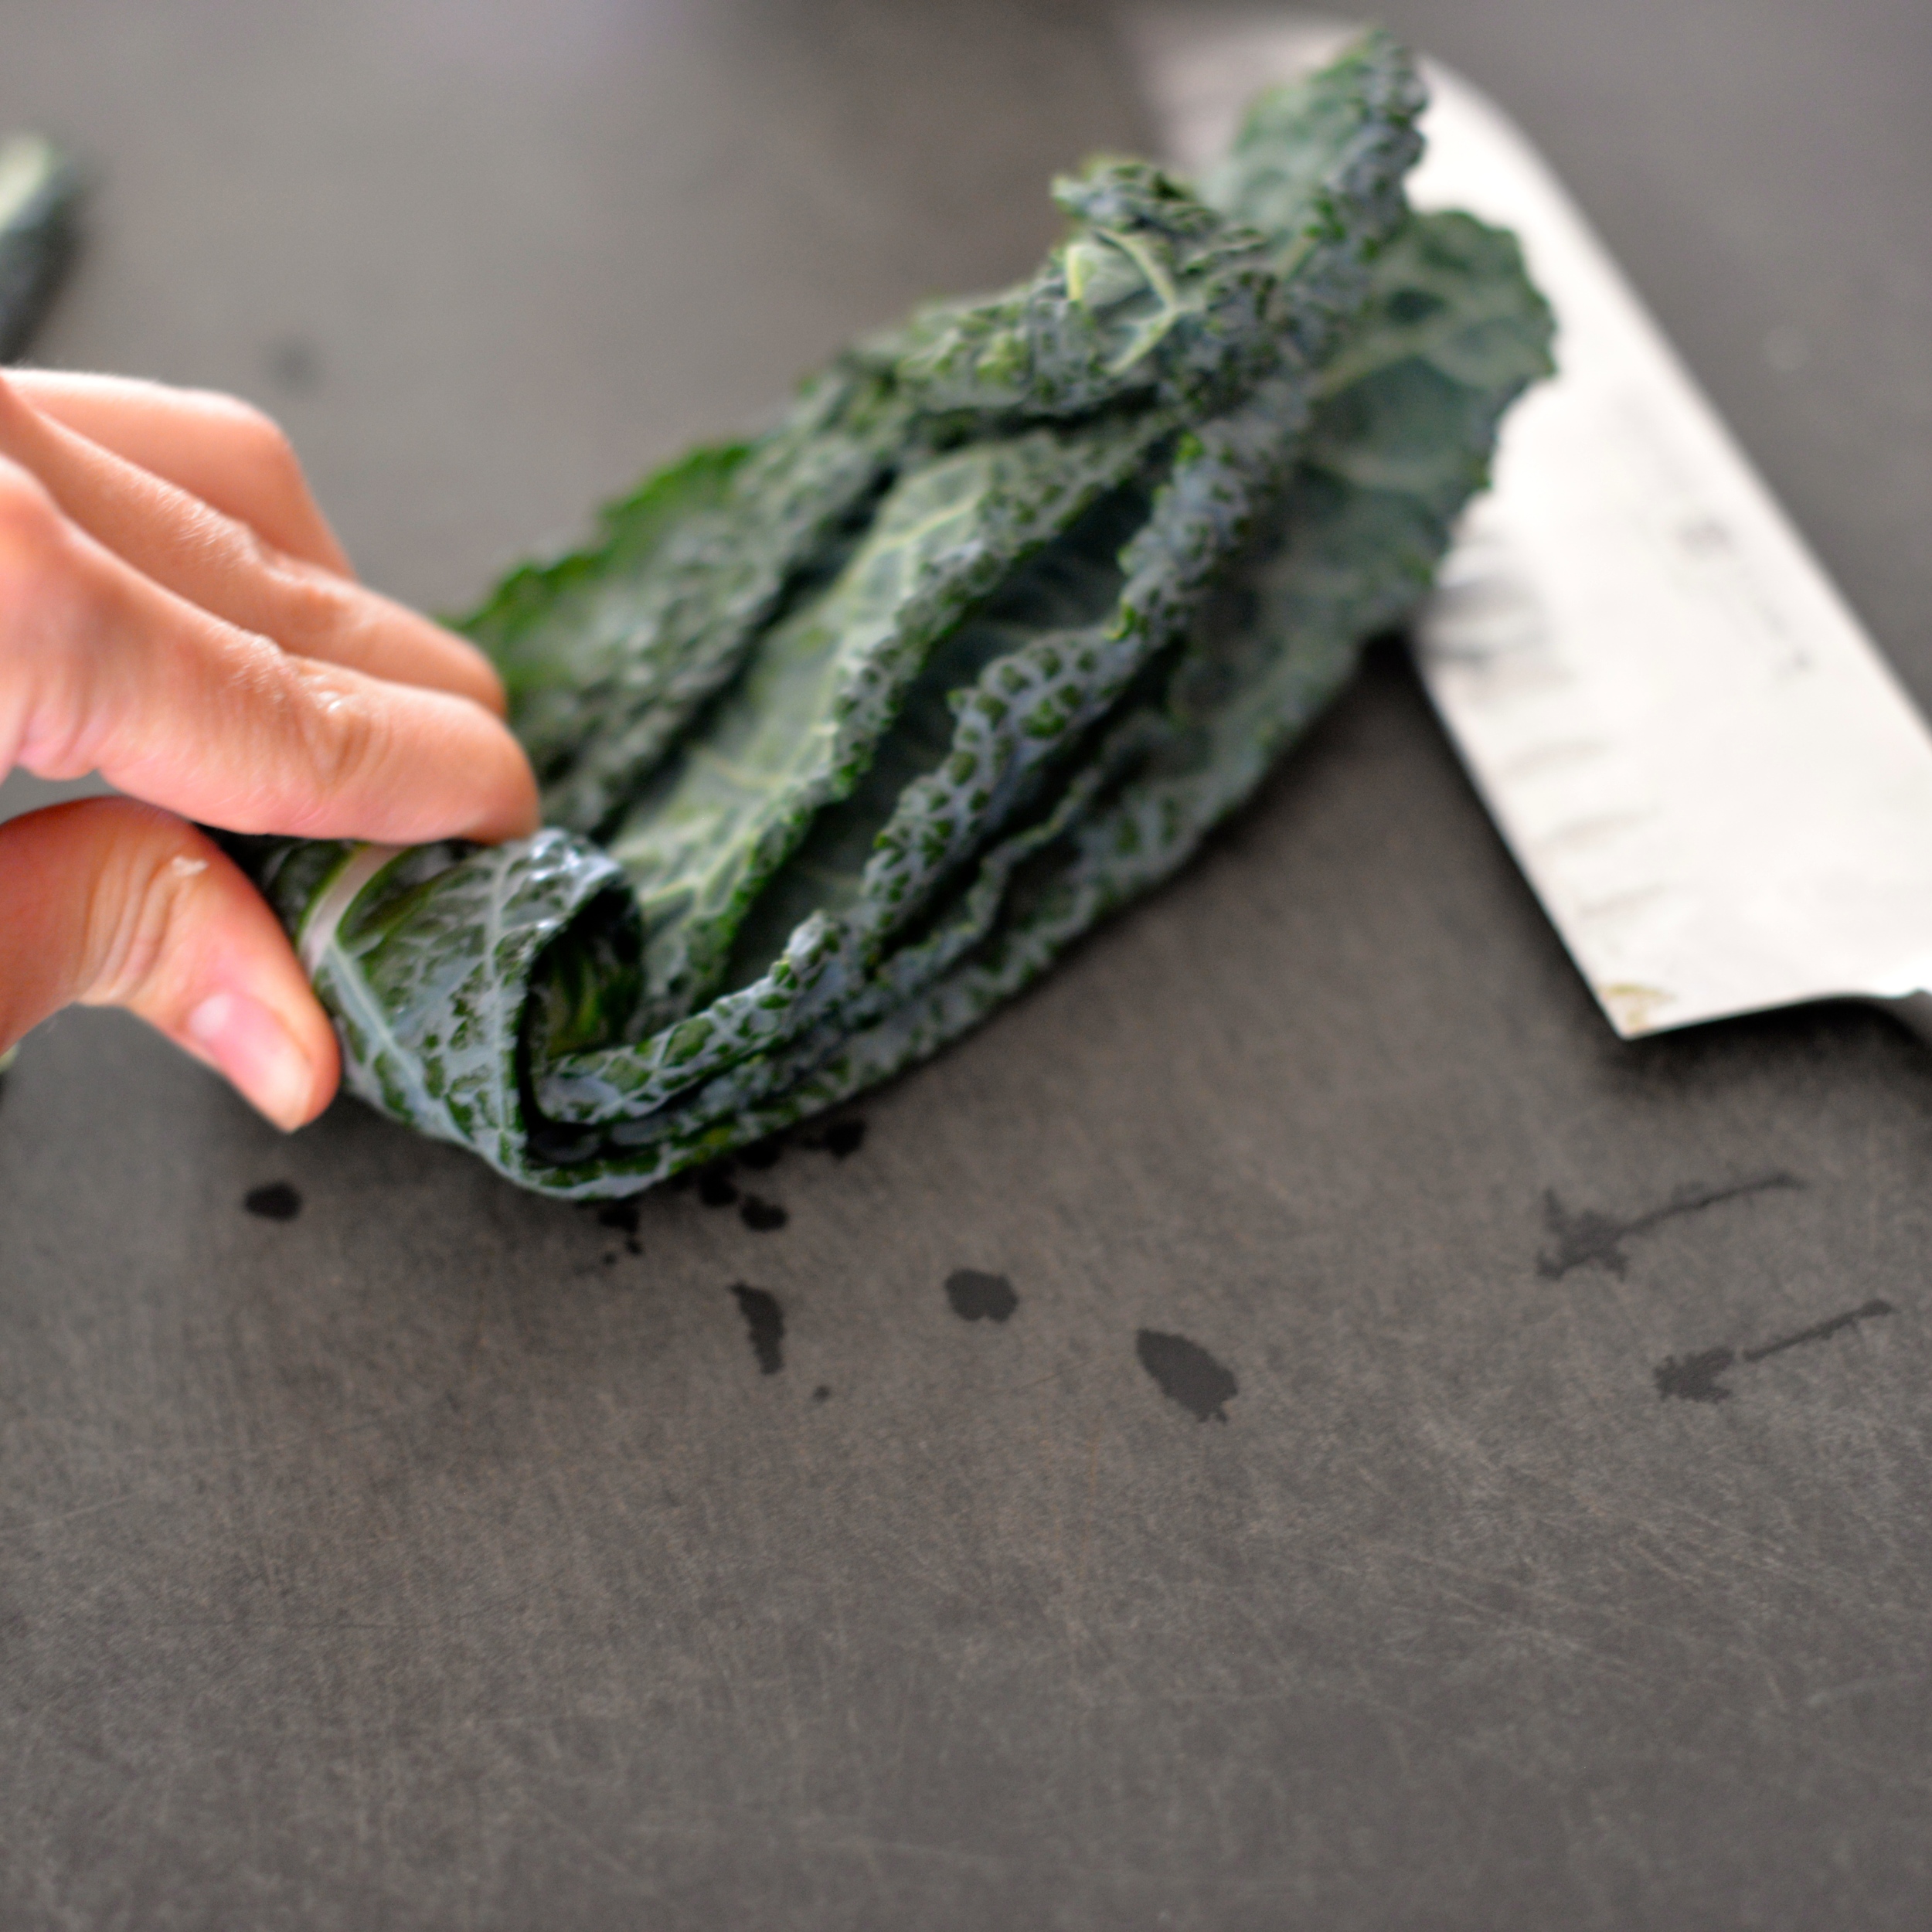
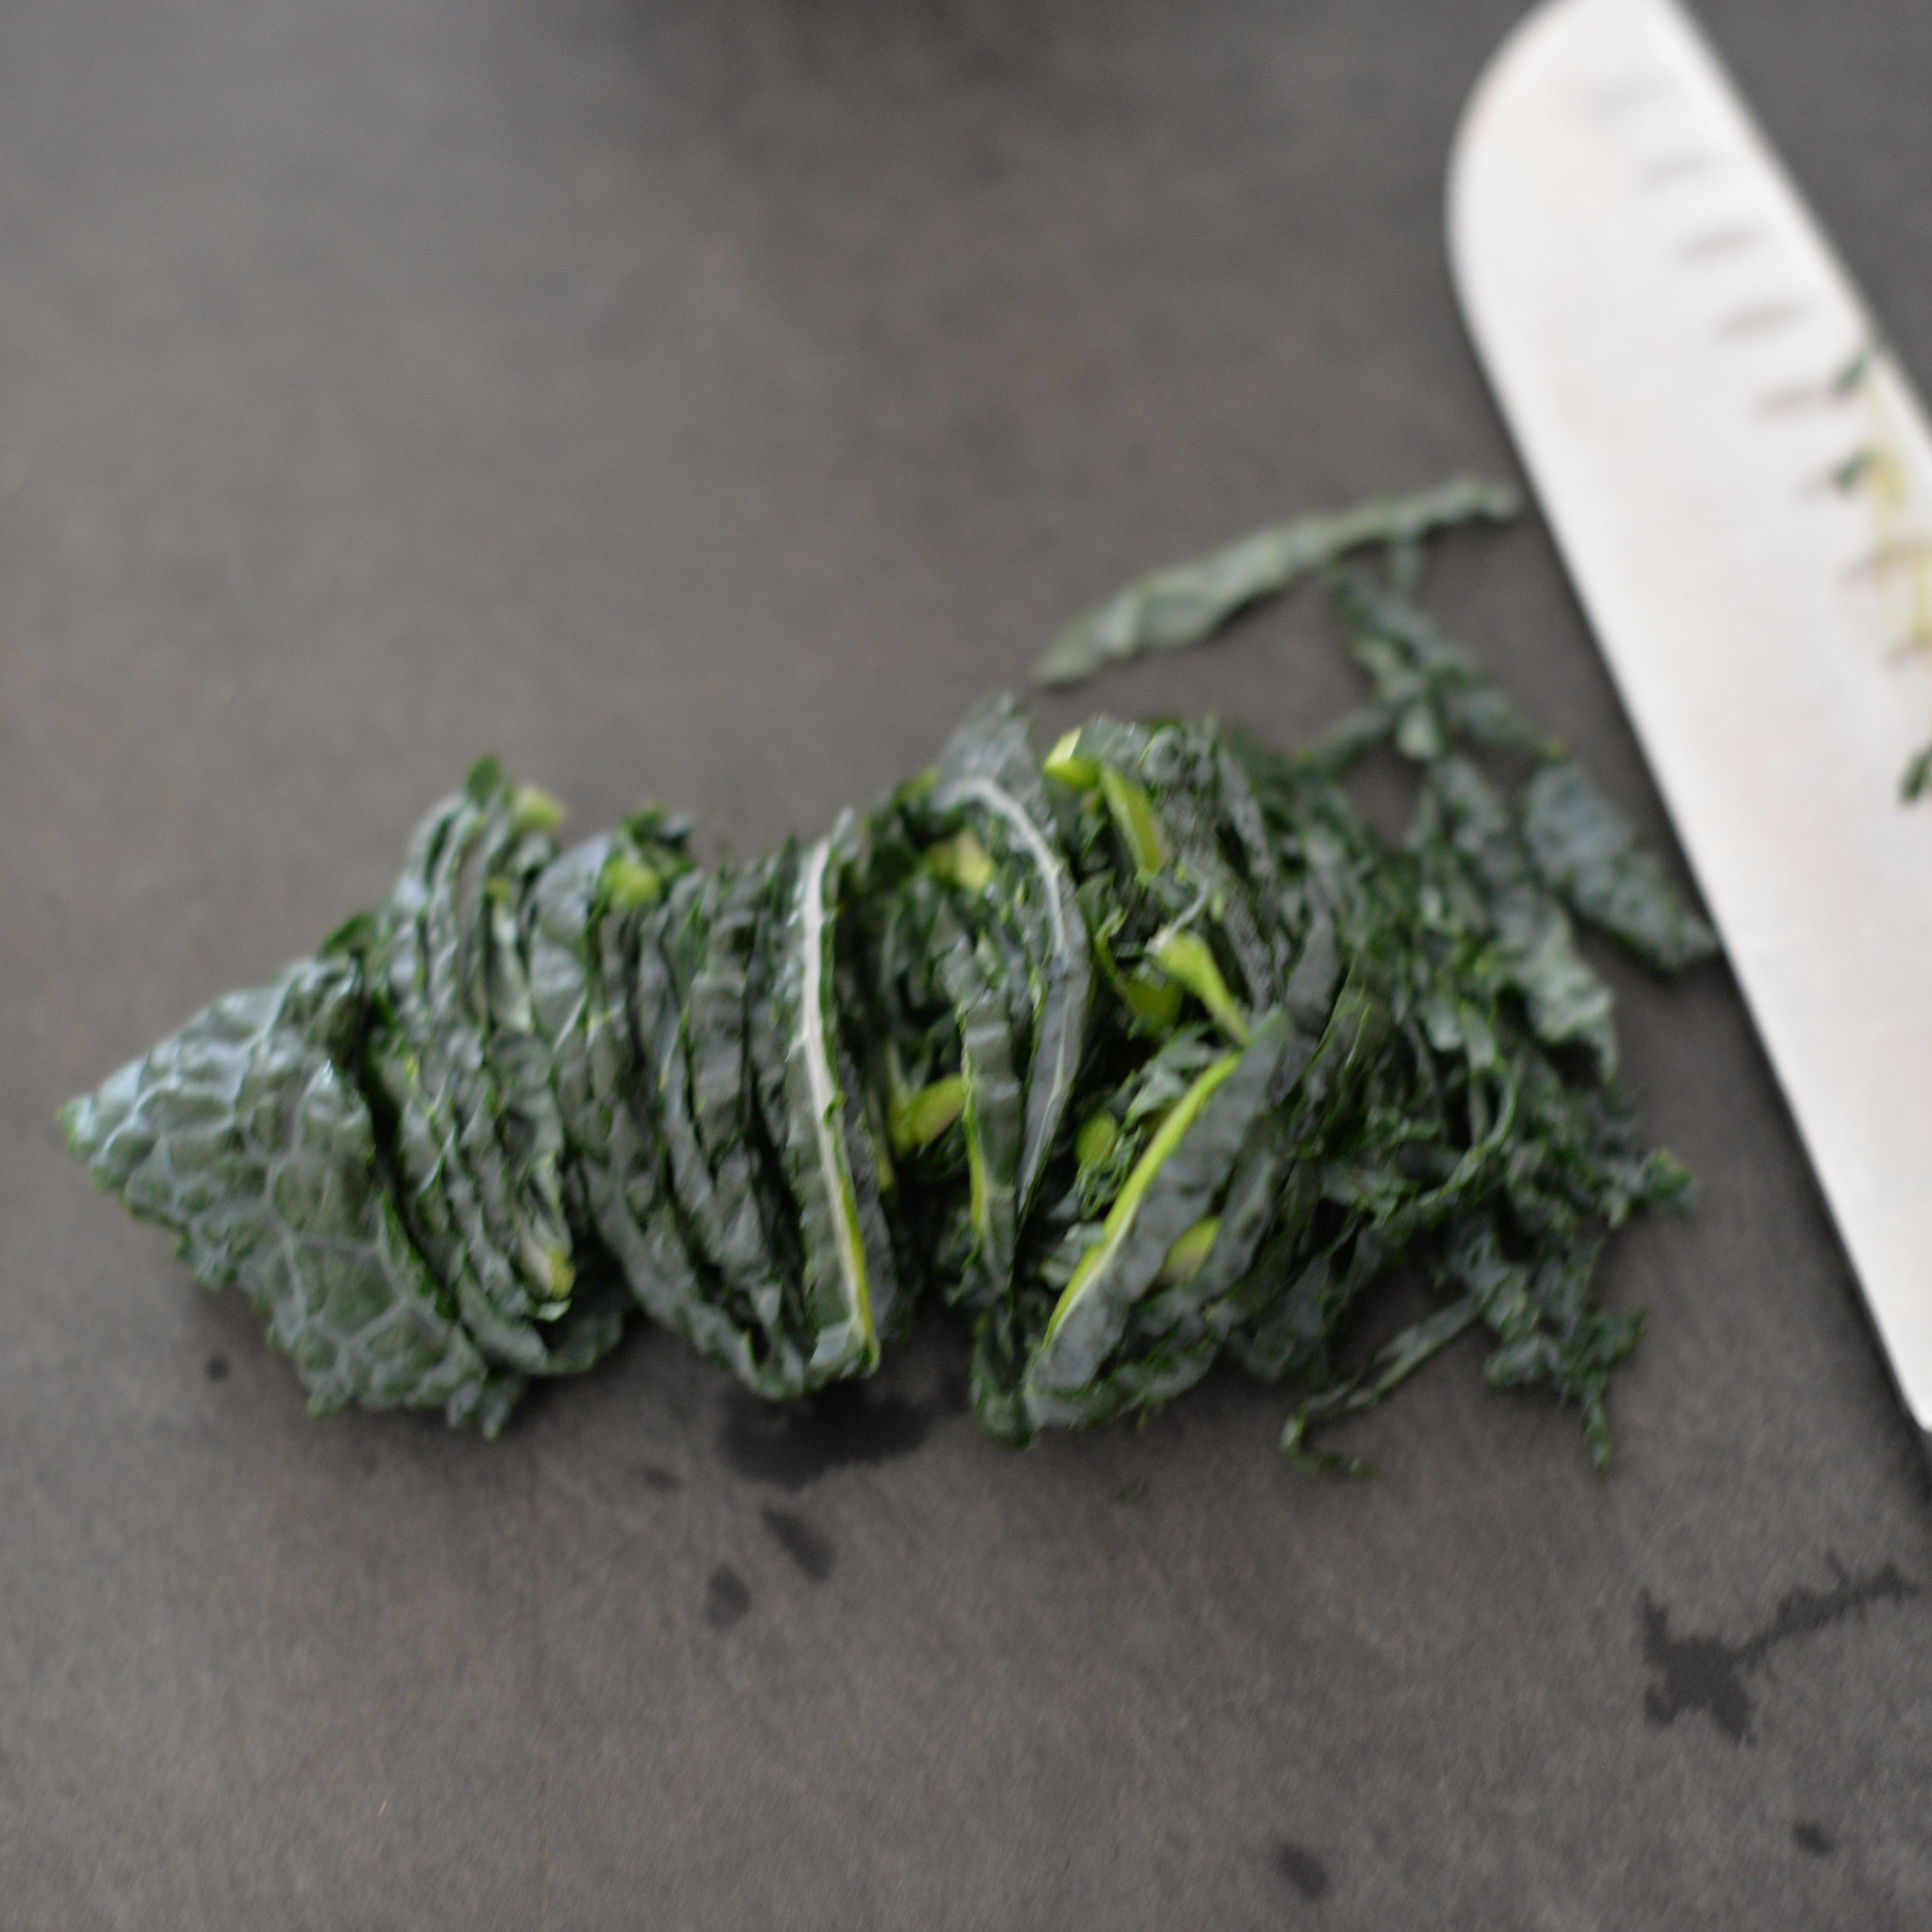
1 bunch lacinato kale, stems removed and leaves cut in chiffonade
1/2 cup cooked grain of choice (I used hulled barley)
1/2 cup cooked beluga lentils (or chickpeas)
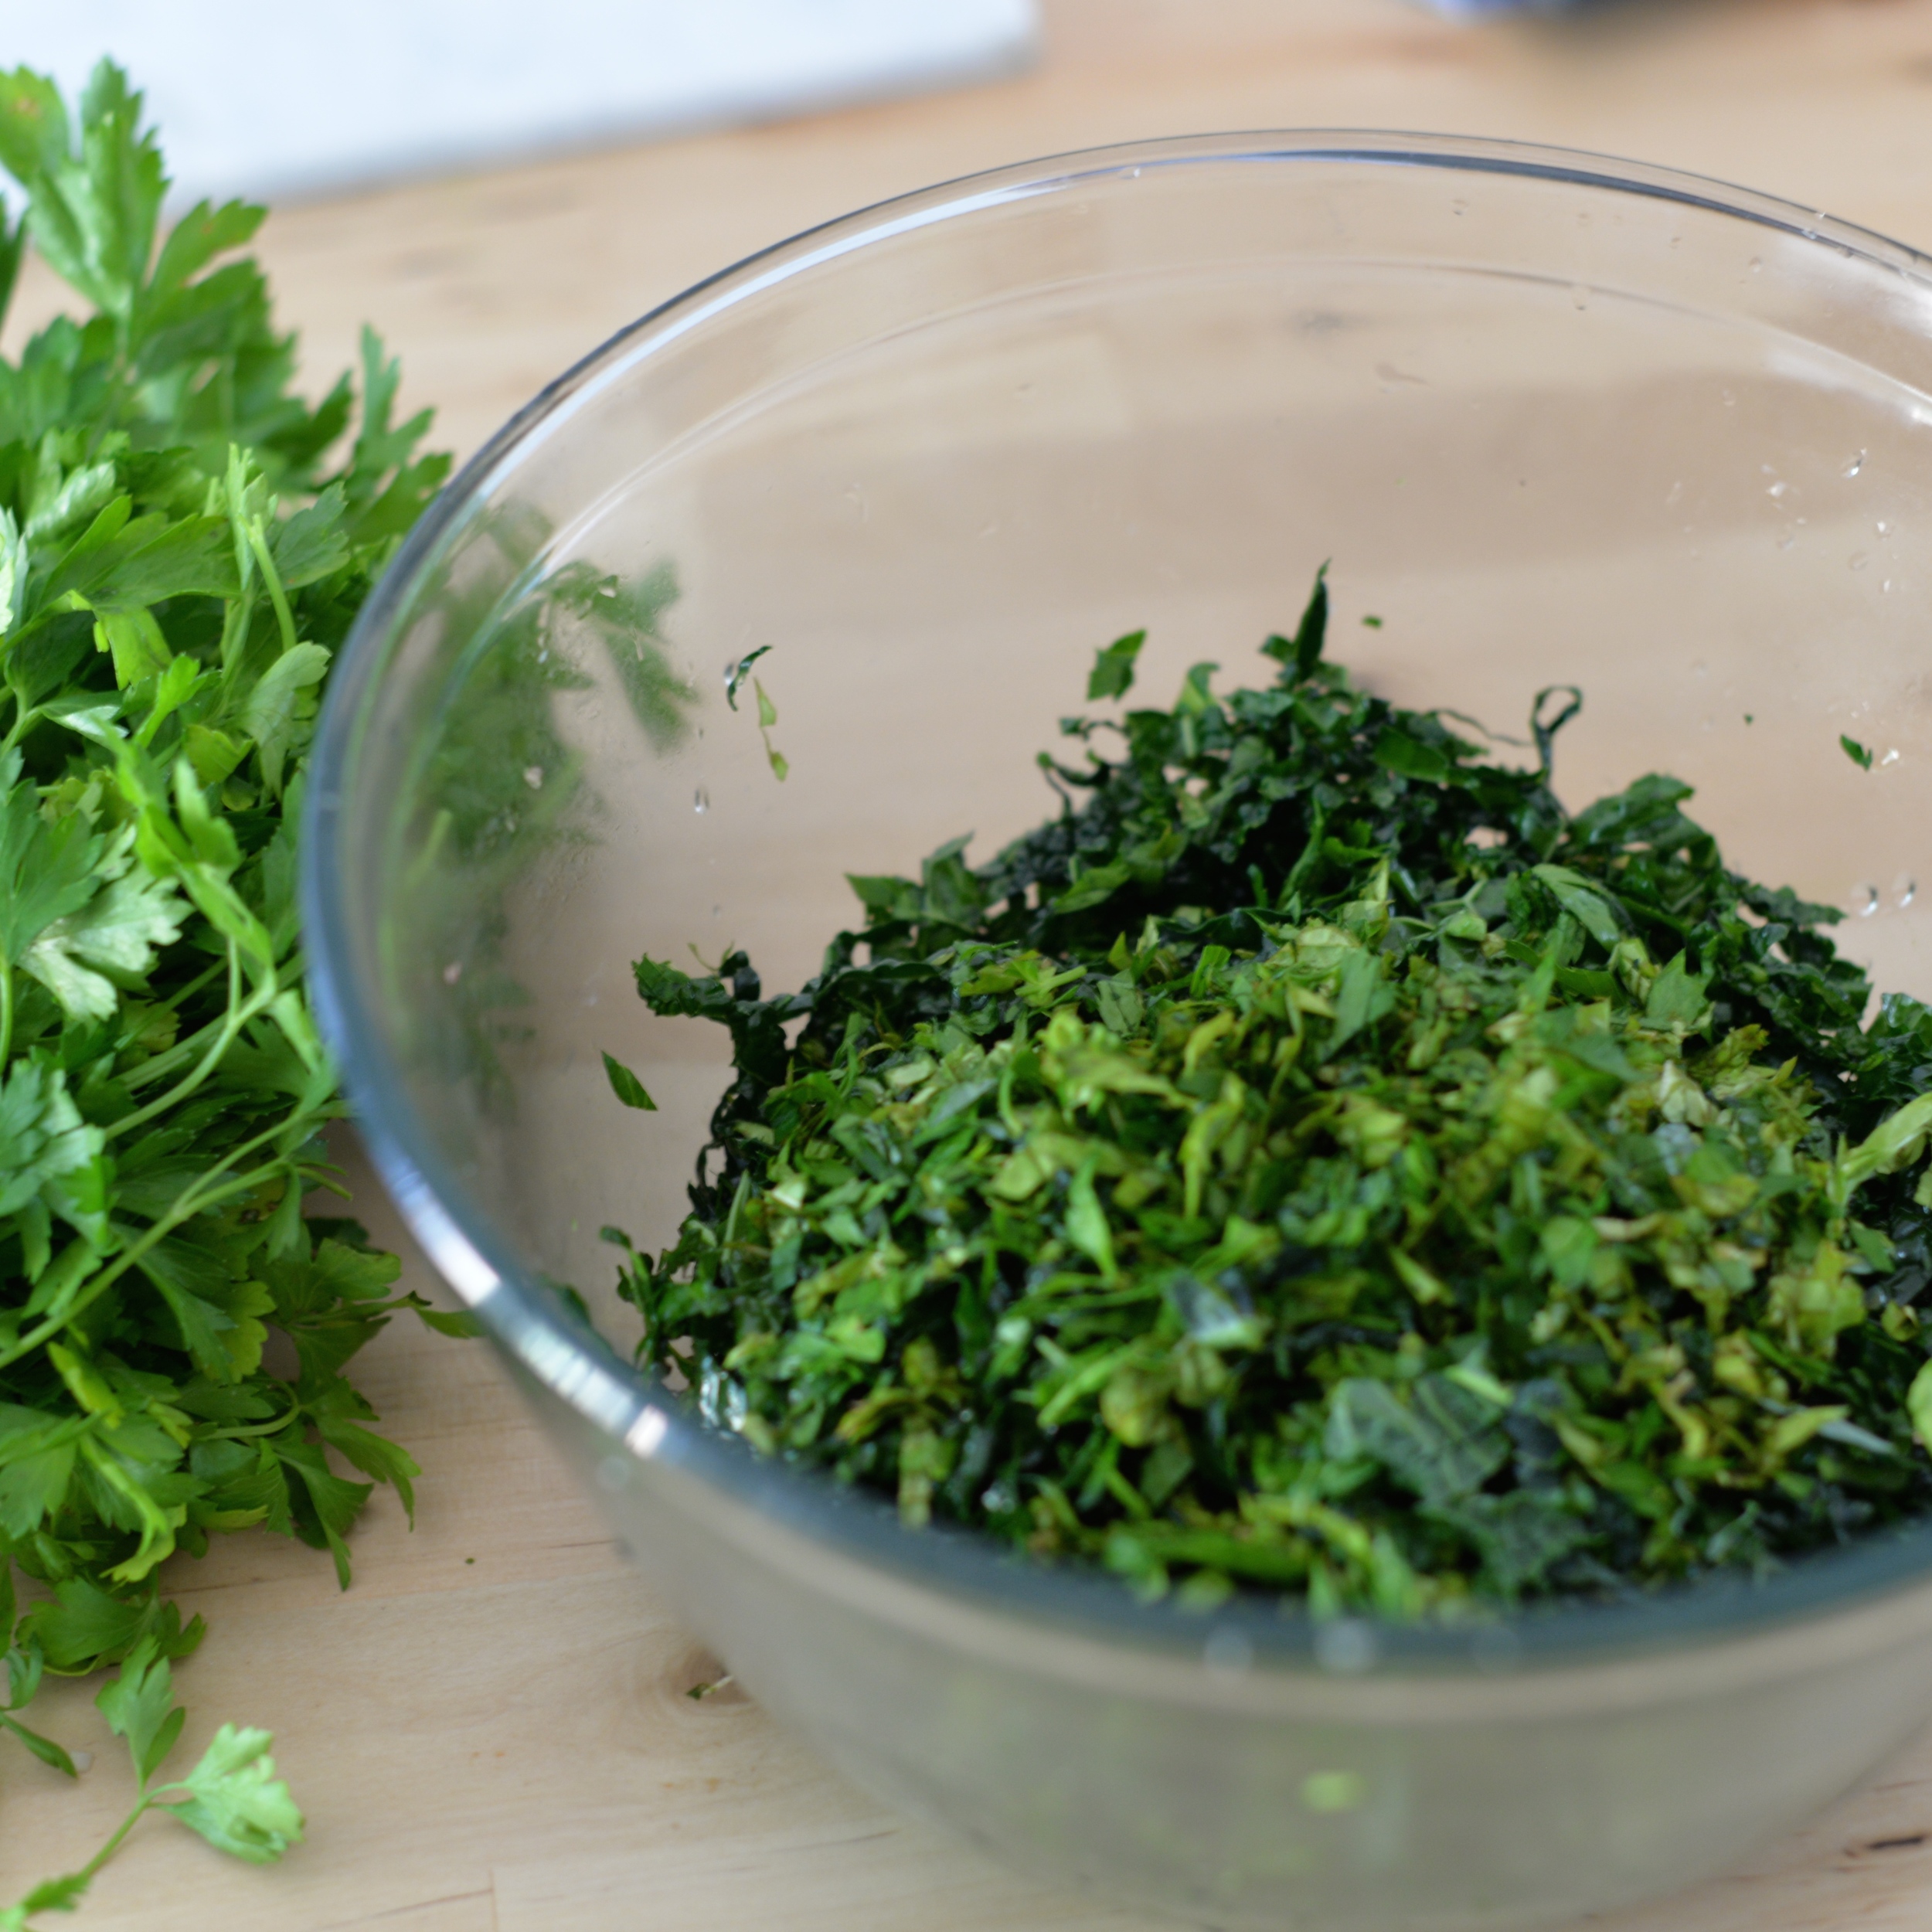
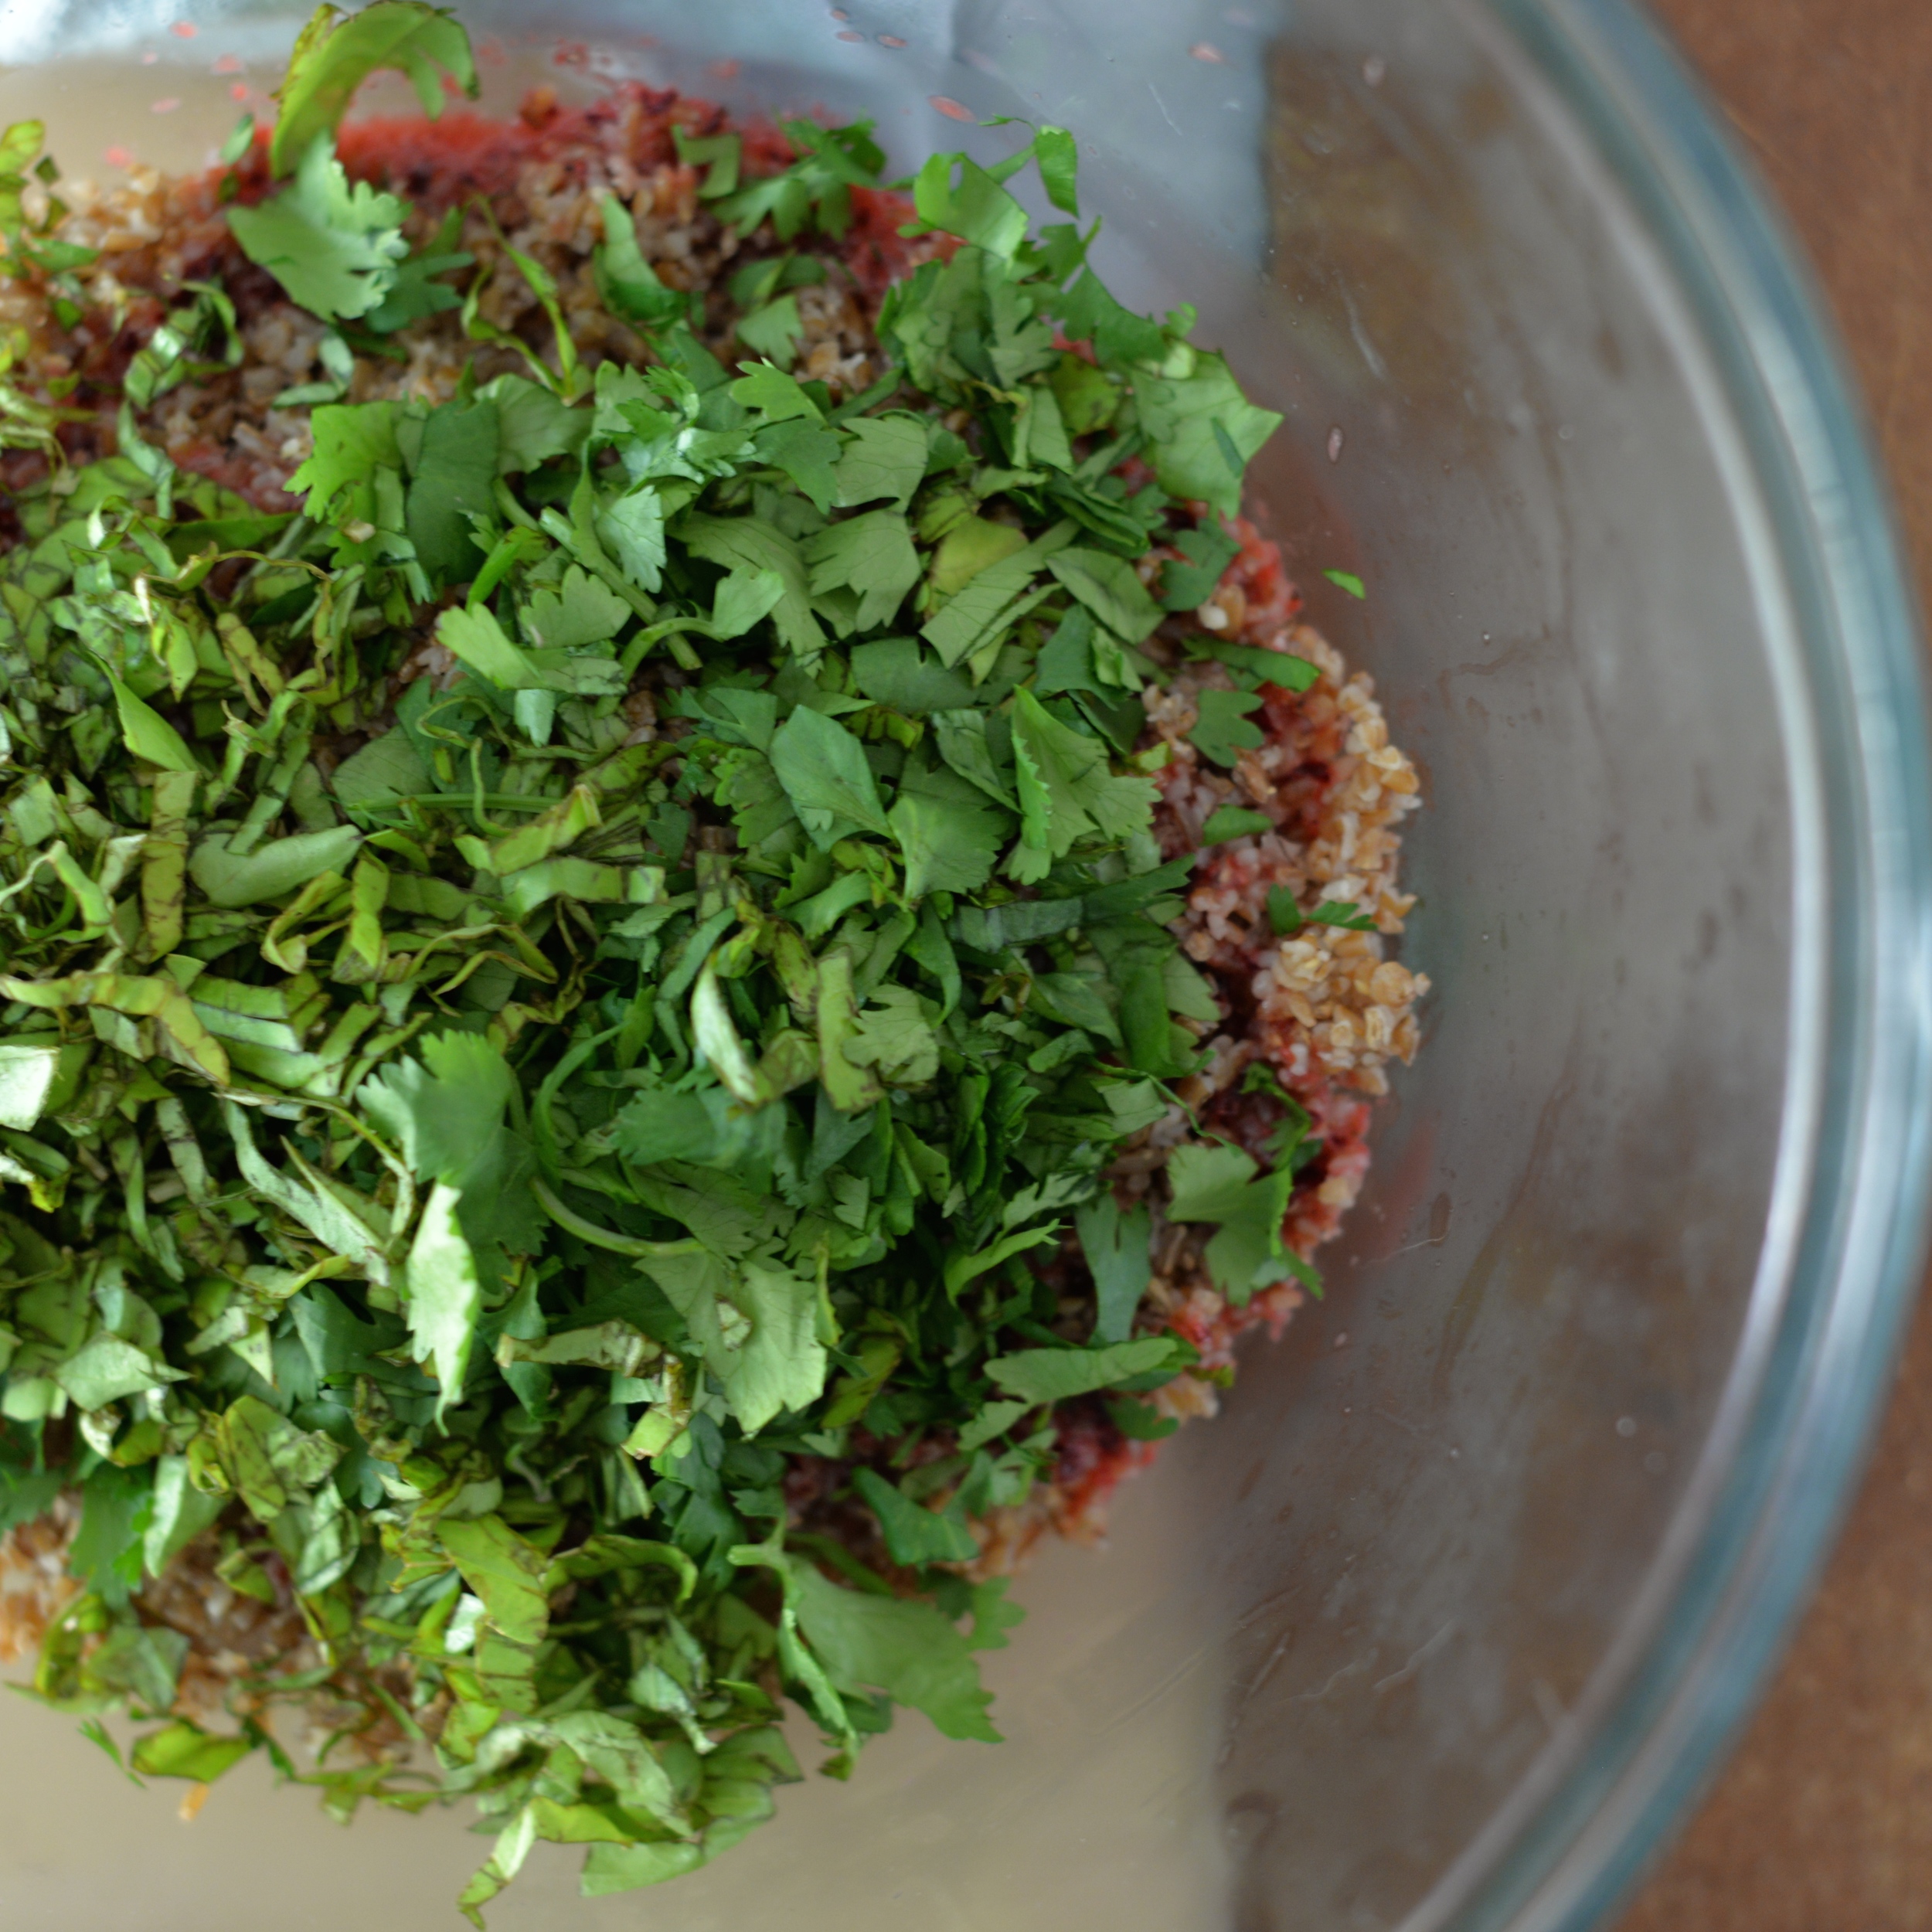
1/2 cup fresh basil leaves, cut in chiffonade
1/2 cup fresh parsley leaves, chopped
1 lemon, zest and juice
3 tablespoons Greek yogurt (I recommend 2% Greek yogurt here for a little more richness)
1/2 teaspoon sea salt
1/2 cup walnuts, toasted* and chopped
salt and pepper, to taste

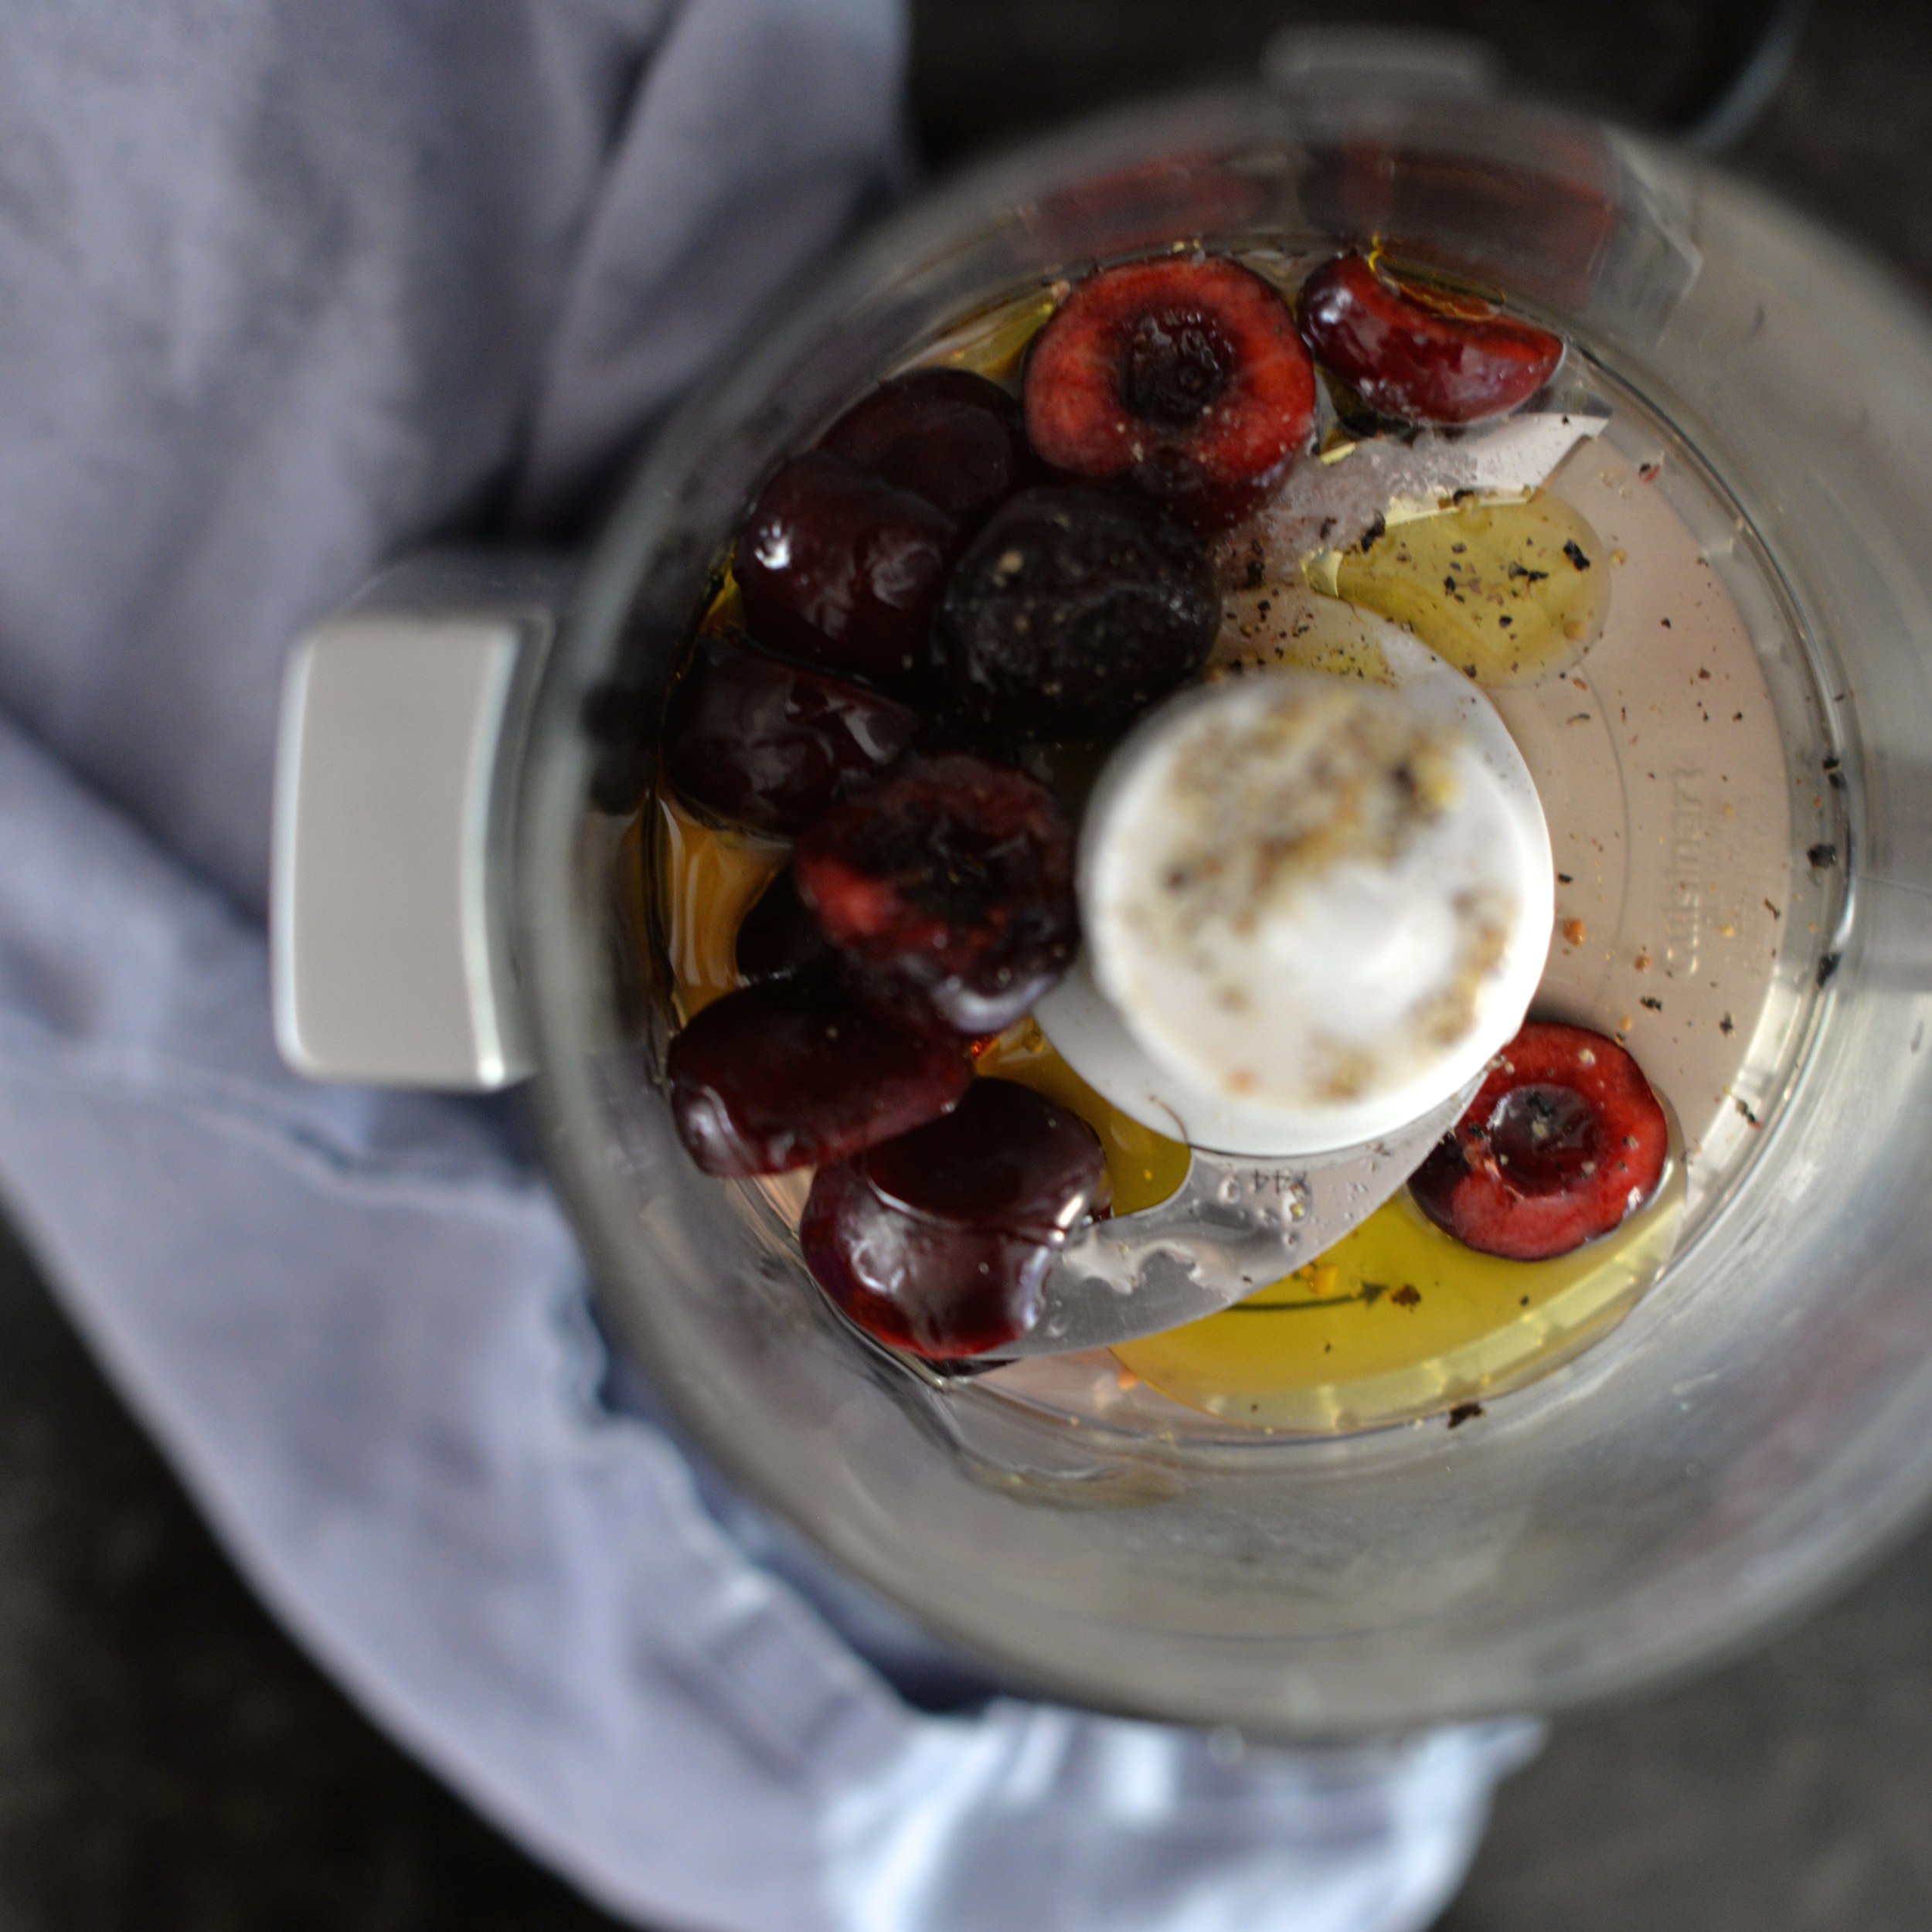
Heat a medium skillet over medium-high heat. Add 2 tablespoons olive oil. Add the onion and garlic, and cook over medium heat for about 6-8 minutes or until onion is soft and golden. Add the cumin and cook for 30 seconds or until fragrant. Remove mixture from heat and allow to cool slightly.

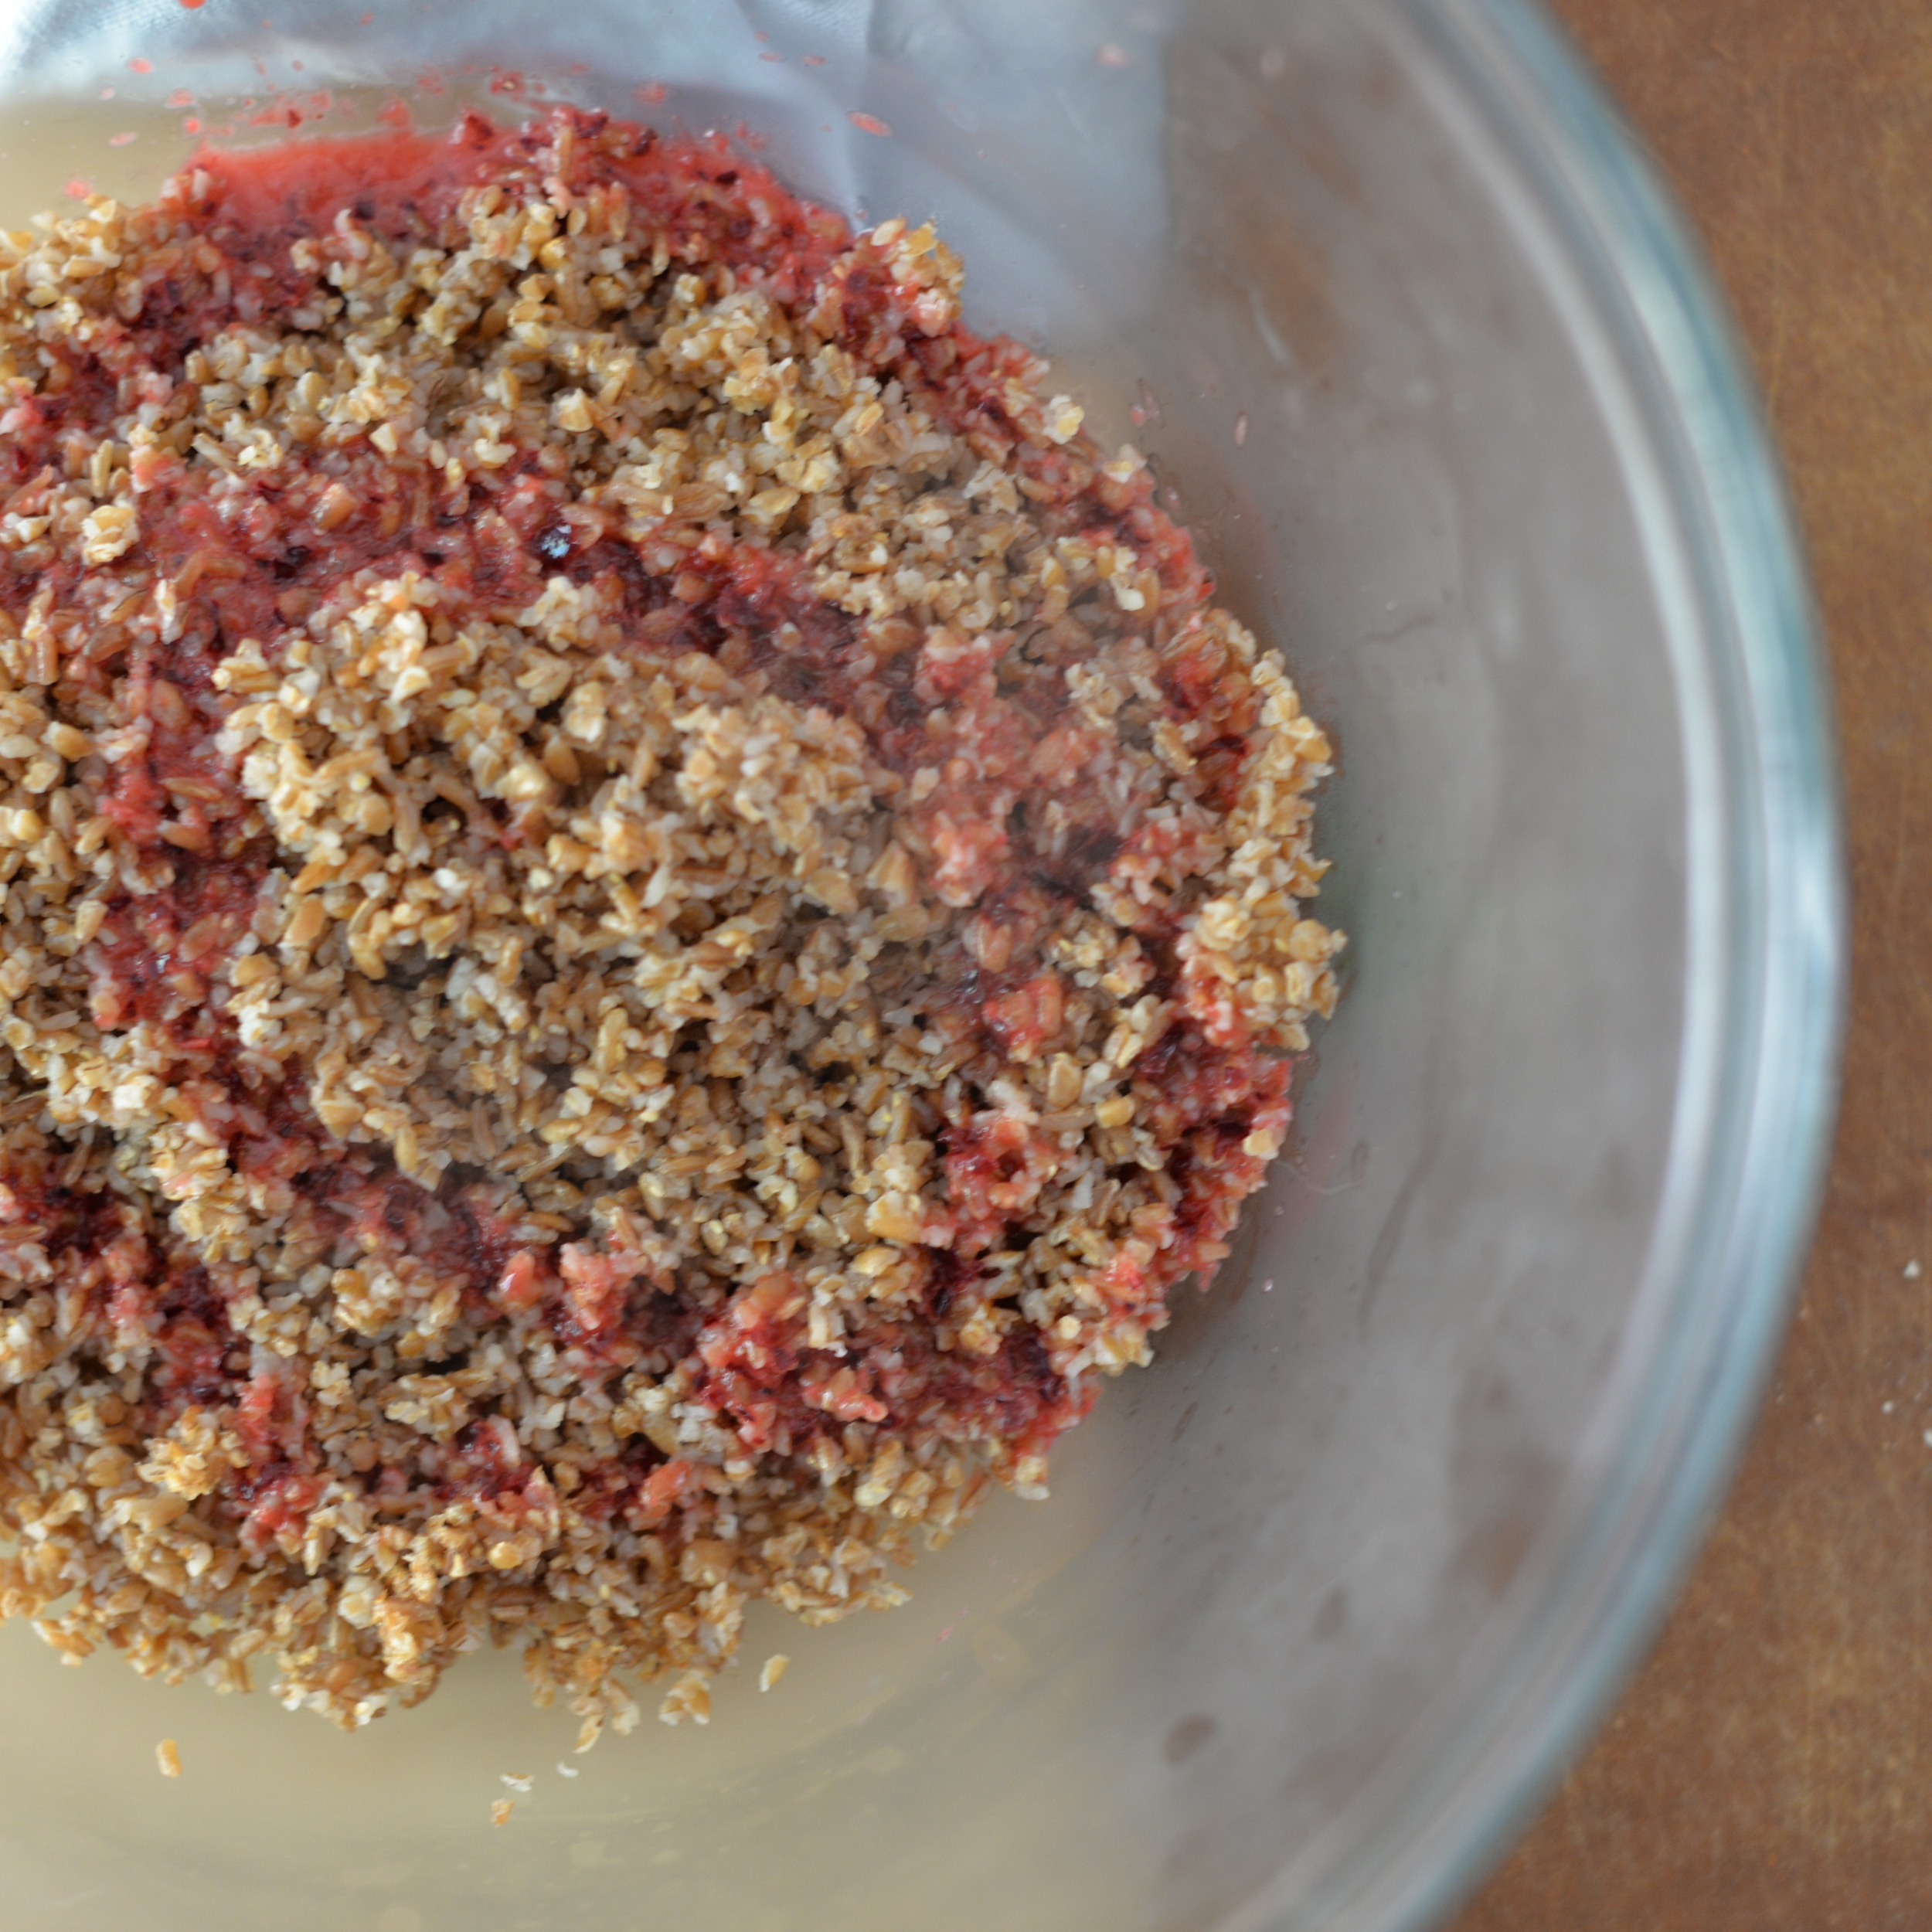
Meanwhile, in a large bowl, massage the kale with 2 tablespoons extra-virgin oil and a sprinkling of salt until kale begins to soften. This can take about a minute or so. Add the grain, lentils, basil, and parsley, and stir to combine.

When the onion mixture has cooled, add the lemon zest, lemon juice, yogurt, and 1/2 teaspoon sea salt and stir to mix. Add this mixture to the kale and lentil mixture, toss in the chopped walnuts, and use tongs to combine. Taste and adjust for salt and pepper. Enjoy! Serves 4-6.

*To toast walnuts, toast in oven at 400 degrees for 8-10 minutes or until golden.

DSC_0211.JPG
DSC_0213.JPG
DSC_0216.JPG
DSC_0221.JPG
DSC_0231.JPG


In Salads Tags kale, yogurt, lentils, salad, grains, walnuts, recipe
Comment

Toasted Coconut and Almond Butter

July 14, 2015 Emily Watson

I love almond butter and I love coconut butter, so why not combine the two? This is a super-roasty, toasty nutty spread that you will find an excuse to put on everything: toast, bananas, mixed into oatmeal, scooped into a smoothie, swirled into brownie batter, or just by the spoonful. If you have never made nut butter at home before, it is super simple. Put nuts in a food processor, turn it on, and watch the magic happen. It usually takes about 5-7 minutes and stopping every so often to scrape down the sides, but that is as complicated as it gets.

This is just a little more complicated than your basic nut butter, but the extra few minutes to toast the nuts and coconut really takes this over the top. The only thing you have to be careful about is not burning the almonds or the coconut, especially the coconut. It can burn quickly! Feel free to add a dash of cinnamon to the food processor if you want a little spice, but it is delicious as is.

I had leftover cherries in the fridge, so I slathered some multi-grain bread with the coconut and almond butter, topped it with quartered cherries, and drizzled it with local honey. It was the perfect afternoon snack.

What's your favorite nut butter?

Toasted Coconut and Almond Butter

2 cups raw almonds
1 cup unsweetened shredded coconut
2 pinches of sea salt
2 1/2 teaspoons honey, preferably local (or use maple syrup or agave if vegan)

Preheat the oven to 400 degrees Fahrenheit. Line a baking sheet with parchment paper. Place the almonds in a single layer, and toast in the oven for 8-10 minutes or until lightly golden. Remove from pan immediately so that they do not continue to toast.

Sprinkle the coconut over the same pan, place in the oven, and toast for about 3 minutes. The coconut will start to toast as soon as it comes into contact with the pan, so watch the coconut carefully. You want it a very light golden color. Remove from the pan immediately when done.

Add the toasted almonds and toasted coconut to a food processor. Add 2 pinches of sea salt, and turn the food processor on. Scrape down the sides every minute or so, but it will take about 5-7 minutes total to get to nut butter consistency. When the desired consistency is reached, add the honey and pulse a few times to incorporate the honey. If you add the honey sooner, the mixture tends to be a bit gluey. Enjoy! Makes about 1 cup nut butter.

DSC_0133.JPG
DSC_0141.jpg
DSC_0147.JPG
In Spreads Dips Sauces, Snacks Tags almonds, coconut, vegetarian, vegan, snack, spreads, recipe
1 Comment

Cherry and Herb Bulgur Salad with Golden Halloumi

July 10, 2015 Emily Watson
DSC_0118.jpg

I'm baaaaaaacck! Life got in between the computer and me, but I could not be more grateful for the opportunity to step away and experience it all. My college boyfriend and I got engaged (!!!!!!!), we celebrated, we ventured to the New Jersey shore with friends, my older sister and cutest niece moved to Iowa, and my family traveled to the North Woods of Wisconsin for the 4th of July. As much as I crave routine and predictability and general "me time," these last several weeks threw all of that to the wind. My normal cooking routine went with it, as did those trips to the weekend farmers' markets that I look most forward to. I caught myself several times wishing that I could just escape, get away from all the movement. But then I would remember that it is a wonderful, unique opportunity to be surrounded by so many loving people, that life will once again pull us away into all of our own little spheres and I will be craving movement, excitement, and spontaneity as much as I have been craving calm, quiet, and routine. I have often recalled the words of one of my favorite yoga instructors. She reminds us that it is easy to foster inner calm and peace when you are able to control every element, when you physically remove yourself from the external chaos. The challenge lies in finding that internal peace amidst chaos, amidst change, amidst an environment you cannot control. Here's to summer, here's to embracing that chaos but finding even a snippet of inner calm, and here's to finally getting back into the kitchen.

Since I have been away for a while, I thought I would come back with a BING...I mean, a BANG! Well, a bing and a bang! Dark Bing cherries that is. And a bang because this dish is a total winner. Cherries have a fairly short season, so you have to get them while you can. As a kid, I used to have cherry pit spitting contests with my siblings, and as an adult, I resort to experimenting with cherries in the kitchen since launching cherry pits as far as you can is not nearly as fun when you are alone. This delightful dish mixes sweet, juicy cherries, with salty, chewy Halloumi. Halloumi, which traditionally comes from Cyprus, is one of those special squeaky cheeses, like the Indian paneer, that holds its shape when heated and does not melt. It is intensely salty, but the fruity vinaigrette, nutty bulgur, and bright herbs really help balance everything out.

This recipe is incredibly versatile. If you cannot find halloumi, you can substitute paneer or add some marinated tofu that has been crisped in the skillet. You can also just sprinkle it with a generous amount of salty (uncooked feta). If bulgur is not in your pantry, use another cooked grain you like such as quinoa or brown rice- aim for about 2 1/2 cups cooked grain total for the dish. Parsley can substitute for the cilantro and toasted hazelnuts or almonds for the toasted walnuts. Another idea? Toss in some cooked chickpeas.

Cherries are the real star here. Pureed into the vinaigrette and some left in bigger pieces, you can appreciate their mild sweet-tartness fully. Look for dark sweet cherries at your market or grocery store. I try to get organic as they are a fruit in which we eat the skin. Give them a good wash, and snack on a few while you are cooking. I really hope you enjoy this dish as much as we have.

Cherry and Herb Bulgur Salad with Golden Halloumi

Salad:
1 cup uncooked bulgur wheat
1 1/4 cups water
3/4 cup dark cherries, pitted and halved
1/2 cup fresh basil leaves, washed, dried, and roughly chopped
1/2 cup fresh cilantro leaves, washed, dried and roughly chopped
1/2 cup walnuts, toasted* and chopped
1 8-ounce package halloumi cheese, sliced into 8 slices
1 tablespoon extra-virgin olive oil
salt and pepper to taste

Cherry Vinaigrette:
1/4 cup dark cherries, pitted and halved
2 tablespoons white wine vinegar
4 tablespoons extra-virgin olive oil
1/4 teaspoon salt
freshly ground black pepper, to taste
1 teaspoon honey

DSC_0063.jpg

Cook the bulgur. Bring 1 and 1/4 cups water to boil over high heat. Add 1 cup of bulgur, cover with a lid, and reduce heat to very low. Cook for 10 minutes. Remove from heat and allow to rest for 10 minutes before removing the lid. Drain any excess liquid.

Meanwhile, make the vinaigrette. In a blender or food processor, add the vinaigrette ingredients and process until smooth. It will be a beautiful pink color. Set aside.

DSC_0077.jpg
DSC_0078.JPG

Cook the halloumi. Heat 1 tablespoon olive oil over medium heat in a nonstick or cast iron skillet. Add the halloumi slices in a single layer and cook 3-4 minutes per side or until golden. Remove from heat.

Assemble the salad. Toss the bulgur with the vinaigrette, reserving a tablespoon or so for drizzling atop the halloumi. Add the chopped cherries, herbs, and toasted walnuts. Mix to combine. Season to taste with salt and pepper, remembering that the halloumi will pack a salty punch. Layer the halloumi on top, and drizzle with the remaining vinaigrette. Enjoy! Serves 4.

* To toast the walnuts, roast at 400 degrees Fahrenheit for 8-10 minutes or until golden or toast on the stove-top for 8-10 minutes in a skillet over medium heat

DSC_0081.JPG
DSC_0083.JPG
DSC_0090.jpg
DSC_0117.JPG
In Mains, Salads Tags recipe, cherries, bulgur, halloumi, cillantro, vegetarian
4 Comments

Balsamic Roasted Strawberry and Mozzarella Pizza

June 15, 2015 Emily Watson

It may seem like a waste to take juicy, perfectly ripe sweet strawberries and roast them, but I promise you, the result is worth it. In fact, you can even use those less-than-perfect strawberries and roasting them will turn them into something sweet and special. Syrupy balsamic vinegar and strawberries is a classic combination. When the strawberries are roasted, their sweetness is even more enhanced and the vinegar brightens it all up.

These roasted strawberries could really be put to use on anything- served atop crostini with ricotta or brie or goat's milk cheese, swirled into yogurt, or mixed with whipped cream or coconut whipped cream. These strawberries spooned over a scoop of vanilla ice cream even sounds dreamy right now. This recipe was loosely inspired by Heidi Swanson's Roasted Strawberry recipe in her book, Super Natural Every Day. Heidi uses a hefty dose of maple syrup and some port wine to flavor her strawberries, but I enjoy the combination of honey and strawberries here.

I took the savory route and tossed them atop a simple white pizza with fresh mozzarella, fresh basil, and toasted pine nuts. Think of these strawberries replacing the tomatoes on a margarita pizza. The burst of sweetness you get with them combined with the salty cheese is addicting. I use a favorite crust of mine that I make at home, but your favorite pizza dough should work. I combine whole wheat flour, semolina flour, and cornmeal with water, yeast, honey, olive oil and salt in the food processor, blitz until a dough ball forms and allow the dough to rise before dividing it into smaller pieces. I am hoping to share that recipe on the blog soon, but in the meanwhile, just use your favorite pizza crust.

Balsamic Roasted Strawberry and Mozzarella Pizza

Balsamic Roasted Strawberries
8 ounces strawberries, washed and hulled and halved (quartered if large strawberries)
2 teaspoons olive oil
1 teaspoon honey, preferably local
1/4 teaspoon salt
1/2 teaspoon good quality balsamic vinegar

Pizza
8 ounces (1/2 pound) of your favorite pizza dough
1 tablespoon extra-virgin olive oil
3 tablespoons grated Parmigiano Reggiano
4 ounces fresh mozzarella, torn roughly into pieces
2 tablespoons pine nuts, toasted
1/4 cup roughly torn fresh basil leaves
salt and black pepper, to taste

Prepare roasted strawberries. Preheat oven to 350 degrees. Line a baking sheet with parchment paper. Toss the strawberries with the olive oil, honey, and salt. Arrange in a single layer and bake for 40 minutes or until soft and the liquid is bubbling around them. Remove from the oven, drizzle with balsamic vinegar and toss to combine. Set aside.

IMG_7176.jpg
IMG_7178.jpg
IMG_7183.jpg
IMG_7187.jpg

Prepare the pizza. Preheat the oven to 450 degrees Fahrenheit. If using a pizza stone, place it in the oven on the bottom rack as the oven heats. Line a rimless baking sheet with parchment paper. Sprinkle with cornmeal or flour and place dough in the center. Roll the dough out to about 1 centimeter thick, adding more cornmeal or flour to prevent the dough from sticking.

Drizzle the crust with 1 tablespoon olive oil. Sprinkle with 3 tablespoons Parmigiano-reggiano. Scatter fresh mozzarella over top, and sprinkle with roasted strawberries, drizzling pizza with any remaining syrup that has collected in the pan of strawberries. Place the pizza in the oven and bake for 12-15 minutes or until crust is crispy and cheese is bubbly and just beginning to turn golden in spots. Remove from oven, sprinkle with pine nuts, basil, and salt and pepper to taste. Enjoy! Makes 1 pizza or enough to serve 2-4 people.

IMG_7196.jpg
IMG_7197.jpg
IMG_7198.jpg
IMG_7201.JPG
IMG_7240.jpg
IMG_7238.jpg
In Mains Tags strawberries, pizza, pine nuts, basil, vegetarian, recipe
1 Comment

Yogurt and Honey Filled Raspberries with Mango

June 12, 2015 Emily Watson

Berries are not the hardiest of fruits, so it is a bit tricky trying to eat them before they get overripe and then turn furry. A nifty trick that I read about and recently tried was plunging my berries in a mix of white vinegar and water. The logic is that the vinegar kills any bacteria or mold spores that linger on the berries' surface. I was skeptical at first, thinking my berries would take on a vinegary taste, but not only do they just taste of sweet summer, they are still mold free after now what is 6 days in the refrigerator. In my mind, the little extra time is worth having berries for days in the fridge, so it will be something I continue to do. Ideally, I would be able to get fresh berries every few days and consume them in time, but that is just not my reality. So for berries that last:

  • Fill a bowl with a mixture of 1 part white vinegar to 3 parts cold water
  • Plunge whole berries in bowl (if using strawberries, hull first)
  • Carefully mix berries around and allow to sit in the mixture for 10 minutes
  • Rinse berries with cold water
  • Carefully drain berries and spin in a salad spinner basket lined with a paper towel, and spin gently. If you do not have a salad spinner, try to allow berries to dry as much as possible with a paper towel.
  • Place berries in a single layer in a paper-towel lined container. You can stack the berries, placing a paper towel layer in between, but be mindful of how much weight is on the bottom layer.
  • Store in the fridge and enjoy for days!

This is a bright little fruit plate that hits sweet, tart, creamy, and a little nutty notes. Hardly a recipe, however, I thought it was worth sharing because it is a beautiful and simple take on a fruit salad. It is sunshine in a bowl. I filled the raspberries with a mix of honey and Greek yogurt, but whipped cream, whipped coconut cream (if vegan), or even a mascarpone or ricotta mix would be delicious. I also love how the green pistachios contrast with the reds and yellows, but almost any nut would do. Vegan and do not use honey? Use maple syrup or agave instead as your sweetener!

To fill the raspberries, I use a plastic sandwich bag and snip the corner off just a bit. Nothing fancy, and it is more than enough to get the job done. If you are making this for a get-together, this step can be done a few hours in advance and the raspberries stored carefully in the refrigerator.

Yogurt and Honey Filled Raspberries with Mango

1 cup of fresh raspberries, washed and dried
1/2 fresh ripe mango, peeled and cut into thin slivers
1/2 cup plain Greek yogurt (or coconut yogurt, whipped cream, or mascarpone/ ricotta mixture)
2 teaspoons local honey (or maple syrup or agave if vegan)
2 tablespoons roughly chopped shelled pistachios

Mix the yogurt and honey in a small bowl until thoroughly combined. Fill a plastic sandwich bag with yogurt or other filling of choice. Squeeze the yogurt towards one corner. Snip the corner off. Pipe the filling into the raspberries until just beyond the top. You may have leftover filling depending on how large your raspberries are. Arrange the mango slices and raspberries on a plate. Sprinkle raspberries with pistachios and serve. Makes one plate, enough for 1 or 2 people.

IMG_7081.jpg
IMG_7082.jpg
IMG_7086.jpg
IMG_7158.JPG
In Breakfast, Snacks Tags snack, mangoes, raspberries, yogurt, honey, vegetarian, recipe
Comment
← Newer Posts Older Posts →
Hi! I'm Emily. I love to cook whole, nourishing foods, and this is where I share my kitchen experiments and sometimes a little bit of life.

Hi! I'm Emily. I love to cook whole, nourishing foods, and this is where I share my kitchen experiments and sometimes a little bit of life.

Featured
  • July 2017
  • May 2017
  • April 2017
  • March 2017
  • February 2017
  • January 2017
  • December 2016
  • November 2016
  • October 2016
  • September 2016
  • August 2016
  • July 2016
  • June 2016
  • May 2016
  • April 2016
  • March 2016
  • February 2016
  • January 2016
  • December 2015
  • November 2015
  • October 2015
  • September 2015
  • August 2015
  • July 2015
  • June 2015
  • May 2015
  • April 2015
  • March 2015
  • February 2015

  • Appetizers 18
  • Breakfast 18
  • Life 4
  • Mains 39
  • Miscellaneous 2
  • Salads 21
  • Sandwiches 6
  • Side Dishes 8
  • Smoothies 4
  • Snacks 10
  • Soups 14
  • Spreads Dips Sauces 5
  • Sweets 6
  • Vegetarian 1

  • almonds
  • appetizers
  • autumn
  • avocado
  • breakfast
  • brown rice
  • chickpeas
  • chocolate
  • cilantro
  • coconut
  • coconut milk
  • fall
  • gluten-free
  • kale
  • lentils
  • make ahead
  • mint
  • oatmeal
  • recipe
  • salad
  • snack
  • soup
  • spring
  • summer
  • sweet potatoes
  • tahini
  • vegan
  • vegetarian
  • walnuts
  • winter

subscribe

Sign up with your email address to receive new posts directly

We respect your privacy.

Thank you!

All photographs, recipes and content are property of Nourishing Matters, unless otherwise noted. Please do not redistribute without my permission. Thank you!

Powered by Squarespace