• Home
    • About Nourishing Matters
    • About Emily
    • Frequently Asked Questions
  • Recipes
    • Offerings
    • Past Programs and Events
    • Experience and Teaching Style
    • Articles and Features
    • Travel
Menu

nourishing matters

Street Address
City, State, Zip
Phone Number
where wholesome meets delicious

Your Custom Text Here

nourishing matters

  • Home
  • About
    • About Nourishing Matters
    • About Emily
    • Frequently Asked Questions
  • Recipes
  • Work with Me
    • Offerings
    • Past Programs and Events
  • Yoga
    • Experience and Teaching Style
  • Press
    • Articles and Features
  • Adventures
    • Travel

Spring Goddess Bowl

April 6, 2016 Emily Watson

Someone stole spring, and I want it back. I have been awaiting that glorious moment when I can unburden my coat rack of winter coats and scarves and tuck away my gloves and boots. Just when I thought we were almost there, the mercury falls and the wind gives a raucous helloooooo. Sigh. I wish I had a spring dance of sorts, you know, to call upon those warmer temperatures and get them to linger for just a little longer, but I think any type of dancing of mine just may scare spring away. Again.

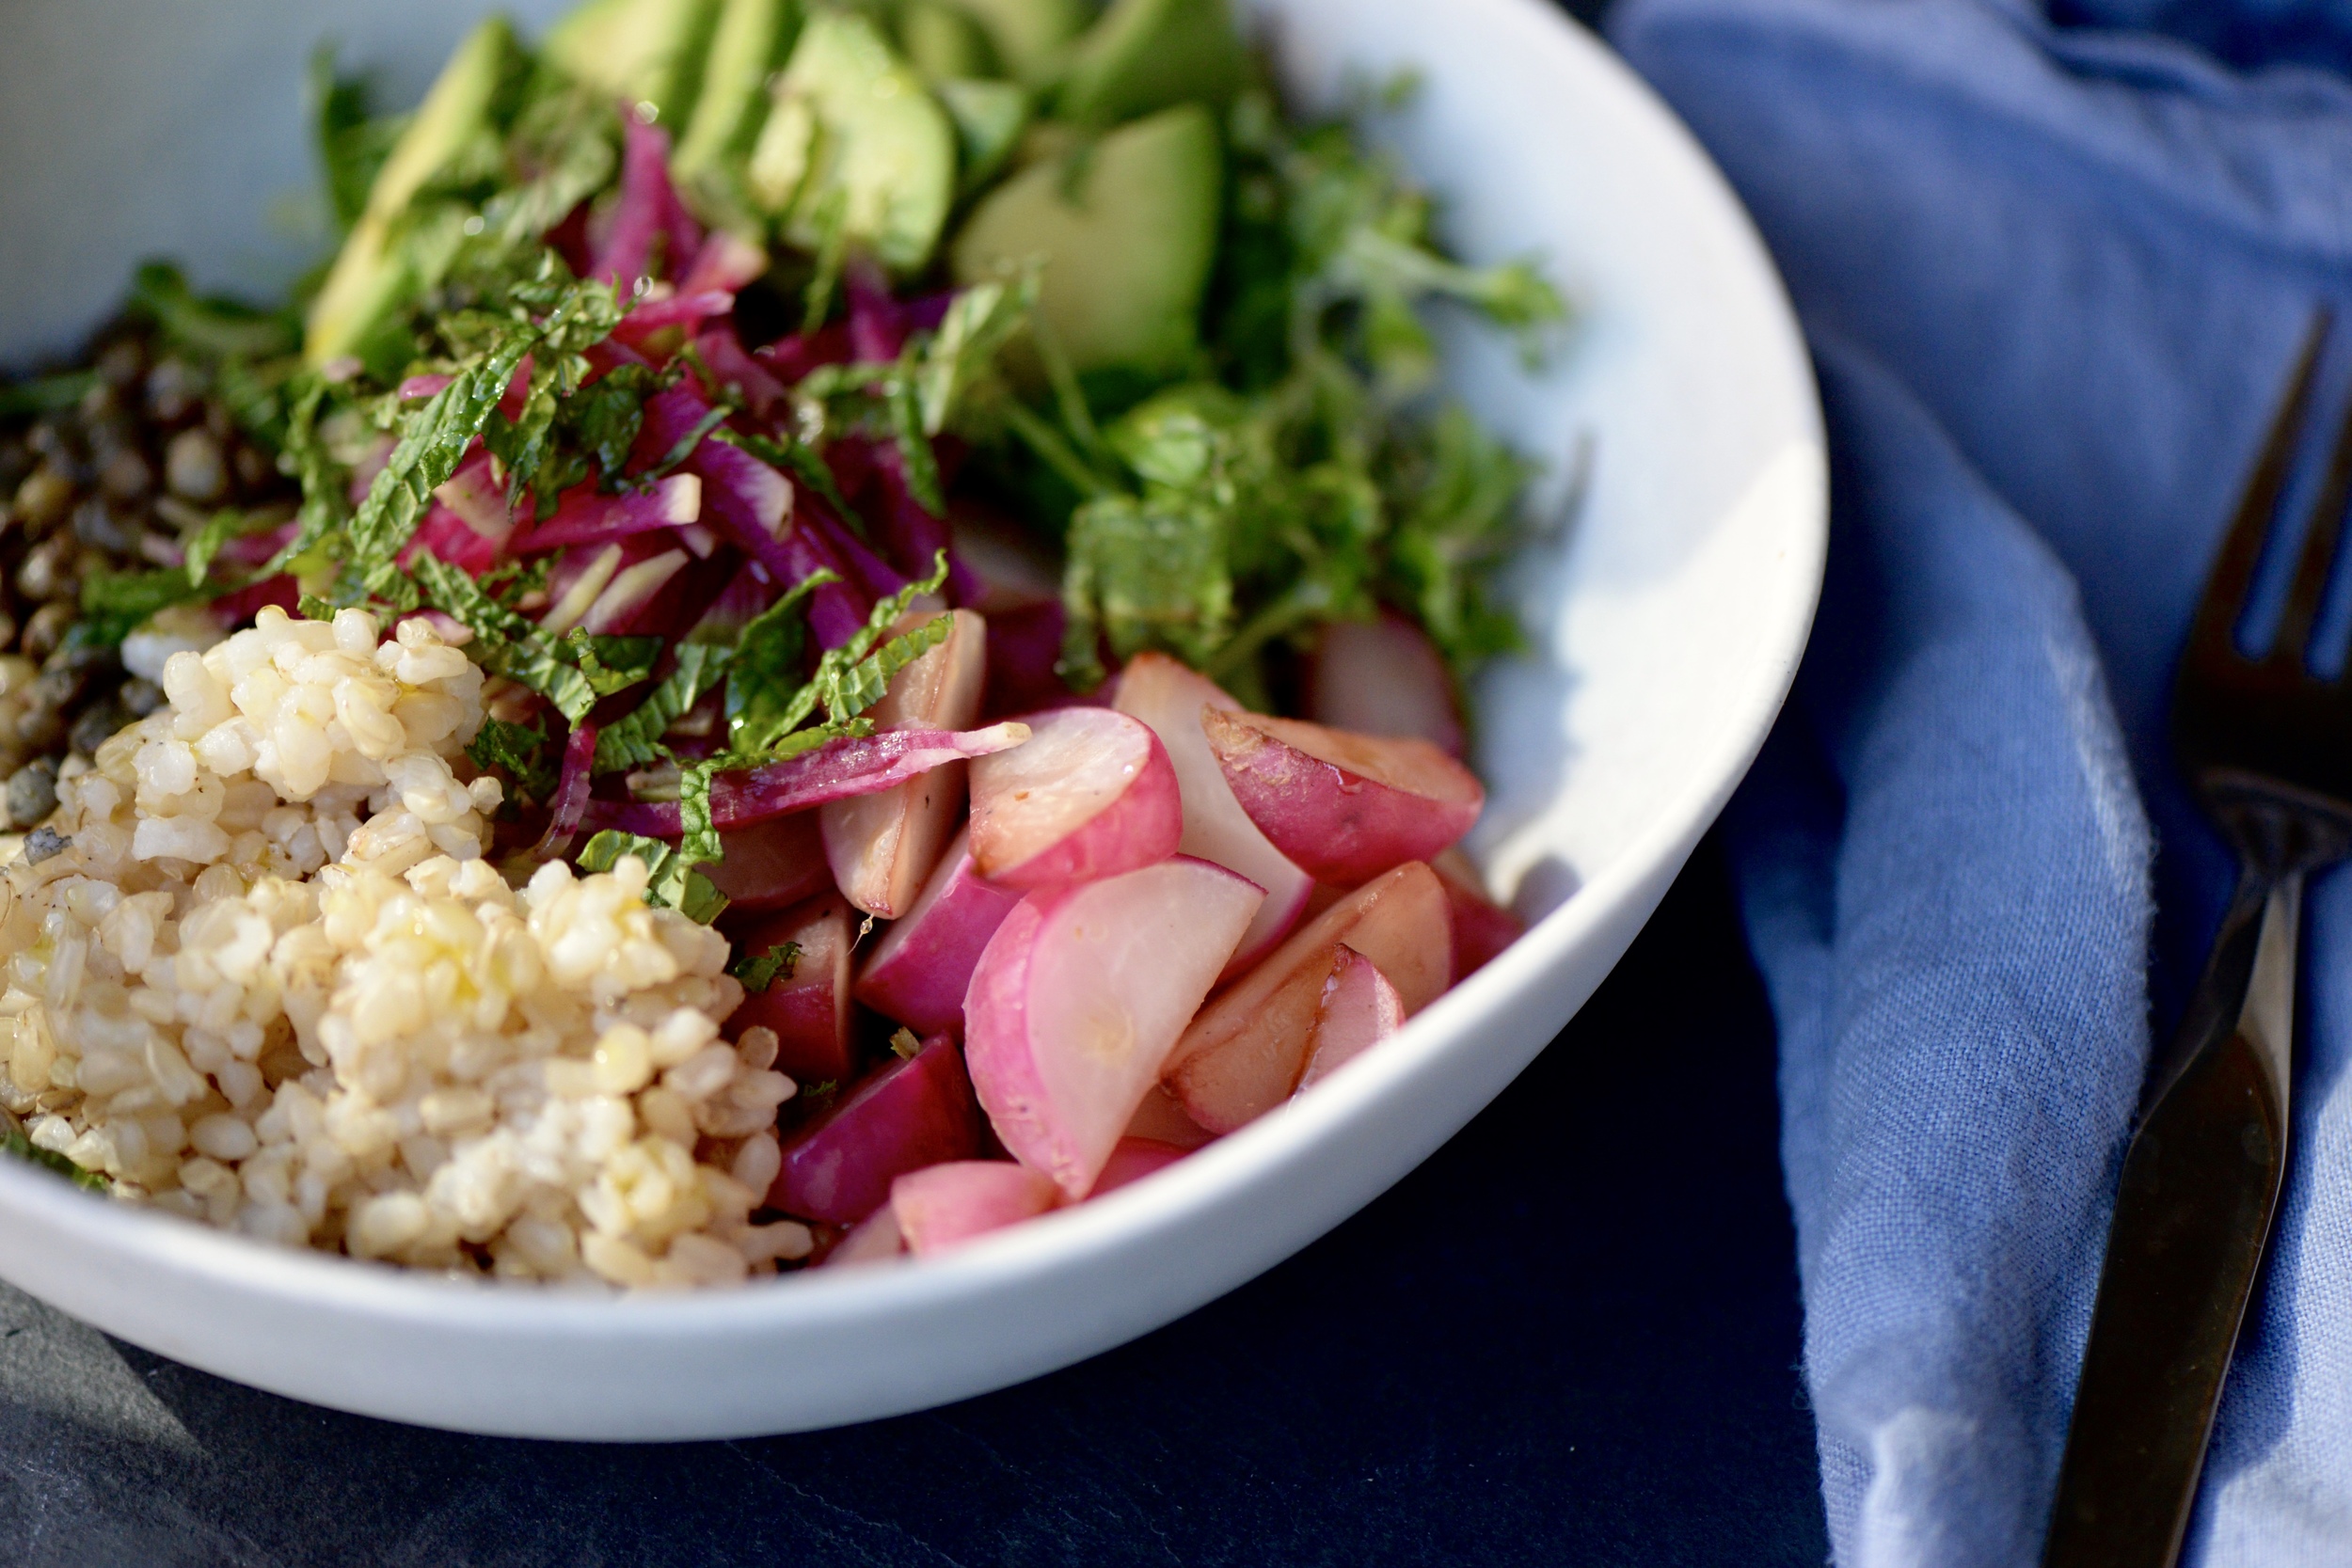
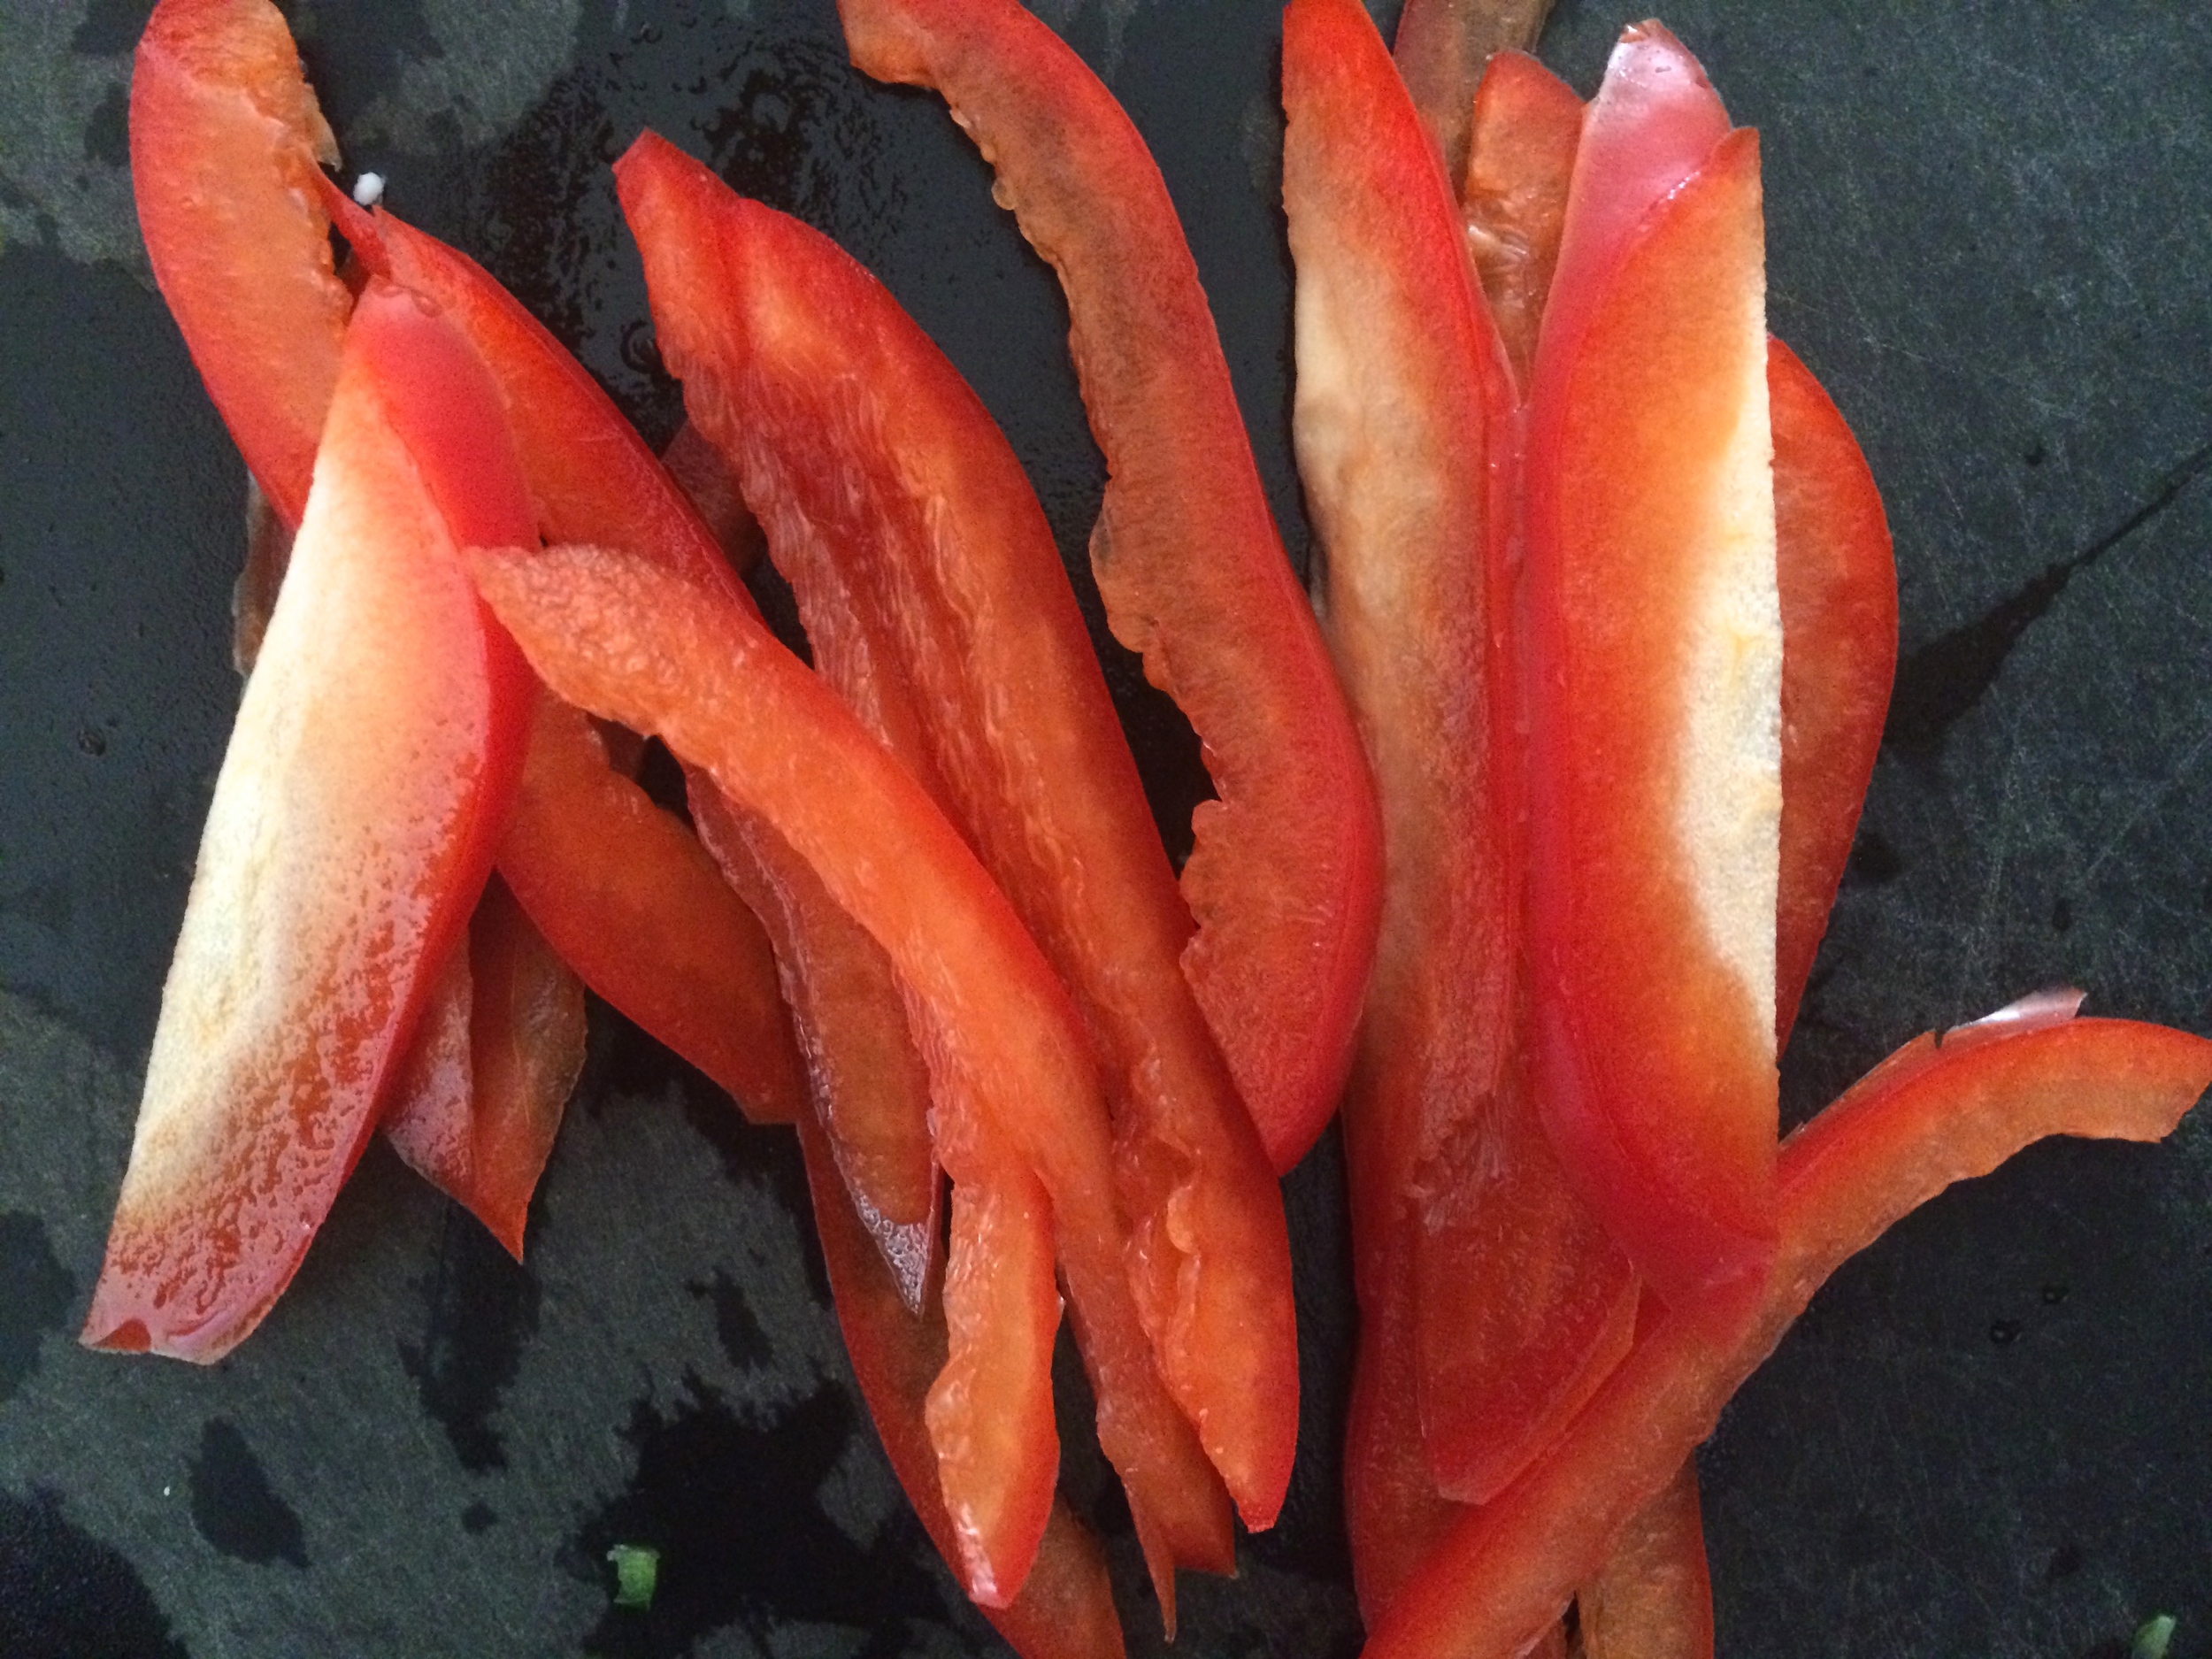
Despite these cooler temperatures, I am loving what I am finding at the farmers' markets right now -zippy radishes, tender, earthy greens, eggs from happy spring chickens, and tangy cheeses and yogurt from sprightly goats. When the ingredients, especially vegetables, are at their peak, so fresh and bright, I like celebrating them in simple preparations, and sometimes a few different ways in the same dish- cooked and raw, pickled and sauteed, roasted and blanched, pureed and left whole. In this recipe, sauteed red radishes are topped with raw, julienned watermelon radishes. You may have never sauteed a radish before, but I promise you, you'll never see a radish the same way once you do. Heated with olive oil and a sprinkling of salt, the harsh radish mellows with just a teensy sweetness while still staying crisp and light.

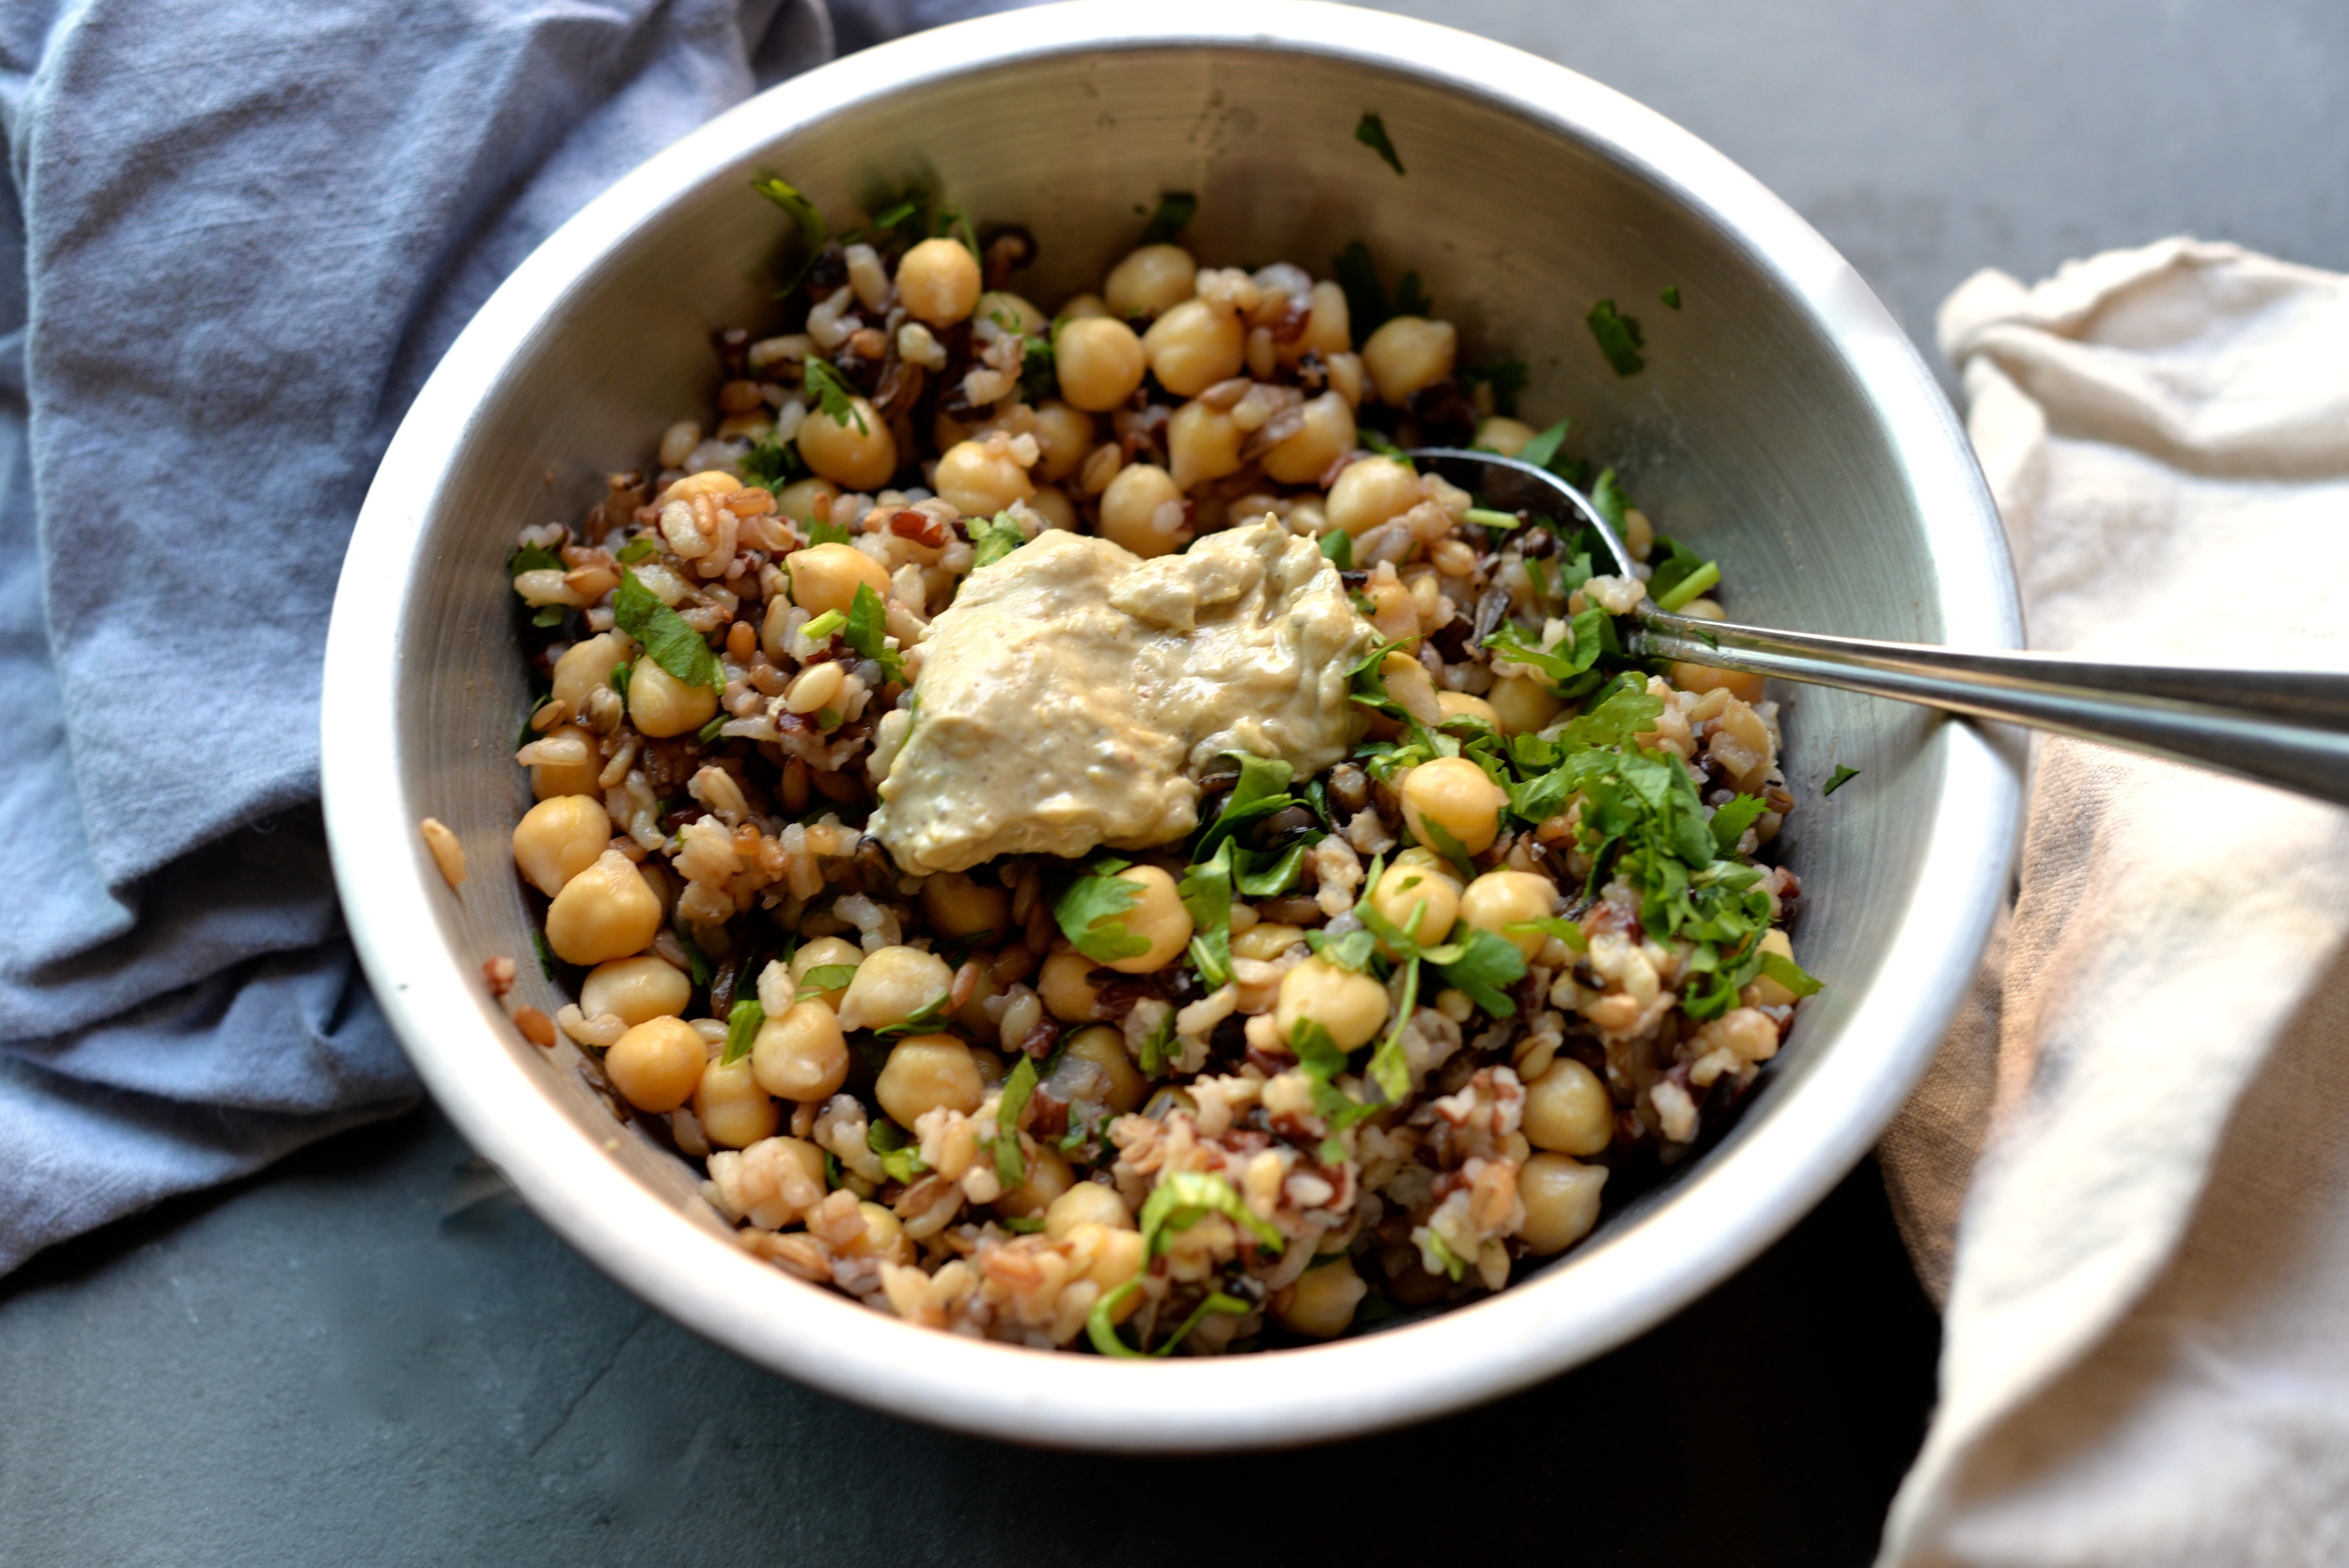
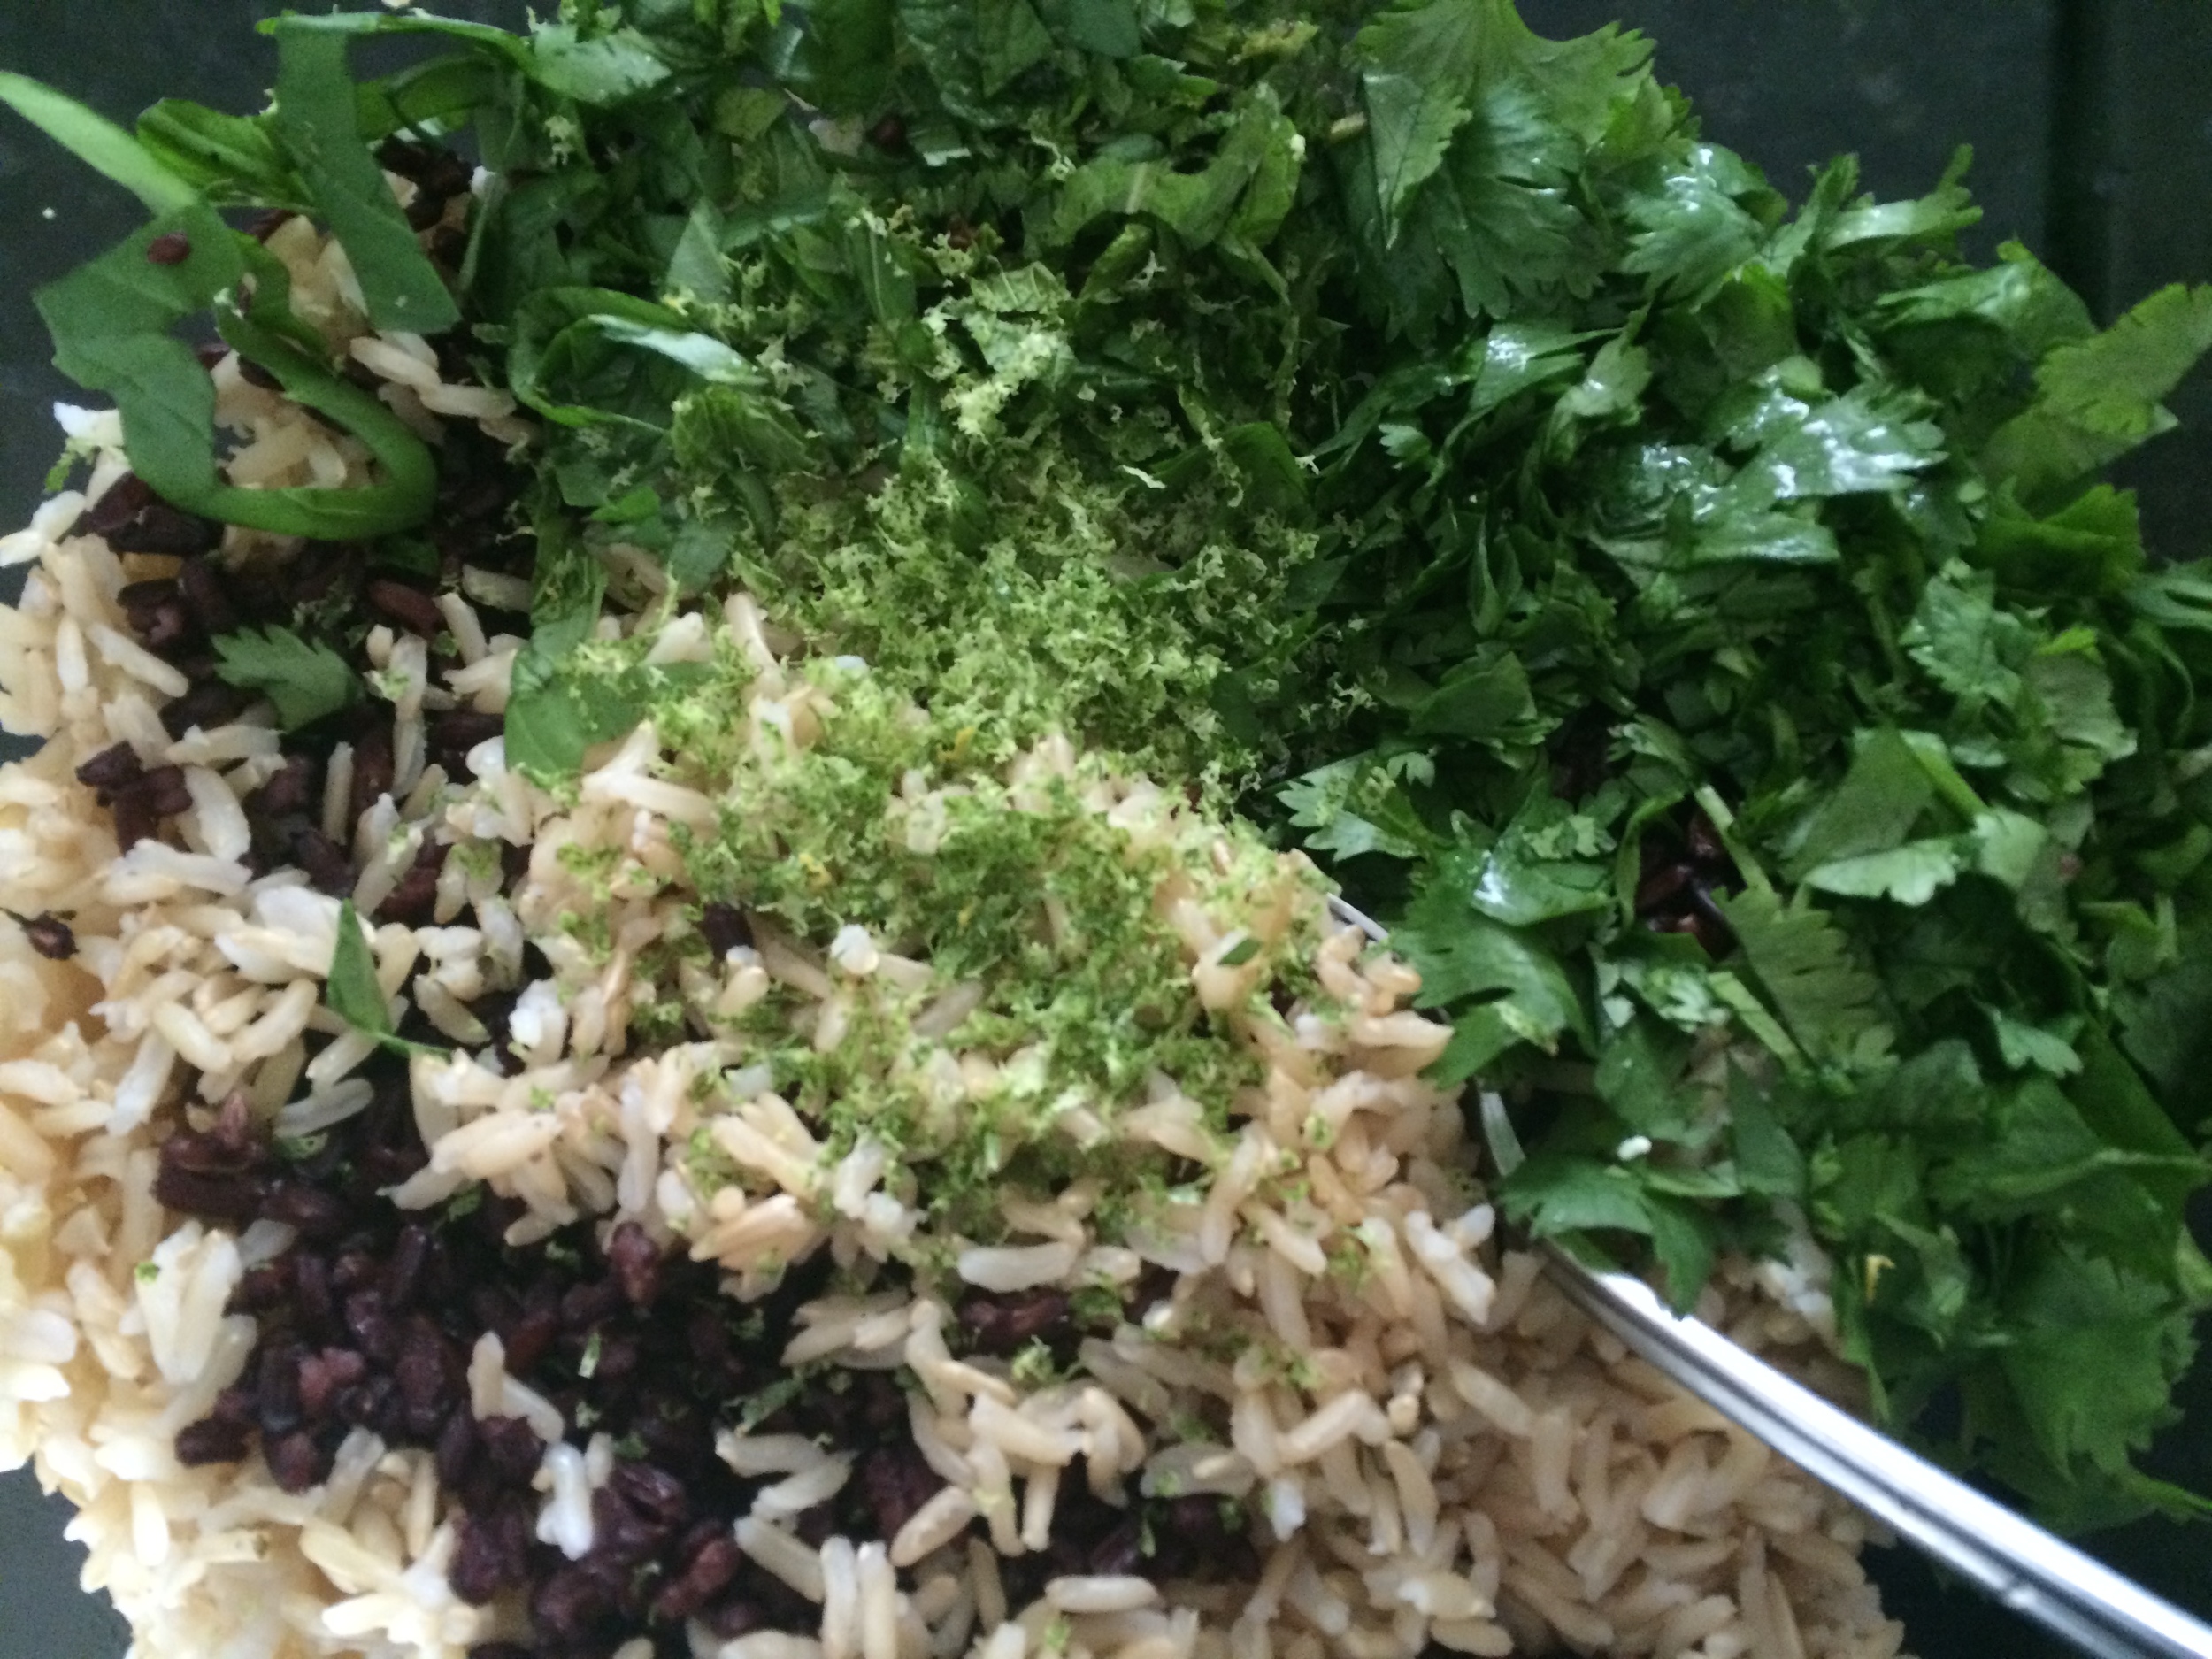
This spring bowl came together one evening when a foodie friend of mine and I decided to meld minds...and pantries and fridges. (Side note: This foodie friend is also an amazing photographer...who just so happens to be shooting our wedding in just over two weeks and who shot our engagement photos!!!). We had both been in a bit of a recipe funk, so we decided to make it interesting by each contributing two different ingredients to the mix and then coming up with a dish. I chose radishes and beluga lentils, and she chose avocado and black rice (side note: I used a short-grain brown rice when I re-made the recipe, but black rice is both beautiful and delicious if you have never had it). We made things up as we went, tasting here and there for any additions to make it all really sing. I had some spring chickweed, a dainty and slightly bitter green, and fresh mint in my fridge, and we assembled a bright lemon and olive oil dressing to drizzle over top of everything. It really does taste as good as it looks. It was so good, in fact, I made it again after restocking my radish supply.

DSC_3820.jpg
DSC_3815.jpg

Like most bowl recipes, this is a template. The amounts of each component will vary depending on your preferences, but the ingredient combo here is spot-on. If you are craving a little more crunch, go ahead and toss in some toasted nuts or seeds. Feta or a tangy goat cheese will be beautiful on here as will a hard-boiled egg if you want to make it even more robust. Either way, this bowl is fit for a spring goddess- or god!

Spring Goddess Bowl

1 cup short-grain brown rice
1 1/2 cups water
1/2 cup beluga lentils
1 small bunch of radishes (about 6-7 radishes), greens removed (or a mix of red and watermelon radishes)
1 avocado, sliced
2 handfuls of greens (examples are chickweed, arugula, mache, or even sprouts!)
a few mint leaves, finely chopped
1 small garlic clove, finely minced
1 lemon, zest and juice
1 tablespoon extra-virgin olive oil, plus more for sauteeing radishes
fancy salt, to taste...also known as Himalayan salt or flaky sea salt;)

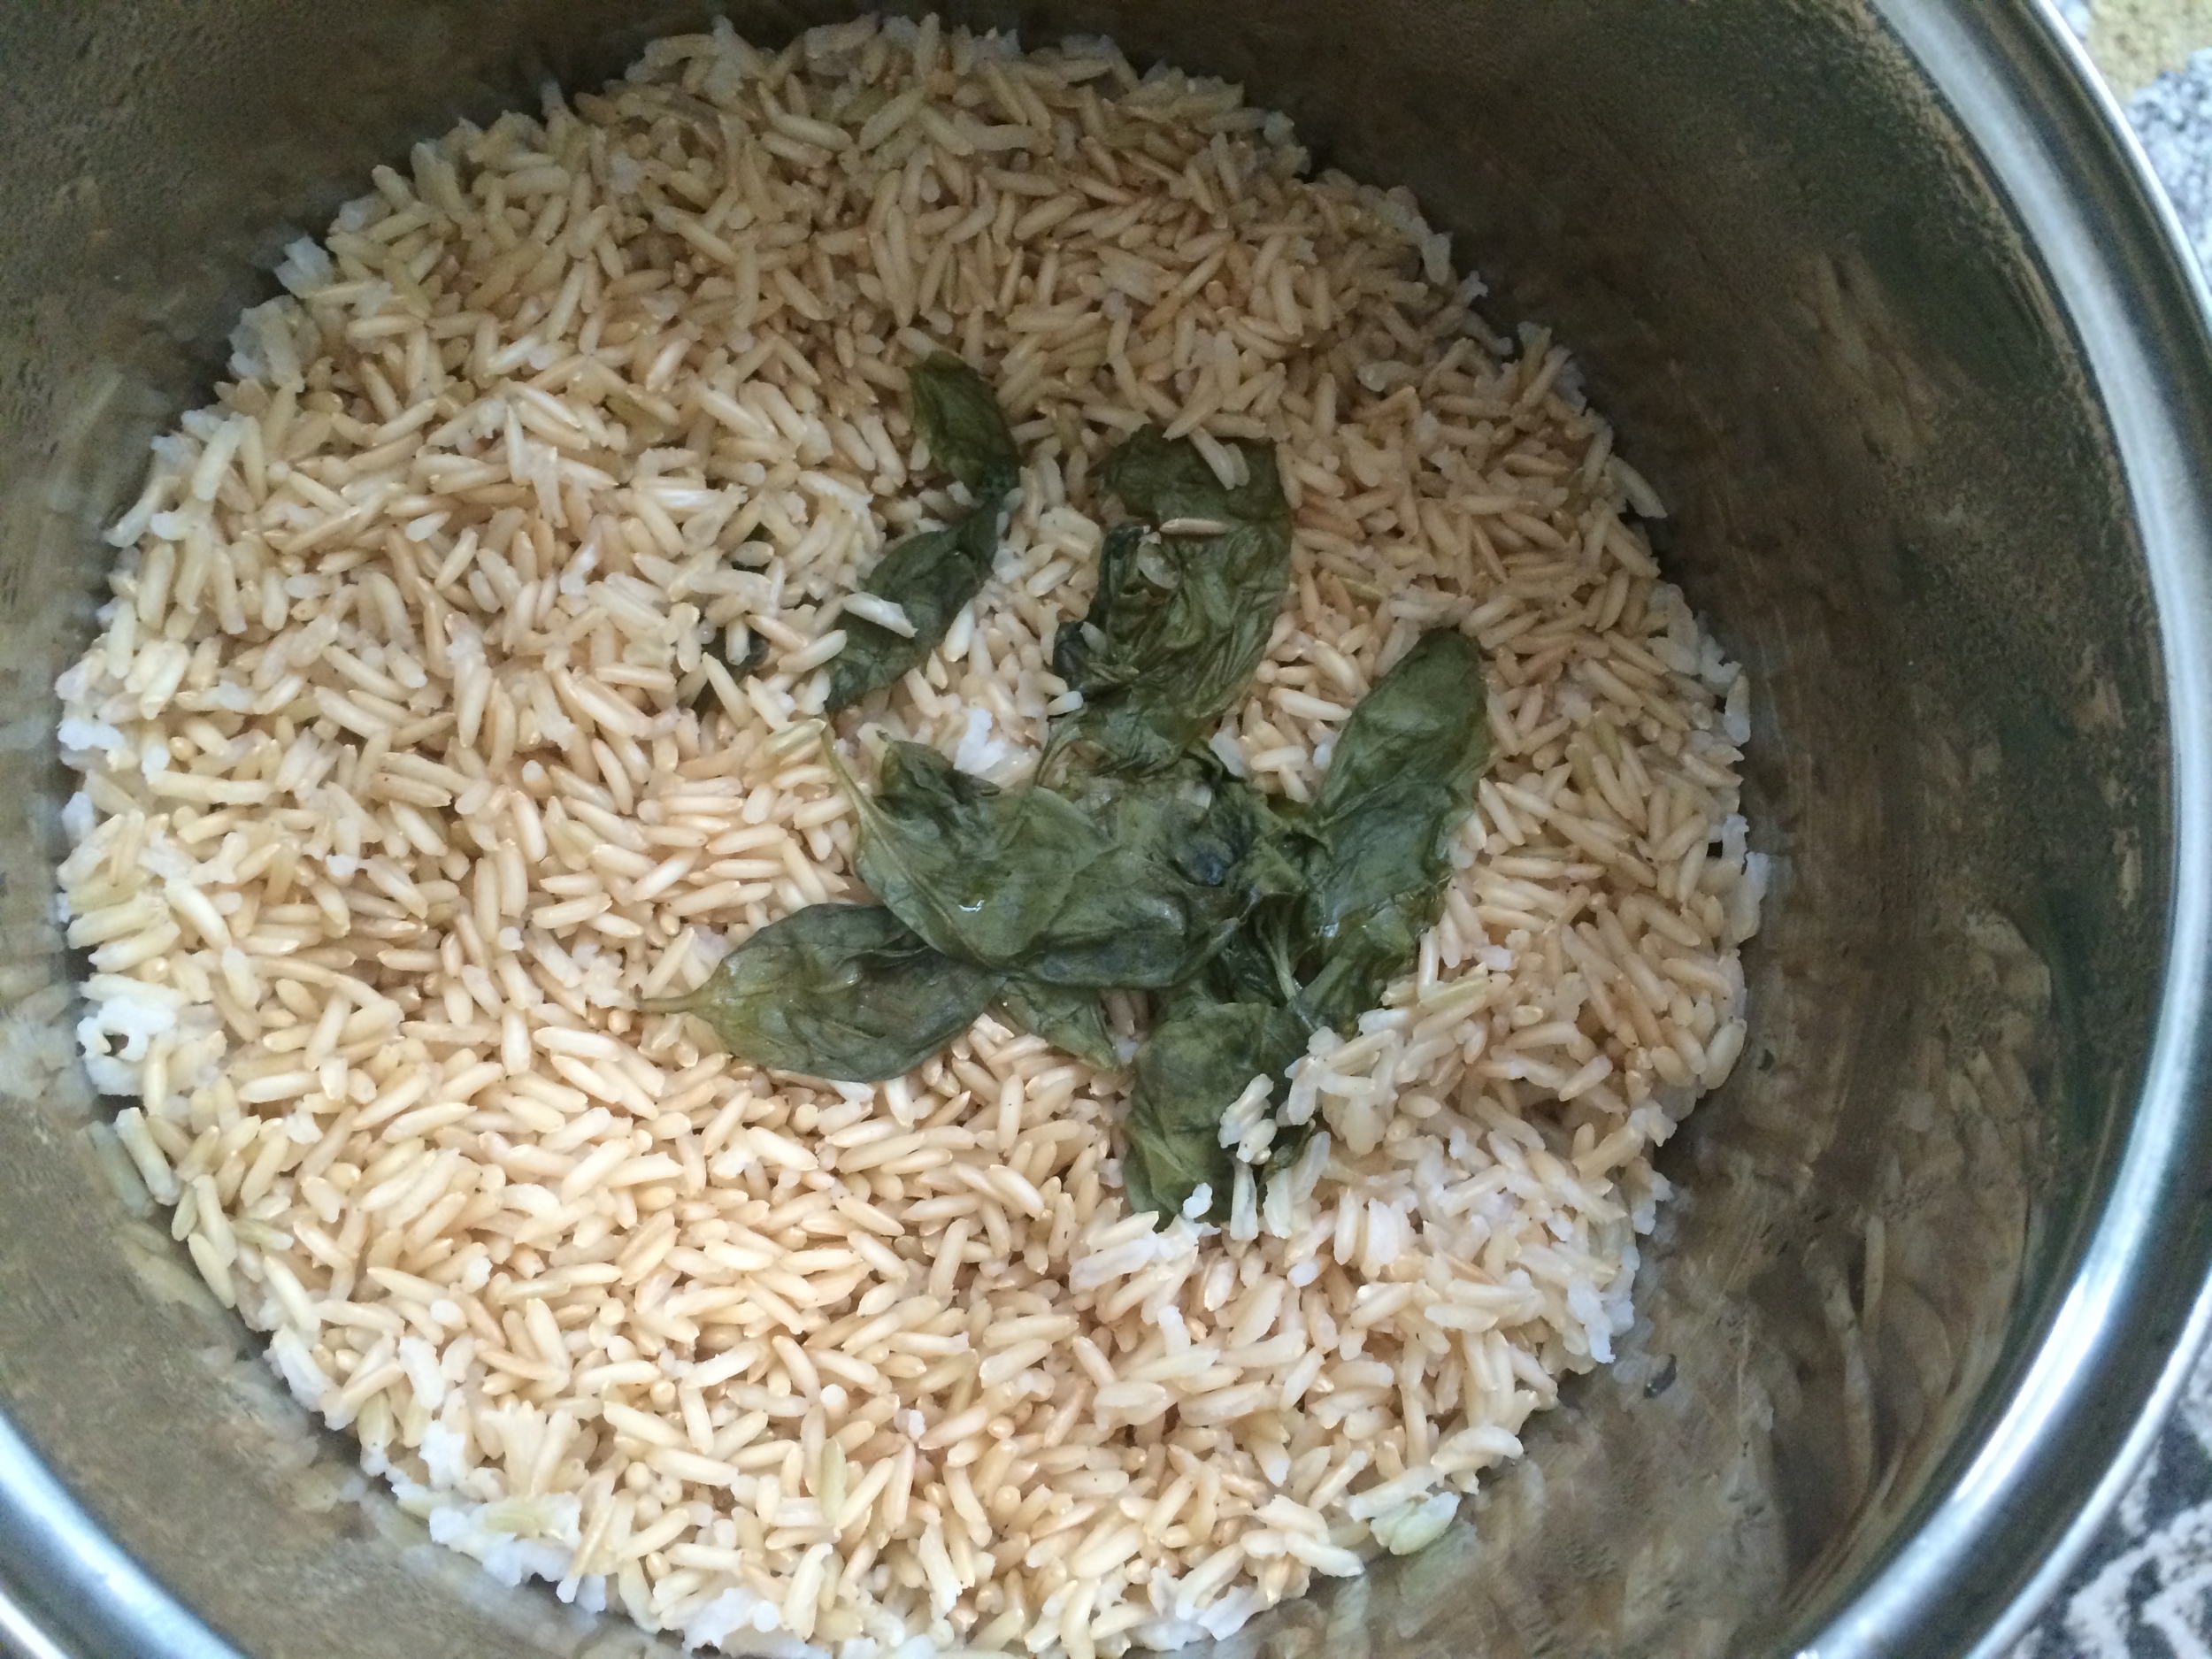
Cook rice. Bring water to a boil. Add rice, return to boil, then reduce heat to low. Cover pot and cook 45 minutes. Remove from heat and let rest 10 minutes. Reserve 2 cups of cooked rice for the bowl, and save the rest for another meal.

Cook lentils. Add lentils to pot and cover with water by 1-2 inches. Heat water to boiling, then reduce heat to simmer. Cook for 15-18 minutes or until tender. Test often to check doneness- you want a slight bite, but no mushiness. Drain and set aside.

Prepare radishes. Reserve one radish for raw garnish. Cut the remaining radishes into small wedges for sauteing. Heat 2 teaspoons olive oil over medium-high heat. Add radishes, sprinkle generously with salt, and saute about 5-8 minutes, stirring often. Remove radishes when just golden brown on both sides and tender.

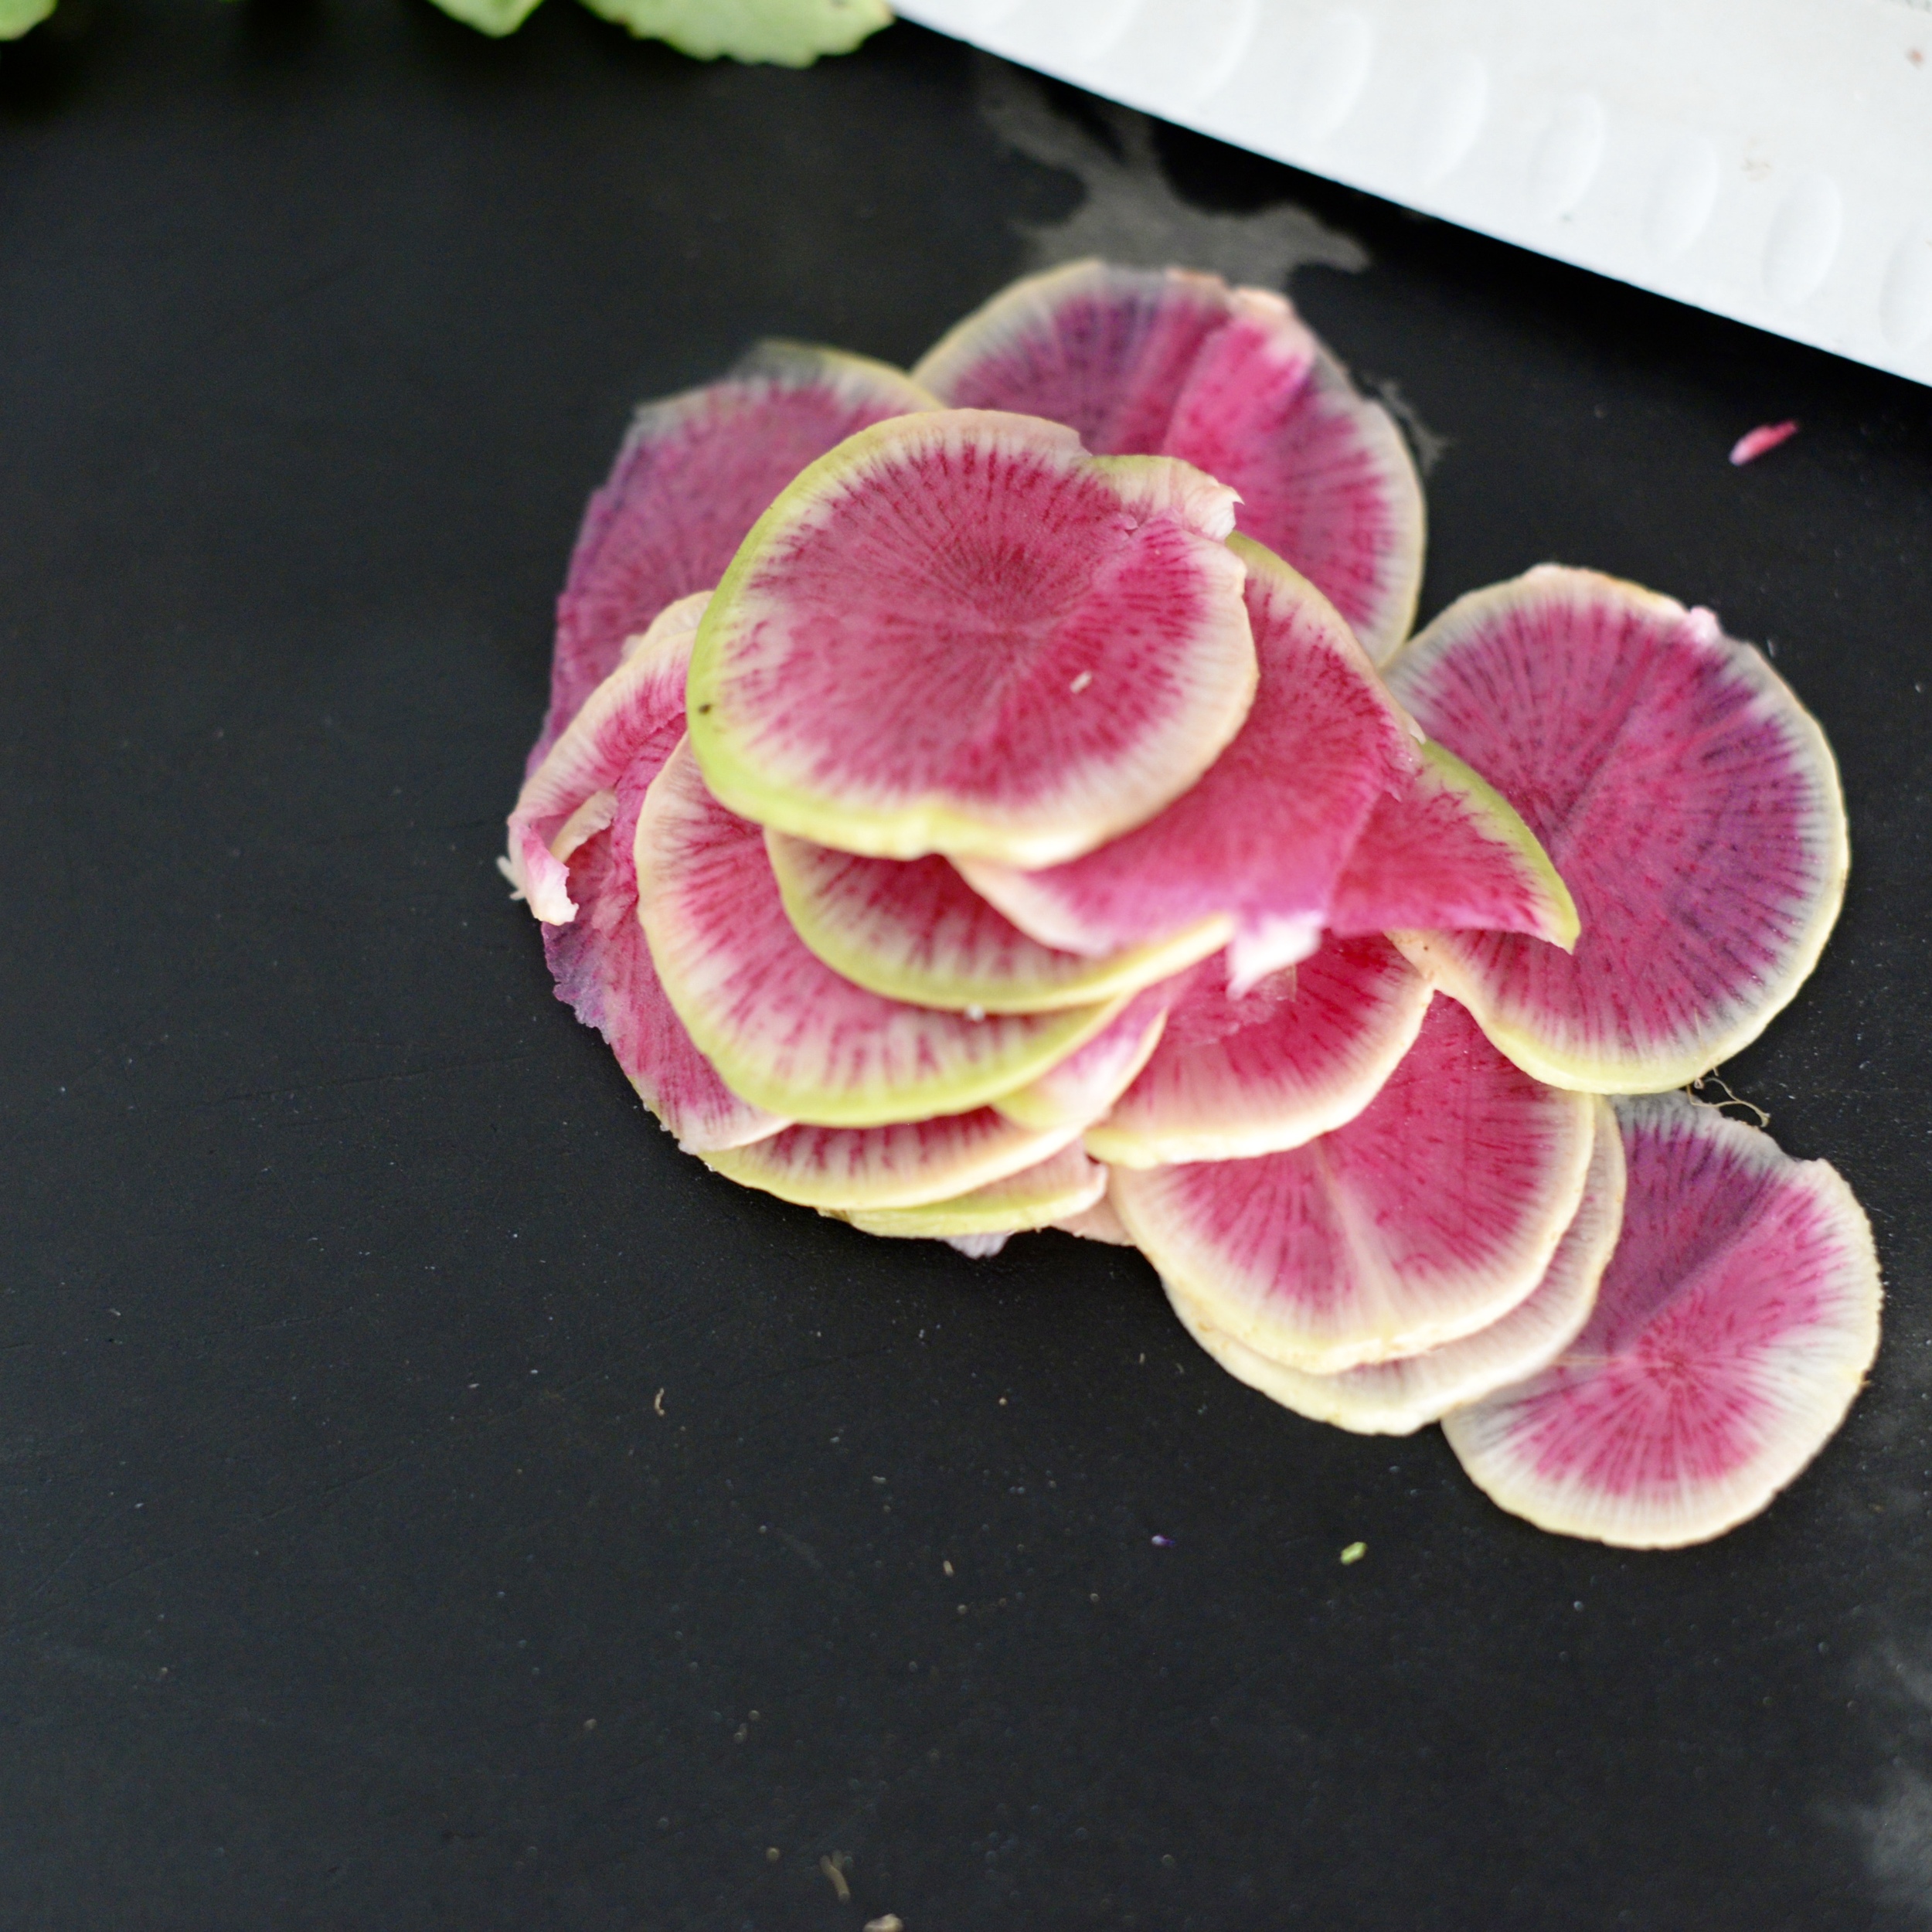
Thinly slice reserved radish (or use watermelon radish here) and then julienne slices for the raw radish garnish.

Make dressing. In small bowl, whisk together minced garlic, zest of 1 lemon, juice of 1 lemon, 1 tablespoon extra-virgin olive oil, and salt to taste.

Assemble bowls. Divide rice, lentils, sauteed radishes, and greens among two bowls. Top each with 1/2 of avocado, garnish with raw radish and mint, and drizzle with lemon vinaigrette. I like to finish mine with a sprinkling of fancy salt or whatever salt I have on hand. Enjoy! Makes 2 servings.   

DSC_3844.jpg
DSC_3849.jpg
In Mains, Salads Tags recipe, spring, lentils, brown rice, avocado, vegan, vegetarian, gluten-free, mint, radish, bowl, lemon
Comment

Brown Rice and Sweet Onions with Rosemary Shiitakes and Taleggio Cheese

October 11, 2015 Emily Watson

This is so comforting, so fall. Mushrooms, taleggio, and hazelnuts give the dish a rich umami flavor, and lemon zest and parsley brighten it up. The onions offer just that sweetness and curl around your fork like noodles as you dig in.  If you have never had taleggio, it is quite a funky cheese. It has a very earthy flavor, sometimes described as barnyardy, and is a bit chewy, but melts beautifully.

DSC_1449.jpg

This dish comes together easily. Cook some rice while you prepare the rest of the ingredients. Pile it all on top of the rice and broil just until the cheese gets oozy.

Brown Rice and Sweet Onions with Shiitakes and Taleggio Cheese

1 cup brown basmati rice
1 1/2 cups water
2 tablespoons olive oil, divided
1 lb. shiitake mushrooms, stems removed and sliced
1 15.5 ounce can chickpeas or 1 1/2 cup cooked chickpeas, rinsed and drained
2 teaspoons white wine vinegar
1 large yellow onion, sliced in half, and thinly sliced
1 1/2 teaspoons chopped fresh rosemary
2 garlic cloves, chopped
6 ounces taleggio cheese, chopped
1/4 cup hazelnuts, toasted and papery skins removed**
1/2 lemon, zested
handful of fresh parsley, chopped
salt and freshly ground pepper to taste

Cook brown rice. Add water and rice to pot. Bring to boil. Reduce heat to simmer, cover, and cook for 45 minutes. Remove from heat, and allow to rest, covered, for about 10 minutes.

Crisp onions. Heat 2 tablespoons oil in pan over medium-high heat. Add onions and some salt and cook over medium heat until they are crispy on the edges and softened but not completely caramelized, about 10-12 minutes.

Saute mushrooms. Heat 2 tablespoons olive oil over medium-high heat in large oven-proof skillet, such as a cast-iron skillet. Add mushrooms, sprinkle with salt and black pepper, and allow to cook until mushrooms soften, about 8-10 minutes. Add chickpeas, garlic, and rosemary, and cook 2 minutes or until fragrant and chickpeas are warmed. Stir in 2 teaspoons vinegar and immediately remove from heat.

Turn on broiler. Mix rice directly into mushroom mixture, and level. Spread crisped onions over top. Cube taleggio cheese and mix with parsley and hazelnuts until cheese is coated with herbs and nuts. Sprinkle rice with cubes of cheese. Broil for 3-5 minutes or just until cheese gets melty. Remove from oven and sprinkle with lemon zest. Enjoy! Serves 4.

**To toast hazelnuts: Toast at 400 degrees Fahrenheit for 8-10 minutes or until skins are starting to peel off and nuts become golden. Place in a kitchen towel to run off as much of the papery skin as possible.

DSC_1455.jpg
IMG_0201.JPG
In Mains Tags recipe, brown rice, onions, fall, cheese, mushrooms
8 Comments

Middle Eastern Grilled Eggplant with Lemon Tahini Sauce

August 31, 2015 Emily Watson

Some days, I am paralyzed with indecision of what to cook, so I cook nothing at all. For example, I have loads of zucchini. I could make a ratatouille, throw them in a minestrone, confit them, grate them into little zucchini fritters. Instead, I do nothing with them, putting off the decision for another time. I turn into a grazer, eating a little bit of this, a little bit of that, until I feel satisfied. It may be some leftovers + avocado toast with an egg + a sliced tomato with sea salt + a cup of yogurt with nuts and chocolate + some leftover brown rice with cheese... it can go on. I tend to keep whole and nutritious foods on hand, so it is not like I am grabbing bags of processed this and that, but it is a lot less satisfying, a lot less satiating to graze and assemble than it is to sit down to a composed meal.

Ideally I would use the weekend and decide what to make for the week ahead, go to the farmers' market and grocery store and only buy those ingredients and get started on my cooking. This is something I am working on, and I know it can be done- my older sister and her husband have this whole menu planning thing down to an art and have for several years. Instead, what usually happens is I go to the farmers' market and grocery store and buy ingredients I happen to be in the mood for, that are looking rather pretty, or are on sale. Then I go home and eventually figure out what to do with them. While I certainly like the spontaneity of this sort of wing-it style, planning and organizing would help me avoid many of those indecision-induced grazing sessions.

A solution to my moments of indecision is to have a third party decide for me what I am doing with all of my ingredients, or rather, narrow my options of what to do with them. This is where Foodie Dice comes in. I saw them in a magazine last year and knew I had to order them. They could get me out of my decision ruts and spur me into action. The idea behind Foodie Dice is that you roll 6 dice, each with a different component to make a full meal. The categories are: protein, starch/ carb, herb, cooking method, bonus ingredient, and seasonal vegetable (there are 4 dice for this category). You roll and voila!...your dinner template is revealed. You obviously can re-roll any dice for which you do not have the ingredient on hand and see if something else comes up. What is wonderful about the dice is that you are still in charge of executing the dish and bringing the whole thing together, but the main parts are chosen for you. Fewer options for the win.

I had a bounty of summer vegetables that I purchased from the local farmers' market. Everything was beautiful- zucchini, eggplant, peppers, tomatoes, cucumbers, corn, but I just stared at it all when I got home. I could not commit to a dish I wanted to make, so I pulled out my little bag of dice and decided to leave dinner's fate in the dice's roll. And the results were... lamb or beans, rice, oregano, grill, garlic, and eggplant.

DSC_0779.JPG

I had chickpeas on hand and a multi-grain/ brown rice mix that I had cooked a few days earlier. I did not have any fresh or dried oregano, but I did have a jar of Middle Eastern za'atar which contains dried oregano, thyme, and sesame seeds which I decided would work beautifully with the eggplant. I had a grill, garlic, and a gorgeous deep purple eggplant from the market. I added in some lemon, fresh cilantro, and tahini to tie it all together, and the result: a beautiful, summer dish inspired by the flavors of Israel, from where my little jar of za'atar had come.

DSC_0635.JPG

This dish can easily be made ahead of time without the extra tahini sauce on top. Just reheat in the oven. When you remove it from the oven, the heat will help the tahini sauce get into all of the nooks and crannies. Sprinkle with a little extra cilantro or parsley, and you will be ready to serve. I used a brown rice/ grain mix here, but plain brown rice, quinoa, millet, etc. would work, and another white bean or even lentils could serve as a chickpea substitute. Have fun with it!

DSC_0797.jpg
DSC_0801.JPG

Middle Eastern Grilled Eggplant with Lemon Tahini Sauce

Grilled Eggplant:
1 large eggplant, top removed, and cut into 1/4" slices, lengthwise
1 1/2 tablespoons olive oil
1/2 teaspoon salt

Filling:
1 1/2 cups cooked brown rice
1 cup cooked chickpeas, drained (canned are fine)
1 1/2 teaspoons za'atar spice mix or dried oregano
1 large handful of cilantro or parsley, washed and roughly chopped
1/2 teaspoon salt, plus more to taste

Lemon Tahini Sauce:
1 lemon, zest and juice
1 garlic clove, minced
2 1/2 tablespoons tahini paste
1 tablespoon extra-virgin olive oil
salt and pepper

Grill eggplant. Heat grill to high heat. Drizzle eggplant slices with 1 1/2 tablespoons olive oil and sprinkle evenly with salt. Grill eggplant slices, turning once, until softened, about 5-8 minutes total. Remove from grill and set aside.

In a small bowl, mix lemon zest and juice and garlic clove. Allow to sit for 5 minutes for garlic to mellow. Whisk in tahini paste, extra-virgin olive oil, and a sprinkling of salt and pepper.

In another bowl, combine rice, chickpeas, za'atar, cilantro, salt, and 1/2 of the lemon tahini sauce. Stir until well-combined.

Preheat oven to 400 degrees Fahrenheit. Lay out eggplant slices on a cutting board or counter-top and place a heaping spoonful of filling on one end of each slice. Roll each slice up. Tuck away in a baking dish, seam side down. If any filling remains, you can sprinkle it around the edges of the dish. Bake for 20 minutes. Remove from oven and drizzle remaining lemon tahini sauce on top and sprinkle with remaining herbs. Enjoy! Serves 4.


DSC_0805.JPG
DSC_0806.JPG
In Mains Tags recipe, eggplant, summer, chickpeas, brown rice, vegan, vegetarian, gluten-free, tahini, foodie dice
6 Comments

Mango and Coconut Rice Salad

June 5, 2015 Emily Watson
Mango and Coconut Rice Salad

Yotam Ottolenghi does some magical things with food. He celebrates herbs, spices, vegetables, grains and has a way with making dishes almost too beautiful to eat. Almost. That is because after once bite, you are hooked and going in for another spoonful, forkful, what have you. When we were in London a few summers ago, I made it a mission to visit his eponymous cafe and was blown away with everything that I tasted. It exceeded expectations, and I told my boyfriend that it would be okay if he traveled to Paris, Antwerp, and Amsterdam alone while I parked myself at Ottolenghi for the rest of the vacation. We also got a chance to try Nopi, another one of his resturants that we just so happened to stumble upon during one of wanderings, and only had the most complex Shakshuka I had ever tasted. I dream about living steps away from his cafe.

Until then, cooking from his cookbooks will just have to do. I have more recipes in Plenty marked to try at some point than unmarked. And my sister "borrowed" my Plenty More several months ago. She keeps raving about all of the recipes she has made from it, forgetting that one day, she will have to give it back, or just hoping that I will forget that it was mine to begin with. The recipes in Plenty are heavy with vegetables and herbs. He has recipes for all seasons.

Since we have loads of mangoes to eat, I decided to try out Ottolenghi's Mango and Coconut Rice Salad, or at least a close approximation of it. You can find the original recipe in Plenty or here. I made several modifications, but the essence is the same. Two types of rice for texture and flavor, herbs, mango, citrus, coconut, and peanuts. I made the changes based on what I had on hand and my preferences, and we could not be happier with the results. I used brown basmati rice and Lundberg's Black Japonica Rice for its nutty flavor, but if you substitute other rice or grain types, I would be sure to use about 5 cups cooked rice or 5 cups cooked grain in total. This would make a fabulous salad for a make-ahead lunch or an outdoor gathering. It is a real stunner.

Mango and Coconut Rice Salad

2/3 cup brown basmati rice
scant 1 1/3 cup water
pinch of salt
1 cup loosely packed fresh basil, divided
1 cup Black Japonica rice
scant 2 cups water
1 red bell pepper, thinly sliced
1/4 cup mint leaves, roughly chopped
2/3 cup cilantro leaves, roughly chopped
2 scallions, thinly sliced
1/2 fresh serrano chile, seeded and finely chopped
grated zest of 1 lime
juice of 2 limes
1/2 cup roasted salted peanuts, roughly chopped
1/2 cup unsweetened shredded coconut, toasted
2 tablespoons extra-virgin olive oil
Salt, to taste
1 large mango, cut into 1-2 cm dice

Cook the two types of rice. In a small saucepan, combine the brown basmati rice, scant 1 1/3 cup water, and 1/2 cup a basil leaves. Sprinkle with salt, bring to boil. Cover, reduce heat to a simmer, and allow to cook for 40 minutes. Remove from heat and allow to sit, covered, for 10 minutes. Remove basil leaves and discard.

For the black rice, combine the black rice, the scant 2 cups of water, and sprinkle of salt in a saucepan. Bring to a boil, cover, reduce heat to a simmer, and allow to cook for 40 minutes. Remove from heat and allow to sit, covered, for 10 minutes. Allow both rice types to cool at least to room temperature before proceeding so as not to wilt the herbs.

IMG_6901.jpg
IMG_6902.jpg
IMG_6905.jpg
IMG_6915.jpg
IMG_6961.jpg

Meanwhile, prepare the rest of the ingredients. Add the pepper, herbs, scallions, chile, lime zest and juice to a bowl. Add the cooled rice, the peanuts, and olive oil. Stir to combine and adjust salt to taste. Sprinkle in the toasted coconut, and carefully add in the mango and toss gently so as not to mush the pieces of mango. Enjoy! Serves 4.    


In Salads Tags brown rice, gluten-free, recipe, coconut, red pepper, mangoes, peanuts, basil, mint, summer
Comment

Vegetable Nori Rolls

June 1, 2015 Emily Watson

One of the most appealing things to me about sushi is just how neatly organized and beautiful it is. Fillings are bound in a nori and rice bundle, with all of their colors displayed. Little bundles of freshness they are. While I enjoy sushi with raw fish, it is often difficult to find high-quality sushi-grade fish that comes from sustainable sources. Vegetarian rolls are often a go-to for me when I am out with friends and not quite sure about the quality or sourcing of the fish, which is pretty often. Fillings can get extremely creative, and I love discovering new combinations that pair well with sushi rice and nori.

Peanut and avocado is a favorite combination of mine. When I first ordered it, others at the table were skeptical of my vegetarian roll, but there was something about the salty peanuts and creamy avocado that made them change their mind. You can really fill these rolls with whatever you like as the method will be pretty much the same for all sorts of rolls you would like to create. I purchased a sushi mat a long time ago, and it is a fun tool to have on hand if you want to make your own rolls regularly or host a sushi making party. I use brown rice here that I season with rice vinegar. Of course, you do not have to season the rice, but it really does make it taste more authentic.

The rolling technique can be a little tricky at first, but there are a few key tips that will make rolling a little easier.  You can also watch a video such as this one to get the idea.

  • Line your mat with plastic wrap to make clean-up easier.
  • Do not be tempted to over-stuff the roll. You will end up with a nori burrito that is not as sturdy and frankly does not look as cute.
  • Tightly squeeze the roll, firmly but gently, after each rotation to get the tightest, most secure roll.
  • Leave about 2 inches of one end of the nori free of rice so that you can wrap the roll securely.
  • When you cut the roll, use your sharpest knife and dip it in a cup of water between cuts.

The basic roll recipe is adapted from Kristy's Avocado, Mango, and Kimchi Sushi Rolls at Keepin' it Kind. I used honey instead of mirin to ever so lightly sweeten the rice because I always have it on hand.

Vegetable Nori Rolls

Rolls:
2 sheets nori, toasted*
2 cups cooked short grain brown rice, warm or at room temperature (I used a rice cooker)
1 tablespoon brown rice vinegar
1/2 teaspoon honey (agave, if vegan)
1/2 teaspoon salt
Reduced sodium soy sauce or tamari, for serving
Pickled ginger, for serving (optional)

Avocado and Peanut Filling:
1/4 avocado, peeled and thinly sliced
2 tablespoons chopped roasted and salted peanuts

Cucumber, Carrot, Avocado and Tempeh Filling:
1/8th of a block of tempeh, sliced into 1/4-inch slices and browned in 2 teaspoons coconut oil over medium heat until golden
1/4 English cucumber, seeded and cut into 1/8-inch slices
1/4 carrot, peeled and cut into 1/16-inch matchsticks
1/4 avocado, peeled and cut into 1/4 inch slices

Make the sushi rice. Mix the vinegar, honey, and salt together until combined. Stir mixture into warm to room-temperature cooked short-grain brown rice.

IMG_6559.JPG

Assemble the sushi. Place plastic wrap on the bamboo mat to cover. Place a piece of toasted nori, shiny side down, atop the plastic wrap. Cover the nori with 1 cup of seasoned sushi rice, leaving the last 1 1/2 to 2 inches of nori furthest from you free of rice. Dip your fingers in water if the rice starts to stick to them. Line the fillings of choice alongside the closest end to you.

IMG_6563.jpg
IMG_6565.JPG
IMG_6569.jpg

Roll the sushi. Beginning with the edge closest to you, lift the mat up and over the filling. Squeeze mat gently along the length of the roll to secure the filling, then peel back the plastic wrap and mat once you feel the roll is secure. Roll again, squeeze firmly but gently, and peel back the mat and plastic wrap as necessary until you reach the end of the roll. Give the roll a final squeeze to make sure it is sealed. Remove the bamboo mat and plastic wrap.

Cut the roll. Dip a very sharp knife (not serrated) into water, and slice the roll crosswise into 8 or 9 pieces.

Repeat with the other nori sheet and fillings of choice. Serve with wasabi, pickled ginger, and soy sauce, if using. Makes 2 rolls.

IMG_6568.jpg

*To toast nori, wave the nori about 4-5 inches over a gas flame for about 30 seconds or until the green becomes brighter.

IMG_6578.jpg
IMG_6593.jpg


In Mains Tags recipe, asian, vegetarian, tempeh, brown rice, vegan, avocado
1 Comment
Older Posts →
Hi! I'm Emily. I love to cook whole, nourishing foods, and this is where I share my kitchen experiments and sometimes a little bit of life.

Hi! I'm Emily. I love to cook whole, nourishing foods, and this is where I share my kitchen experiments and sometimes a little bit of life.

Featured
  • July 2017
  • May 2017
  • April 2017
  • March 2017
  • February 2017
  • January 2017
  • December 2016
  • November 2016
  • October 2016
  • September 2016
  • August 2016
  • July 2016
  • June 2016
  • May 2016
  • April 2016
  • March 2016
  • February 2016
  • January 2016
  • December 2015
  • November 2015
  • October 2015
  • September 2015
  • August 2015
  • July 2015
  • June 2015
  • May 2015
  • April 2015
  • March 2015
  • February 2015

  • Appetizers 18
  • Breakfast 18
  • Life 4
  • Mains 39
  • Miscellaneous 2
  • Salads 21
  • Sandwiches 6
  • Side Dishes 8
  • Smoothies 4
  • Snacks 10
  • Soups 14
  • Spreads Dips Sauces 5
  • Sweets 6
  • Vegetarian 1

  • almonds
  • appetizers
  • autumn
  • avocado
  • breakfast
  • brown rice
  • chickpeas
  • chocolate
  • cilantro
  • coconut
  • coconut milk
  • fall
  • gluten-free
  • kale
  • lentils
  • make ahead
  • mint
  • oatmeal
  • recipe
  • salad
  • snack
  • soup
  • spring
  • summer
  • sweet potatoes
  • tahini
  • vegan
  • vegetarian
  • walnuts
  • winter

subscribe

Sign up with your email address to receive new posts directly

We respect your privacy.

Thank you!

All photographs, recipes and content are property of Nourishing Matters, unless otherwise noted. Please do not redistribute without my permission. Thank you!

Powered by Squarespace