The crispy crunch of snow pea is so satisfying when the weather starts to warm. I buy them by the quart at the farmers’ market- a mix of vivid green and deep, dark purple ones if I'm lucky- popping them in my mouth just from the fridge when I need a refreshing, hydrating snack. As much as I could eat all of them raw, unadulterated, a snap pea salad my sister and her boyfriend brought to our house for a potluck showed me new potential for spring's bounty, that snow peas could taste even better tossed with a handful of ingredients.
Their recipe came via the blog, Kosher Camembert, which made their own riff off of NYC’s Union Square Cafe’s Sugar Snap Pea Salad. I made a few changes to their recipe and quite a few to the original, based on what I had on hand. Snow peas worked as a beautiful substitute for sugar snap pea. Lemony, bright, and minty, this salad is addicting. It is just as good right after tossing together as it is a few days in the fridge as the flavors have had time to mingle and the snap peas to marinate. My only recommendation? Make it with the best snap peas you can find- young and sprightly as later in the season they get tough and stringy.
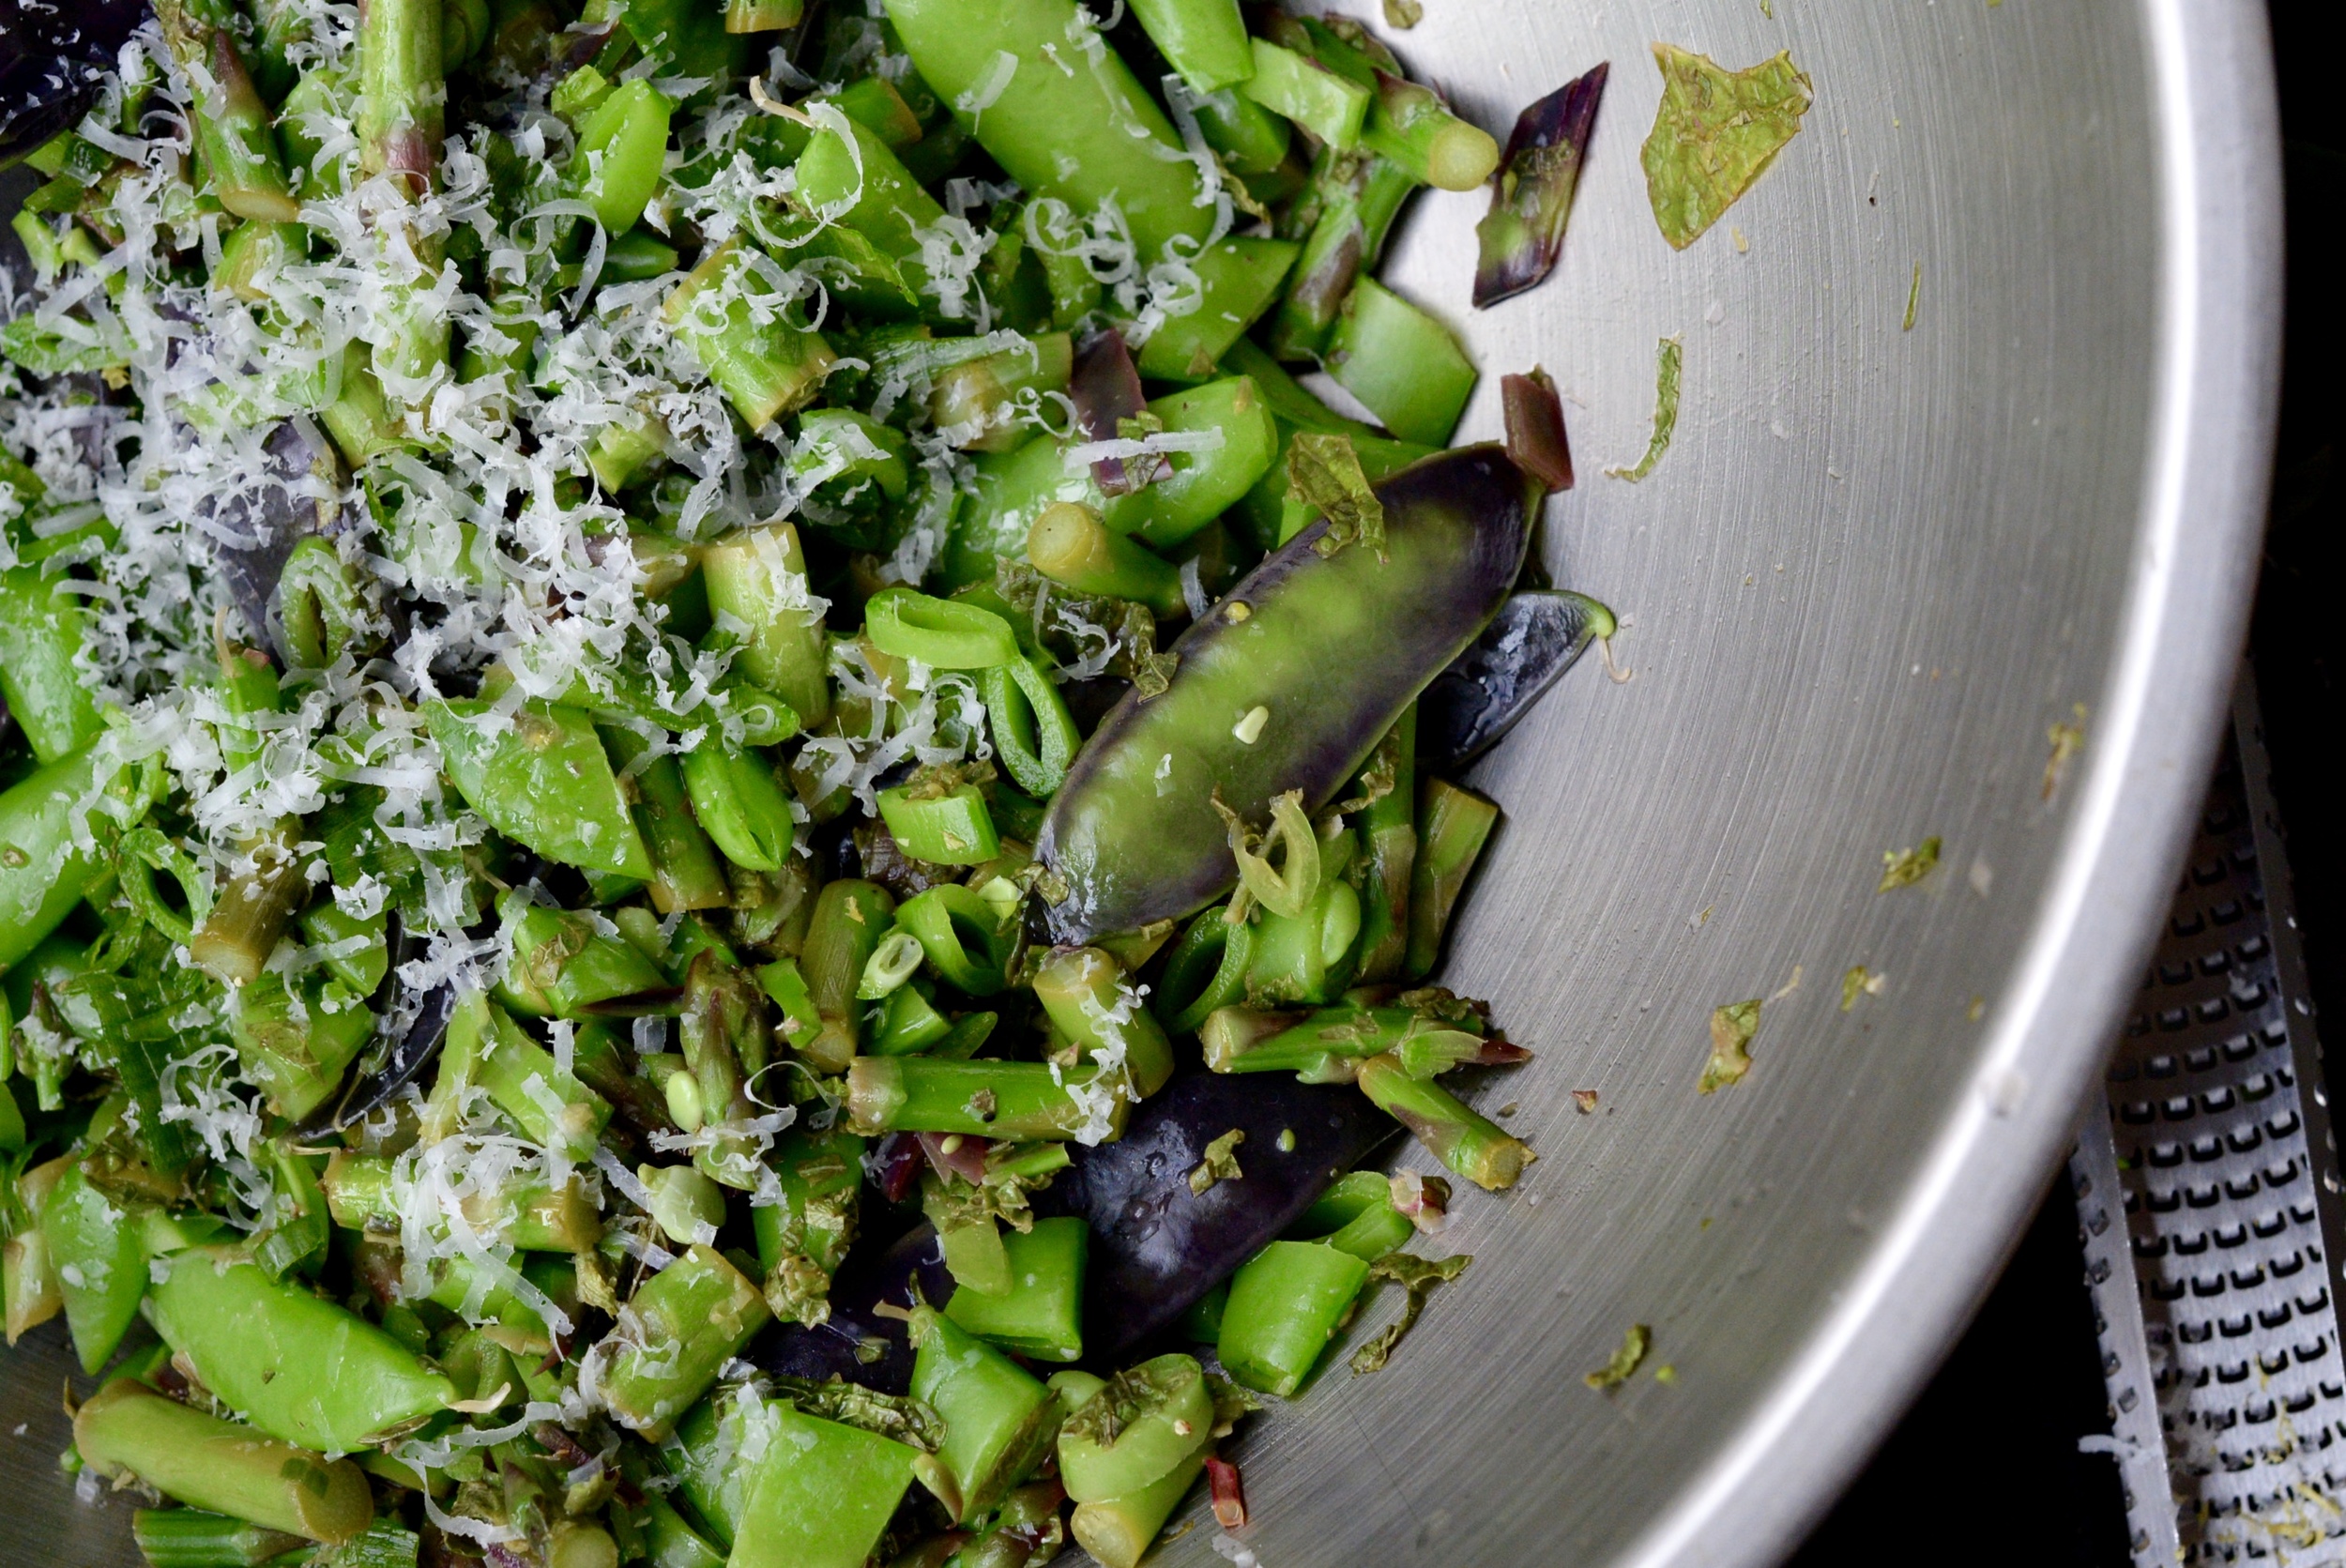
Snow Pea and Mint Salad
1 lb. snow peas, ends trimmed
1 small shallot, finely minced
½ lemon, zested and juiced
2 tablespoons white wine vinegar
¼ cup extra-virgin olive oil
¼ cup fresh mint, finely chopped
⅓ cup finely grated Parmigiano Reggiano
salt and pepper, to taste
Blanch snow peas. Prepare an ice bath, filling a bowl with ice and water. Bring medium pot of water to a boil. Add a generous pinch of salt and 1 lb. snow peas. Cook for 20 seconds and immediately remove, plunging into an ice bath to stop the cooking process.
Make dressing. In a small bowl, whisk together shallot, lemon zest and juice, vinegar, olive oil, mint, cheese, and salt and pepper to taste. Allow flavors to meld 10 minutes. Drain snow peas from ice bath and chop three-quarters of them in ½-inch pieces. Toss chopped snow peas with whole snow peas and drizzle with dressing, coating evenly. Season to taste with additional salt and pepper. Enjoy immediately or in a few days. Serves 4-6.