• Home
    • About Nourishing Matters
    • About Emily
    • Frequently Asked Questions
  • Recipes
    • Offerings
    • Past Programs and Events
    • Experience and Teaching Style
    • Articles and Features
    • Travel
Menu

nourishing matters

Street Address
City, State, Zip
Phone Number
where wholesome meets delicious

Your Custom Text Here

nourishing matters

  • Home
  • About
    • About Nourishing Matters
    • About Emily
    • Frequently Asked Questions
  • Recipes
  • Work with Me
    • Offerings
    • Past Programs and Events
  • Yoga
    • Experience and Teaching Style
  • Press
    • Articles and Features
  • Adventures
    • Travel

Wheat Berry Salad with Kale, Orange, and Olives

February 16, 2017 Emily Watson

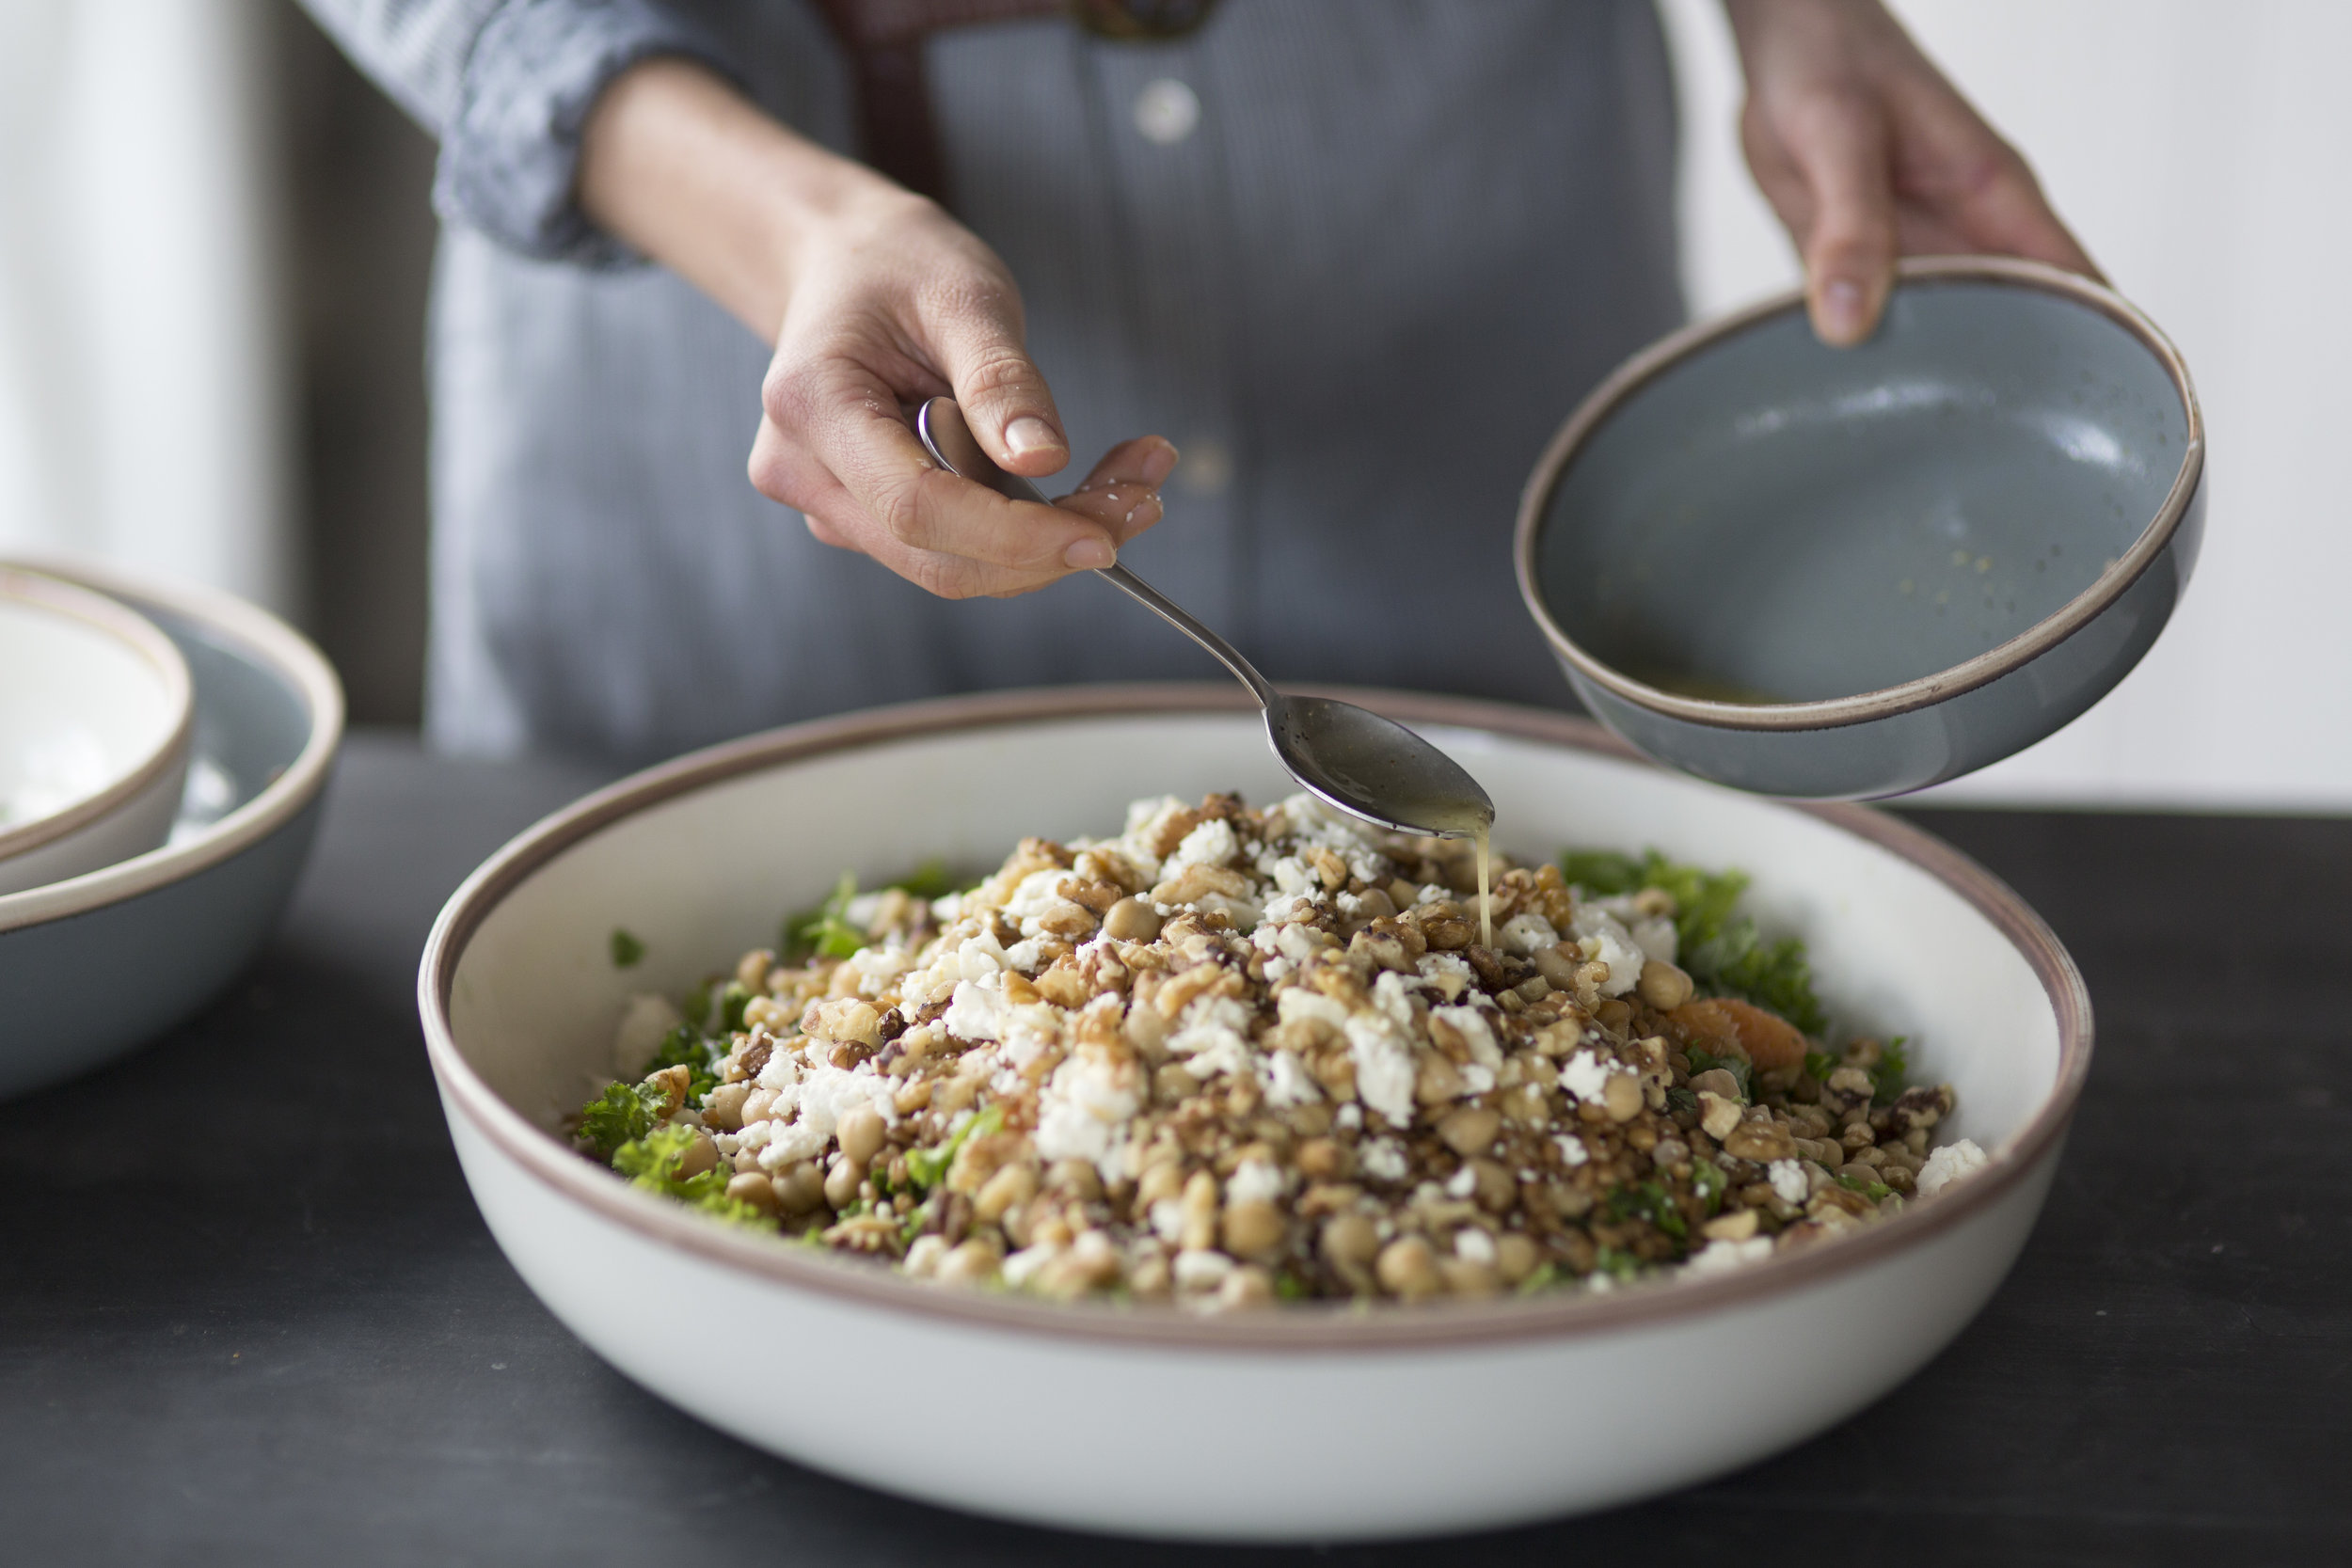
Over the past few weeks, I've had to opportunity to share some of my favorite healthy eating tips on my favorite store's blog. If you've been reading a while, you may know that I have a major crush on Terrain, Anthropologie's Home + Garden Store. It's got a pretty amazing online presence, but it also has the most beautiful store in Glen Mills, PA. It also has a super special place in my heart because it's where my husband and I got married last April. So, when they asked me to contribute to their blog in the spirit of wellness, I was so honored. 

In this third post, (my first and second are here and here), I talk about grain bowls. It's no surprise that I rely on them as part of my weekly pseudo-meal plan because they are so easy to throw together, are nourishing, and can go in all sorts of directions depending on what's in season and what I'm craving. 

In coming up with this particular grain combo was inspired by these gorgeous nesting bowls Terrain has in their store now. Seriously, I want a whole set of them. Maybe two. They're beautifully rustic and glazed in earthy hues. I wanted to create an equally rustic salad, but with bright flavors, and colors that would complement the blues and naturals. 

Citrusy with a salty punch and nutty finish, this salad is one for bookmarking. I made it three times in two weeks because I couldn't get enough. I think you're going to love this. 

Head over to Terrain's blog to check out the recipe! 

And if you're wondering, this post is in no way sponsored. I just love working with a company that's putting out some amazing things. Oh, and the photos? Those were shot by the talented Katie Hennessey for Terrain.

022217_NourishingMatters024.jpg
In Mains, Salads Tags recipe, wheat berries, chickpeas, orange, walnuts, salad, make ahead, vegetarian
1 Comment

Black Bean and Quinoa Chili

September 29, 2016 Emily Watson

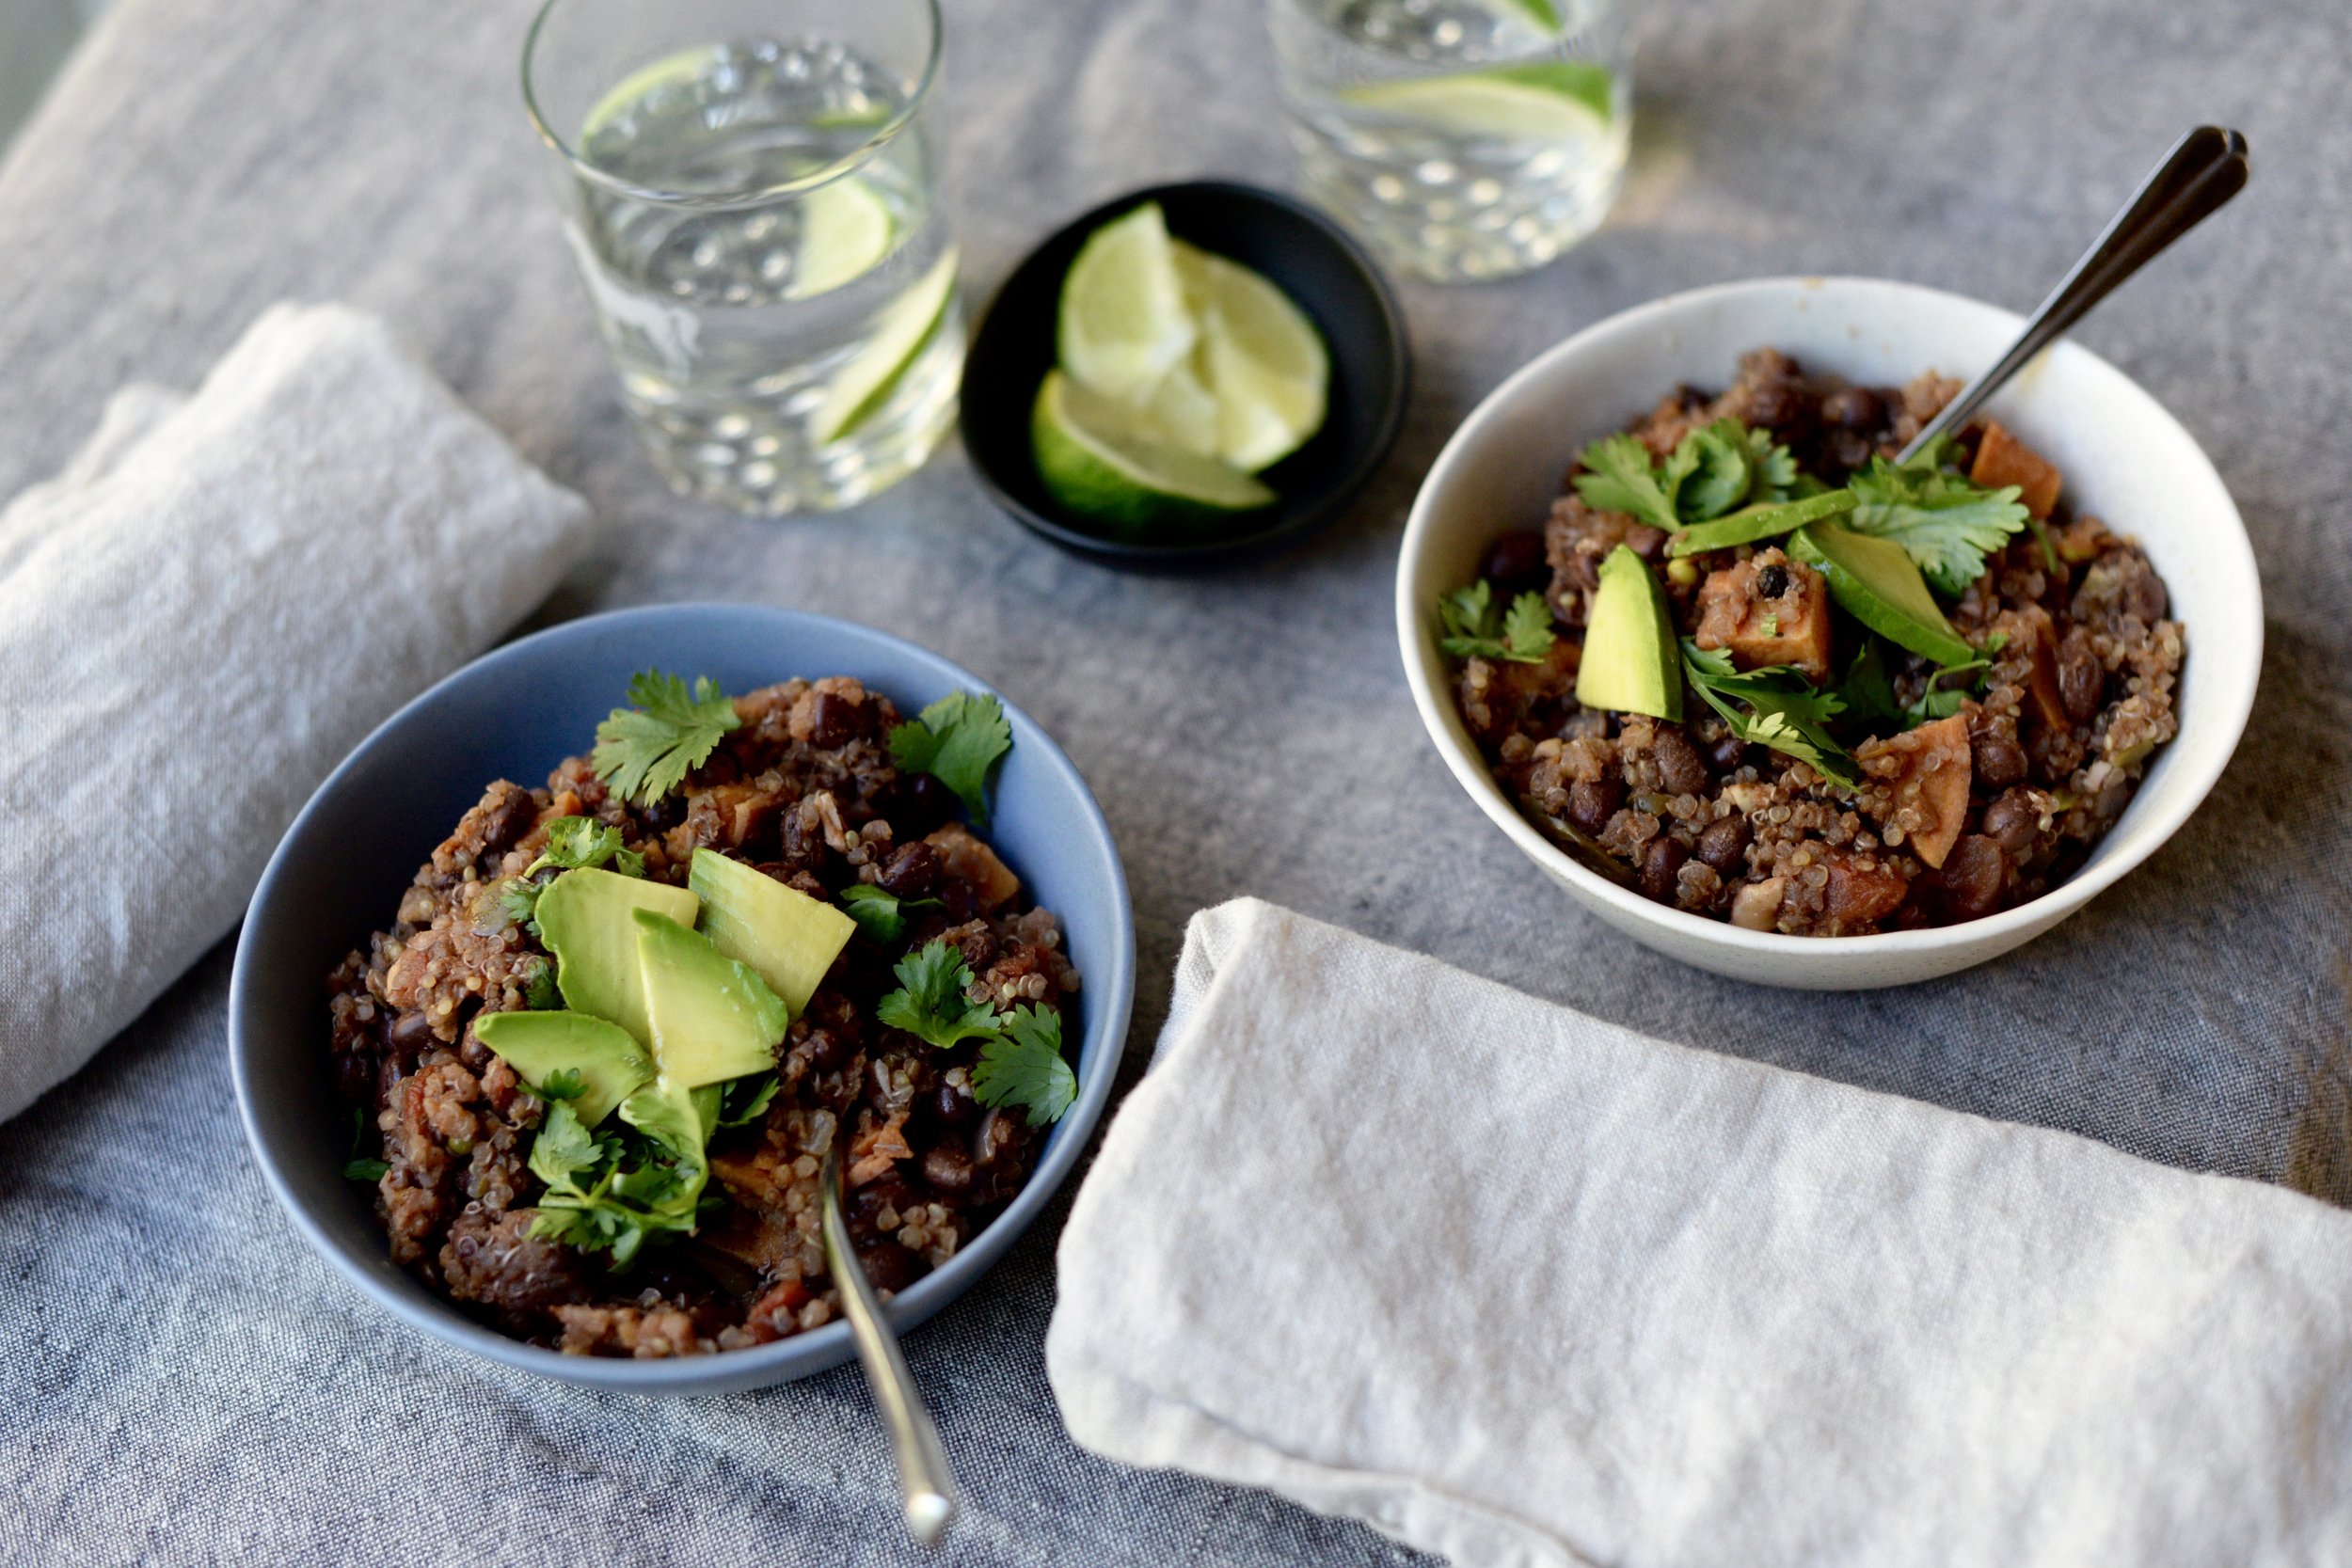
One pot meals. How beautiful are they? They save time, stress, time, water, time, and counter space. See a theme here? This chili, loaded with black beans, quinoa, and sweet potatoes, is becoming a go-to in my house as the temps drop and I find myself with fewer and fewer hours in my day. It's delicious by the bowlful, but it's also finding it's way re-purposed into a slew of meals (stuffed into tortillas with plenty of avocado for a hand-held version and ladled over roasted potatoes for a chili-fry combo). Versatile and easily adaptable. For more spice, add in a diced jalapeno as you saute the onions or throw in a chili in adobo sauce. For a richer flavor, toss in a little chunk of dark chocolate and a touch more cinnamon, stir until the chocolate melts. If you're in the need for more greens, toss in a handful until it wilts. Get comfortable with the basics, then try your own.

Did I tell you it was also nutrient-dense? Black beans, quinoa, and walnuts pack lots of healthy plant-based protein. Sweet potatoes are not only look pretty in it, but they offer plenty of good-for-you nutrients like vitamin A and fiber. It's a one pot meal that's filling, satisfying, and It freezes beautifully. As I mention below, it thickens as it cools, so if you'd like it thinner, add a little water, a teaspoon at a time, until your desired consistency. Avocado, a sprinkling of cilantro, a squeeze of lime, and a little red onion or scallion sprinkled on top makes it a chili suited for company.

Black Bean and Quinoa Chili

2 tablespoons olive oil
1 small onion, finely chopped
3 garlic cloves, minced
2 tablespoons tomato paste
1 tablespoon chili powder (ground chipotle pepper for a kick!)
1 tablespoon cumin powder
¾ teaspoon ground coriander
¼ teaspoon cinnamon
¼-½ teaspoon cayenne pepper, depending on preferred spiciness
1 14.5 ounce can diced tomatoes
5 cups water or vegetable stock, depending on preferred thickness
1 medium sweet potato, chopped in ½-inch pieces
2 15.5 ounce can black beans, drained and rinsed
1 cup dry quinoa
½ cup chopped walnuts
Salt and pepper, to taste

Optional toppings: fresh cilantro, avocado, lime, minced red onion or scallion

Heat oil over medium heat. Add onion and saute 5-7 minutes or until golden. Add garlic, tomato paste, chili powder, cumin, ground coriander, cinnamon, and cayenne pepper and cook 1-2 minutes, stirring constantly.

Add tomatoes, water or stock, sweet potato, black beans, quinoa, and generous pinch of salt. Bring mixture to boil, and then reduce to simmer and allow to cook for 15 minutes. Add walnuts, stir, and allow to simmer until quinoa and potatoes are cooked and mixture has thickened, about 7-10 minutes more. You many want to add more liquid as it cooks if chili is becoming too thick for you. Season to taste with salt and pepper.

To serve, top with chopped cilantro, avocado slices, and lime. Serves 6.

**Mixture will continue to thicken as it cools. Add a few tablespoons of water when reheating if a thinner consistency is preferred.

DSC_4294.jpg
In Mains, Soups Tags recipe, dinner, black beans, quinoa, chili, fall, walnuts, vegan, gluten-free, vegetarian
Comment

Grilled Corn and Zucchini Toss

August 24, 2015 Emily Watson

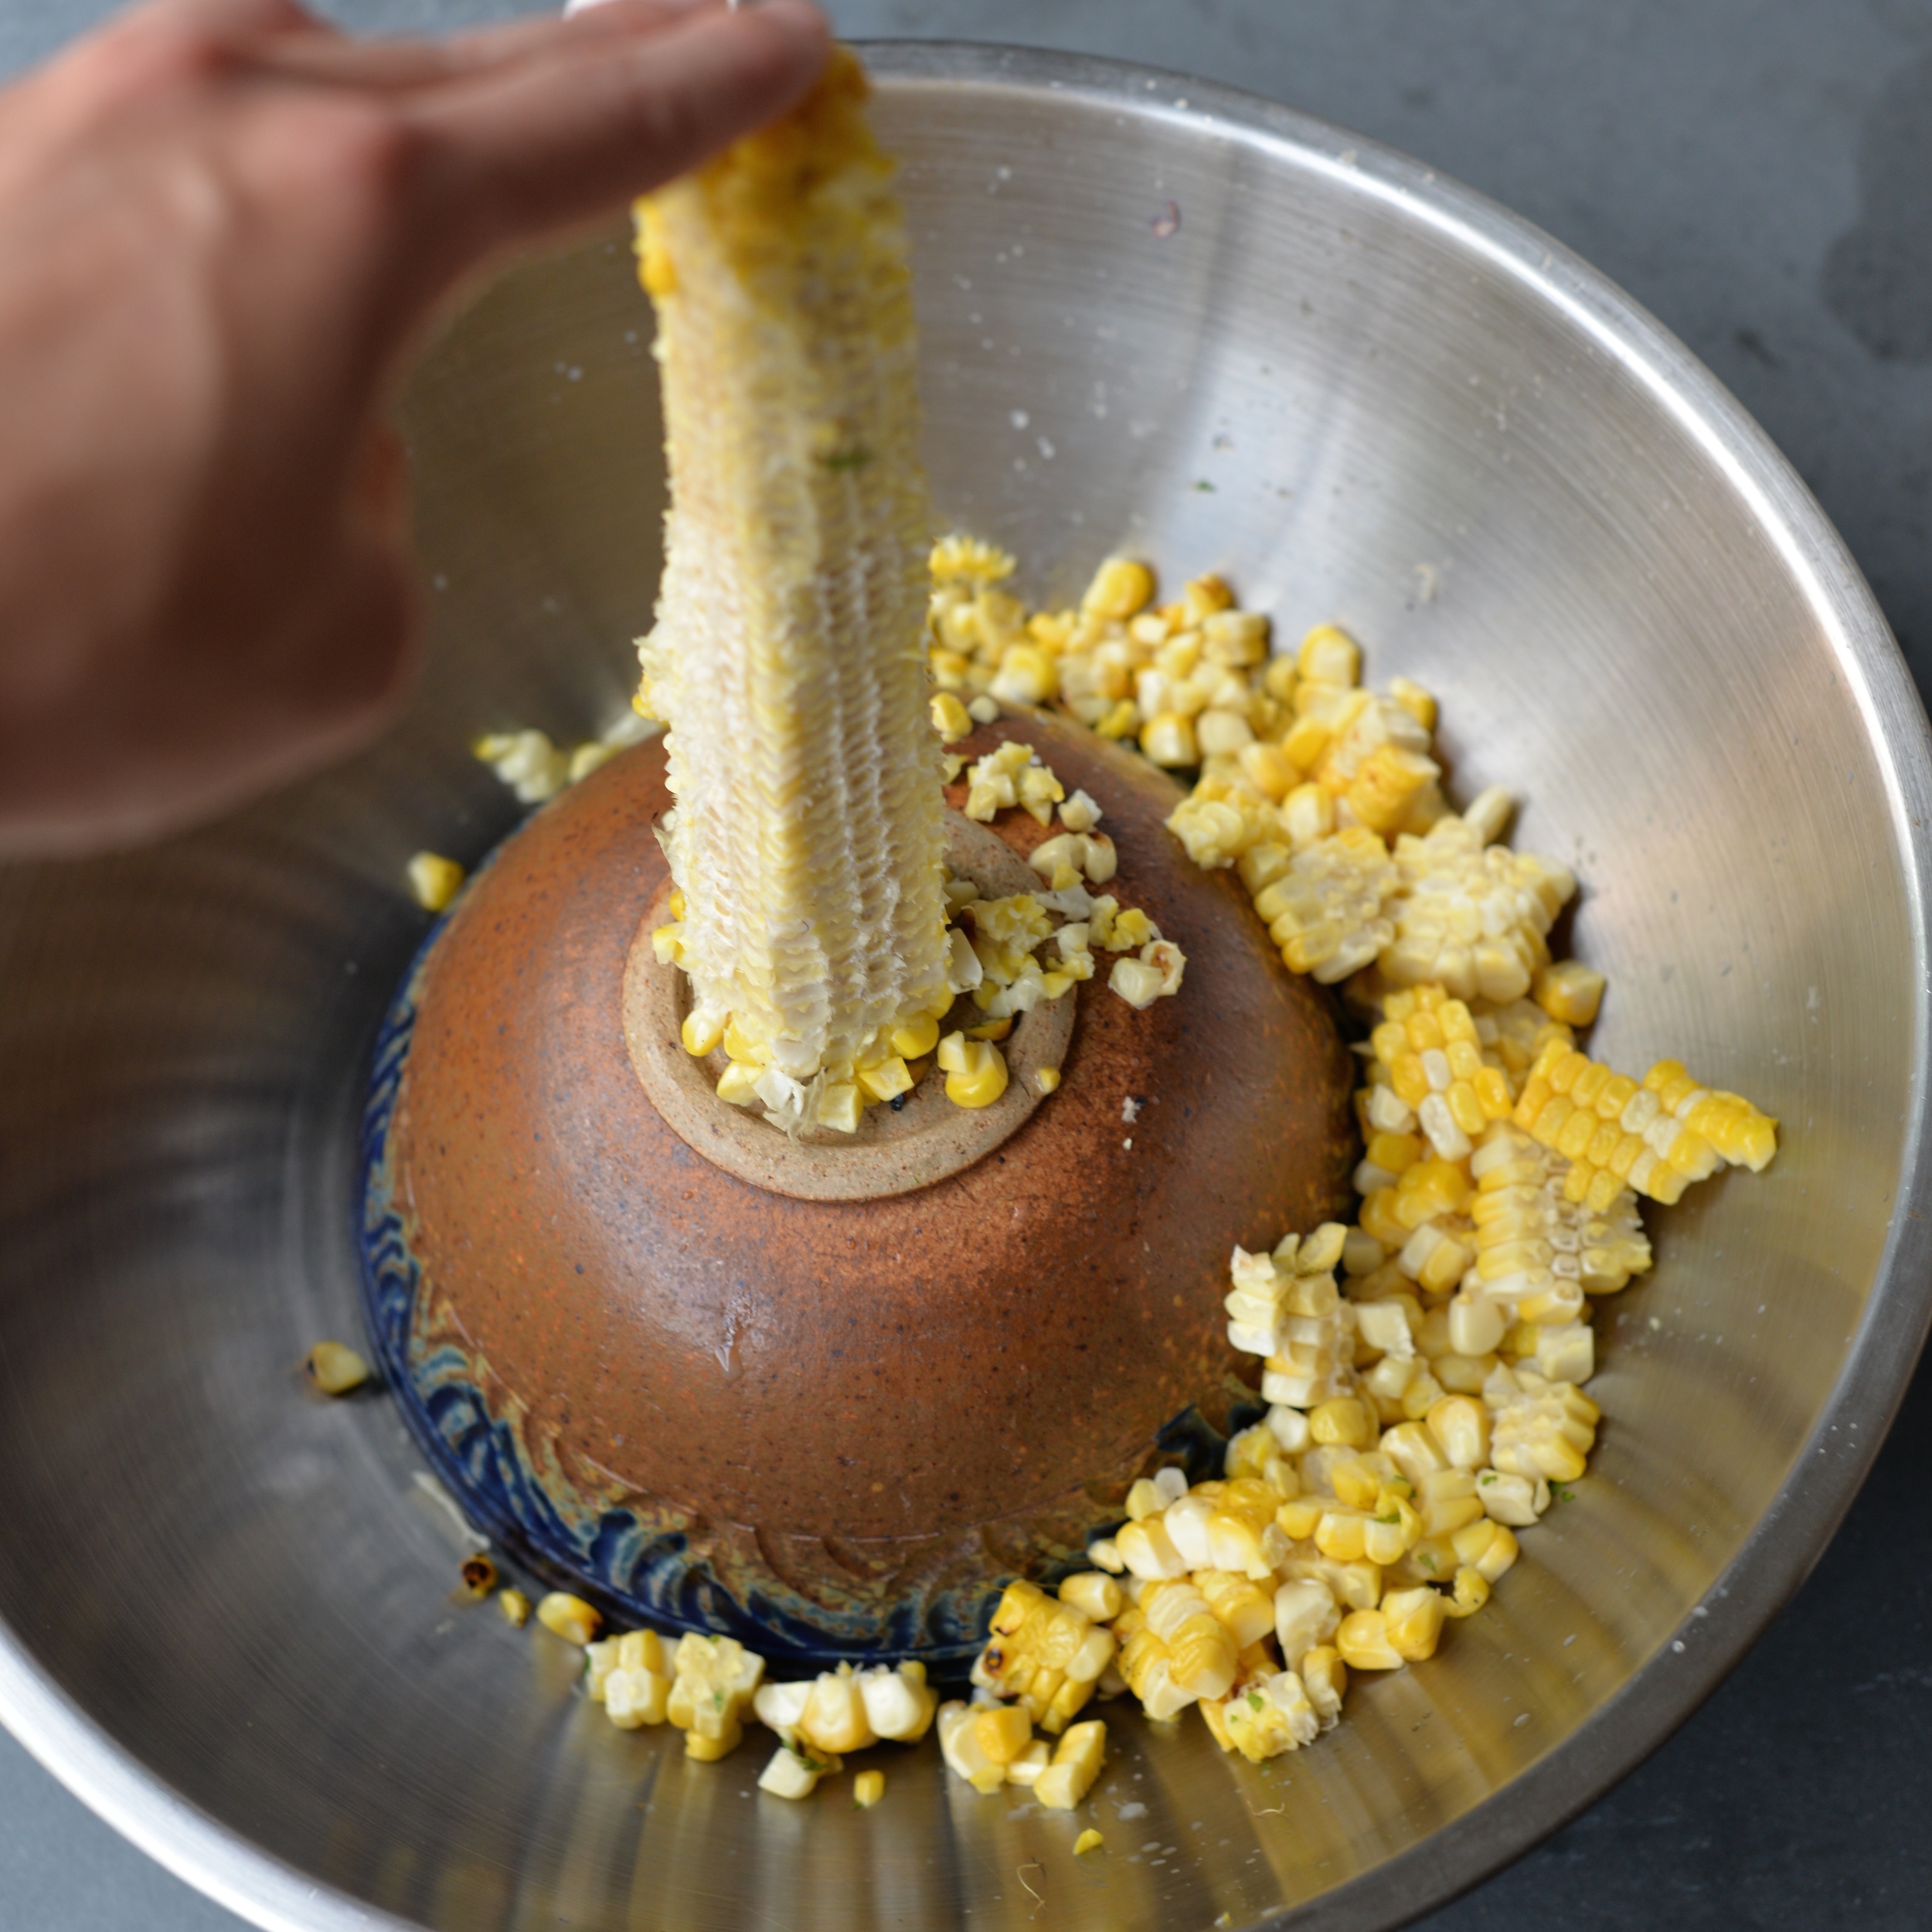
So you want to know one of my favorite things about summer? Those sheets of corn kernels that fall off the cob when you run your knife down alongside it. There is something so satisfying about their texture. Sure, eating corn right off the cob is pretty fun too, but it can be messy, and kernels get stuck in your teeth inevitably on the day you run out of floss. Corn kernel sheets take the cake for me. If only there was a foolproof way to maximize the number of kernels in a sheet.

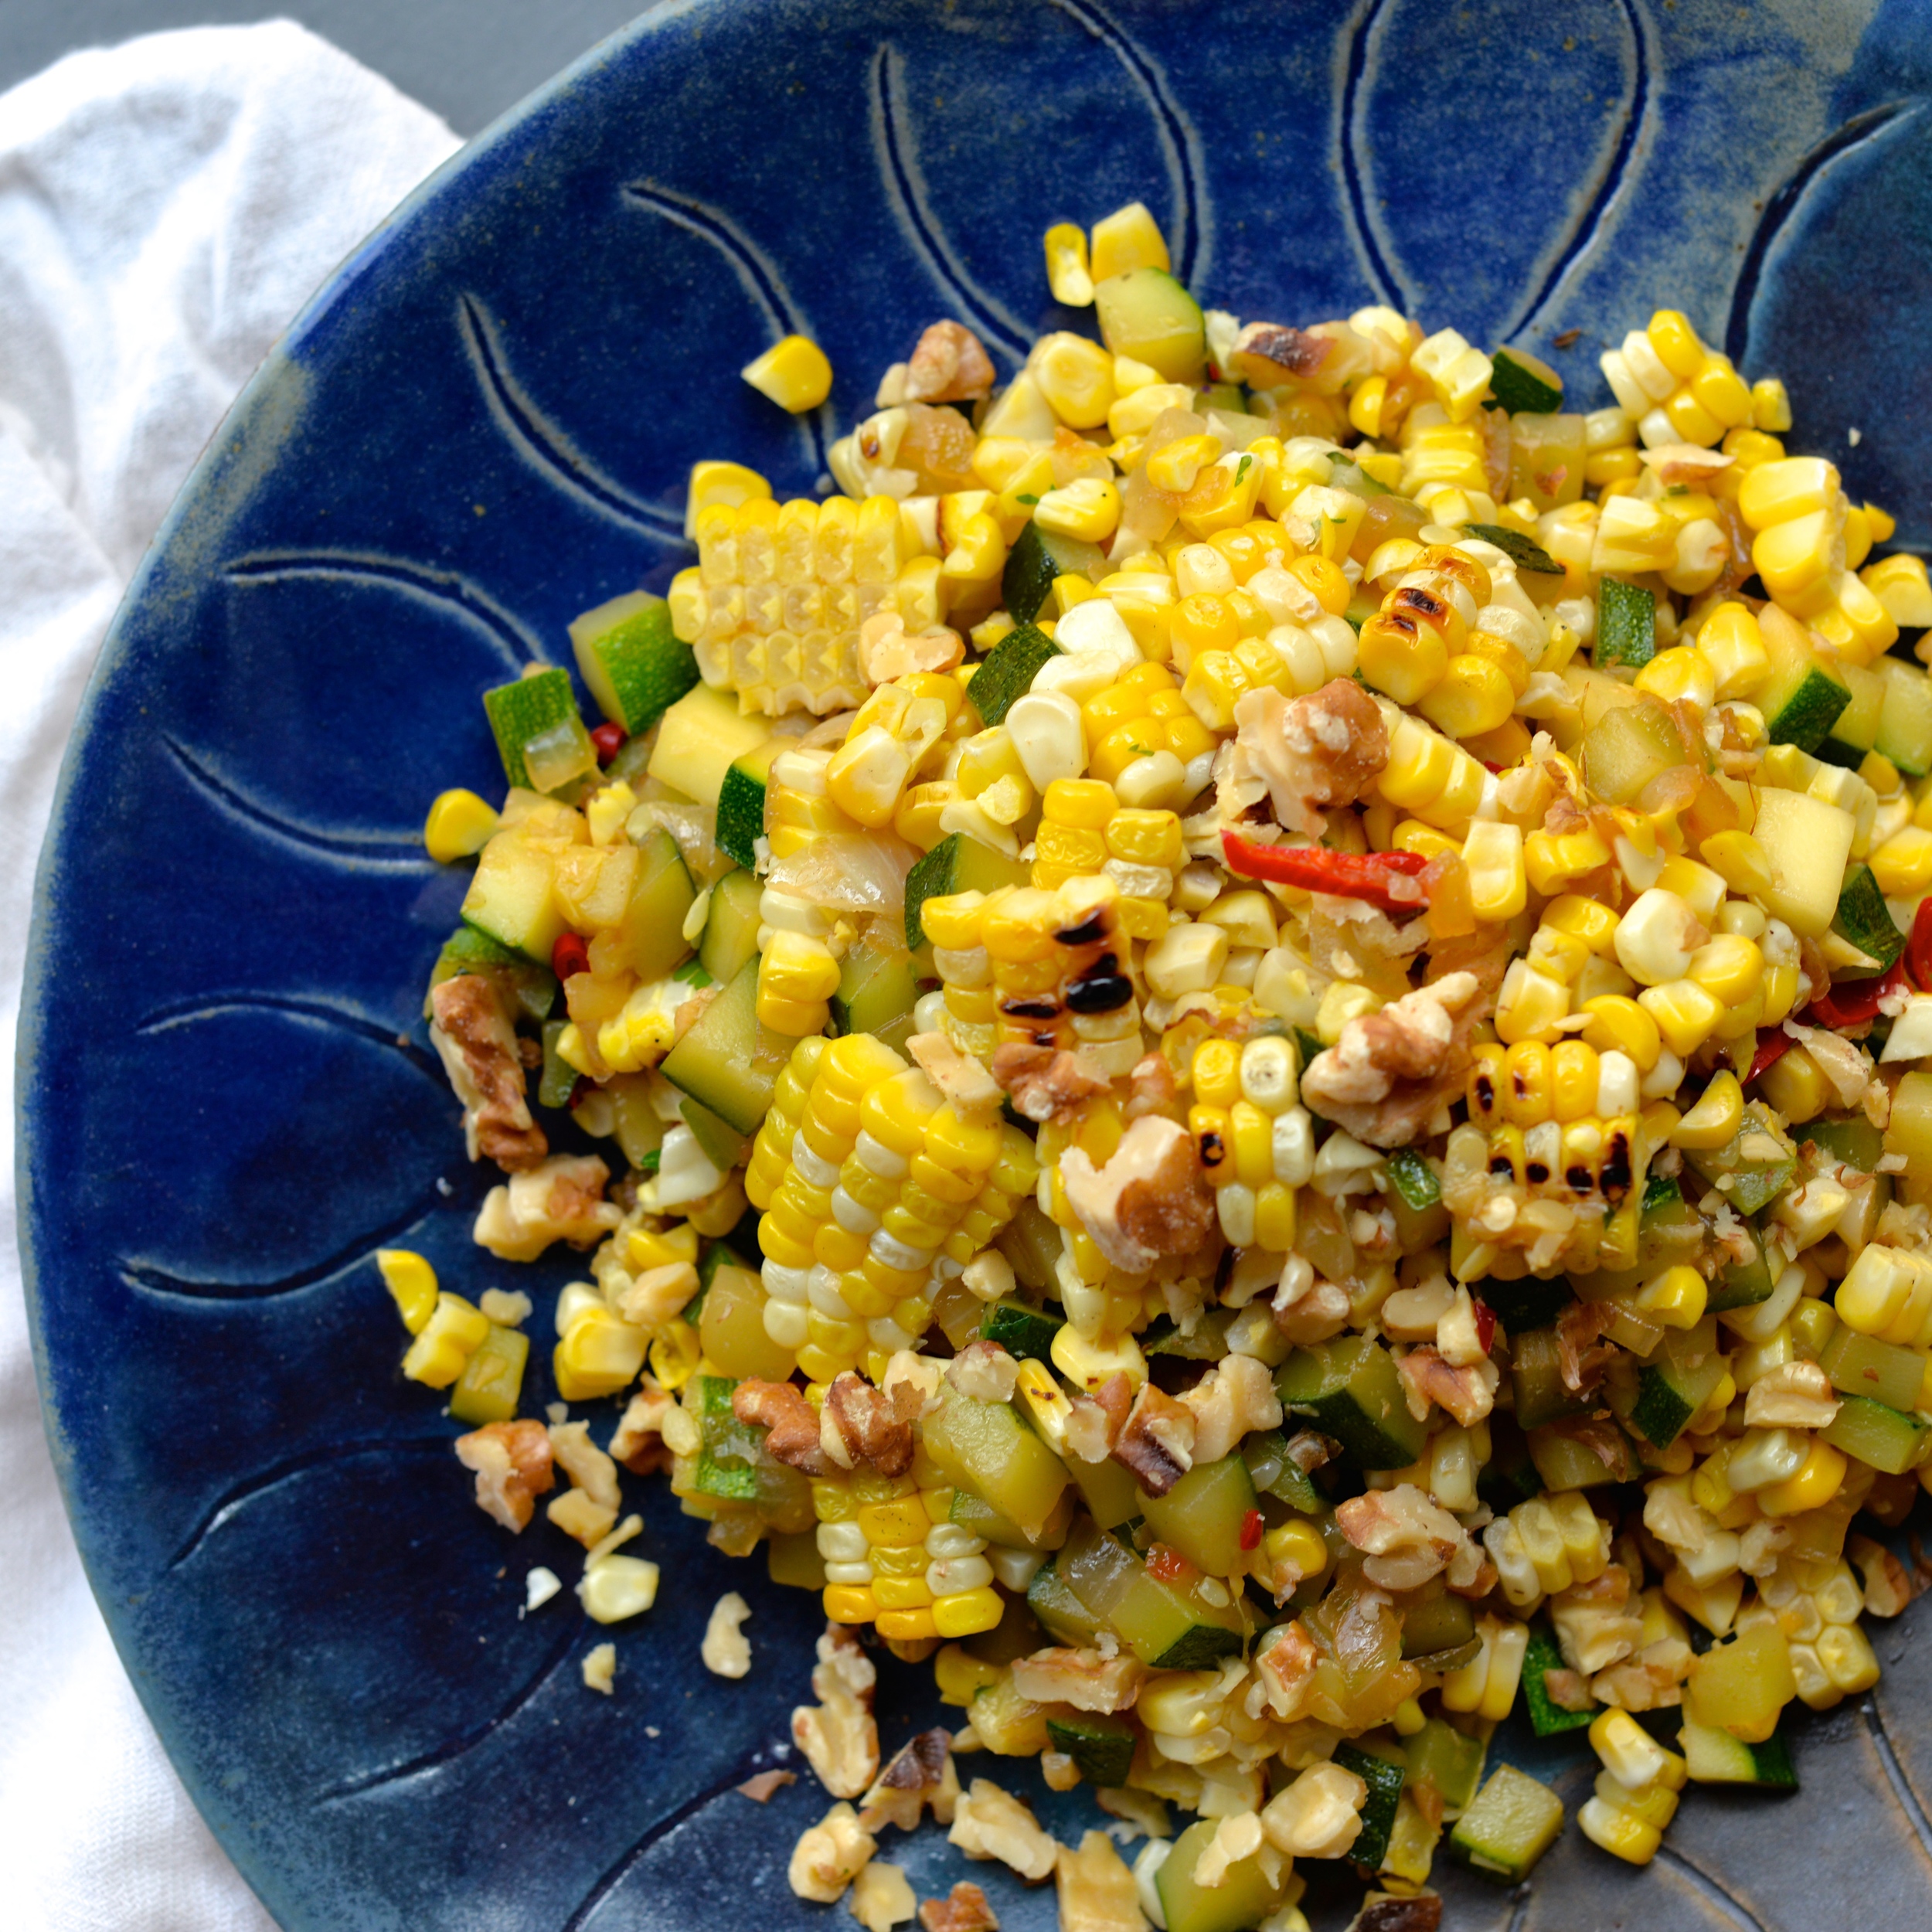
This corn and zucchini number is pretty awesome. I put a lot of pressure on myself for making the most of these corn sheets other than just nibbling them up by themselves, and I think I did them justice. I toss sweet corn, tender zucchini, and a spicy chile with zingy red wine vinegar and buttery walnuts. Simple, beautiful, and really delicious. I promise.

Grilling corn, if you have never done it, is so easy. It beats boiling it or even sauteing it because it caramelizes the corn's sugars in the most perfect way. If a grill is not accessible, broiling it is always an option, just be sure to turn it every so often to prevent burning.

Grilled Corn and Zucchini Toss

2 ears of corn, husks and silks removed
1 tablespoon + 2 teaspoons olive oil, divided
1 small onion, diced
2 garlic cloves, peeled and minced
1 large zucchini, washed and cut into 1 cm dice
1/2 teaspoon sea salt
1 red chili, thinly sliced
1 tablespoon red wine vinegar
1/2 cup toasted chopped walnuts
salt and pepper to taste

Preheat grill to high. Alternatively, turn your broiler on high. Rub each ear of corn with 1 teaspoon olive oil. Grill or broil, turning occasionally for about 10 minutes or until lightly charred all around. Set aside to cool. When cool enough to handle, slice corn off the cob, preserving as many corn sheets as possible, and set aside. I use a small bowl turned upside down in a larger bowl to help catch any rogue kernels (see photo).

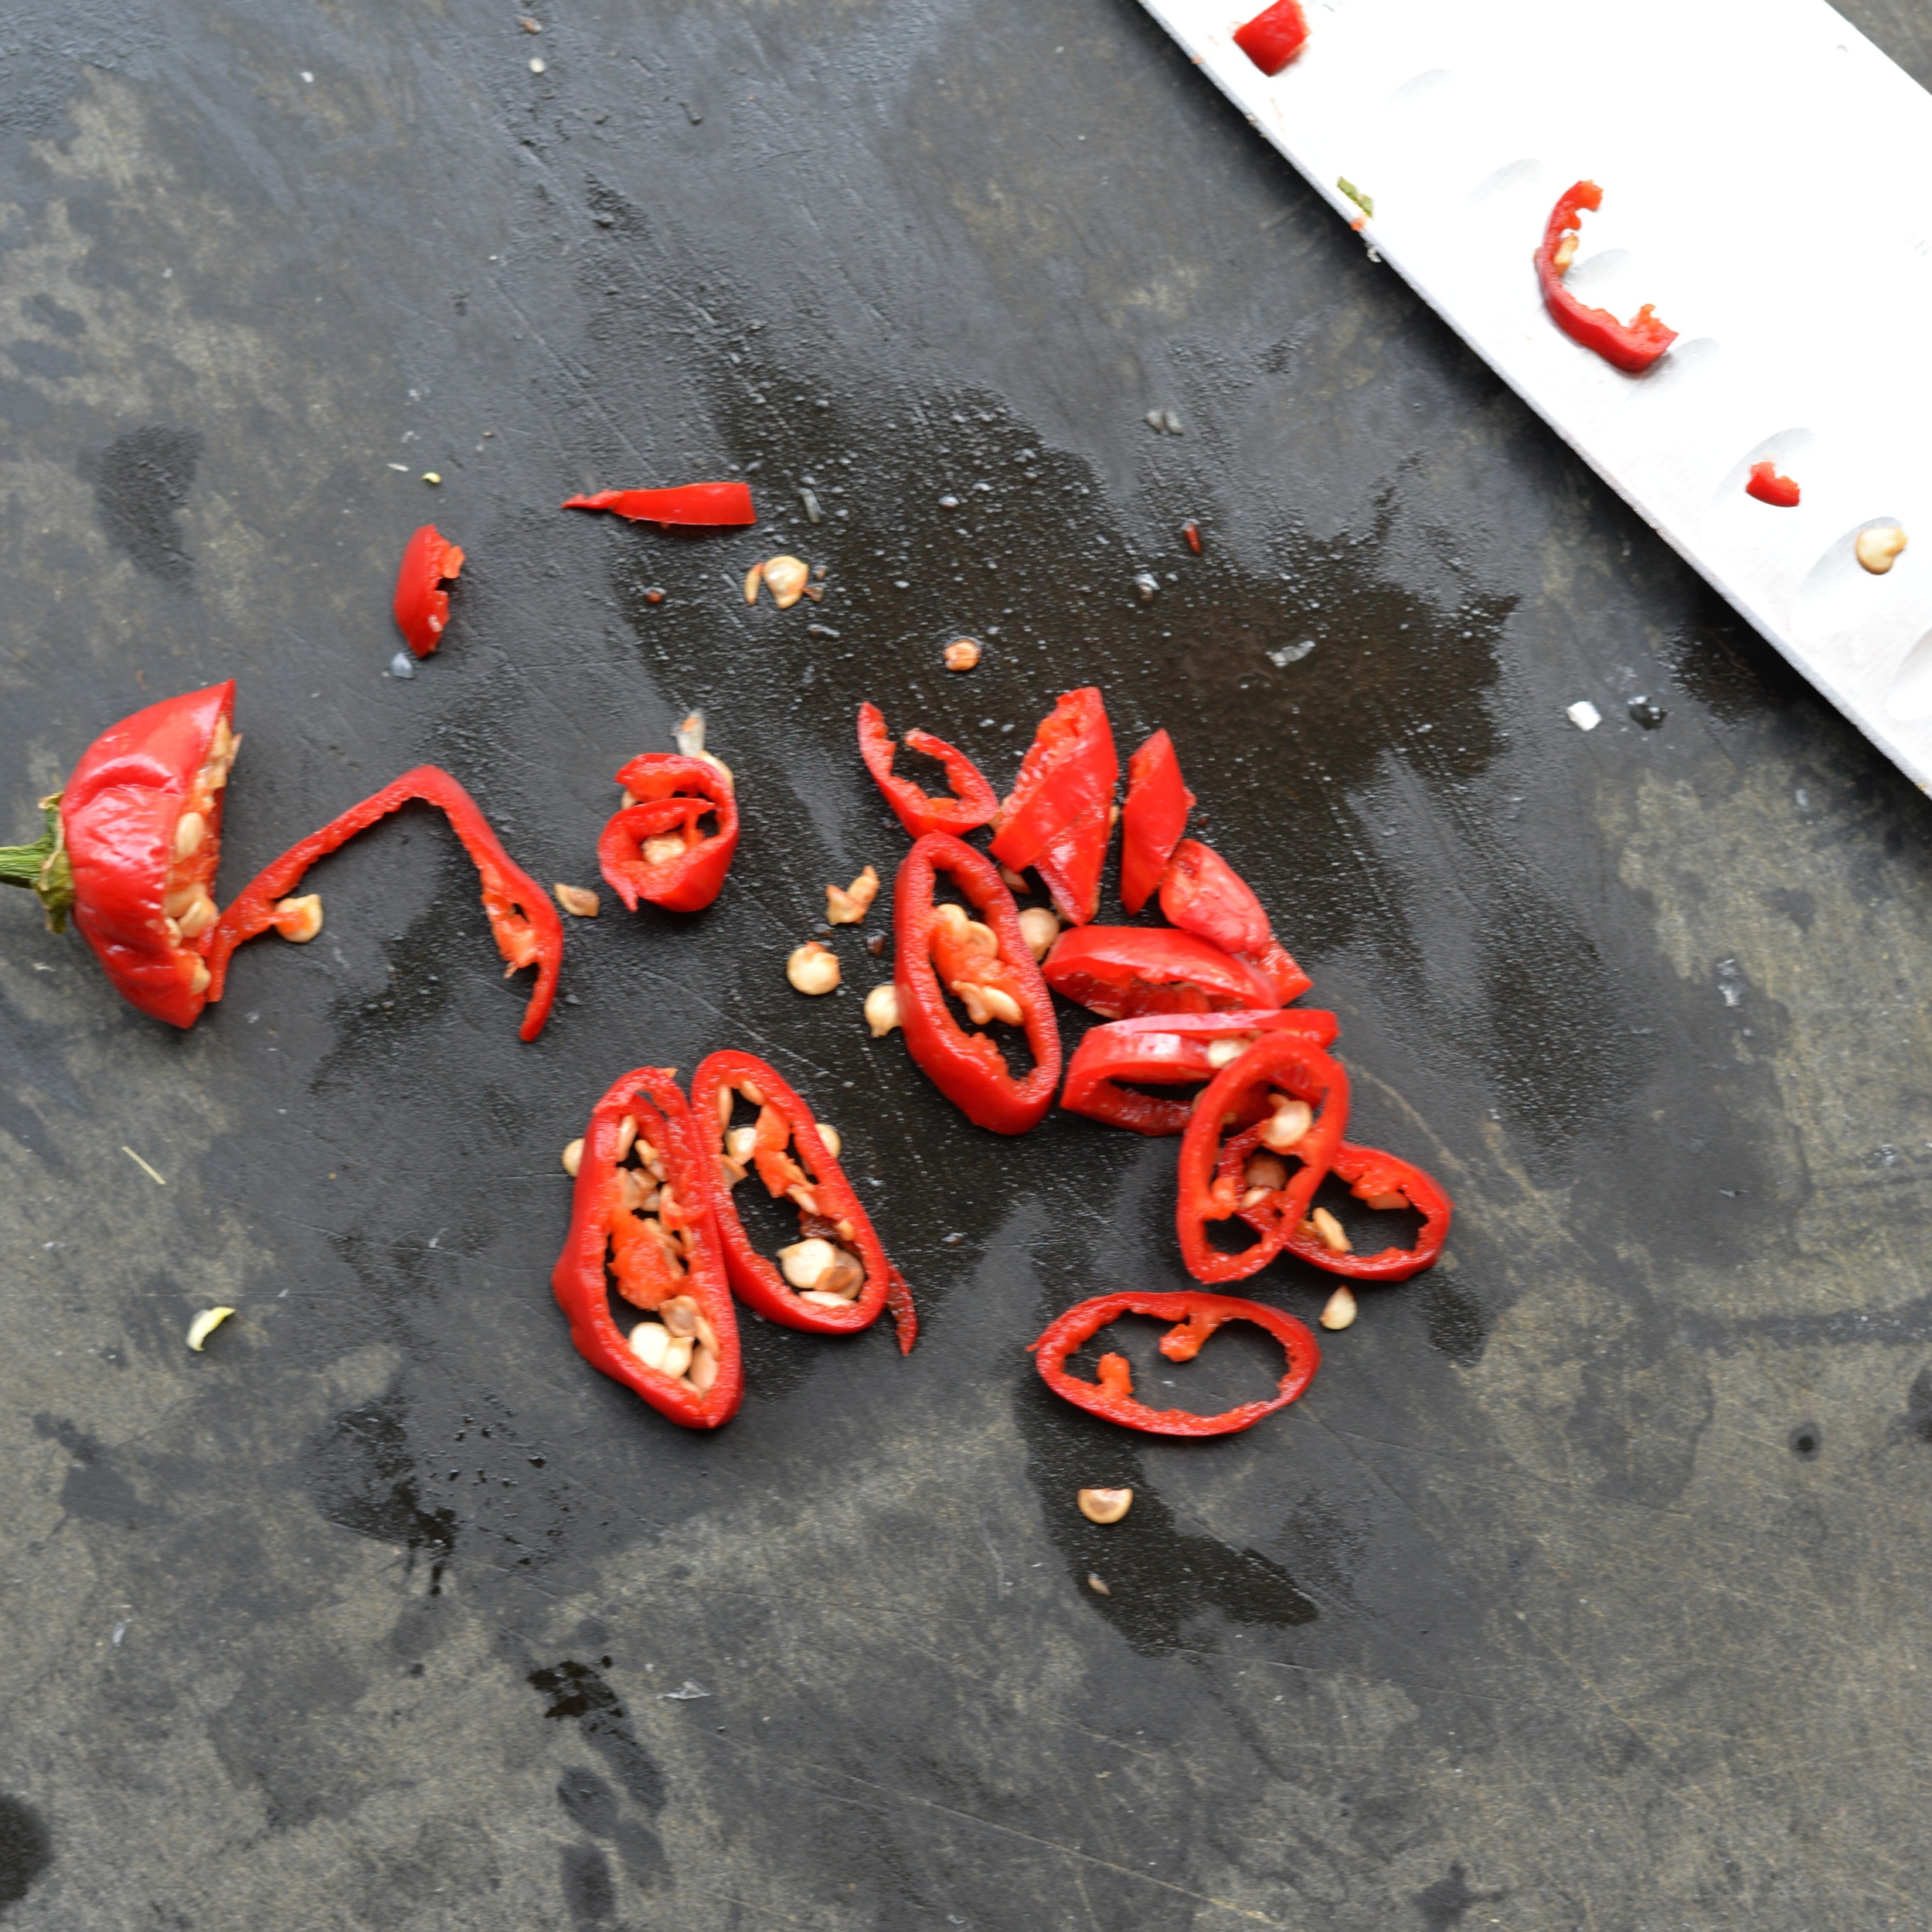
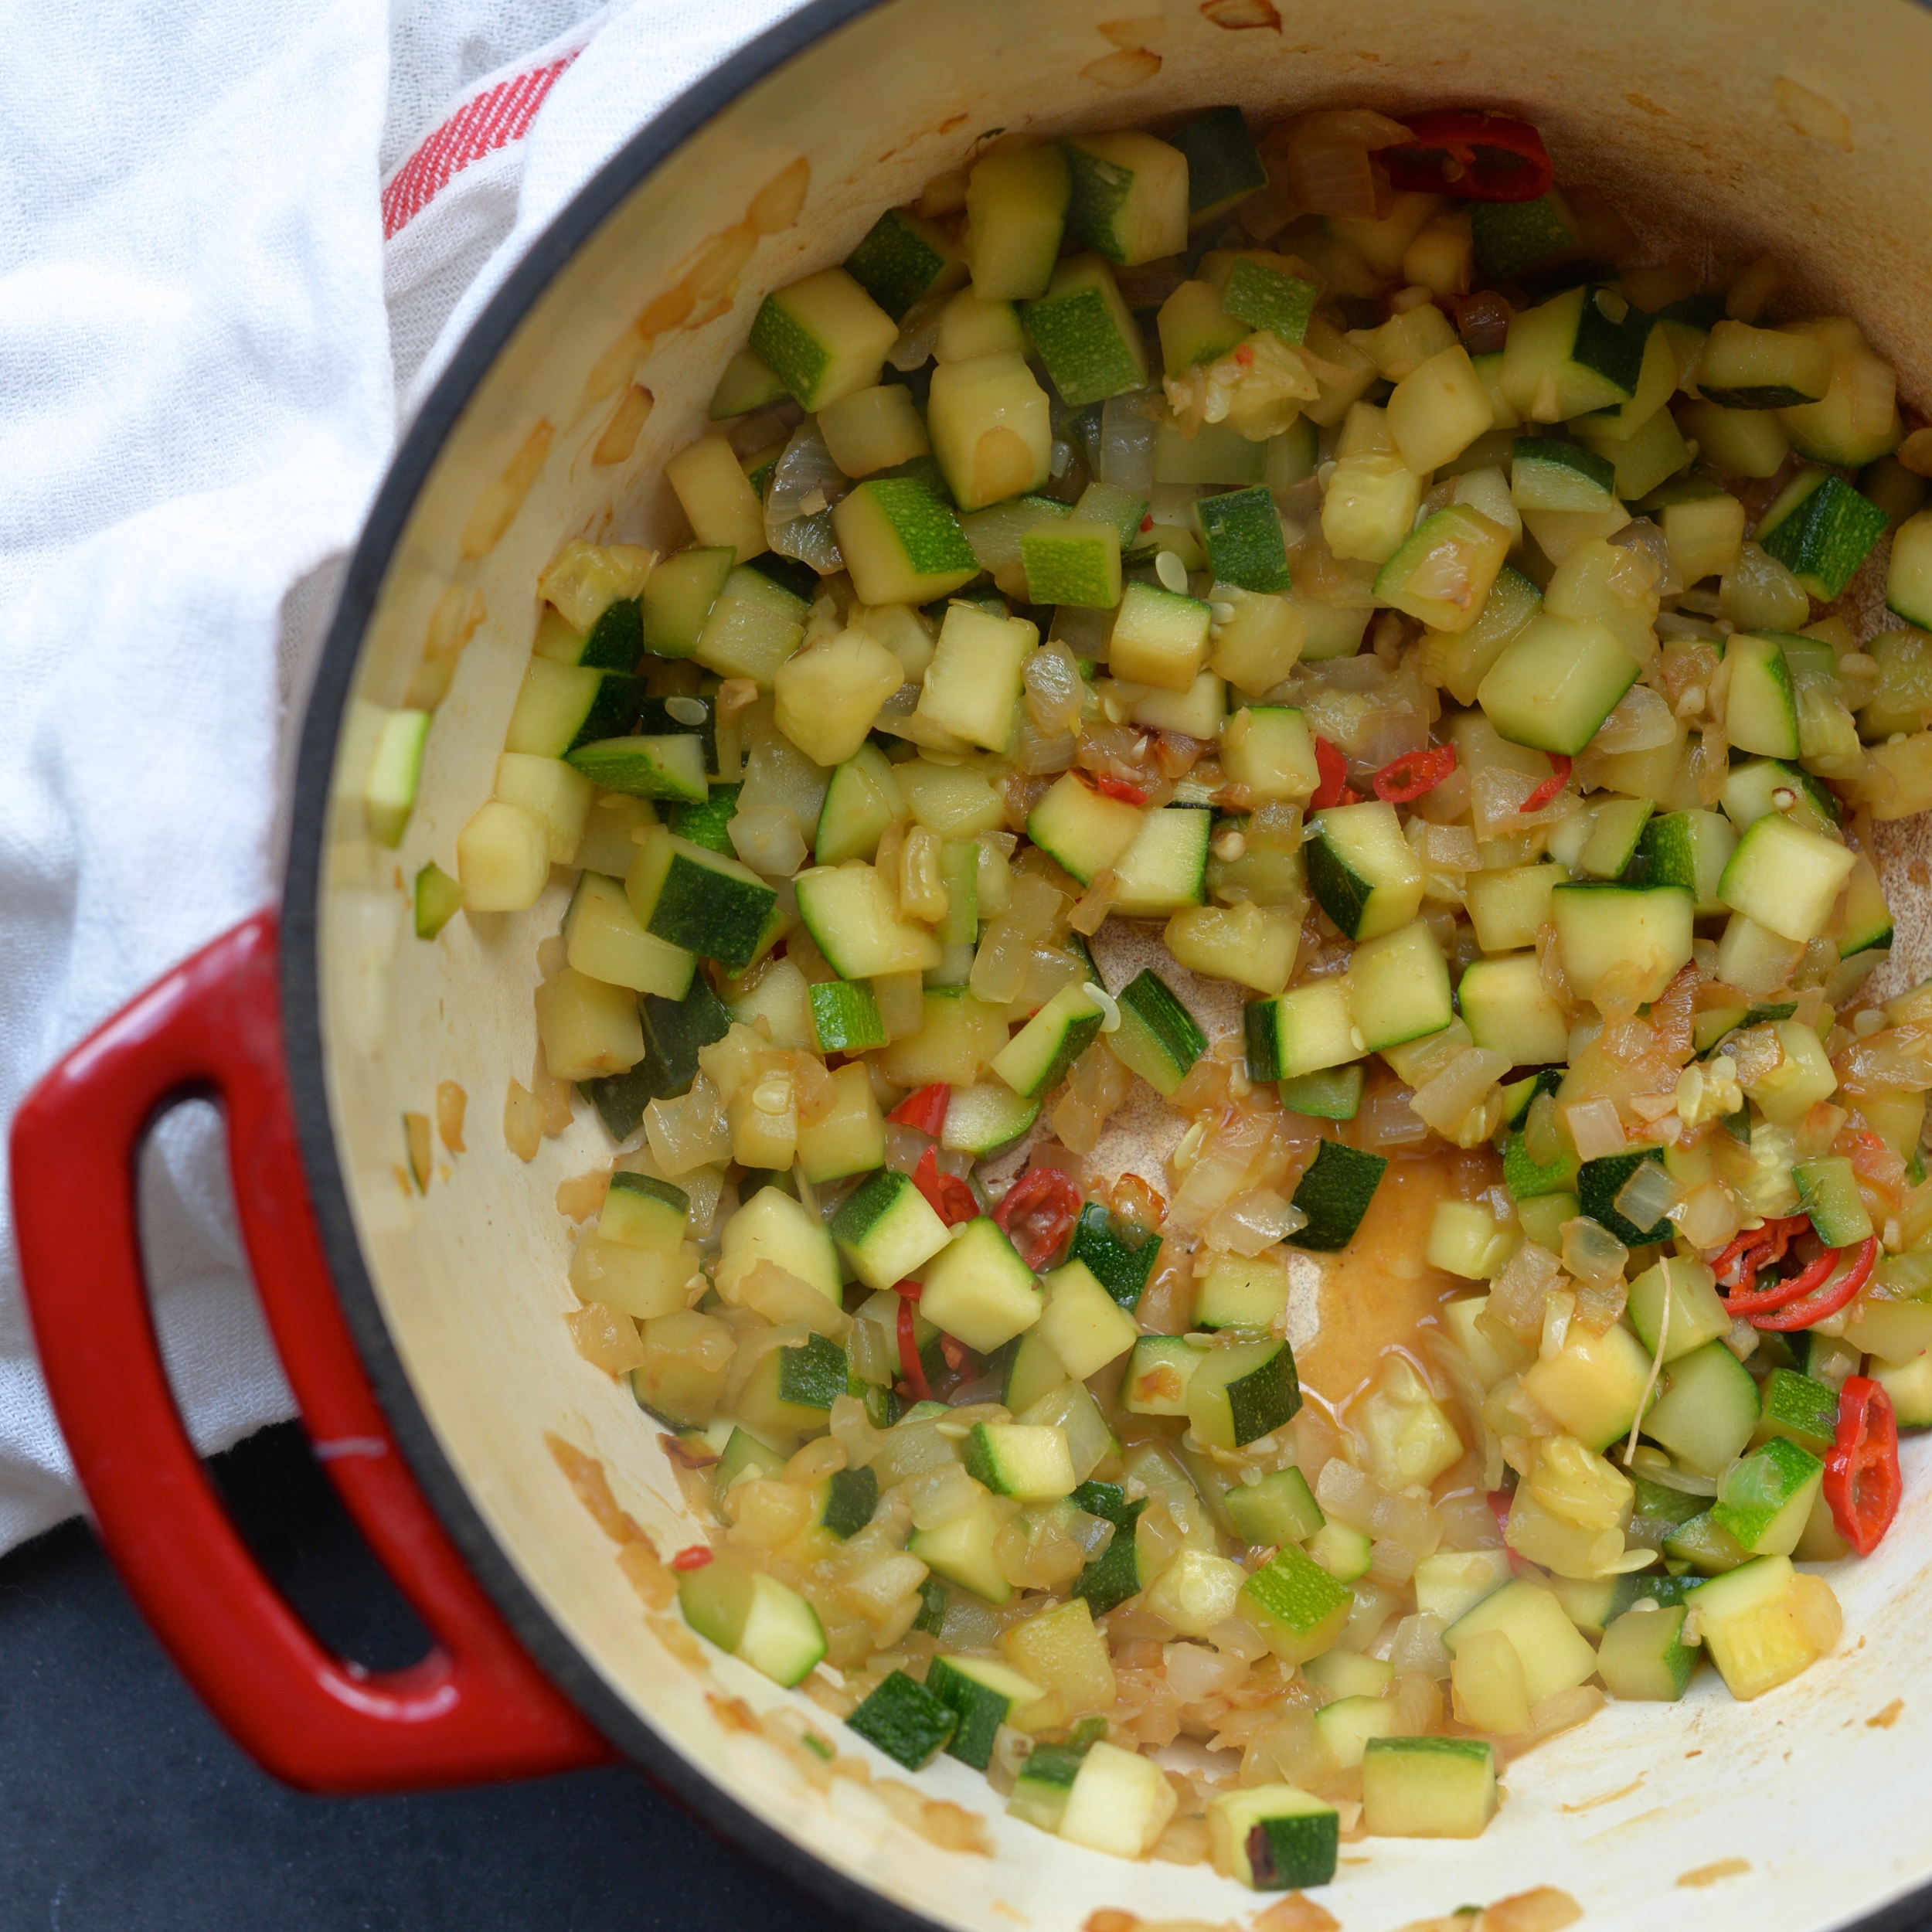
Meanwhile, heat a skillet with 1 tablespoon olive oil over medium- high heat. Add diced onion and garlic and cook, stirring often, until softened and slightly golden, about 5-8 minutes. Add zucchini and 1/2 teaspoon salt and cook for another 5 minutes or until tender but not mushy. Add sliced red chili and cook for 30 seconds. Remove from heat. Stir in 1 tablespoon red wine vinegar.

Carefully combine corn and zucchini mixture. Sprinkle in toasted walnuts and season to taste with salt and pepper. Enjoy! Serves 4.

DSC_0644.JPG
DSC_0663.jpg
DSC_0667.JPG
DSC_0669.JPG
DSC_0670.jpg
DSC_0675.jpg


In Salads Tags recipe, zucchini, summer, corn, vegetarian, gluten-free, vegan, walnuts, salad
2 Comments

Kale and Beluga Lentil Salad with Lemon Yogurt Dressing

July 17, 2015 Emily Watson

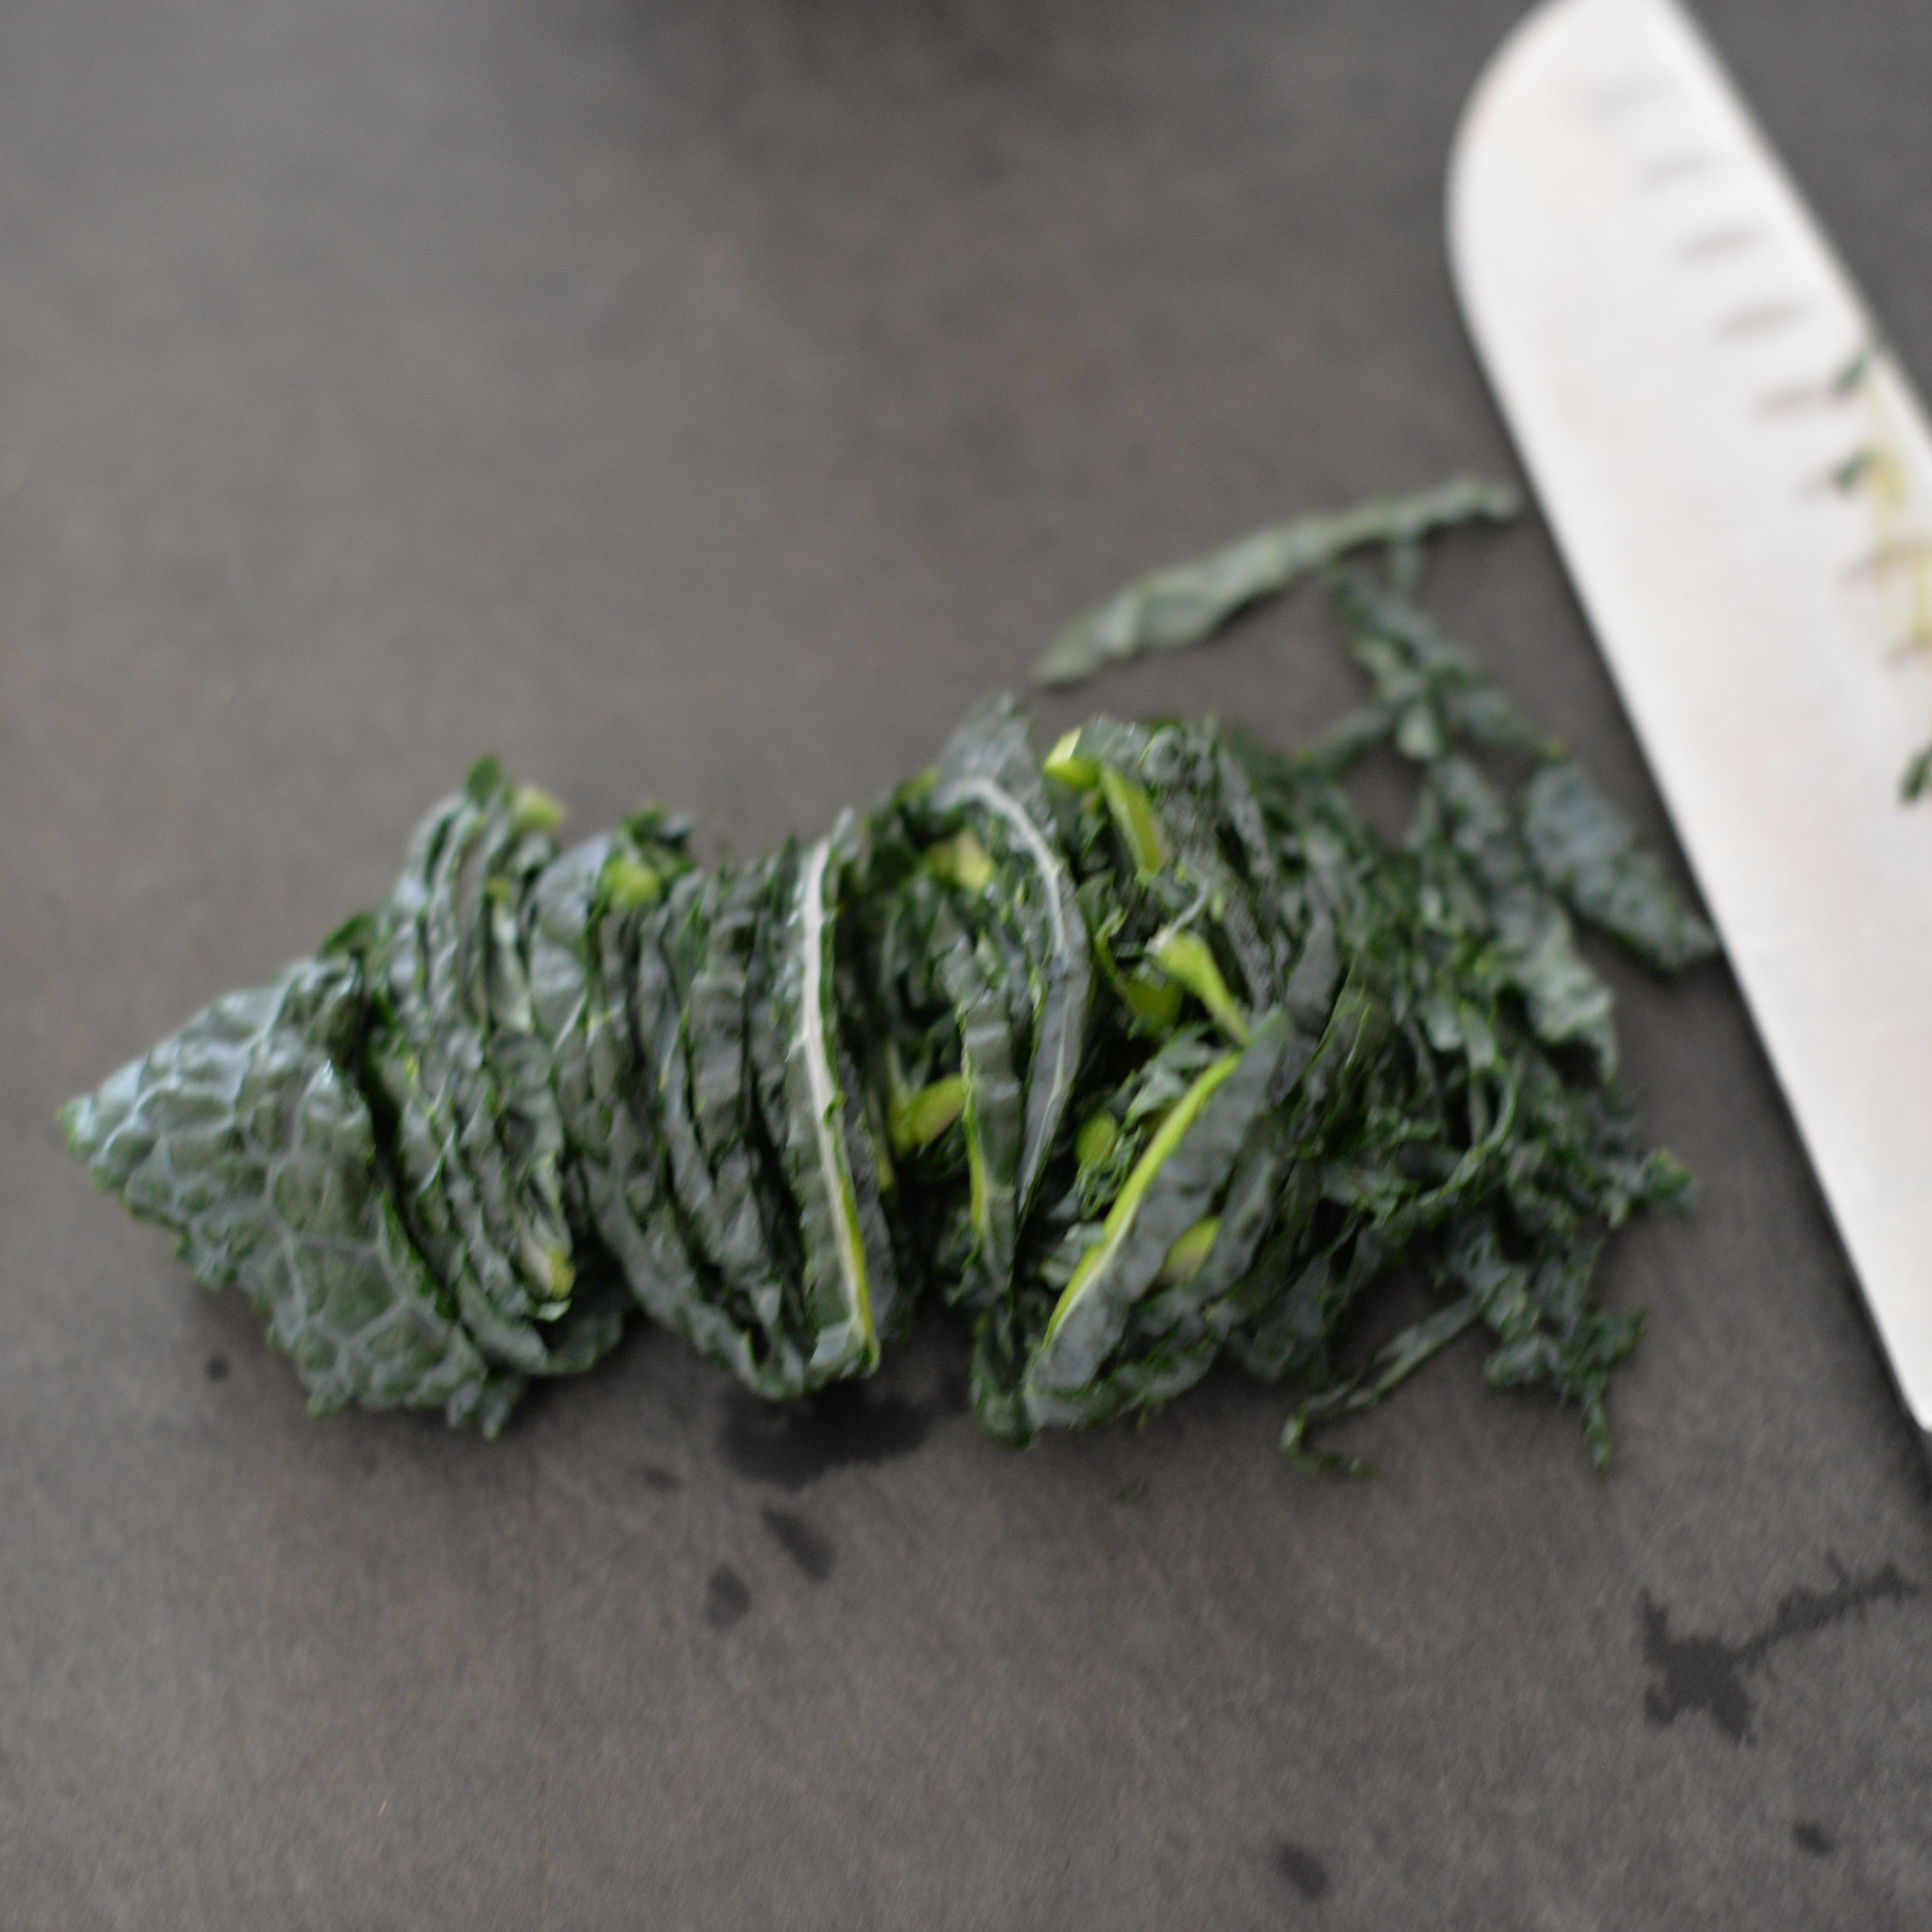
I am finally incorporating some greens back into my repertoire. It is not that they disappeared entirely, but I got a little lazy. The idea of washing, drying, de-stemming, and chopping fibrous leafy things all seemed a bit much. I blame it on the heat, and on the fact that I have not been able to go to the farmer's market in over a month since we have been out of town so often. I find the farmers' market very inspiring- seeing all of the producers there makes me want to celebrate their little labors of love, and without trips there, I veered off of the vegetable path. It became easier to sink into a routine of eating eggs, avocado, and cheese on toast rather than actually making a crunchy, green thing with some nutritional value. Finally my body seems to have had enough of avocado and coconut butter, eggs and cheese, and banana and peanut butter as excuses for lunch because suddenly I found myself cleaning, de-stemming, and chopping all sorts of green things- curly kale and lacinato kale, Swiss chard, red leaf lettuce, and zucchini...recipes for dishes with each of these coming soon, by-the-way. I did not know yet what I was going to do with them all, but it was much easier to do it all in one swoop and store them in containers in the fridge, ready to go for when I actually figured that part out.

I am usually pretty good about doing this prep-now-cook-later-thing with my greens. I learned a few years ago, especially when I was busy in grad school, that one of the barriers to making most vegetable dishes is the prep time in getting them recipe-ready. It is so much easier to get them all clean and ready right when I bring them home from the market or grocery store and store them in plastic containers lined with tea towels or paper towels so that I can have them easily available. It sounds idealistic, but once it becomes a habit, it is a godsend. Just do not be like me and fall off the wagon and start eating all of your meals on toast. Or if you do fall off, try to get back on. Life happens, and we adjust. 

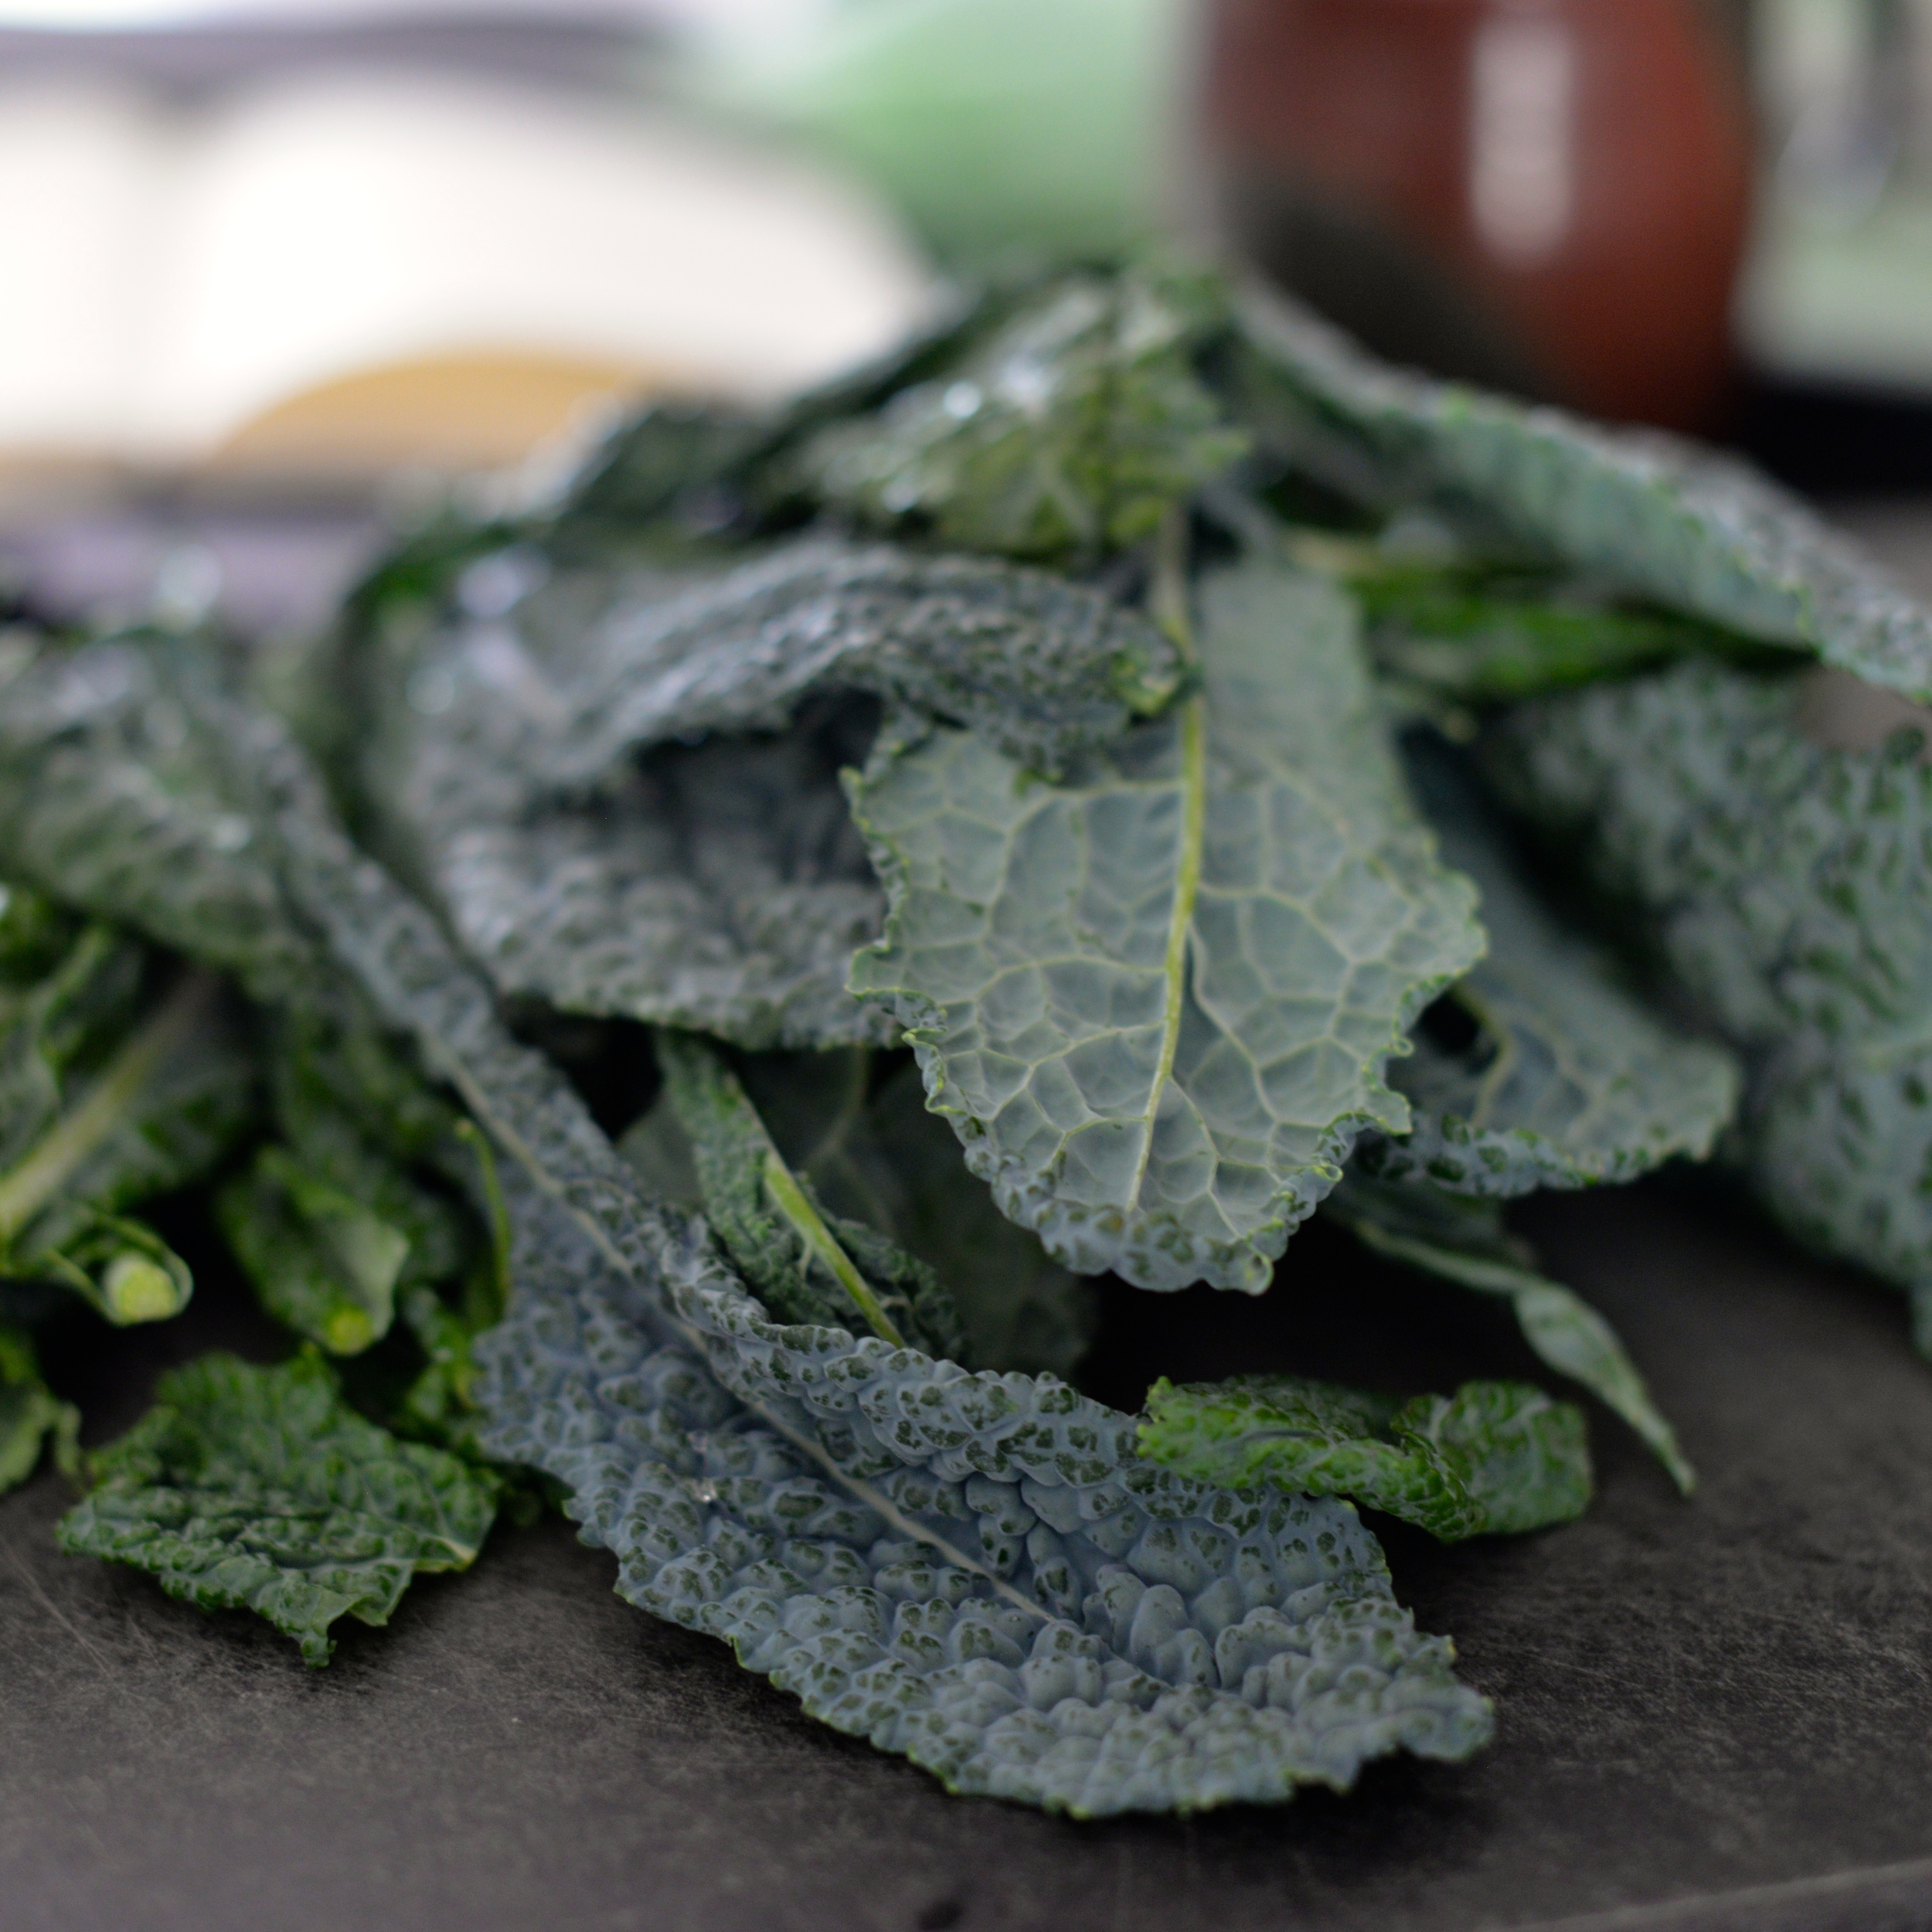
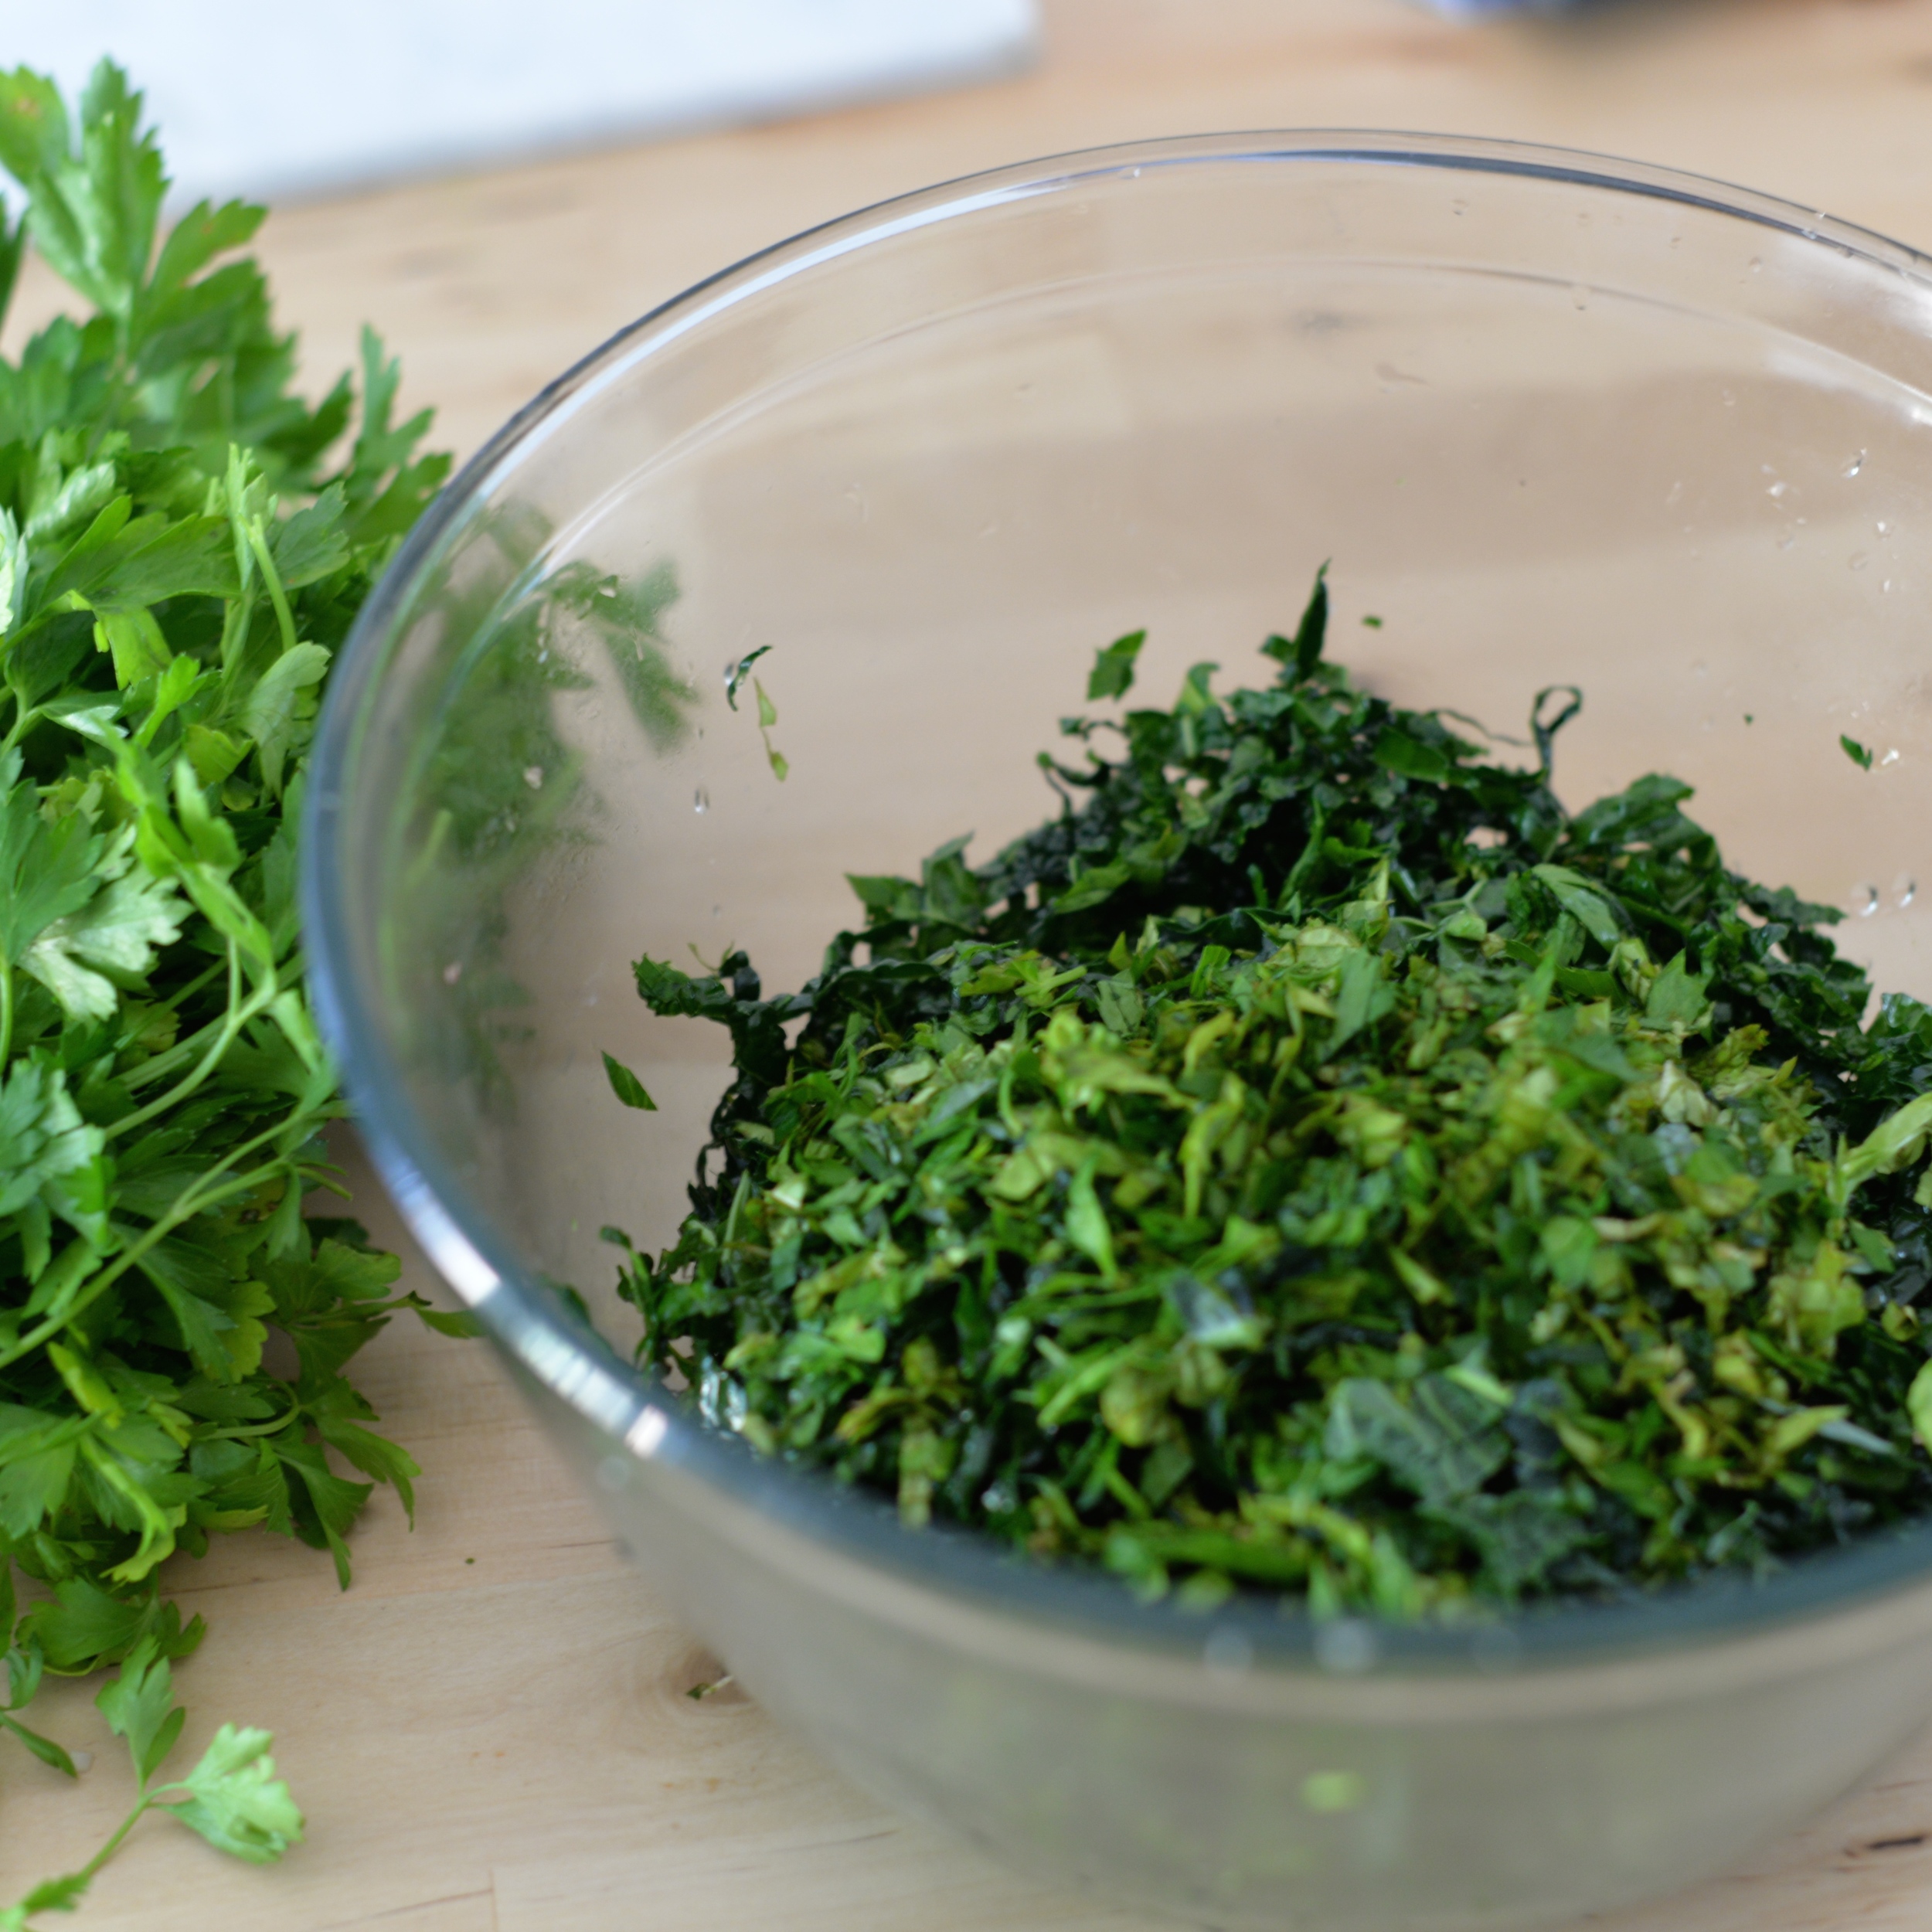
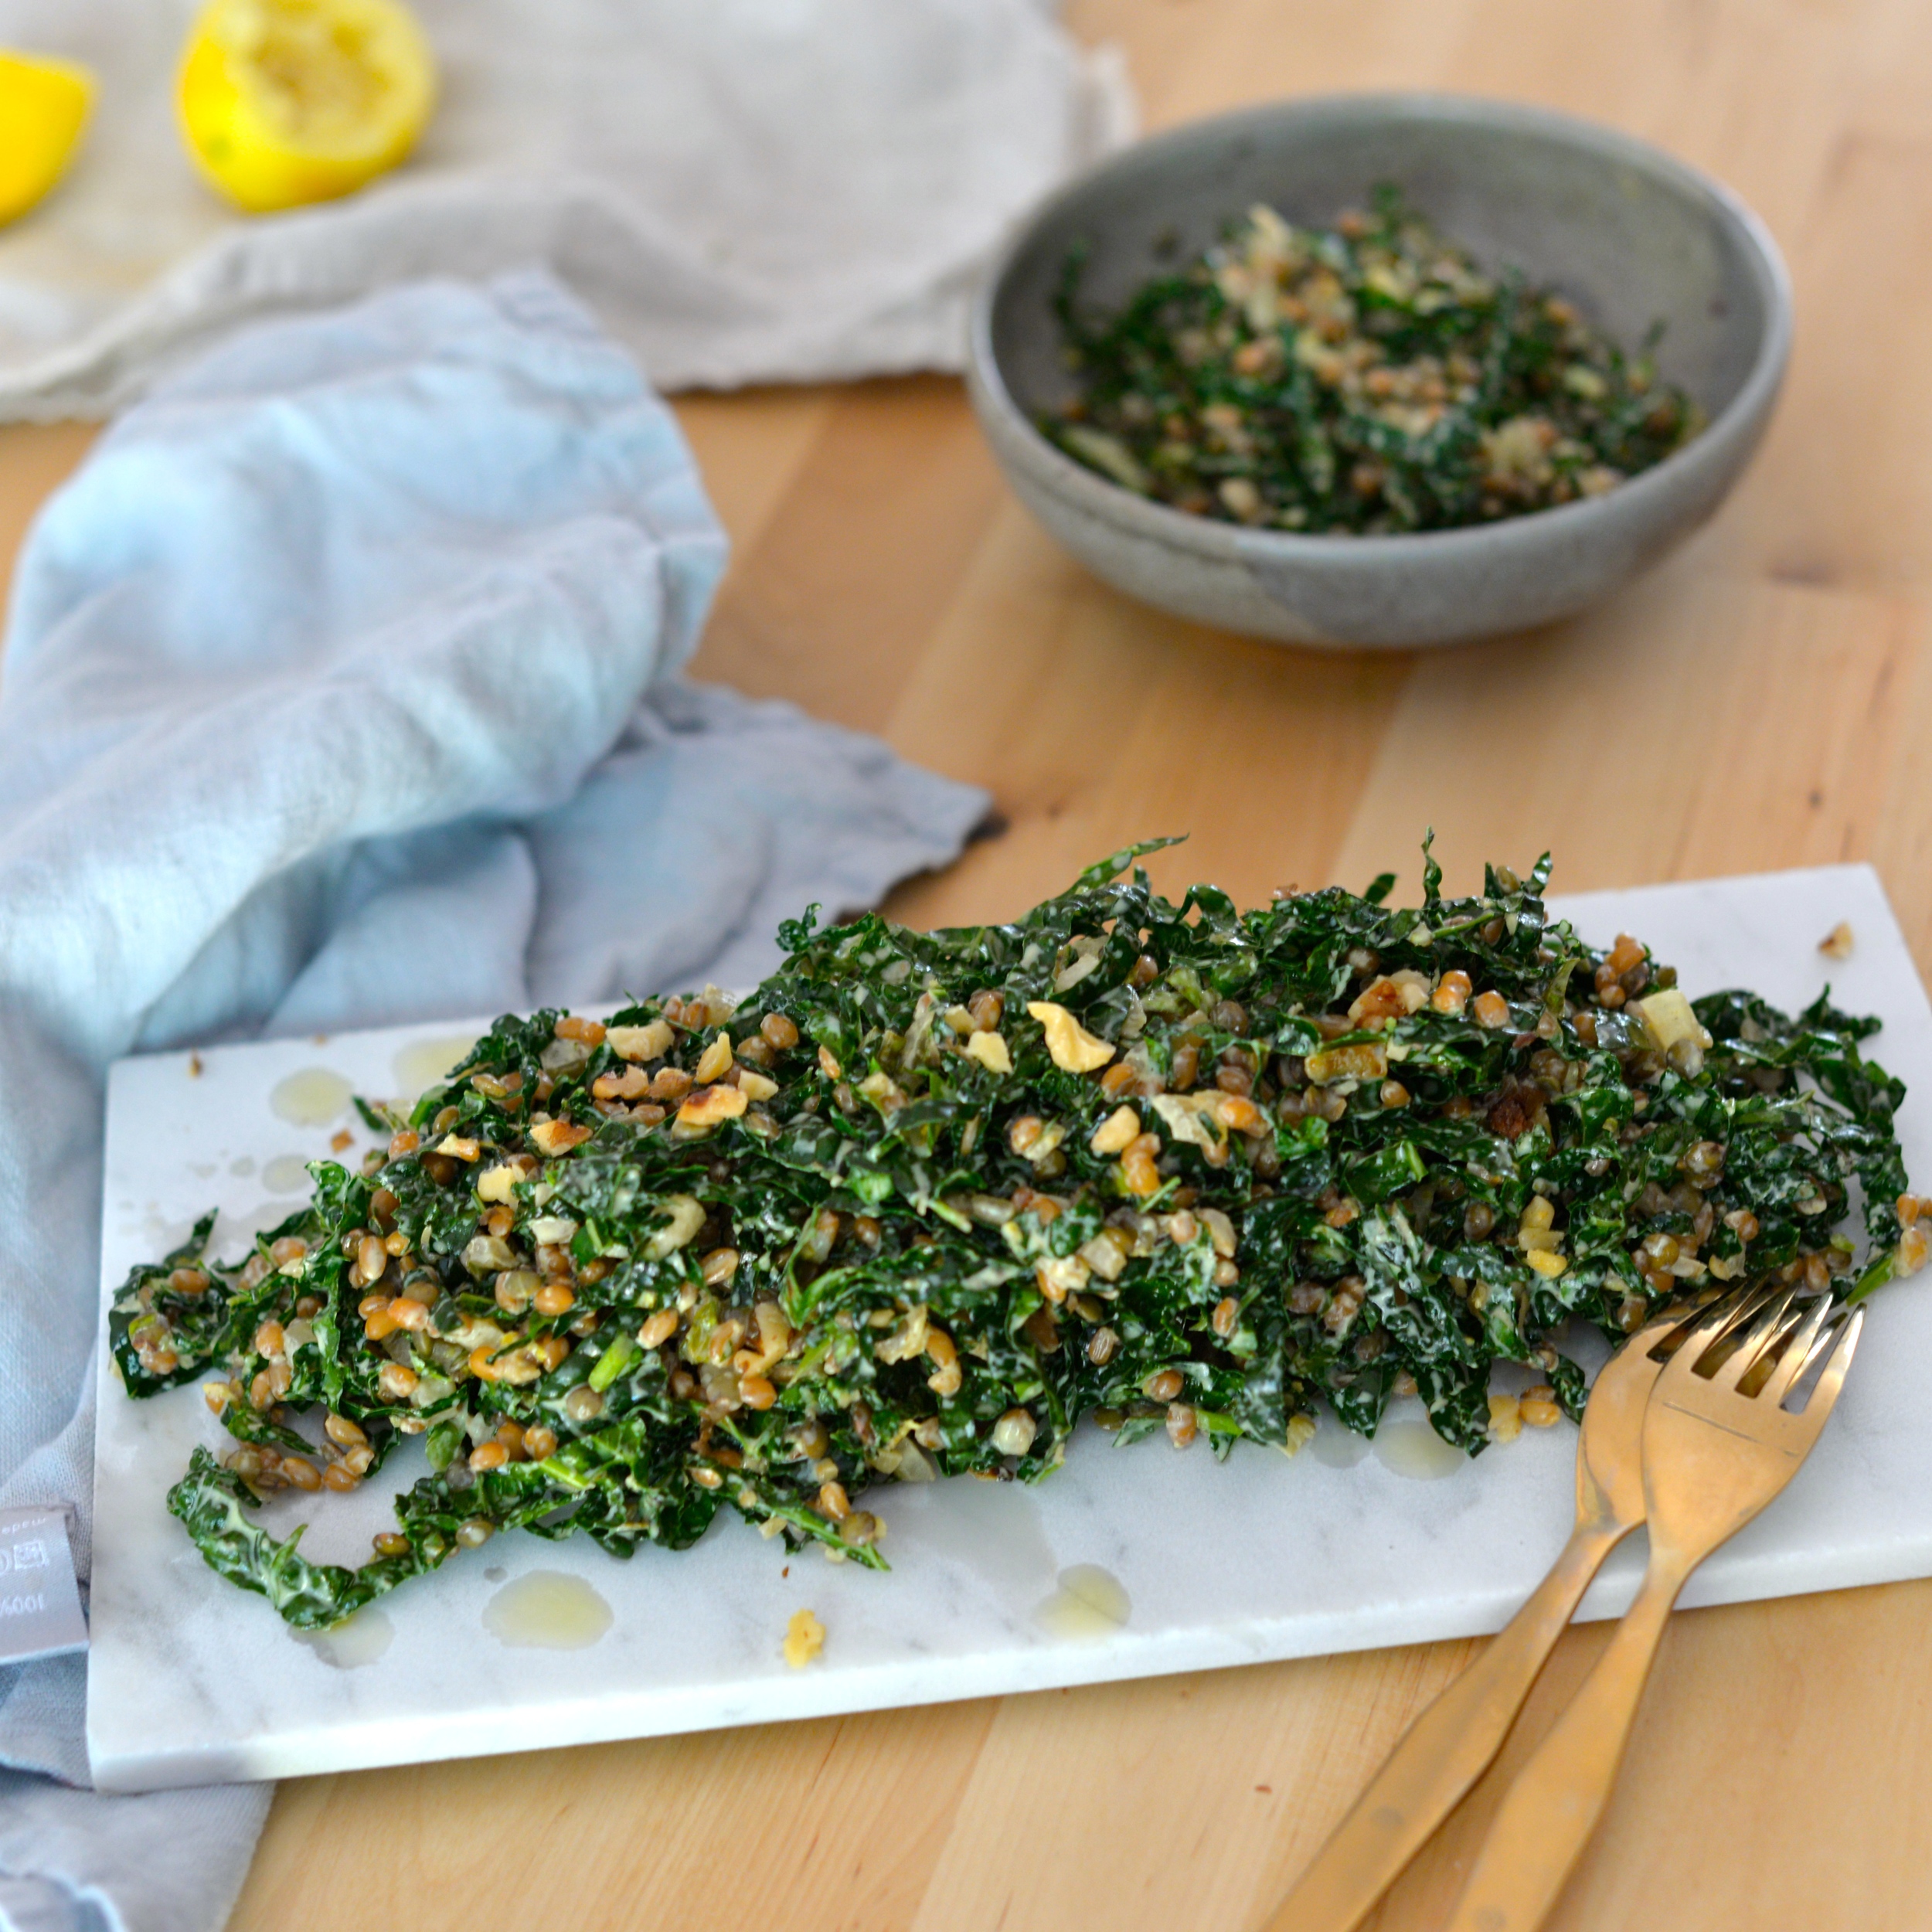
Now on to the actual recipe. This is a really satisfying salad. The different textures, the bulk, the brightness, all make this a salad that you keep digging your fork into. Kale is the perfect "lettuce" for this sort of salad because it can stand up to the weight of the dressing. Lacinato kale softens better than the curly kind, so that is really what I prefer here. Basil and parsley are here to break up the "green" flavor that kale can have, so I am generous with them. Plus, fresh basil makes me happy that it is summer. I threw in some cooked beluga lentils that I had in the freezer and thawed and tossed in cooked barley that I had also in the freezer and thawed. Beluga lentils provide a nice little toothsome quality to this salad but canned (and drained) chickpeas could work in a pinch, as would any grain, rice, or small pasta you like.

The onions are cooked down to give just a touch of sweetness, cumin is there for its earthy flavor, and the Greek yogurt and lemon add a creamy tang that brightens it all up. This is a great salad to make ahead of time as it slowly becomes more tender without feeling wilted. Yay for greens!

Kale and Beluga Lentil Salad with Lemon Yogurt Dressing

4 tablespoons extra-virgin olive oil, divided
1 small onion, finely chopped
1 garlic clove, minced
scant 1/2 teaspoon ground cumin
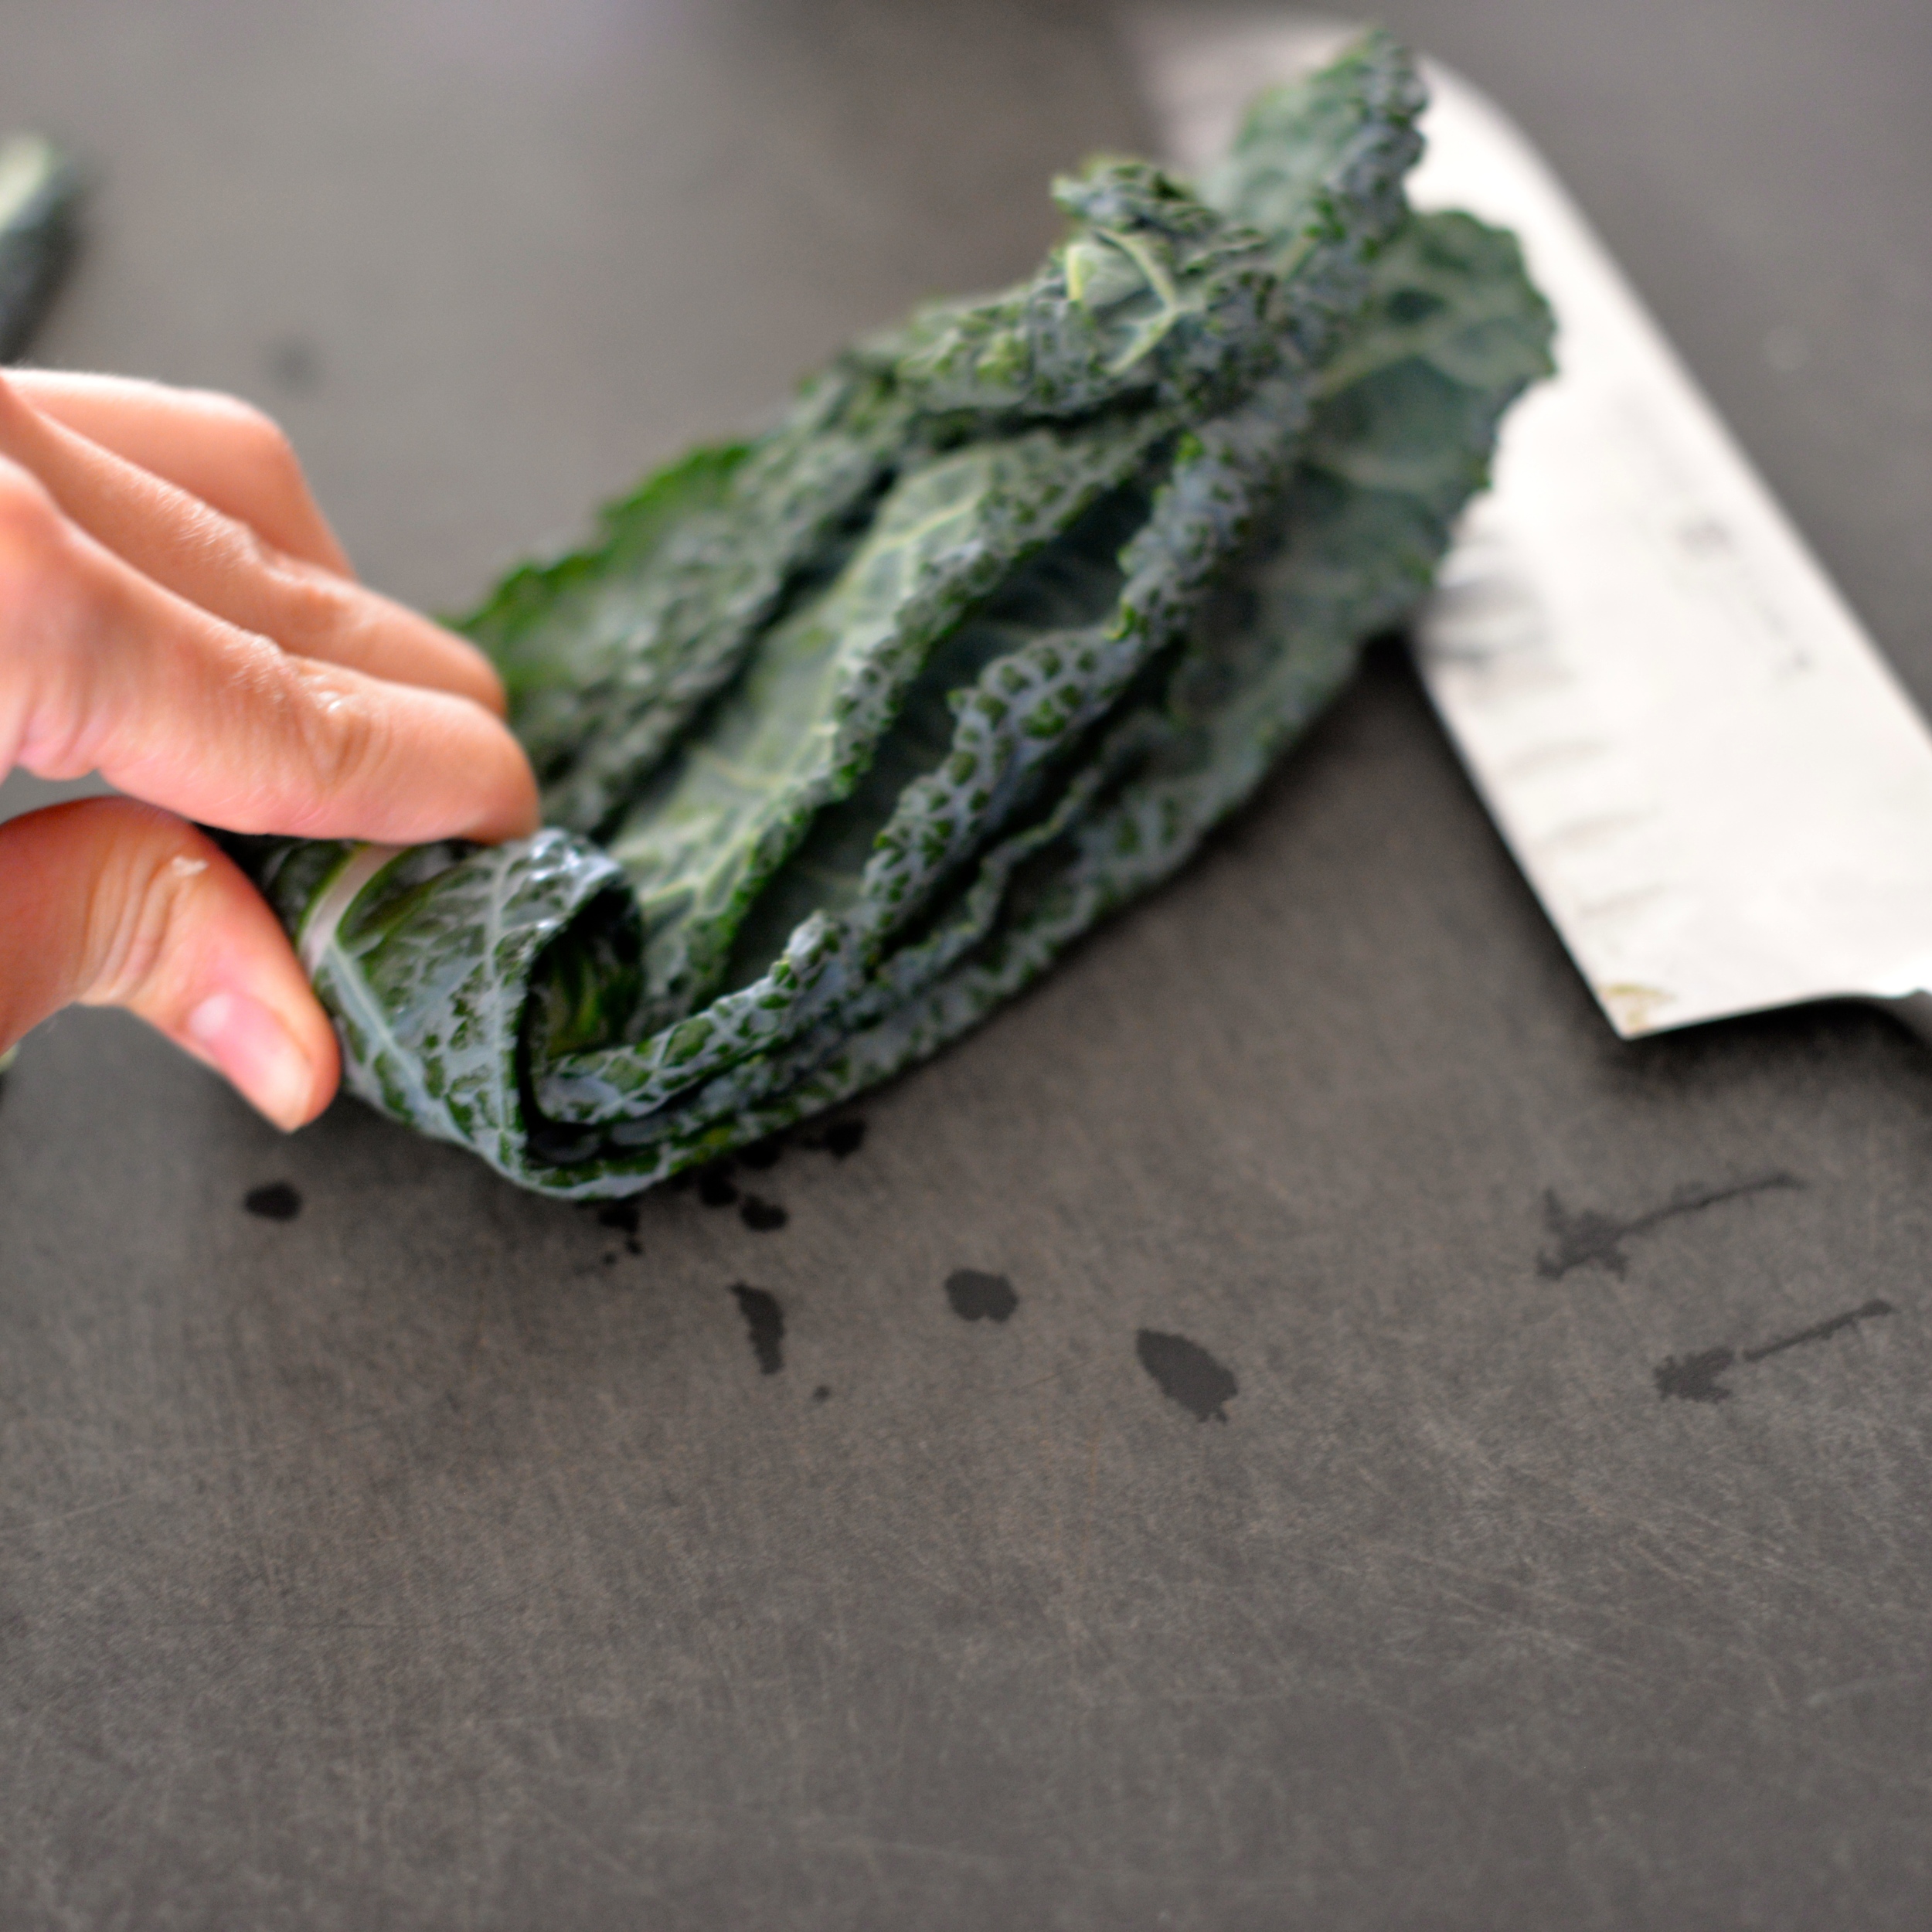
1 bunch lacinato kale, stems removed and leaves cut in chiffonade
1/2 cup cooked grain of choice (I used hulled barley)
1/2 cup cooked beluga lentils (or chickpeas)
1/2 cup fresh basil leaves, cut in chiffonade
1/2 cup fresh parsley leaves, chopped
1 lemon, zest and juice
3 tablespoons Greek yogurt (I recommend 2% Greek yogurt here for a little more richness)
1/2 teaspoon sea salt
1/2 cup walnuts, toasted* and chopped
salt and pepper, to taste

Heat a medium skillet over medium-high heat. Add 2 tablespoons olive oil. Add the onion and garlic, and cook over medium heat for about 6-8 minutes or until onion is soft and golden. Add the cumin and cook for 30 seconds or until fragrant. Remove mixture from heat and allow to cool slightly.

Meanwhile, in a large bowl, massage the kale with 2 tablespoons extra-virgin oil and a sprinkling of salt until kale begins to soften. This can take about a minute or so. Add the grain, lentils, basil, and parsley, and stir to combine.

When the onion mixture has cooled, add the lemon zest, lemon juice, yogurt, and 1/2 teaspoon sea salt and stir to mix. Add this mixture to the kale and lentil mixture, toss in the chopped walnuts, and use tongs to combine. Taste and adjust for salt and pepper. Enjoy! Serves 4-6.

*To toast walnuts, toast in oven at 400 degrees for 8-10 minutes or until golden.

DSC_0211.JPG
DSC_0213.JPG
DSC_0216.JPG
DSC_0221.JPG
DSC_0231.JPG


In Salads Tags kale, yogurt, lentils, salad, grains, walnuts, recipe
Comment

Buckwheat Crepes with Mushroom and Chard Filling

April 28, 2015 Emily Watson

Crepes are such a romantic food. My first encounter with them was on a trip to Barcelona when I was studying abroad after high school. They were selling them at a little cart at the beach, and my friends insisted I try one. Filled with nothing but Nutella, they were enormous. And they were heavenly. Thin and delicate, yet sturdy enough to hold the chocolatey hazelnut spread within it. I loved the crispy little edges, too. We sat on the dock eating them, allowing our feet to dangle over the edge, barely tickling the Mediterranean. I was determined to learn how to make crepes before leaving Barcelona and enrolled in a culinary class with some friends. Our instructor decided to teach us how to flip them in the pan with a swift flick of the wrist, and my all-too-eager friend jumped at the challenge. The next thing we knew, we had a buttery crepe stuck to the newly painted ceiling of our culinary instructor's apartment. It eventually fell, but not without leaving a perfect grease circle in its wake. Oops.

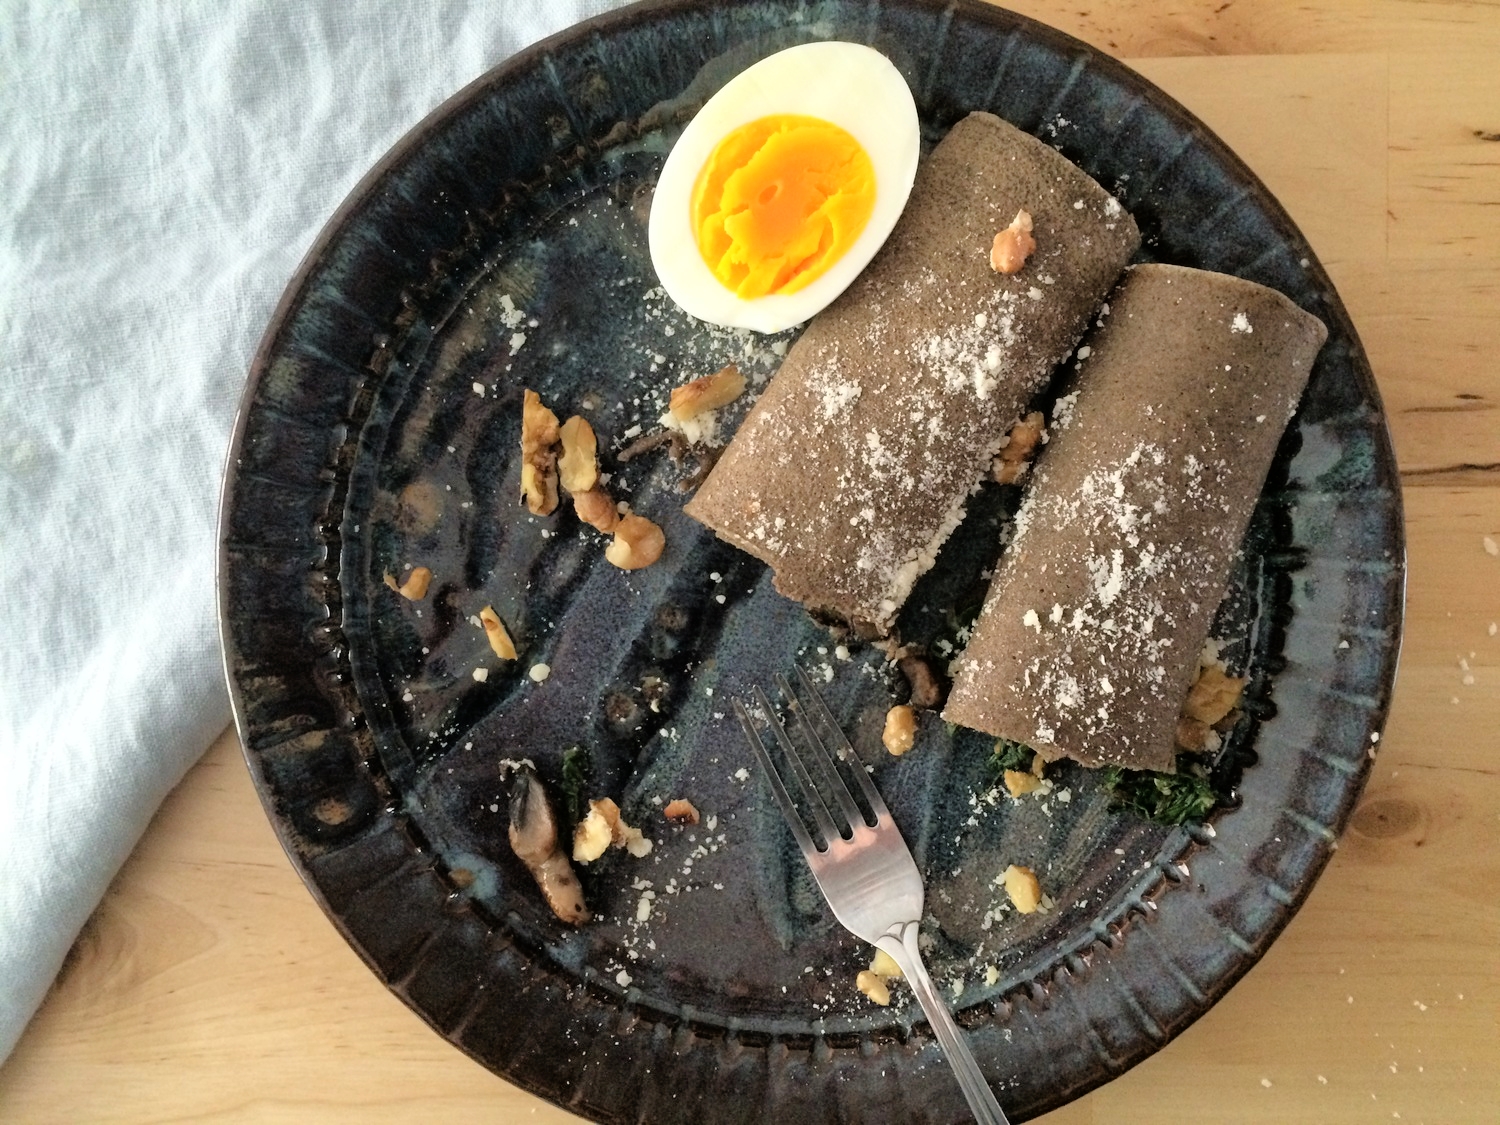
I have had quite a few crepes since then, but my favorite has been from the French inspired Cafe L'Aube here in Philadelphia that serves a beautiful buckwheat crepe with ham, egg, and Emmentaler cheese. The buckwheat gives the crepe an earthiness and robustness that I love. I was inspired to try my own buckwheat crepe at home, relying on a few tips from my crepe-making lesson in Barcelona to create ever so thin pancakes with crispy edges. I branched out with the filing too, incorporating spring vegetables and a fresh local goat's milk cheese. I served a medium-boiled egg alongside the crepe and found myself cutting pieces of egg and pieces of crepe to make the perfect little bite. A plate of these really made me feel like I was at a European cafe, if only temporarily.

A few things to make note of while you cook. For one, take the time to wash the chard and drain it well. You want to eliminate any grit and sand that so often sticks to chard leaves. I use goat cheese here because it offers a nice tang to the heavier, earthier vegetables, but just about any cheese would do, but be sure to mix it into the filling while it is hot so that it melts well. The batter can be made a day ahead, and stored in the refrigerator, and the cooked crepes can be frozen for up to a month with parchment paper slices in between to prevent sticking.

Buckwheat Crepes with Mushroom and Chard Filling

8 Buckwheat Crepes (see recipe below)
1 tablespoon olive oil
1/2 tablespoon unsalted butter
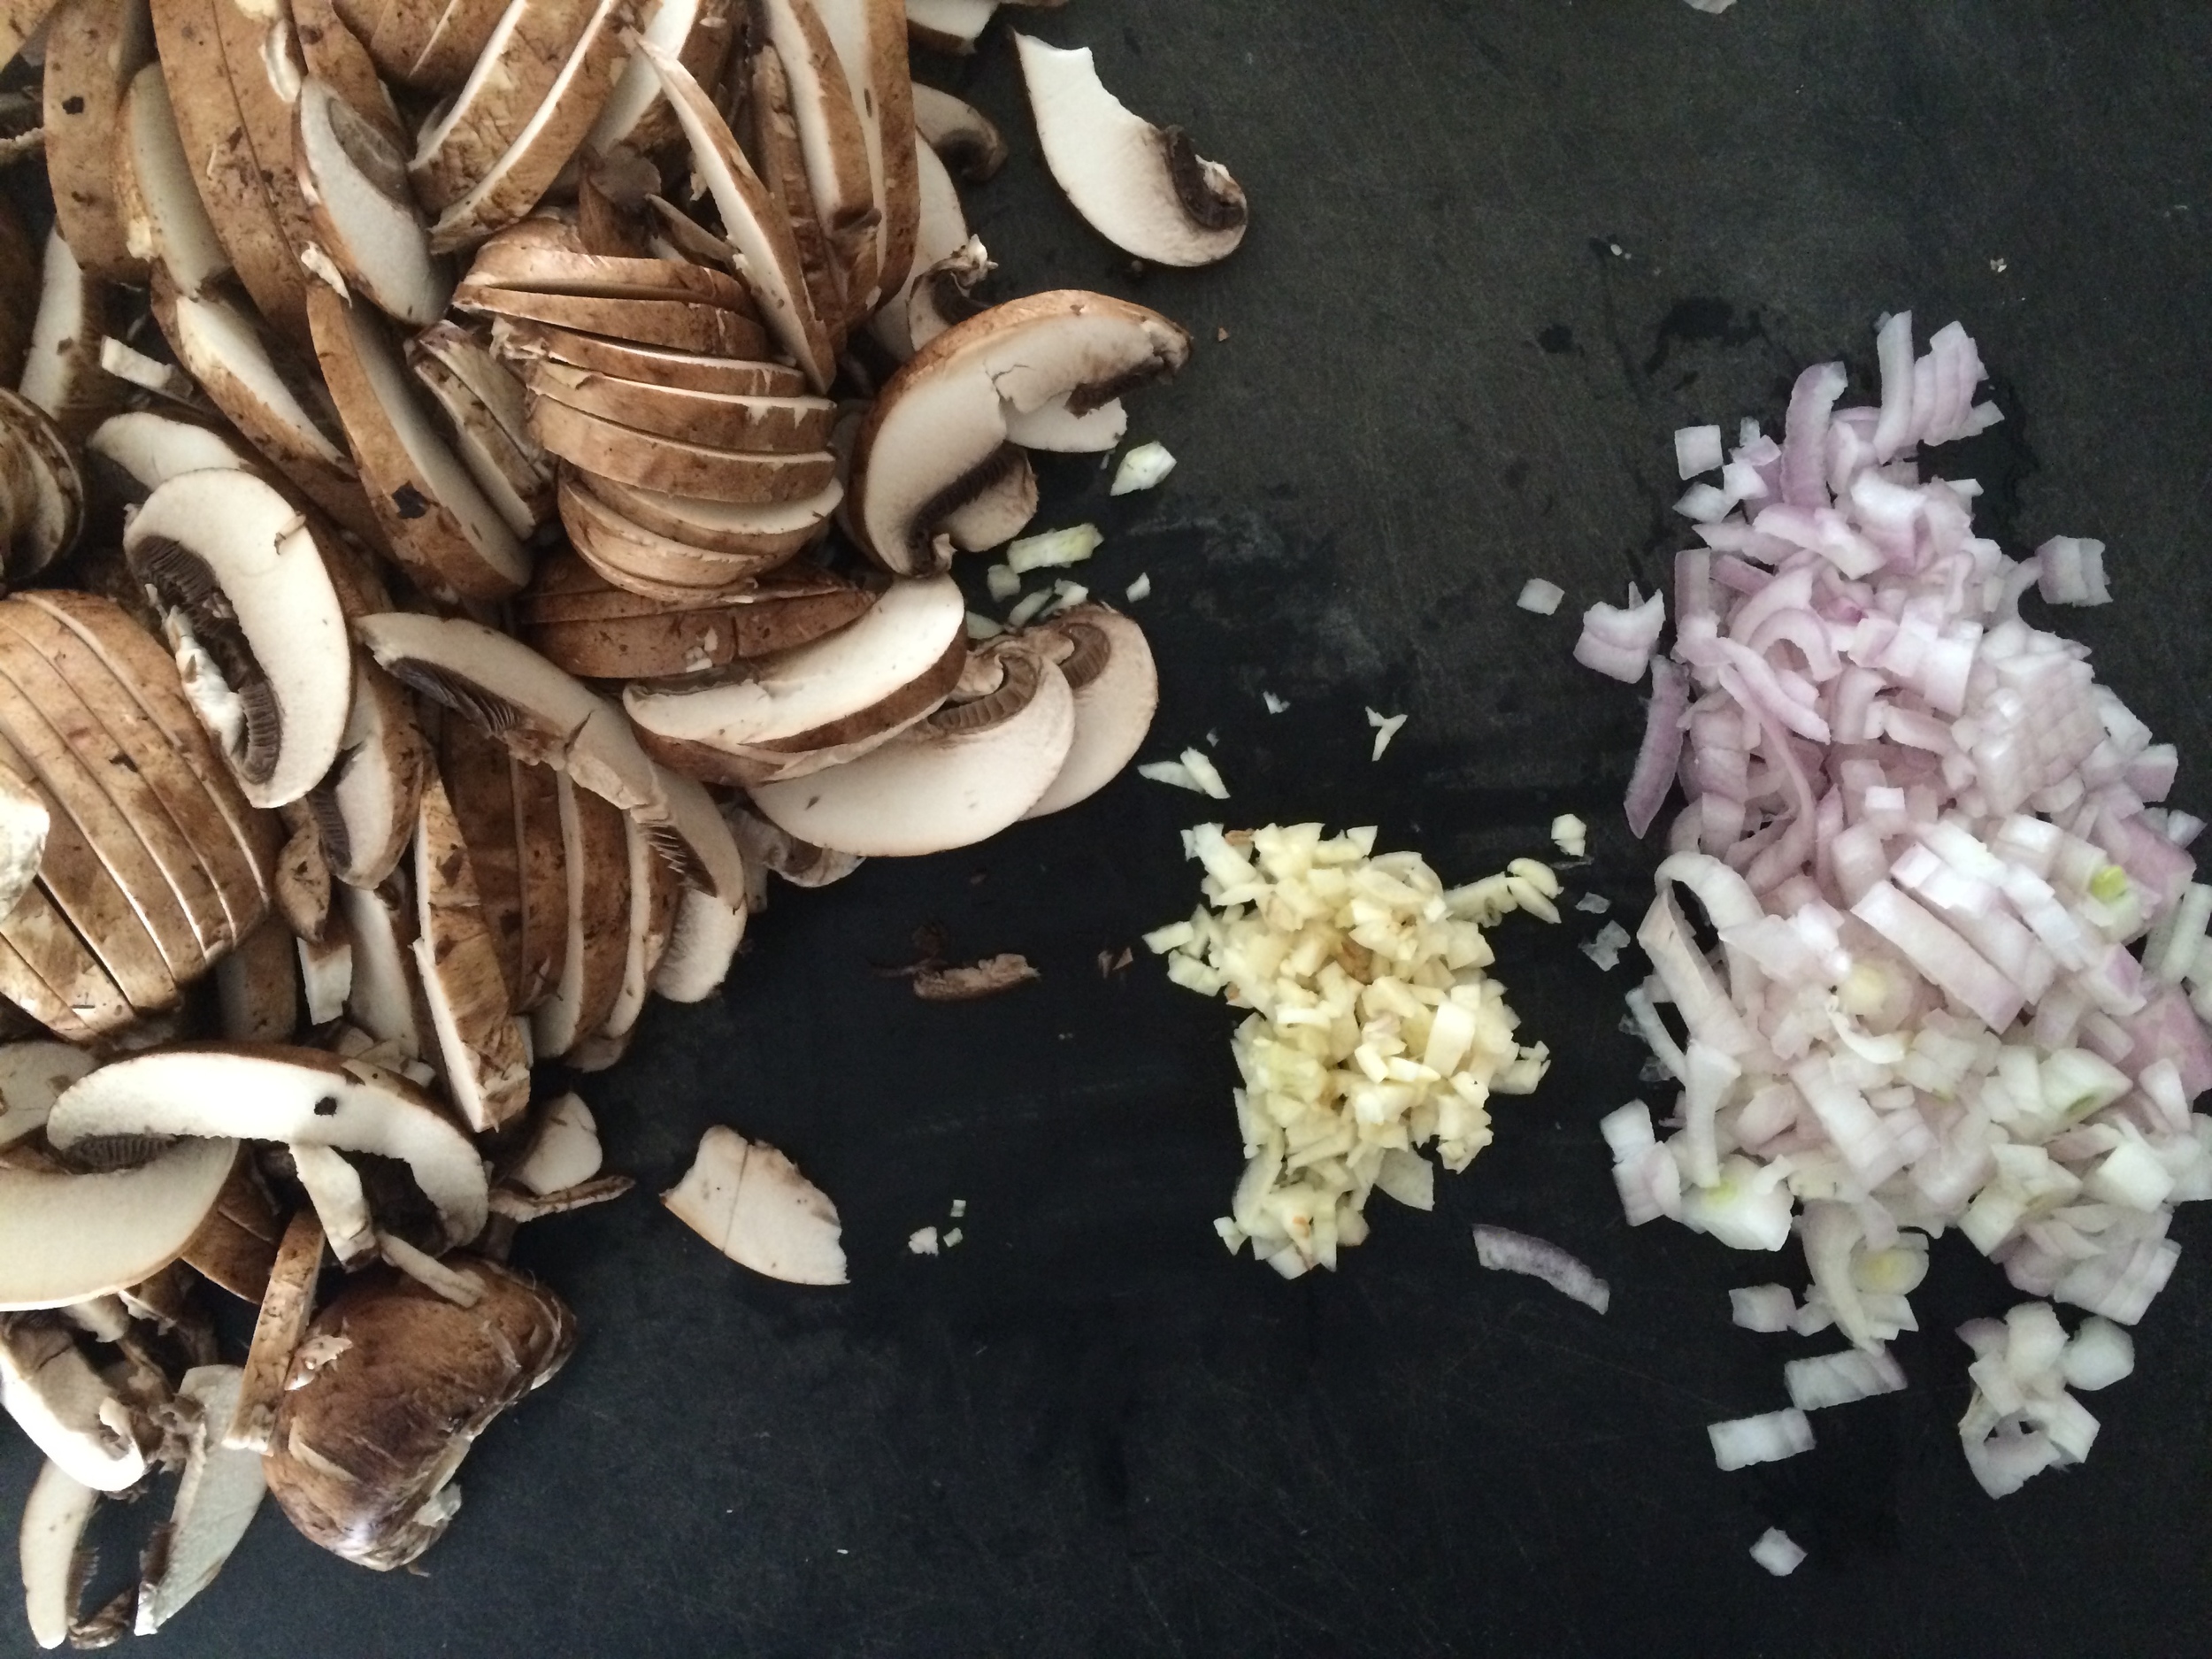
1 shallot, peeled and finely chopped
2 garlic cloves, peeled and finely chopped
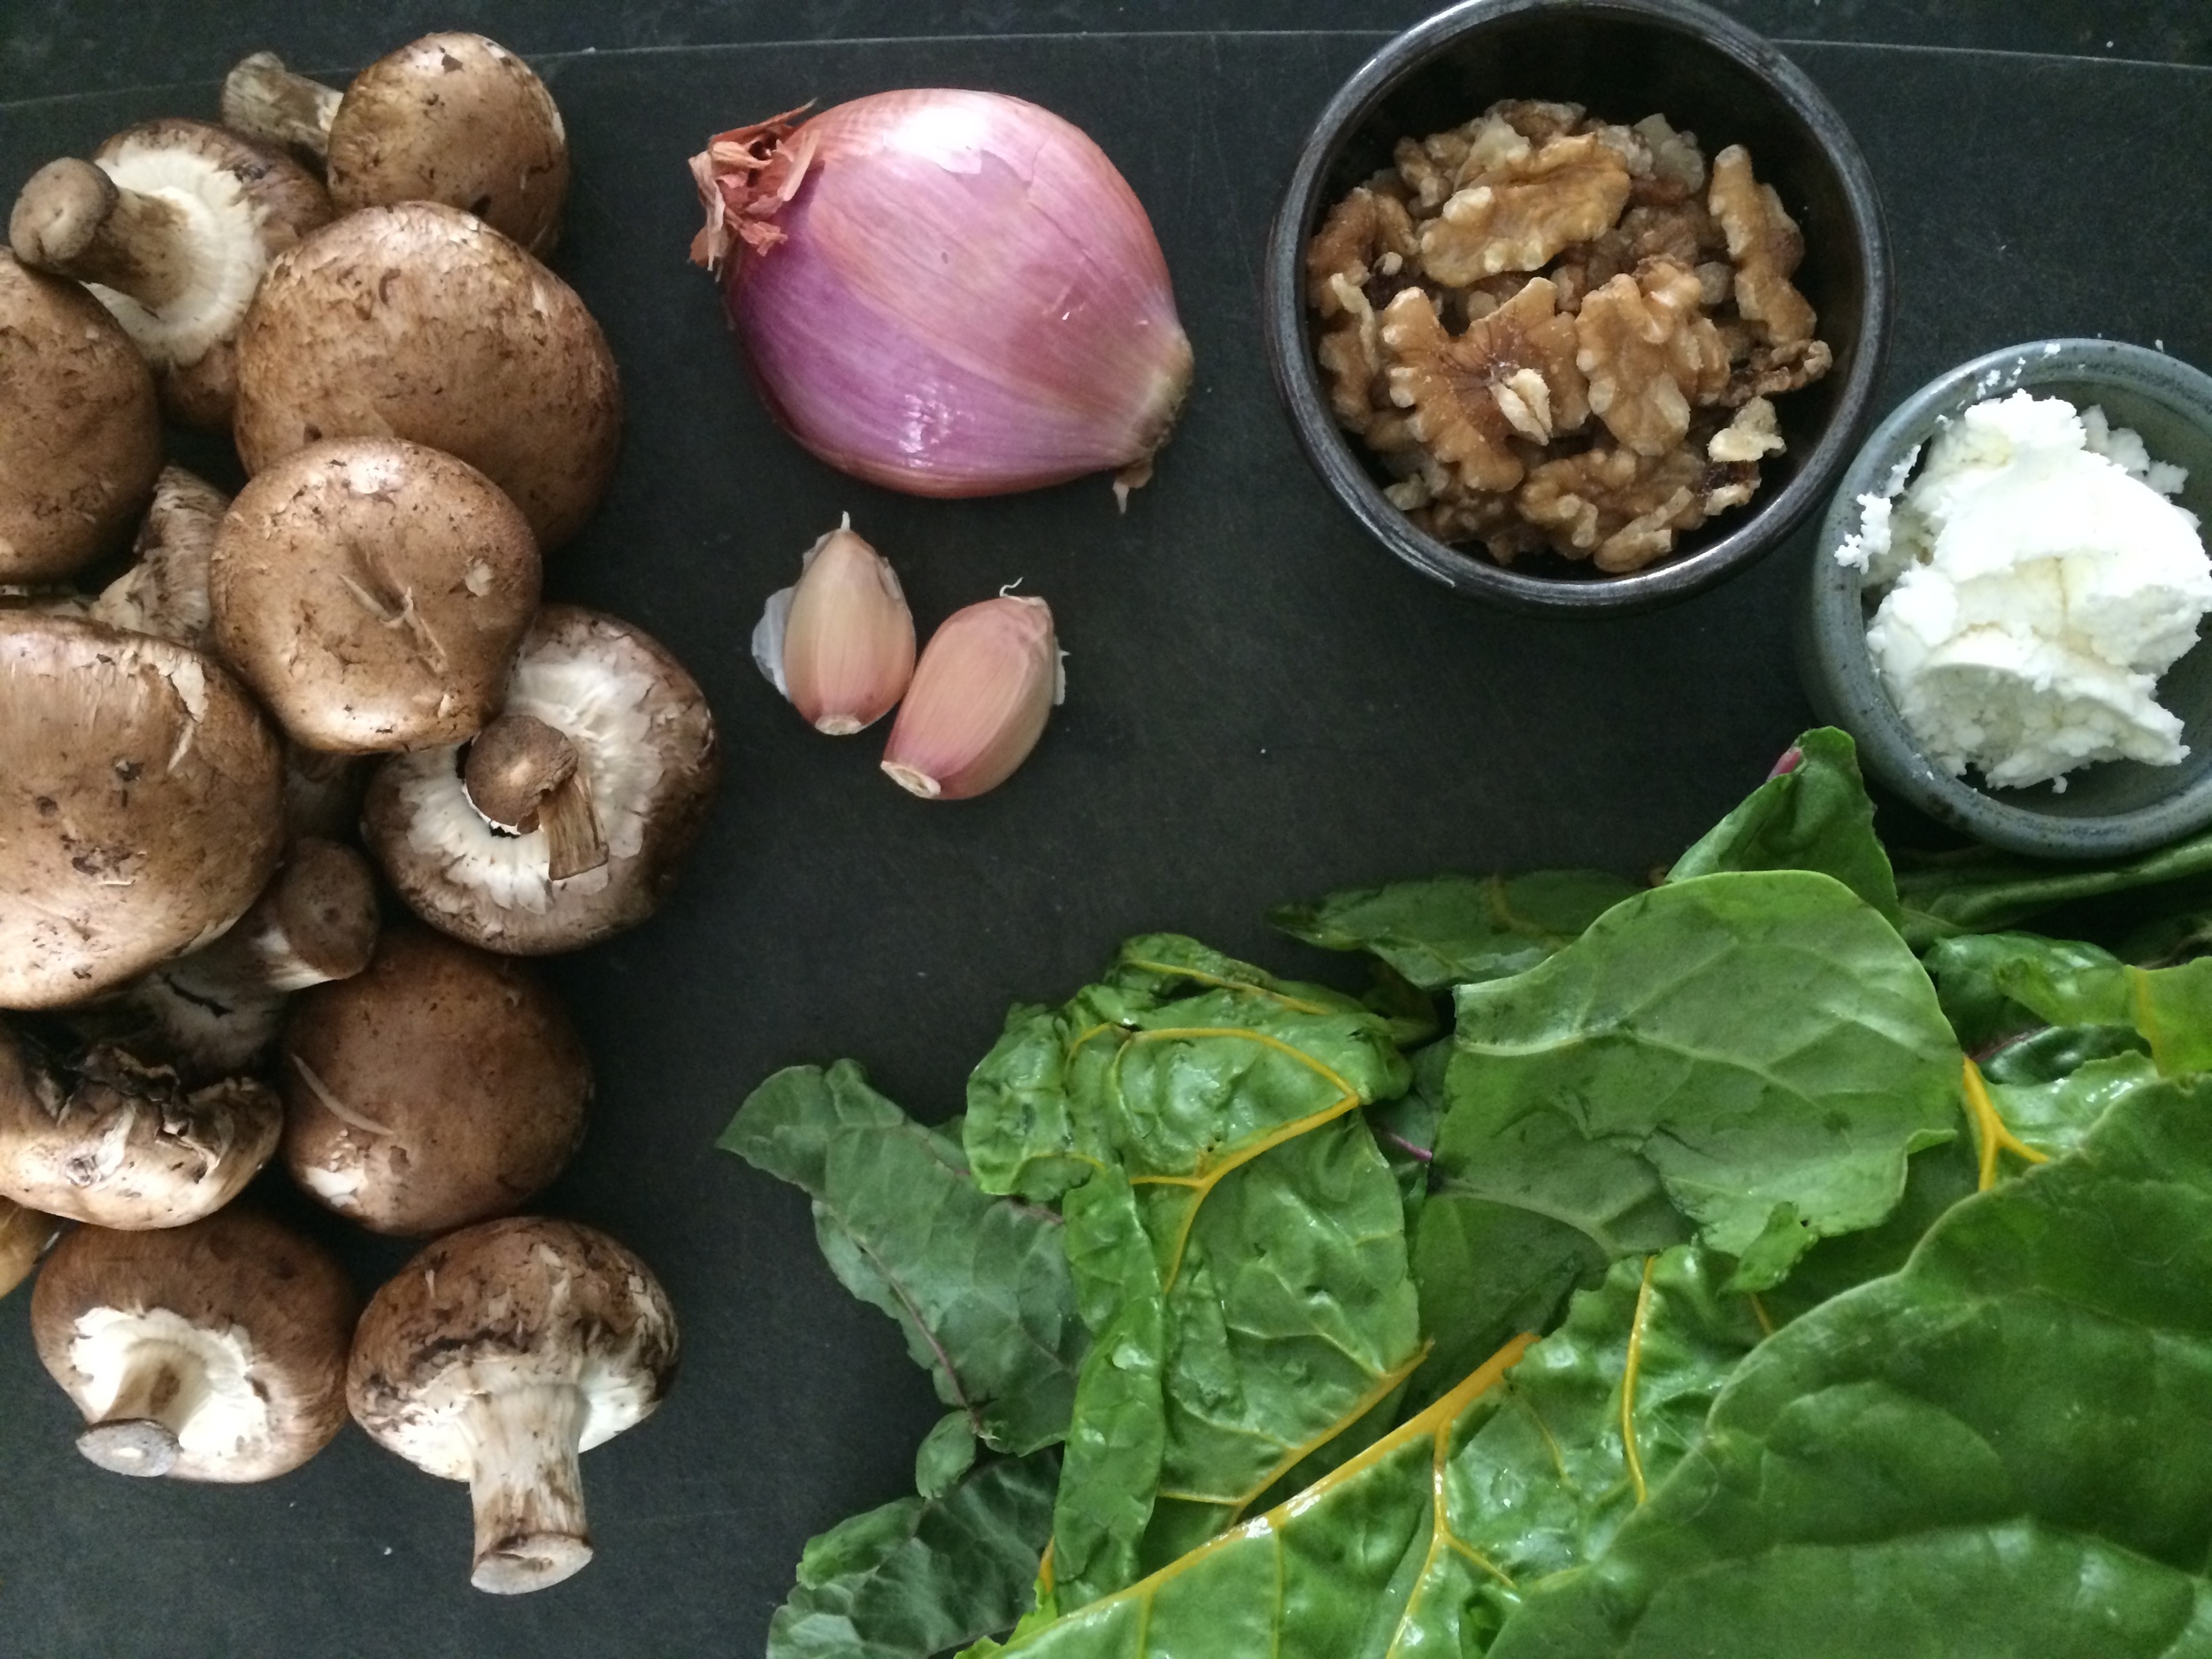
1/2 pound cremini mushrooms, stems removed and thinly sliced
1/2 pound chard leaves (stems removed**), washed, dried and sliced into 1/2 inch ribbons (about 6 cups)
1/2 cup walnuts, chopped
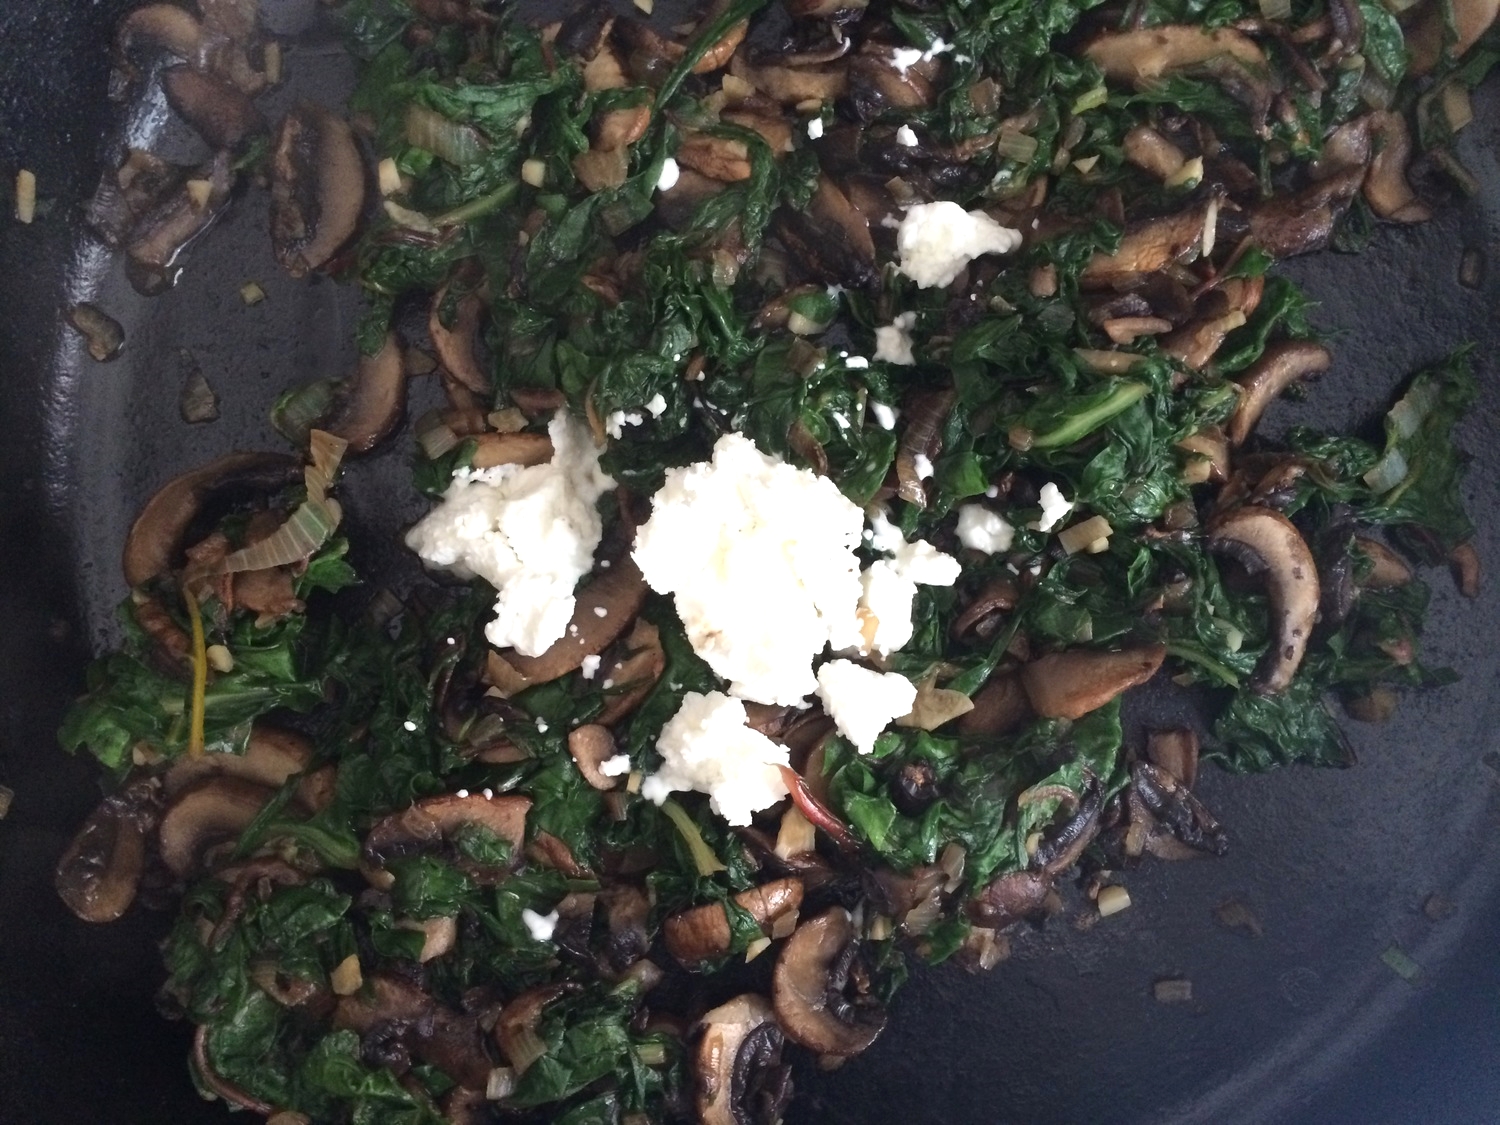
3 tablespoons fresh goat cheese
salt and pepper to taste
1/4 cup pecorino romano for sprinkling, optional
4 hard-boiled eggs for serving, optional

Heat oil and butter in a skillet over medium heat until butter has melted. Add shallots and sweat for 2 minutes or until softened. Add garlic and cook for 1 minute. Add mushrooms and 1/2 teaspoon of salt and allow to cook for 3-5 minutes or until mushrooms have released liquid and being to brown around the edges. Add the cleaned chard. Mix to combine and cook for 8 minutes or until chard has wilted. If there is a lot of liquid remaining in the pan and the chard and mushrooms are cooked, briefly drain it and return mixture to pan. Turn off the heat. While the mixture is hot, add the goat cheese and stir to combine. Taste and adjust for salt and pepper. Set aside.

Toast the walnuts. Place the walnuts in a dry skillet over medium heat and toast for 8-10 minutes, shaking often, or until walnuts are toasted. Add half of the toasted walnuts to the mushroom and chard mixture and stir to combine.

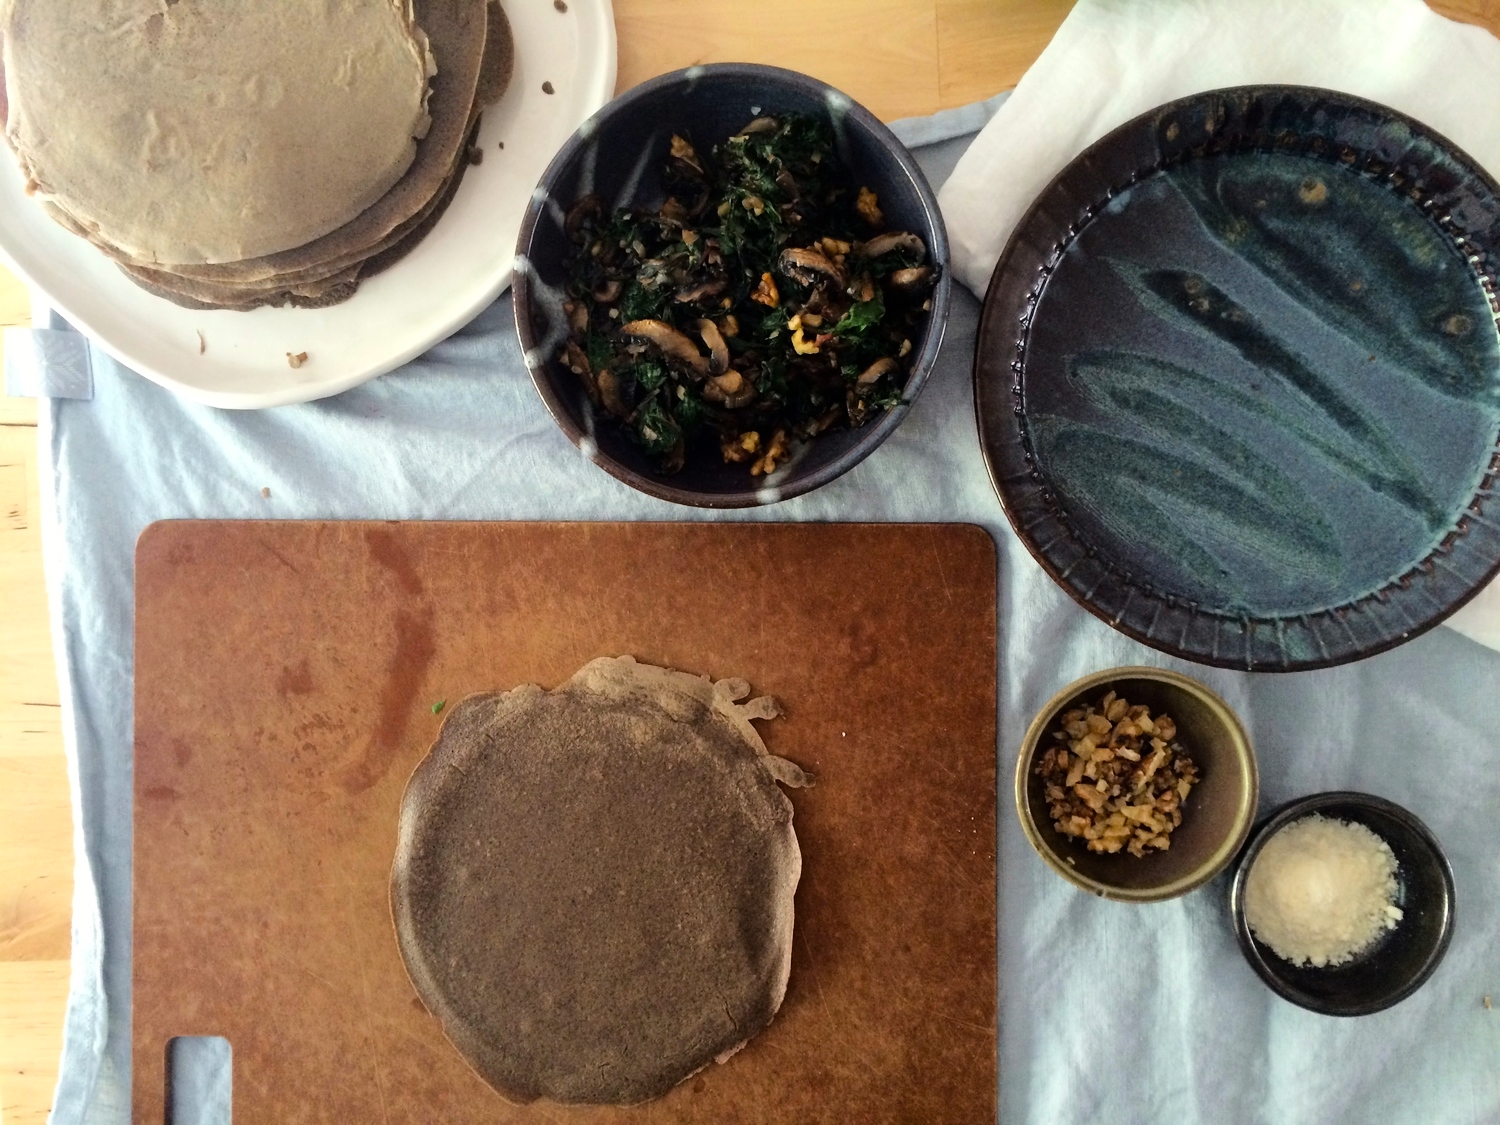
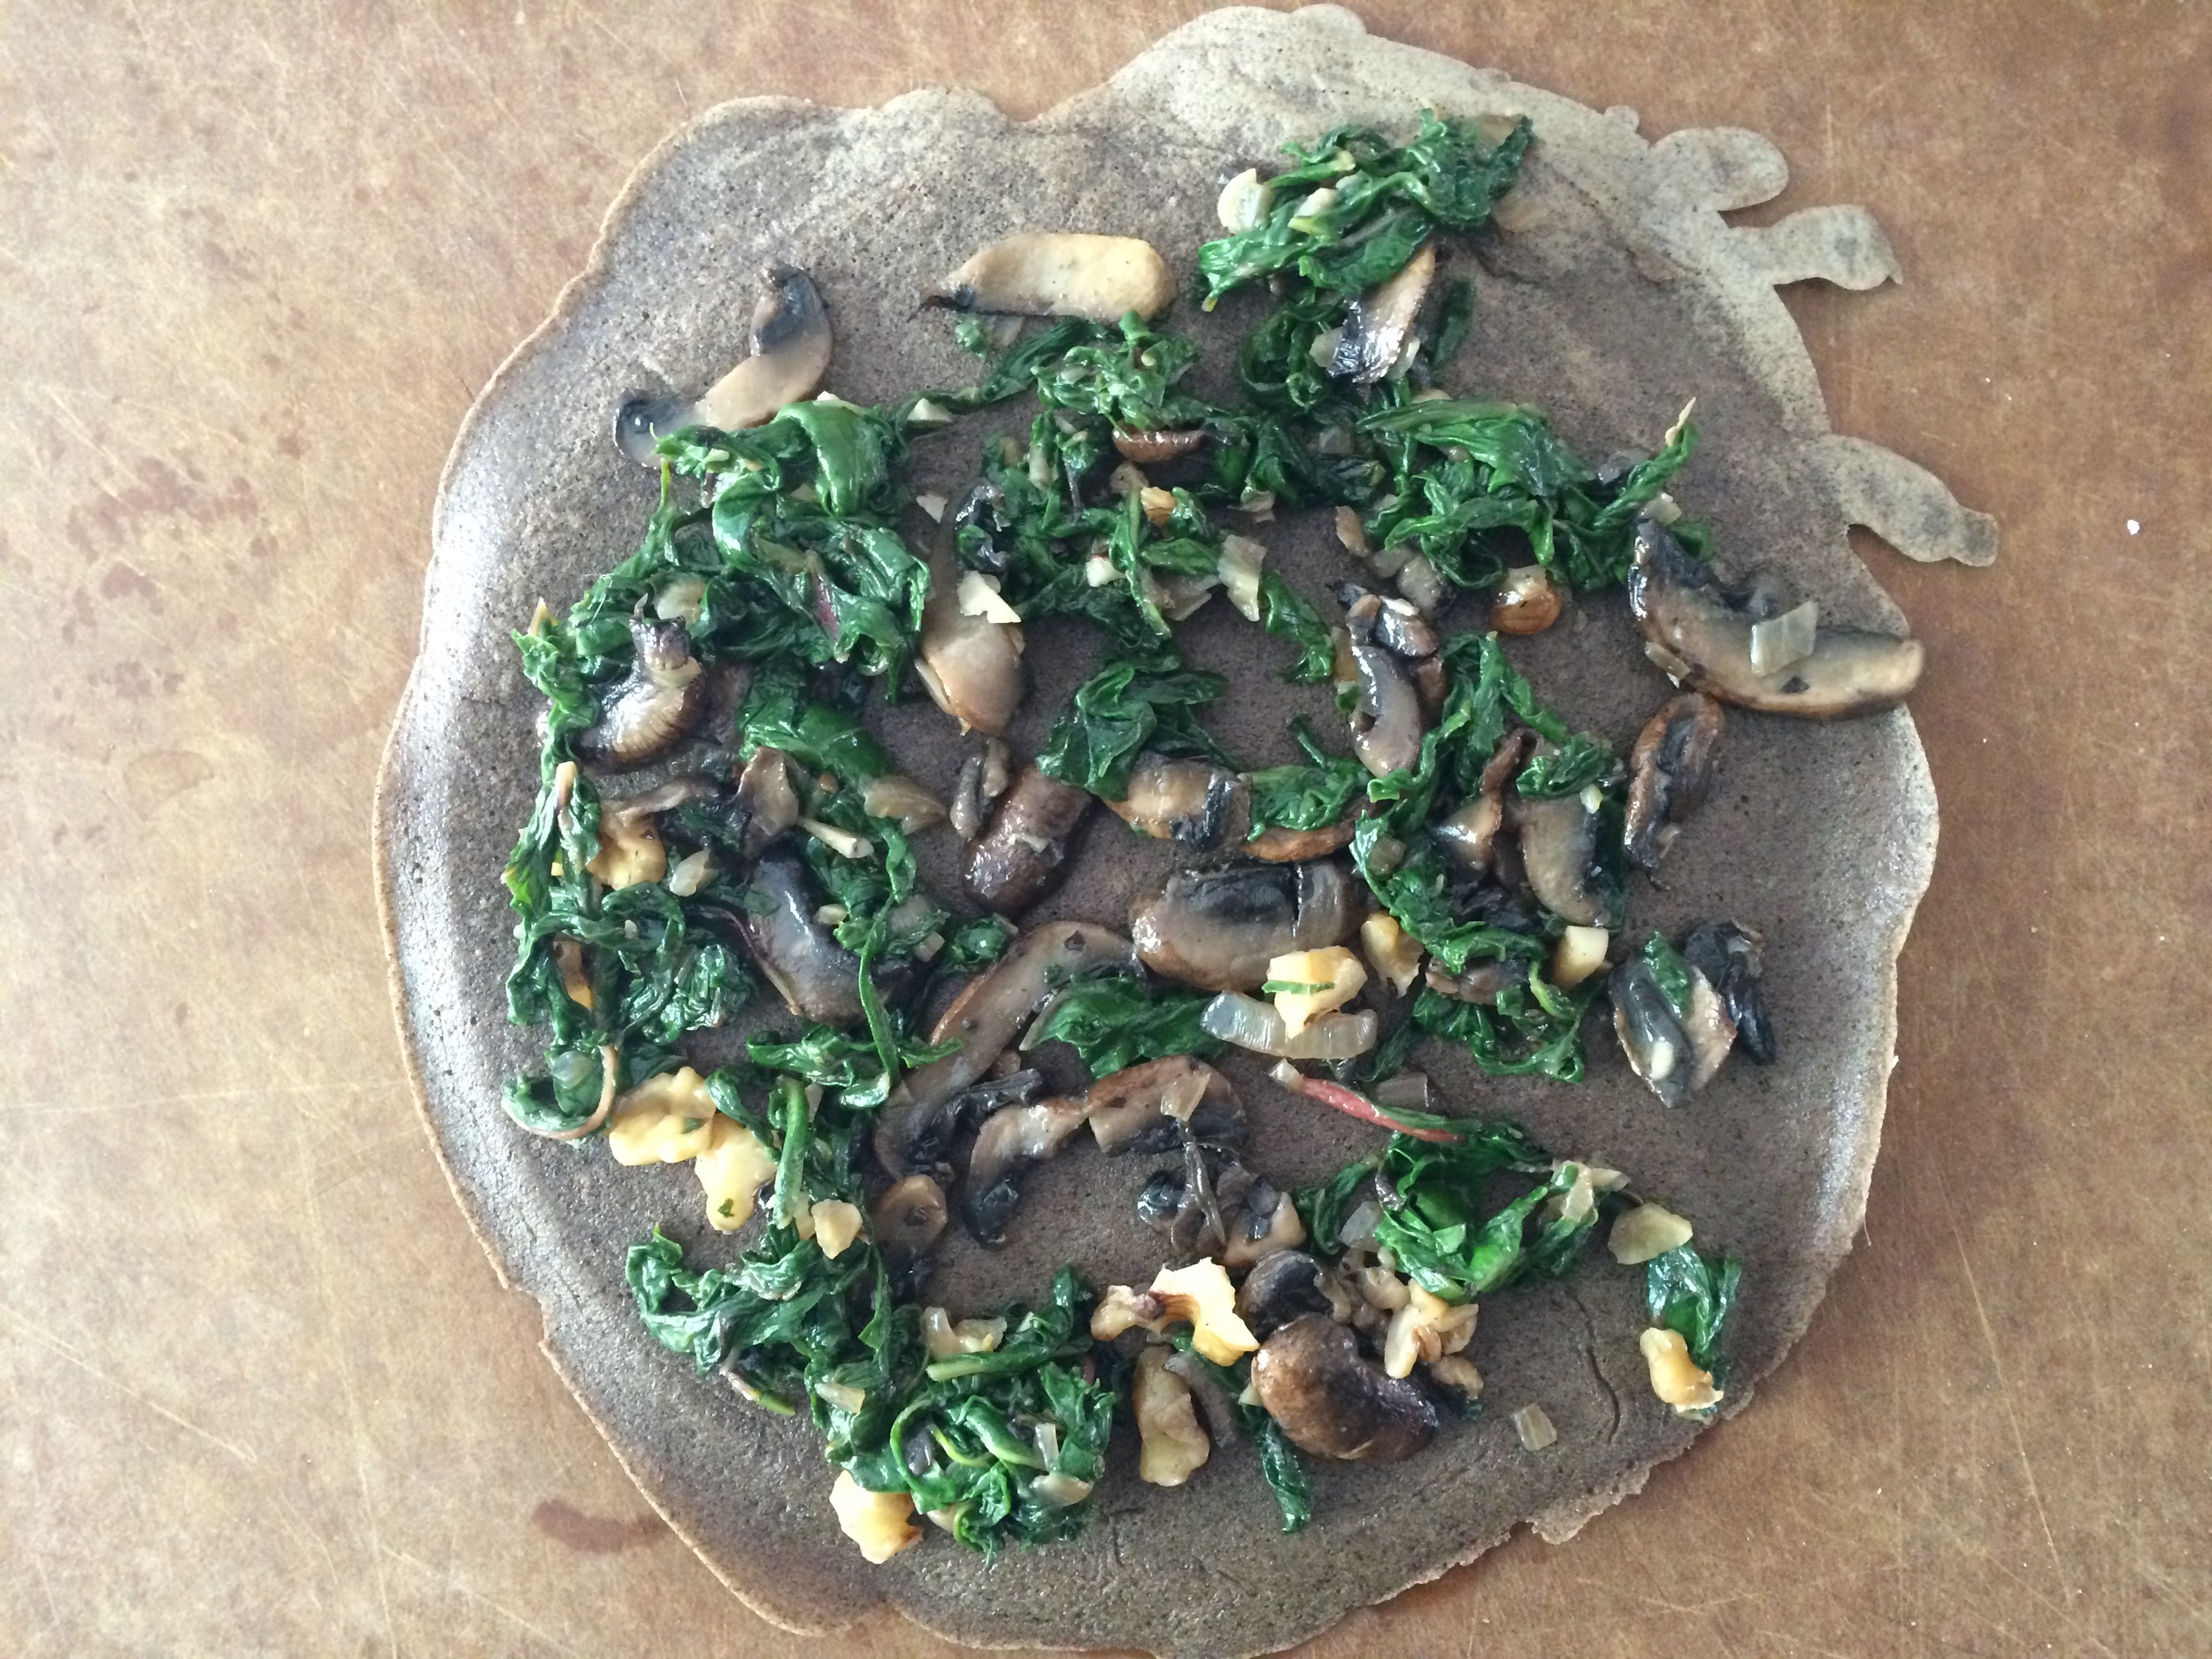
Set up your assembly station. Place one crepe on the surface, sprinkle with about 2-3 tablespoons of the vegetable and nut mixture. Roll up and place seam side down on a plate. Complete with the remaining filling and remaining crepes. Sprinkle with the remaining toasted walnuts, grated pecorino romano, if using, and serve with a hard-boiled egg. Enjoy! Serves 4 people. 

**You can use the stems to make my Pickled Chard Stems recipe for sprinkling on any grain salad or rice bowl.

IMG_5700.jpg
IMG_5704.jpg
IMG_5709.JPG
IMG_5711.JPG
IMG_5732.JPG
IMG_5735.JPG
IMG_5764.JPG

Buckwheat Crepes

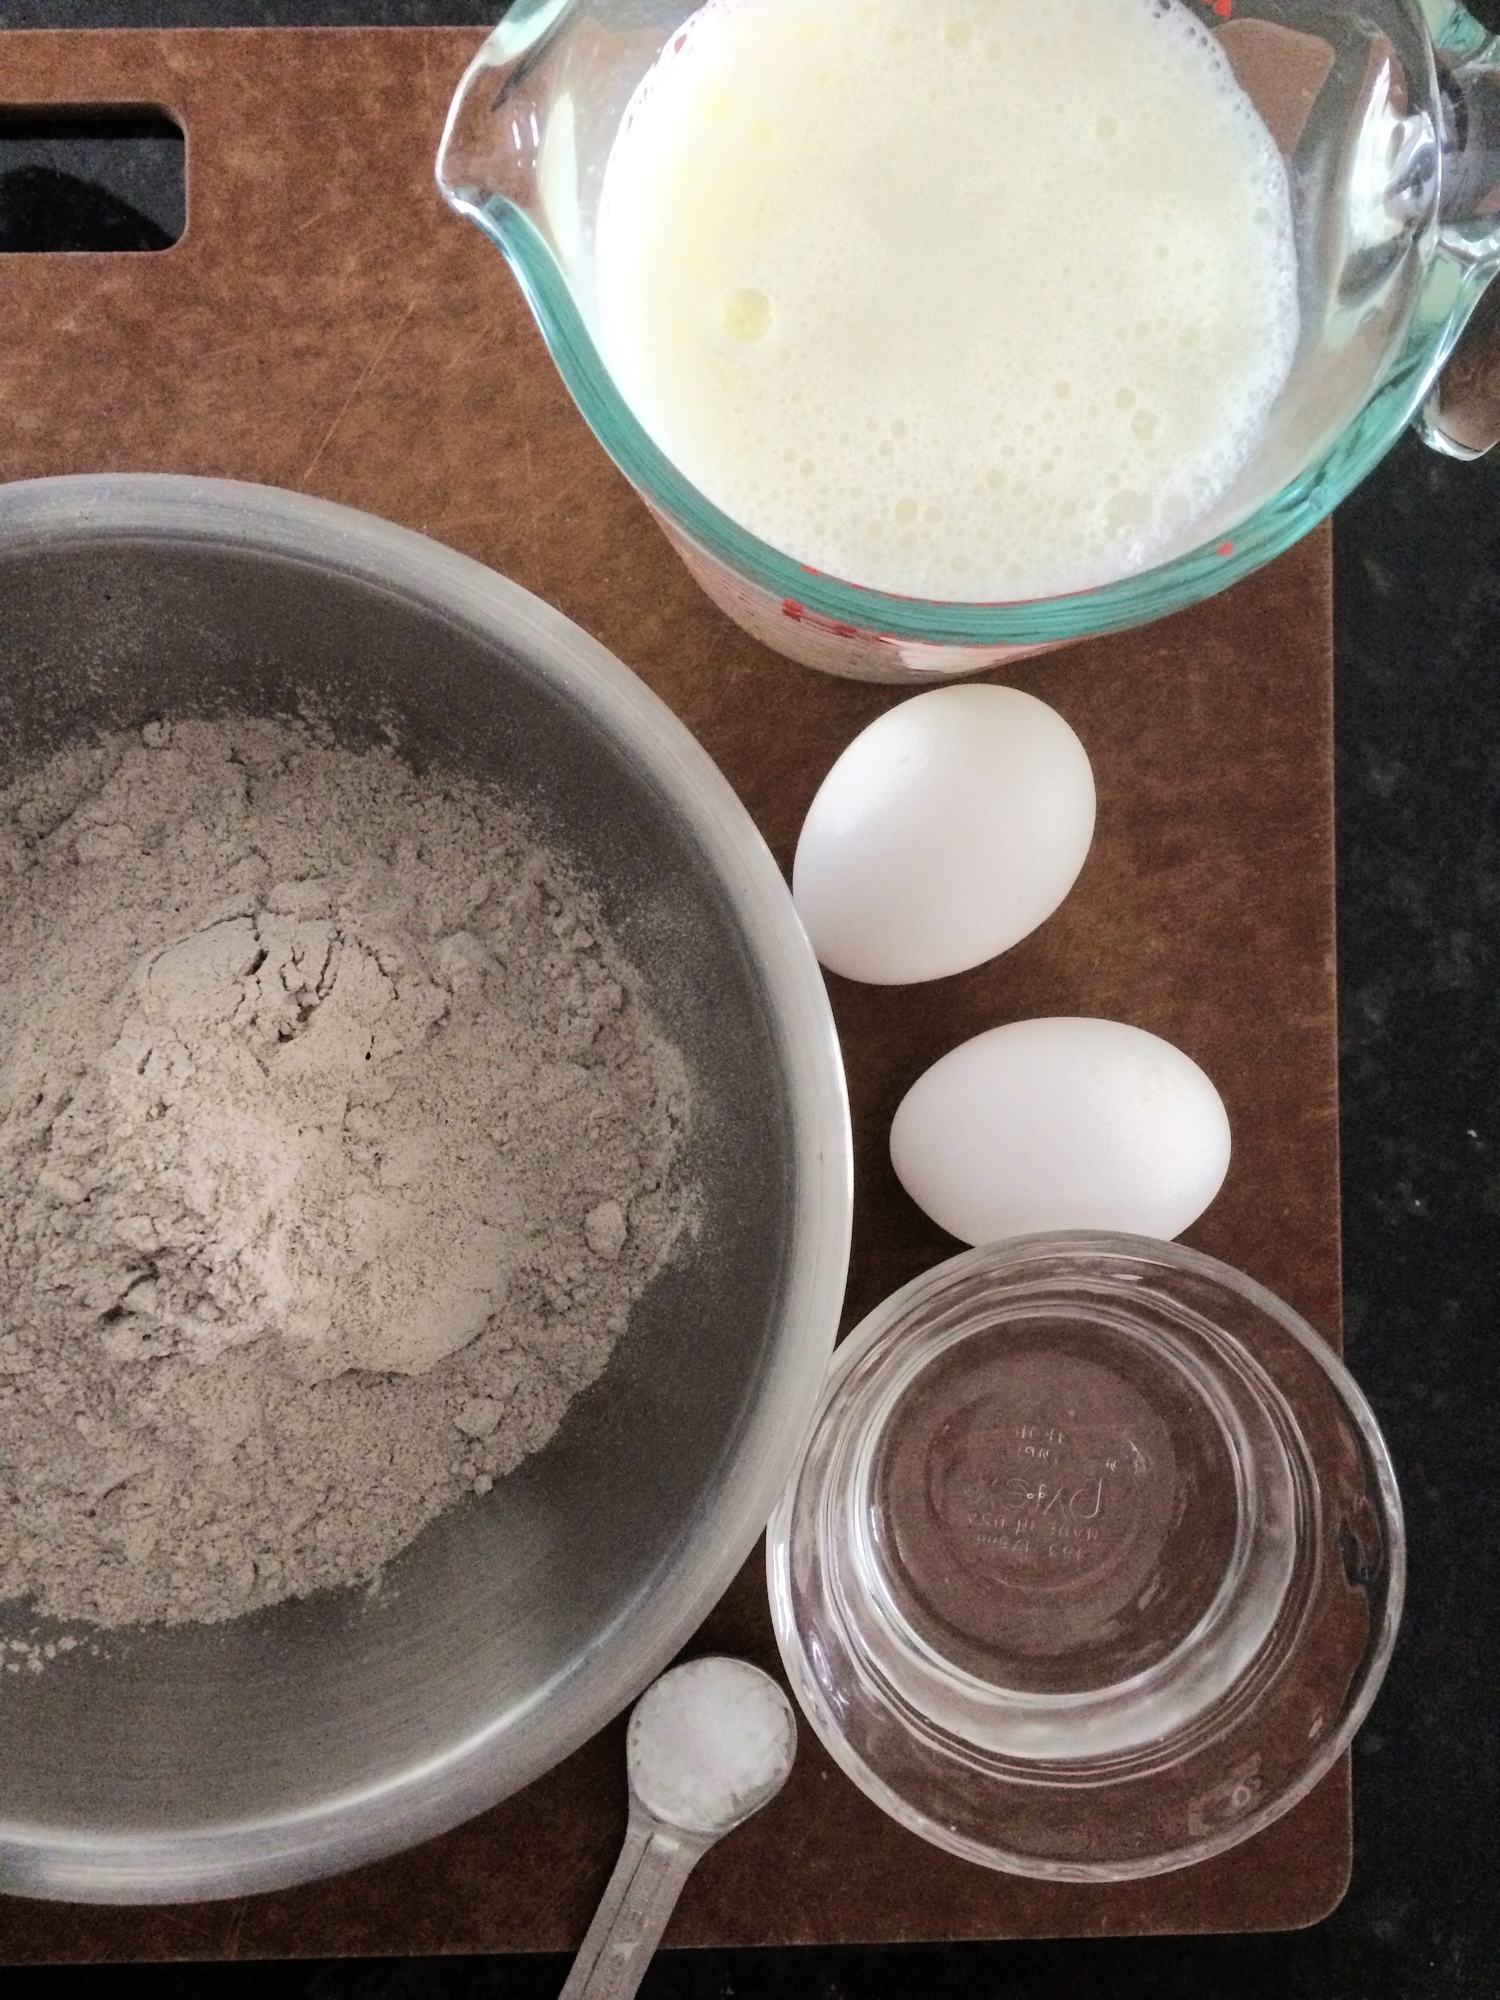
2 cups buckwheat flour
2 eggs
2 tablespoons unsalted butter, melted
2 cups milk (I used 2%)
1/2 cup water
1 teaspoon salt
1-2 tablespoons unsalted butter, divided, for cooking

Combine all of the ingredients in a blender, except the 1-2 tablespoons of butter for cooking. Blend for 30-45 seconds or until smooth. Pour the mixture into a bowl, cover with plastic wrap, and allow it to rest in the refrigerator for at least an hour or even overnight. Allow the mixture to sit at room temperature for 15 minutes before proceeding.

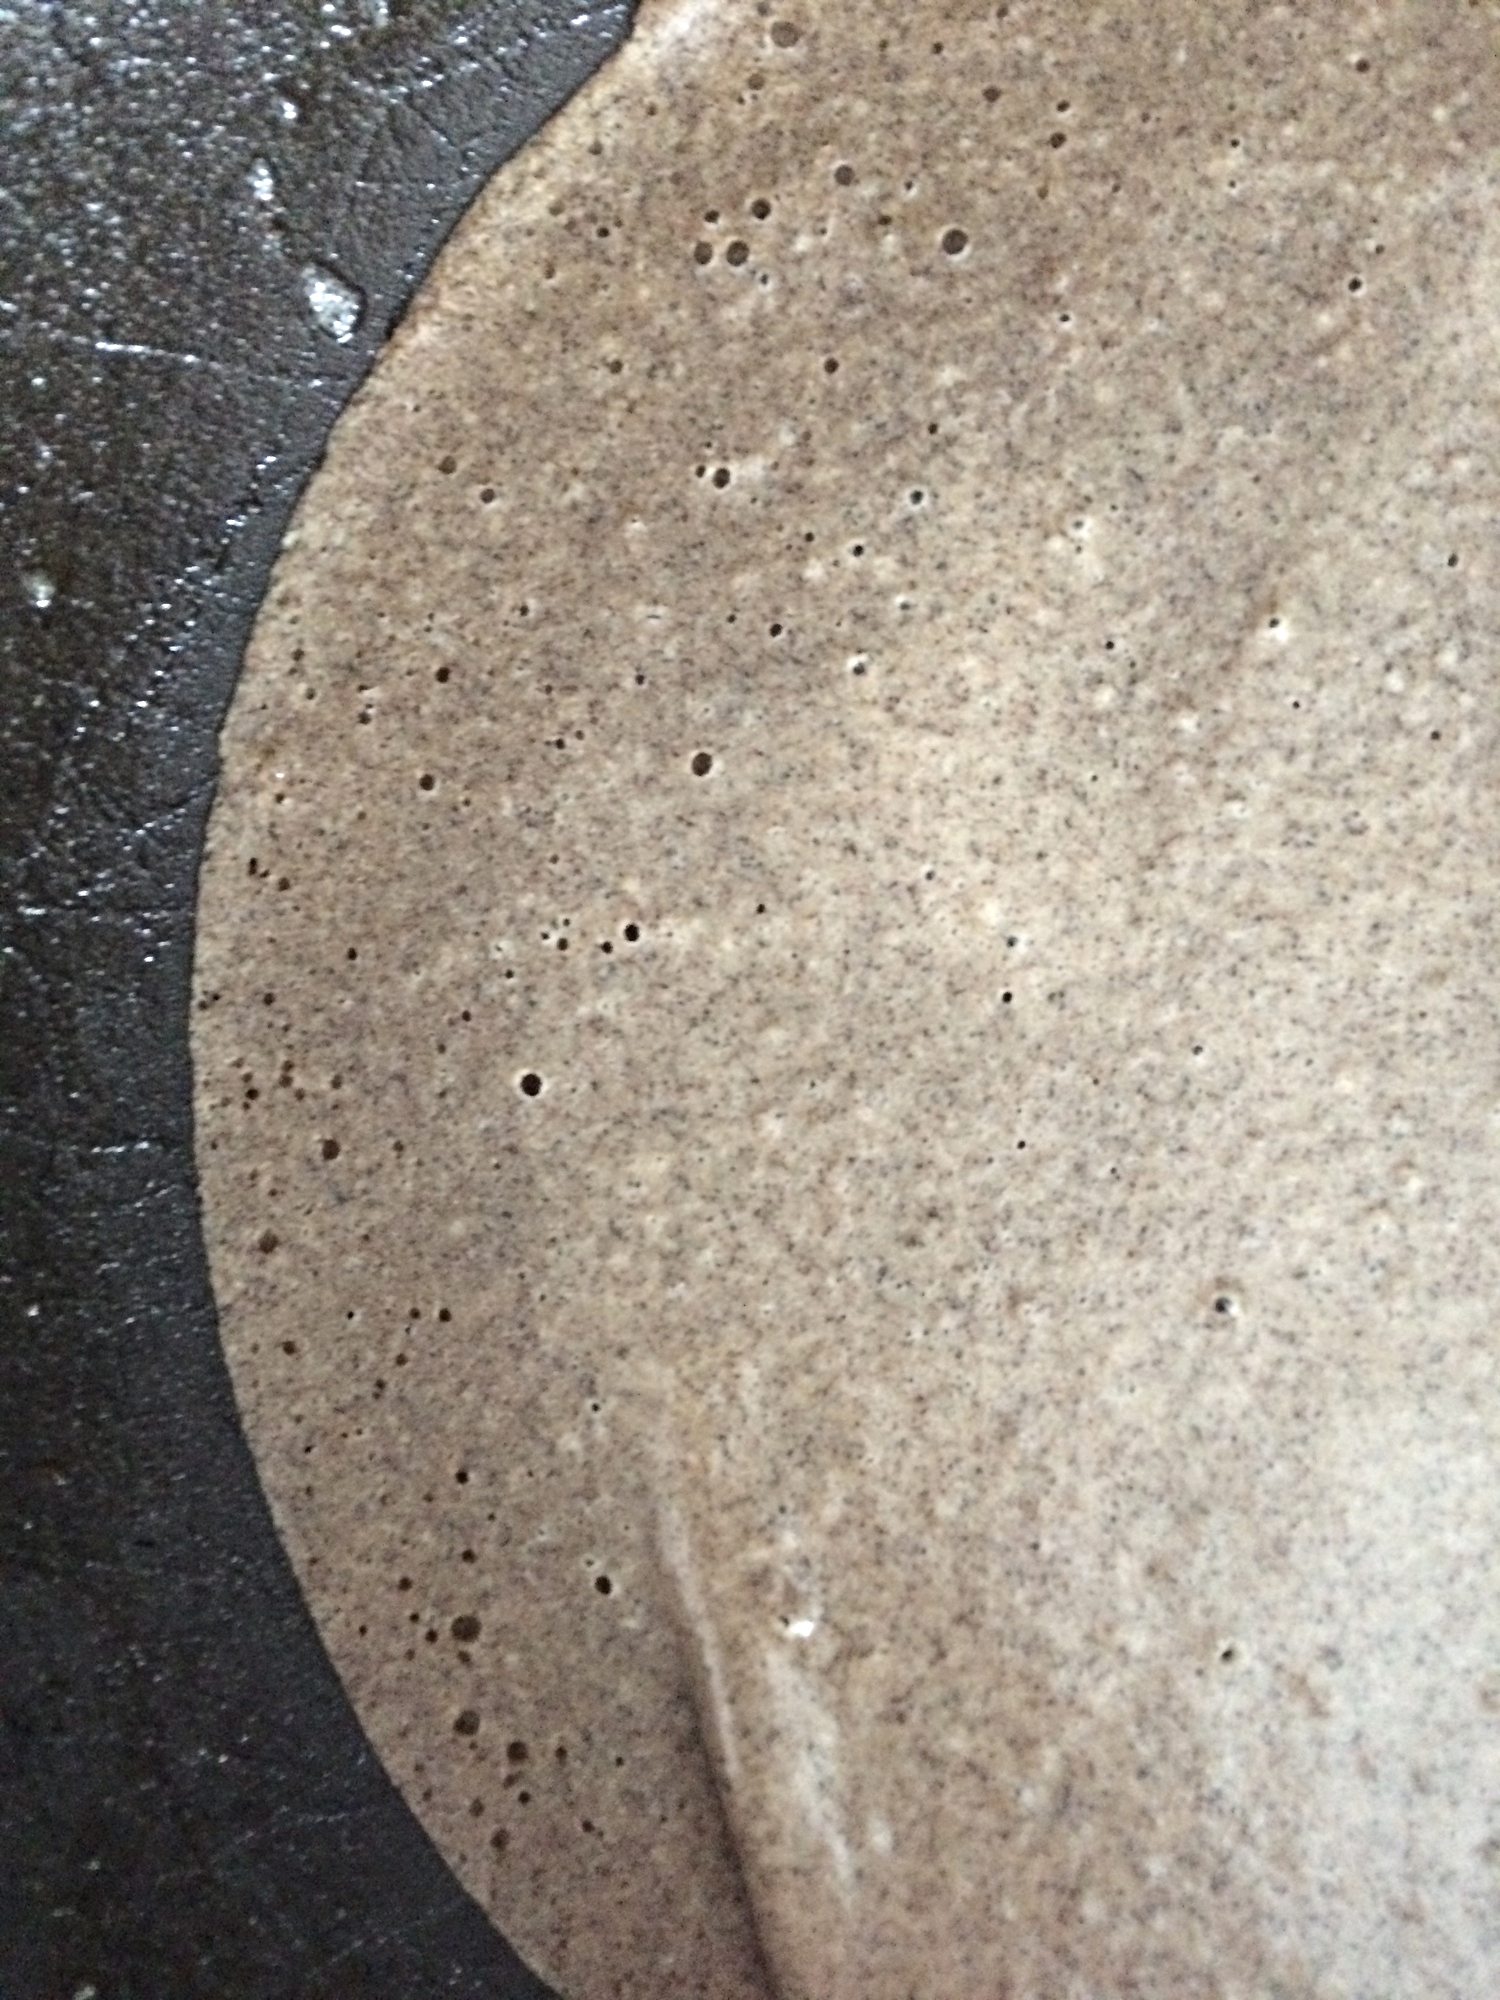
Heat a 10-inch non-stick skillet over medium heat. Add 1/2 teaspoon of butter to the skillet, swirling to coat. I use a pastry brush to make sure the butter is evenly distributed. Use a 1/4 cup measuring cup to scoop the batter and pour it into the pan. Work quickly to swirl the batter all over the pan to create a thin even layer. The first and maybe even second crepe are usually far from perfect as you are still finding a rhythm and finding the right temperature. So do not give up! You can see my first failed attempt in the picture below. Cook the first side about 1 minute or until the edges of the crepe begin to pull away from the pan and then flip to cook the other side about 20 seconds. I use a spatula and my fingers to usually do this. When the crepe is done, move to a plate and continue with the rest of the batter, buttering the pan as necessary. I usually have to re-butter the pan every 2-3 crepes.

IMG_5698.jpg
IMG_5715.jpg
IMG_5719.jpg
IMG_5722.jpg

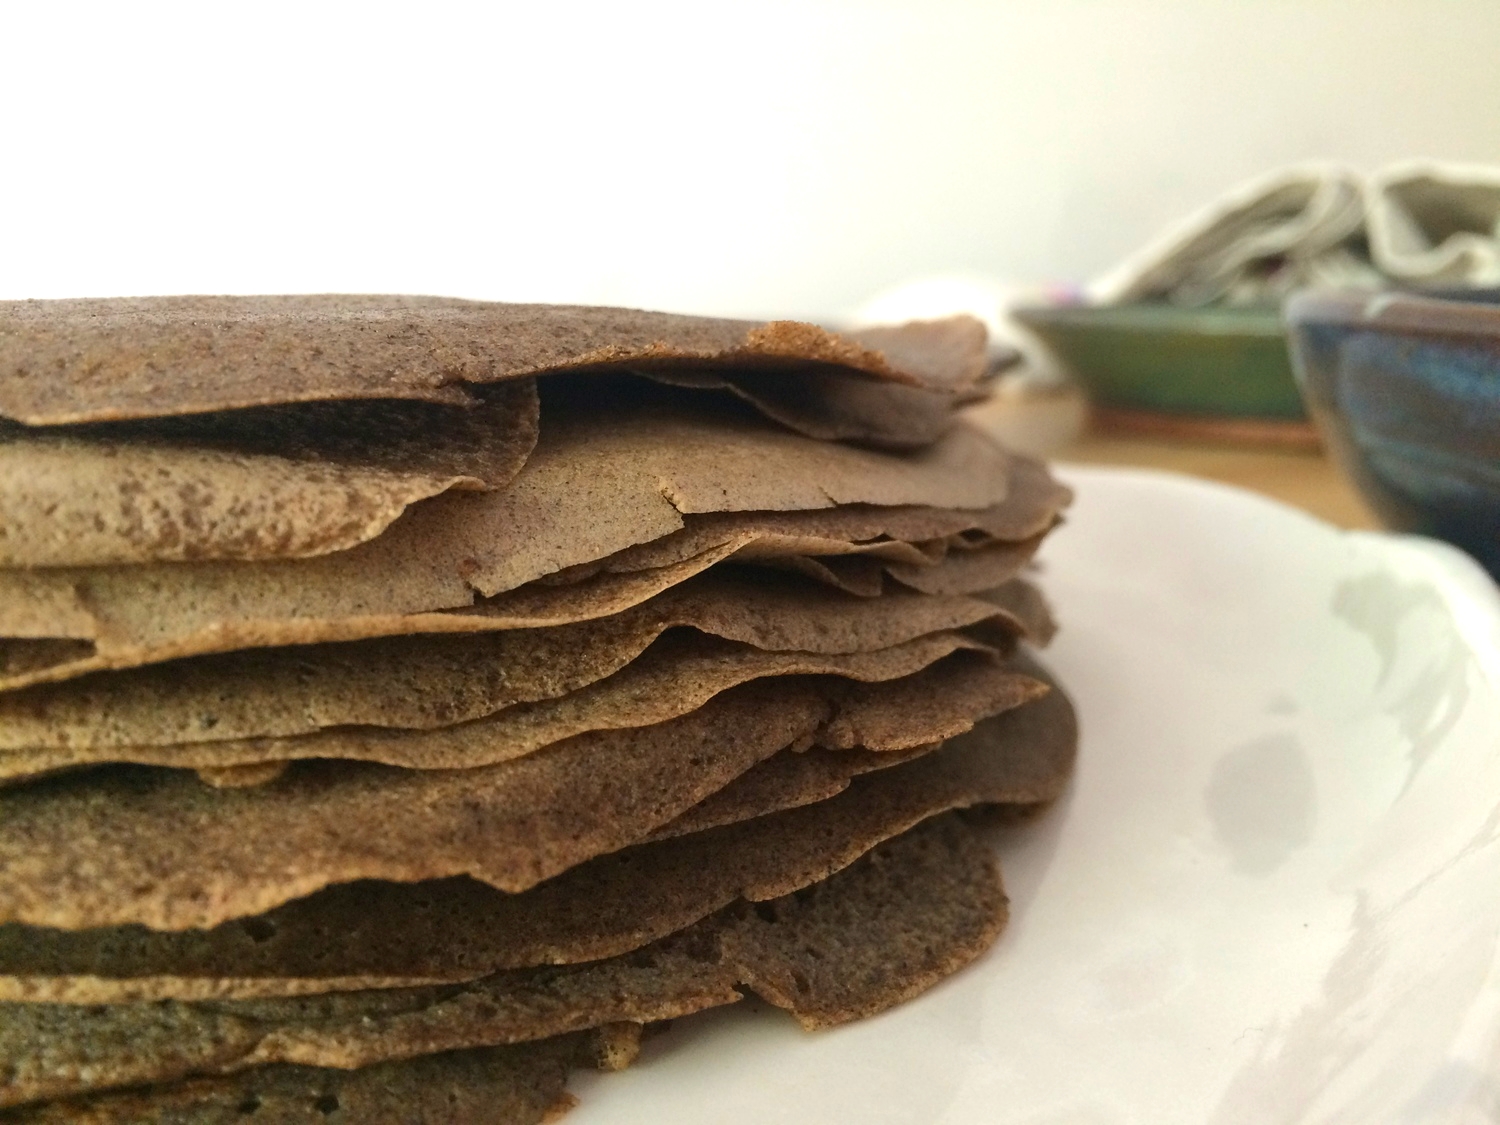
You can use the crepes immediately, stored in the refrigerator for 2-3 days, or the crepes can be stored in the freezer for about a month with a piece of parchment in between them to prevent sticking. If you want to melt more cheese on them, you can do so like you would a quesadilla. Place the crepe in a hot skillet, layer on the cheese or other fillings and wait for the cheese to melt. Remove it from the skillet, roll or fold, and enjoy! Make about 12-15 crepes, depending on how many you end up using as practice :)

IMG_5726.JPG
In Mains Tags recipe, brunch, breakfast, swiss chard, mushrooms, vegetarian, goat cheese, walnuts, buckwheat flour, gluten-free
1 Comment
Older Posts →
Hi! I'm Emily. I love to cook whole, nourishing foods, and this is where I share my kitchen experiments and sometimes a little bit of life.

Hi! I'm Emily. I love to cook whole, nourishing foods, and this is where I share my kitchen experiments and sometimes a little bit of life.

Featured
  • July 2017
  • May 2017
  • April 2017
  • March 2017
  • February 2017
  • January 2017
  • December 2016
  • November 2016
  • October 2016
  • September 2016
  • August 2016
  • July 2016
  • June 2016
  • May 2016
  • April 2016
  • March 2016
  • February 2016
  • January 2016
  • December 2015
  • November 2015
  • October 2015
  • September 2015
  • August 2015
  • July 2015
  • June 2015
  • May 2015
  • April 2015
  • March 2015
  • February 2015

  • Appetizers 18
  • Breakfast 18
  • Life 4
  • Mains 39
  • Miscellaneous 2
  • Salads 21
  • Sandwiches 6
  • Side Dishes 8
  • Smoothies 4
  • Snacks 10
  • Soups 14
  • Spreads Dips Sauces 5
  • Sweets 6
  • Vegetarian 1

  • almonds
  • appetizers
  • autumn
  • avocado
  • breakfast
  • brown rice
  • chickpeas
  • chocolate
  • cilantro
  • coconut
  • coconut milk
  • fall
  • gluten-free
  • kale
  • lentils
  • make ahead
  • mint
  • oatmeal
  • recipe
  • salad
  • snack
  • soup
  • spring
  • summer
  • sweet potatoes
  • tahini
  • vegan
  • vegetarian
  • walnuts
  • winter

subscribe

Sign up with your email address to receive new posts directly

We respect your privacy.

Thank you!

All photographs, recipes and content are property of Nourishing Matters, unless otherwise noted. Please do not redistribute without my permission. Thank you!

Powered by Squarespace