• Home
    • About Nourishing Matters
    • About Emily
    • Frequently Asked Questions
  • Recipes
    • Offerings
    • Past Programs and Events
    • Experience and Teaching Style
    • Articles and Features
    • Travel
Menu

nourishing matters

Street Address
City, State, Zip
Phone Number
where wholesome meets delicious

Your Custom Text Here

nourishing matters

  • Home
  • About
    • About Nourishing Matters
    • About Emily
    • Frequently Asked Questions
  • Recipes
  • Work with Me
    • Offerings
    • Past Programs and Events
  • Yoga
    • Experience and Teaching Style
  • Press
    • Articles and Features
  • Adventures
    • Travel

Spanish Spiced Kale Socca

August 13, 2015 Emily Watson
Spanish Spiced Kale Socca

Spanish Spiced Kale Socca

Have you ever had socca? It is a lovely, lovely thing. It is essentially chickpea bread- a sort of flatbread, or really thick crepe, made of chickpea flour, water, olive oil, and salt. It has an umami rich flavor that I find addicting. I have used chickpea flour to make chickpea fries, which are delicious themselves, but those are a little more laborious. One of my favorite places for socca here in Philadelphia is Good King Tavern. They serve it with this melt-in-your-mouth ratatouille. My fiance and I use to order it to share, but I have learned, or I should say we have learned, that I might as well order it for myself as an appetizer to prevent any not-so-nice dinner moments that are sure to spoil your romantic date night out.

The inspiration for my version of socca, came from my other chickpea dish love- the popular Spanish dish of chickpeas and greens. I have made many different riffs on this dish, but the basic ingredients remain the same- olive oil, chickpeas, greens (kale, spinach, chard work well), a little tomato paste, garlic, cumin, smoked paprika, and maybe saffron if I am feeling luxurious. Just the smell of this dish simmering on the stove takes me back to Spain. It is a wonderfully comforting dish, and you add an egg- poached or fried- it does not matter- and you have yourself one special little meal.

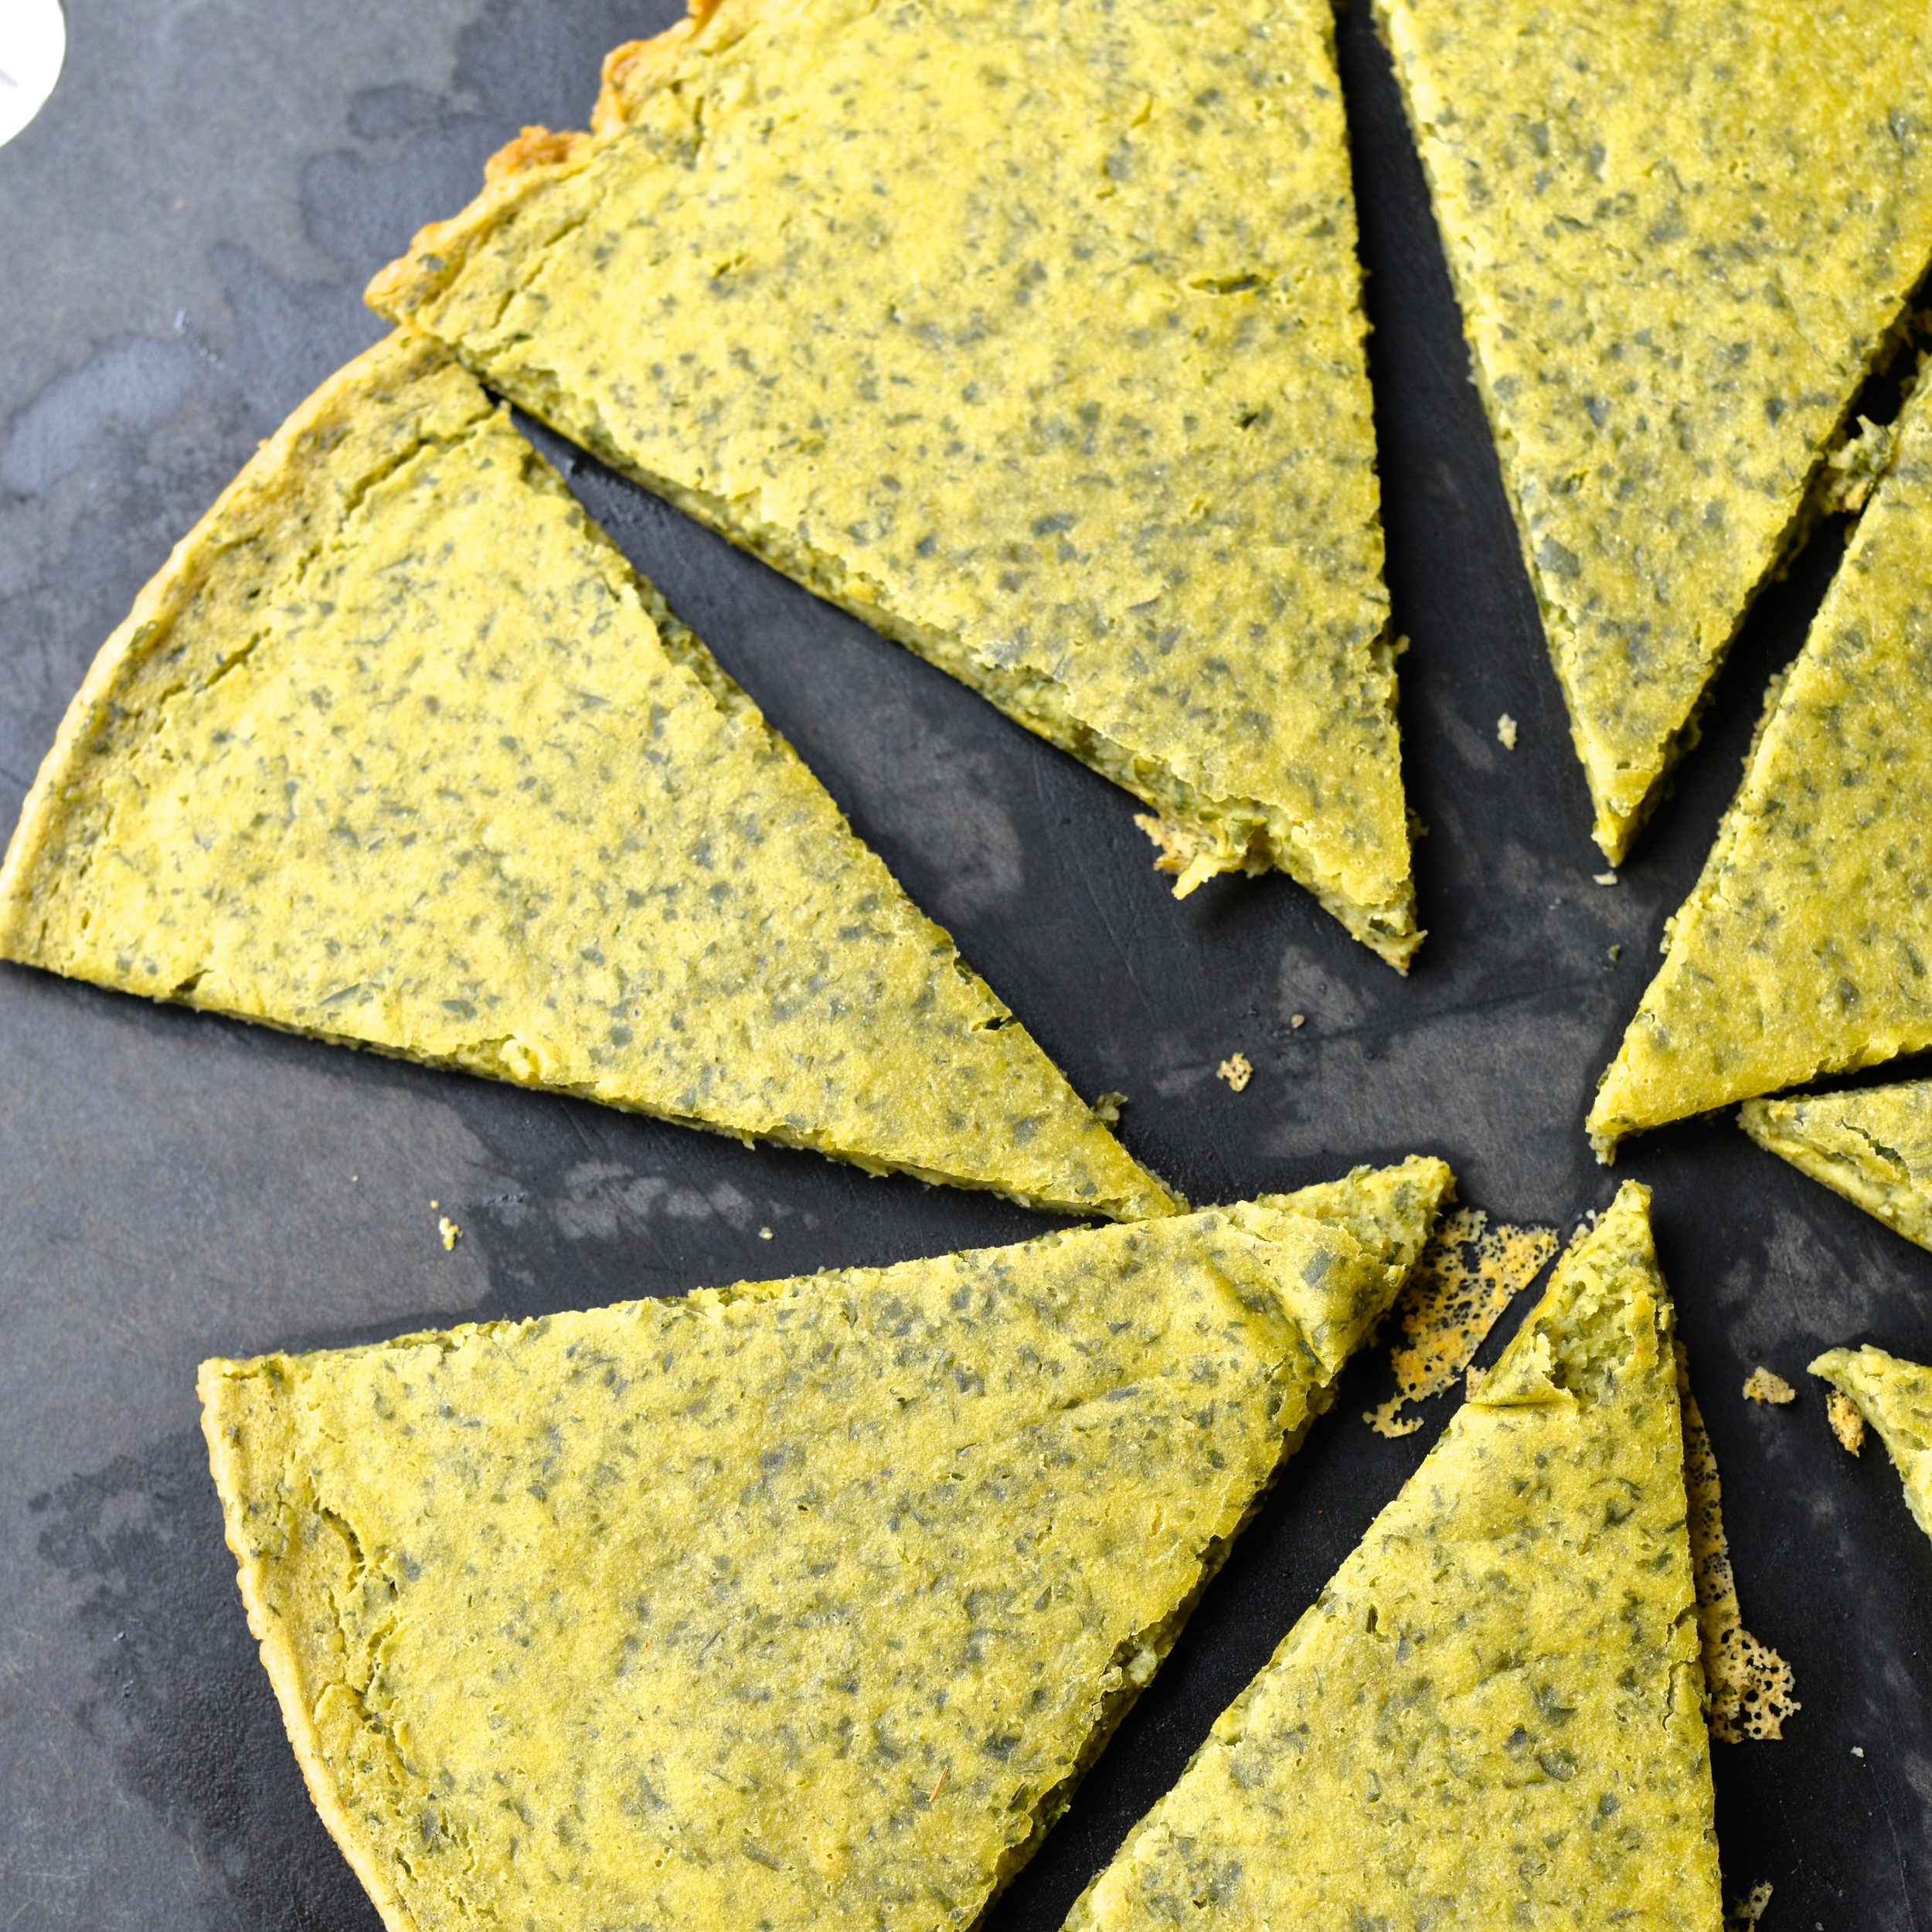
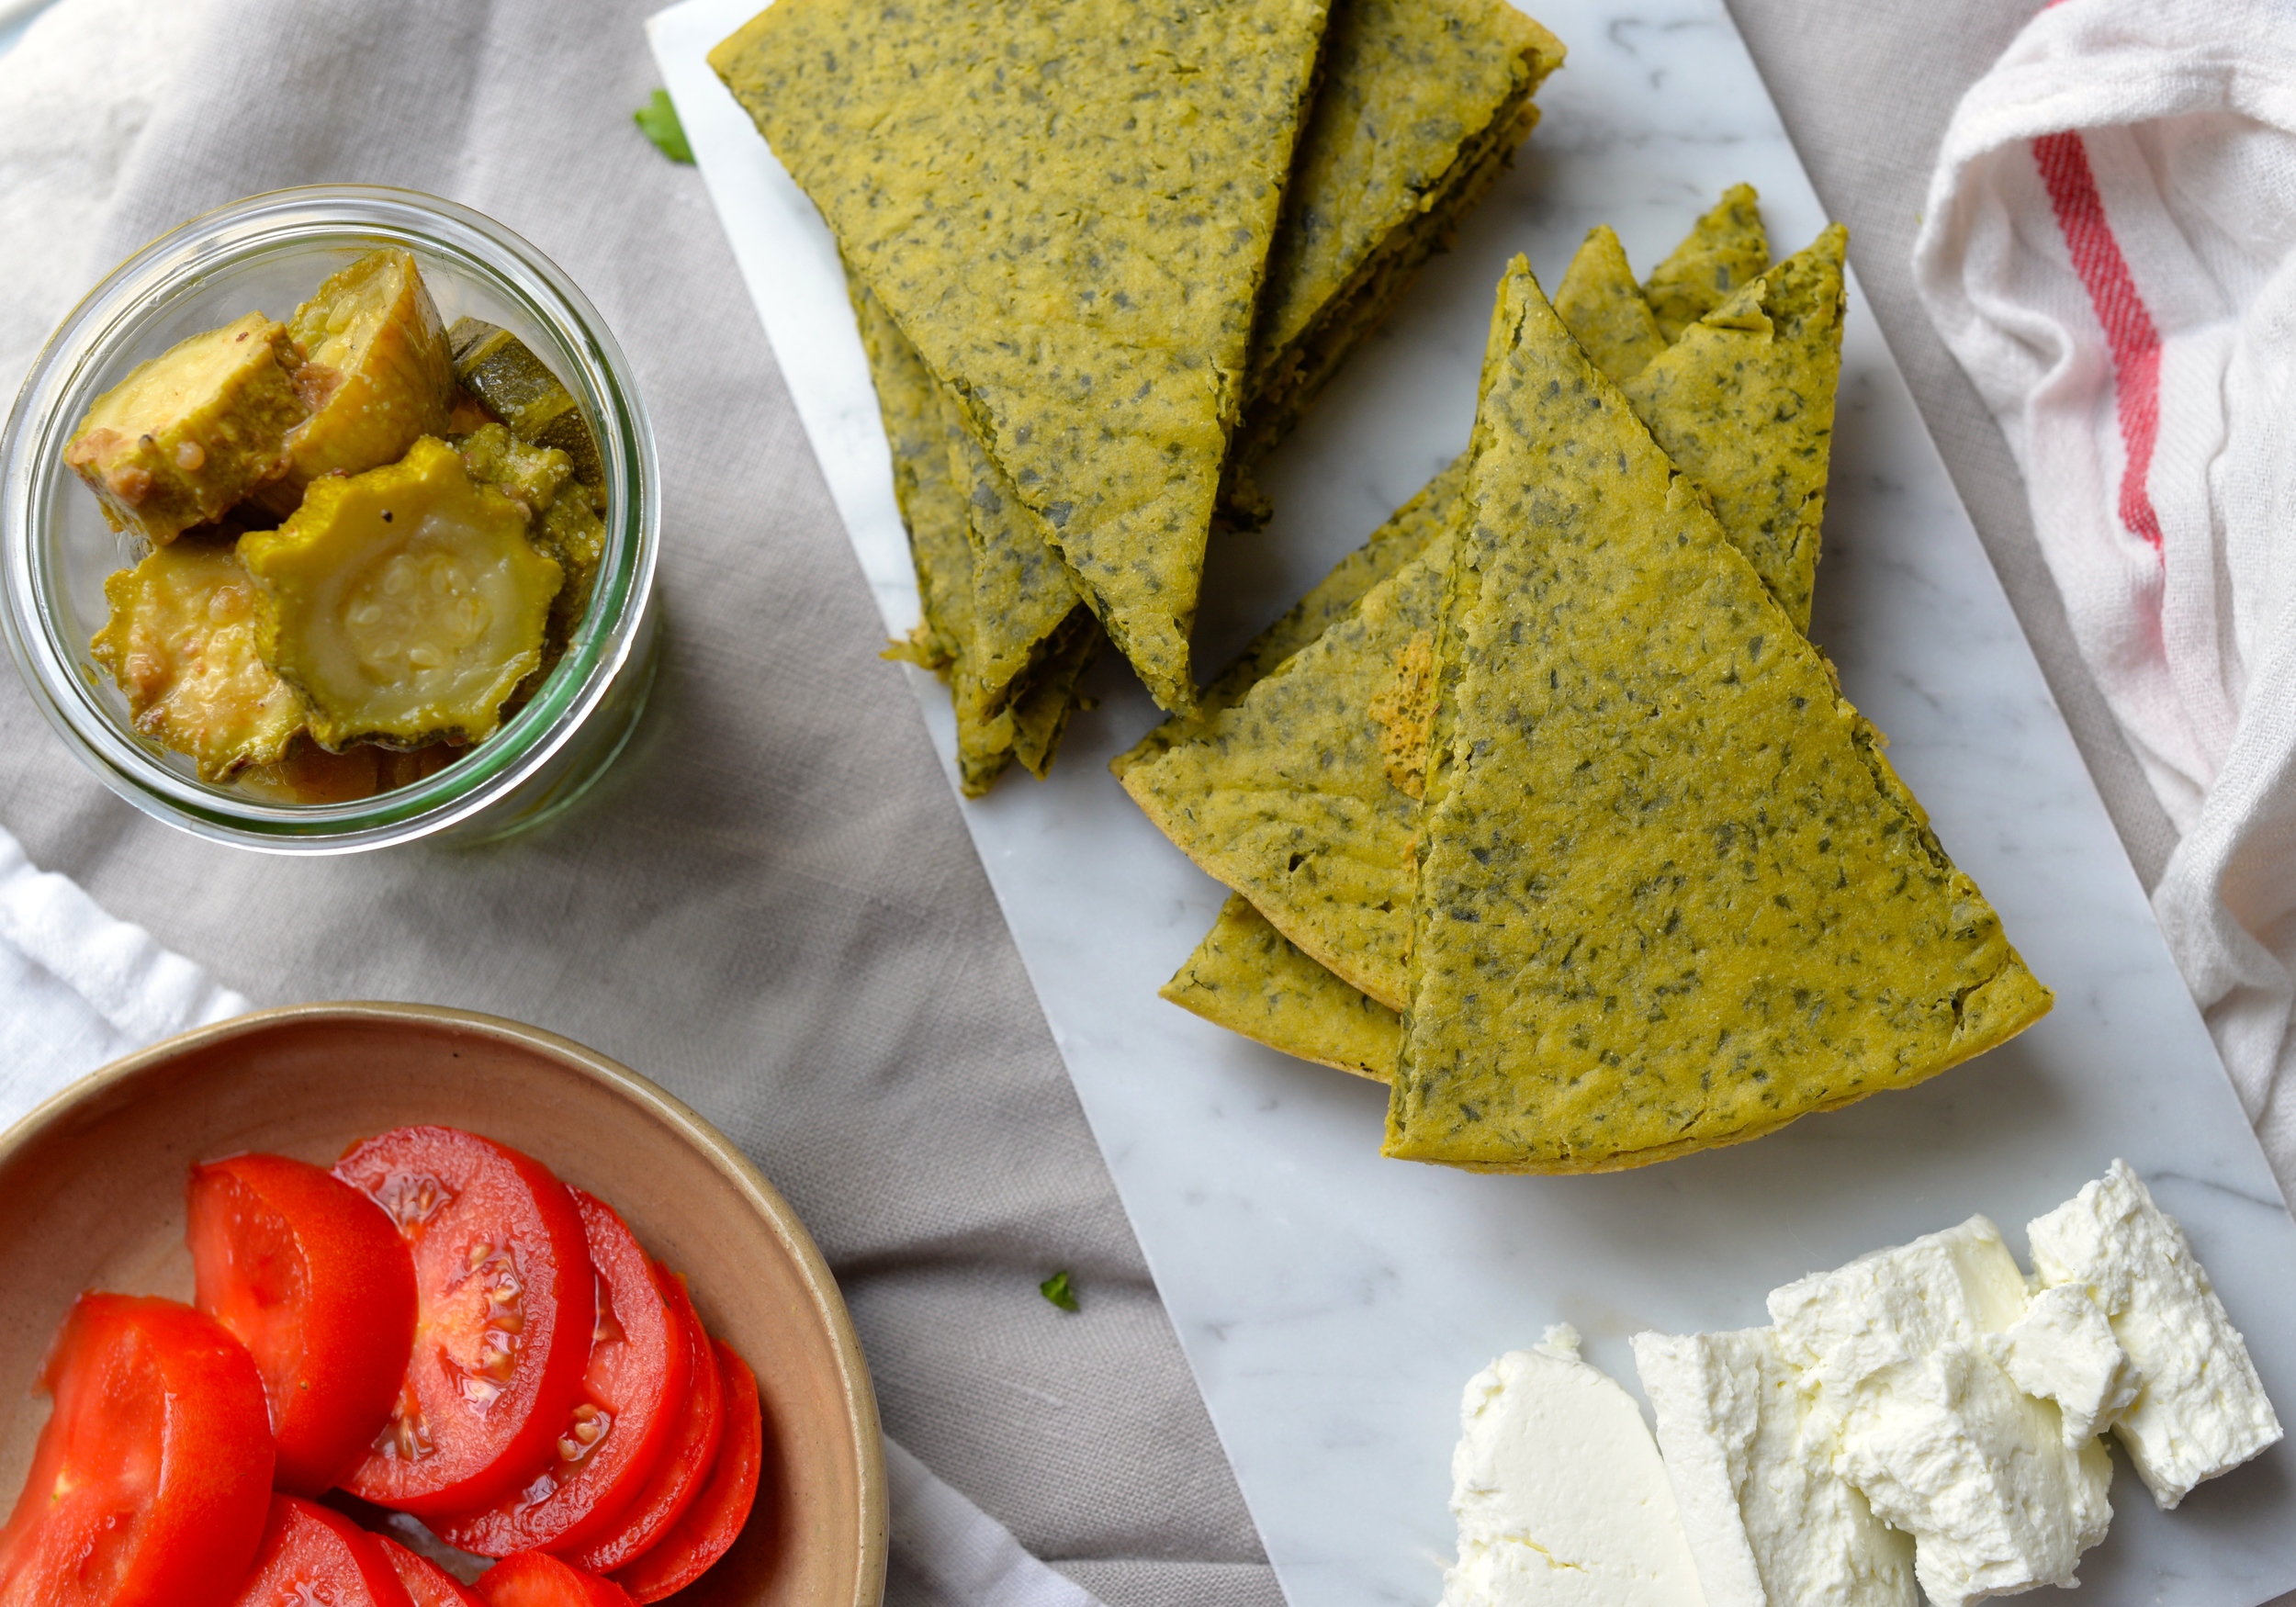
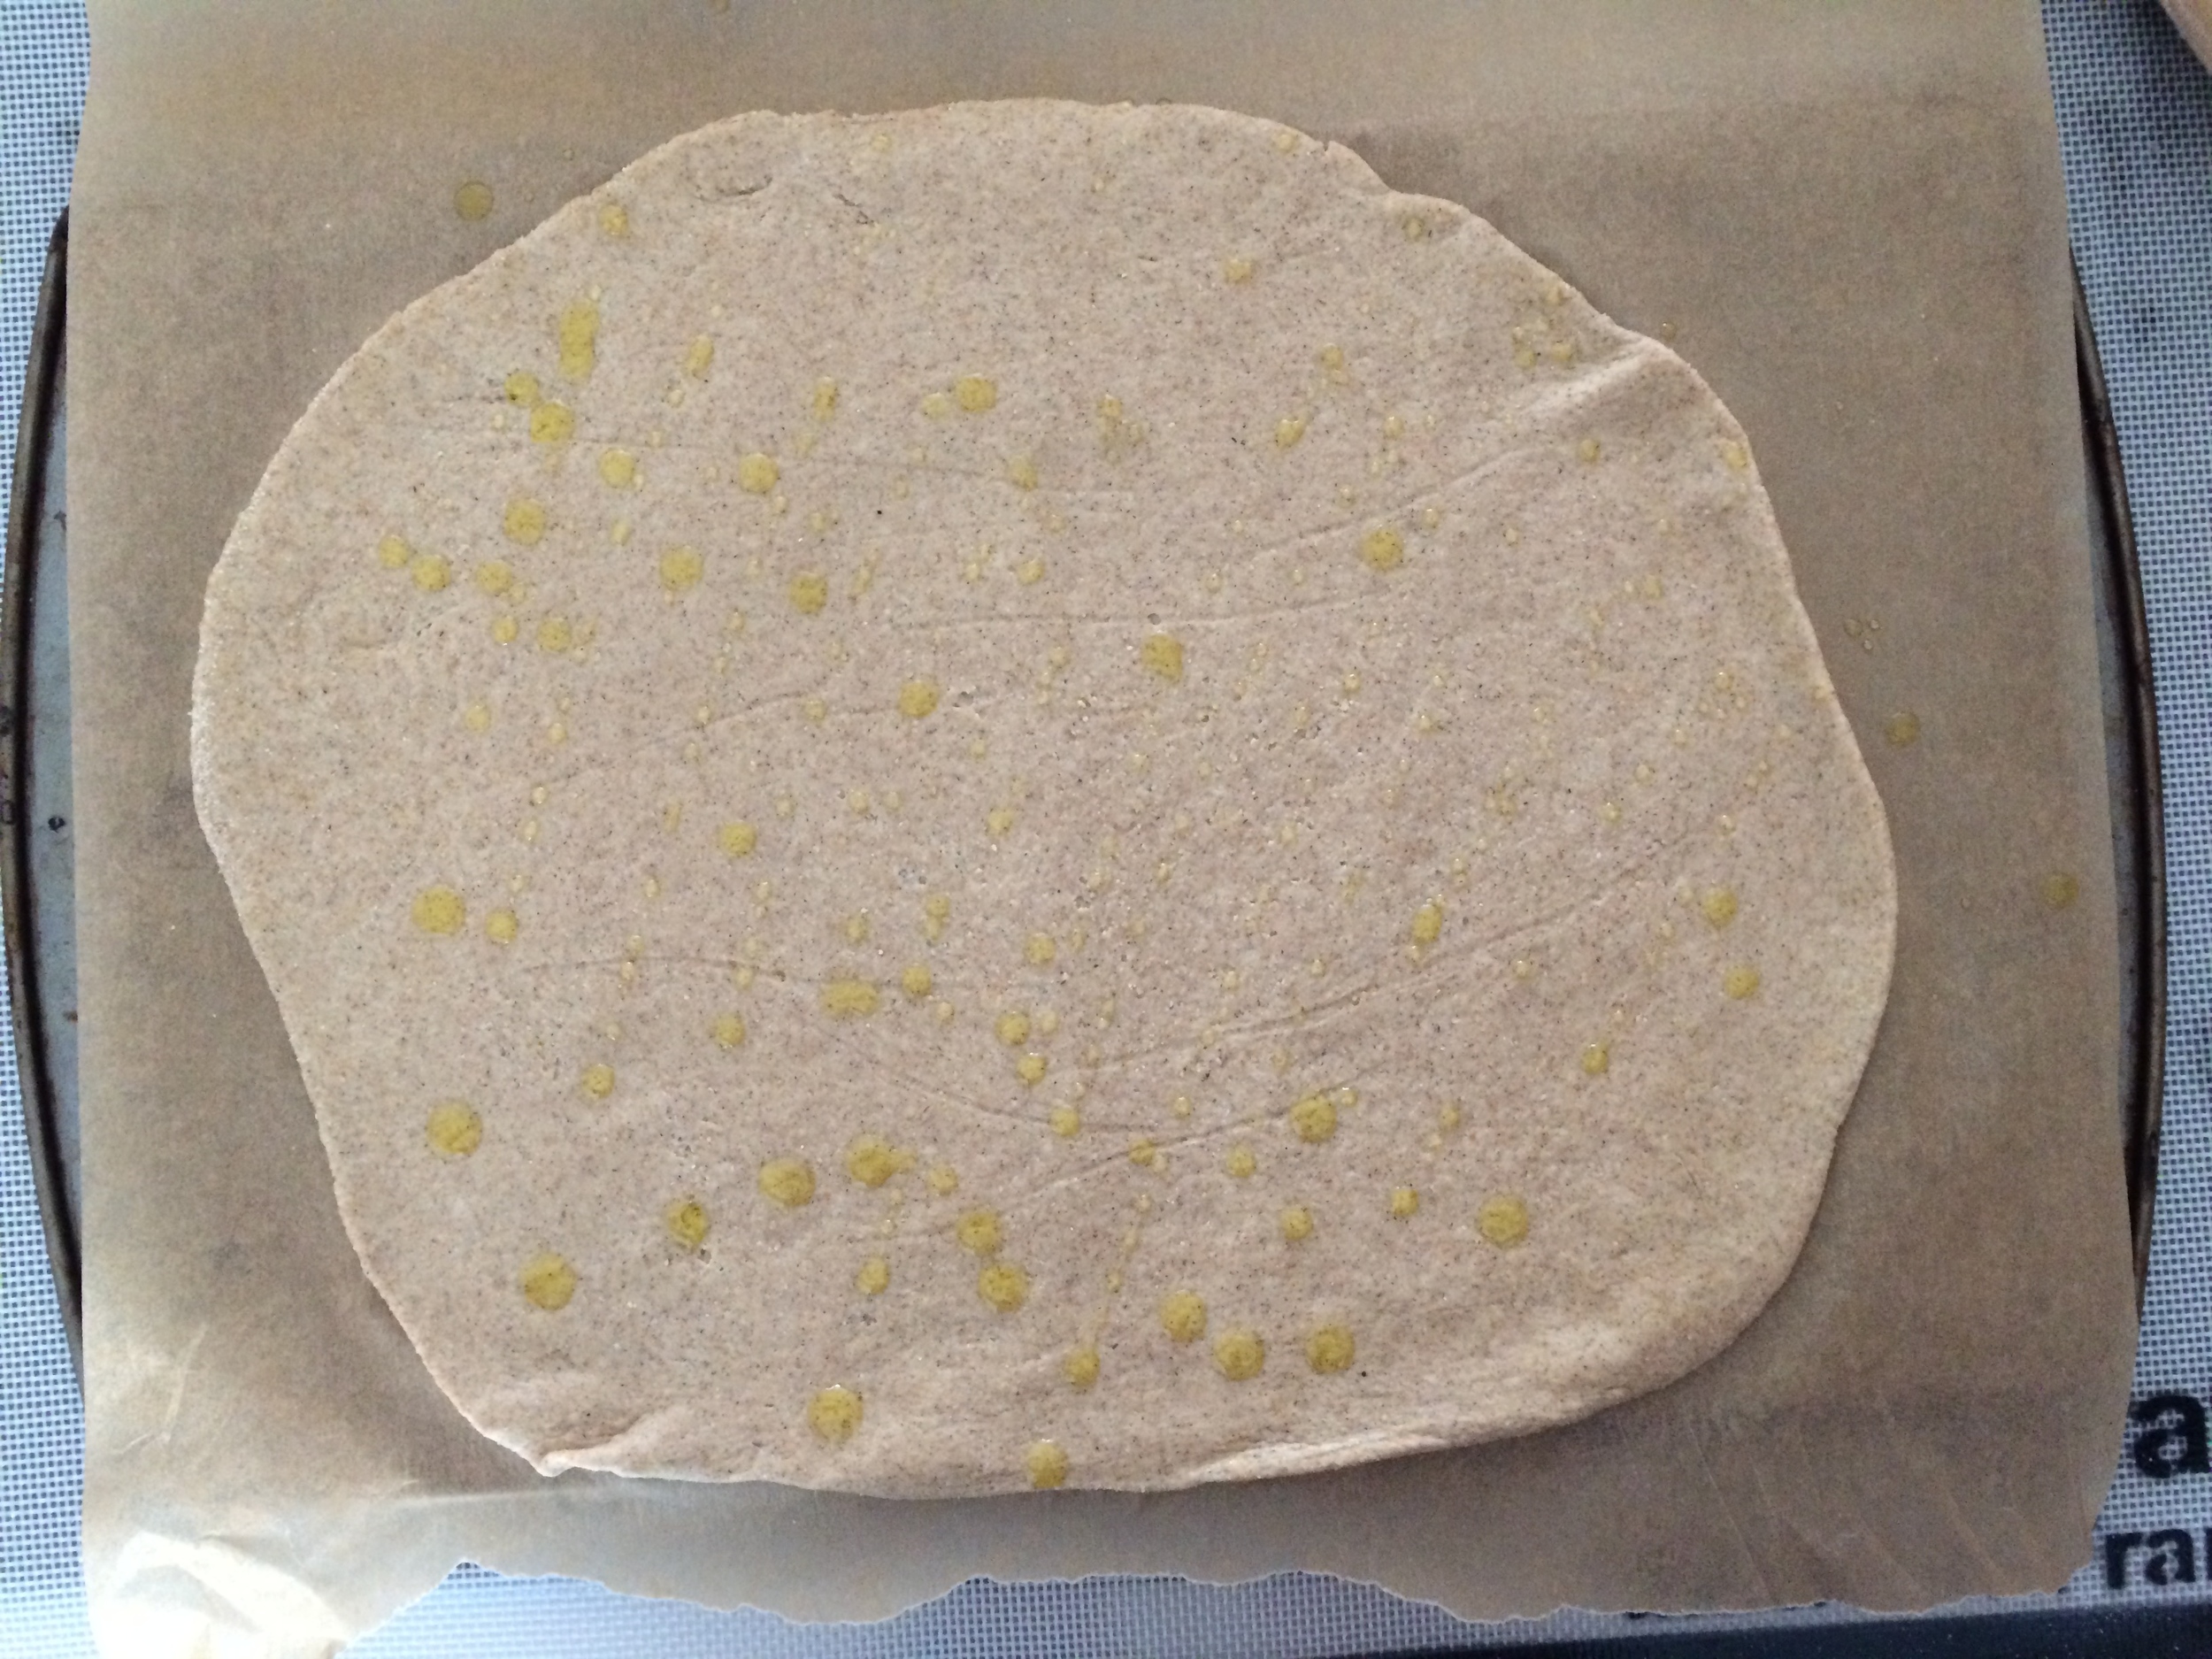
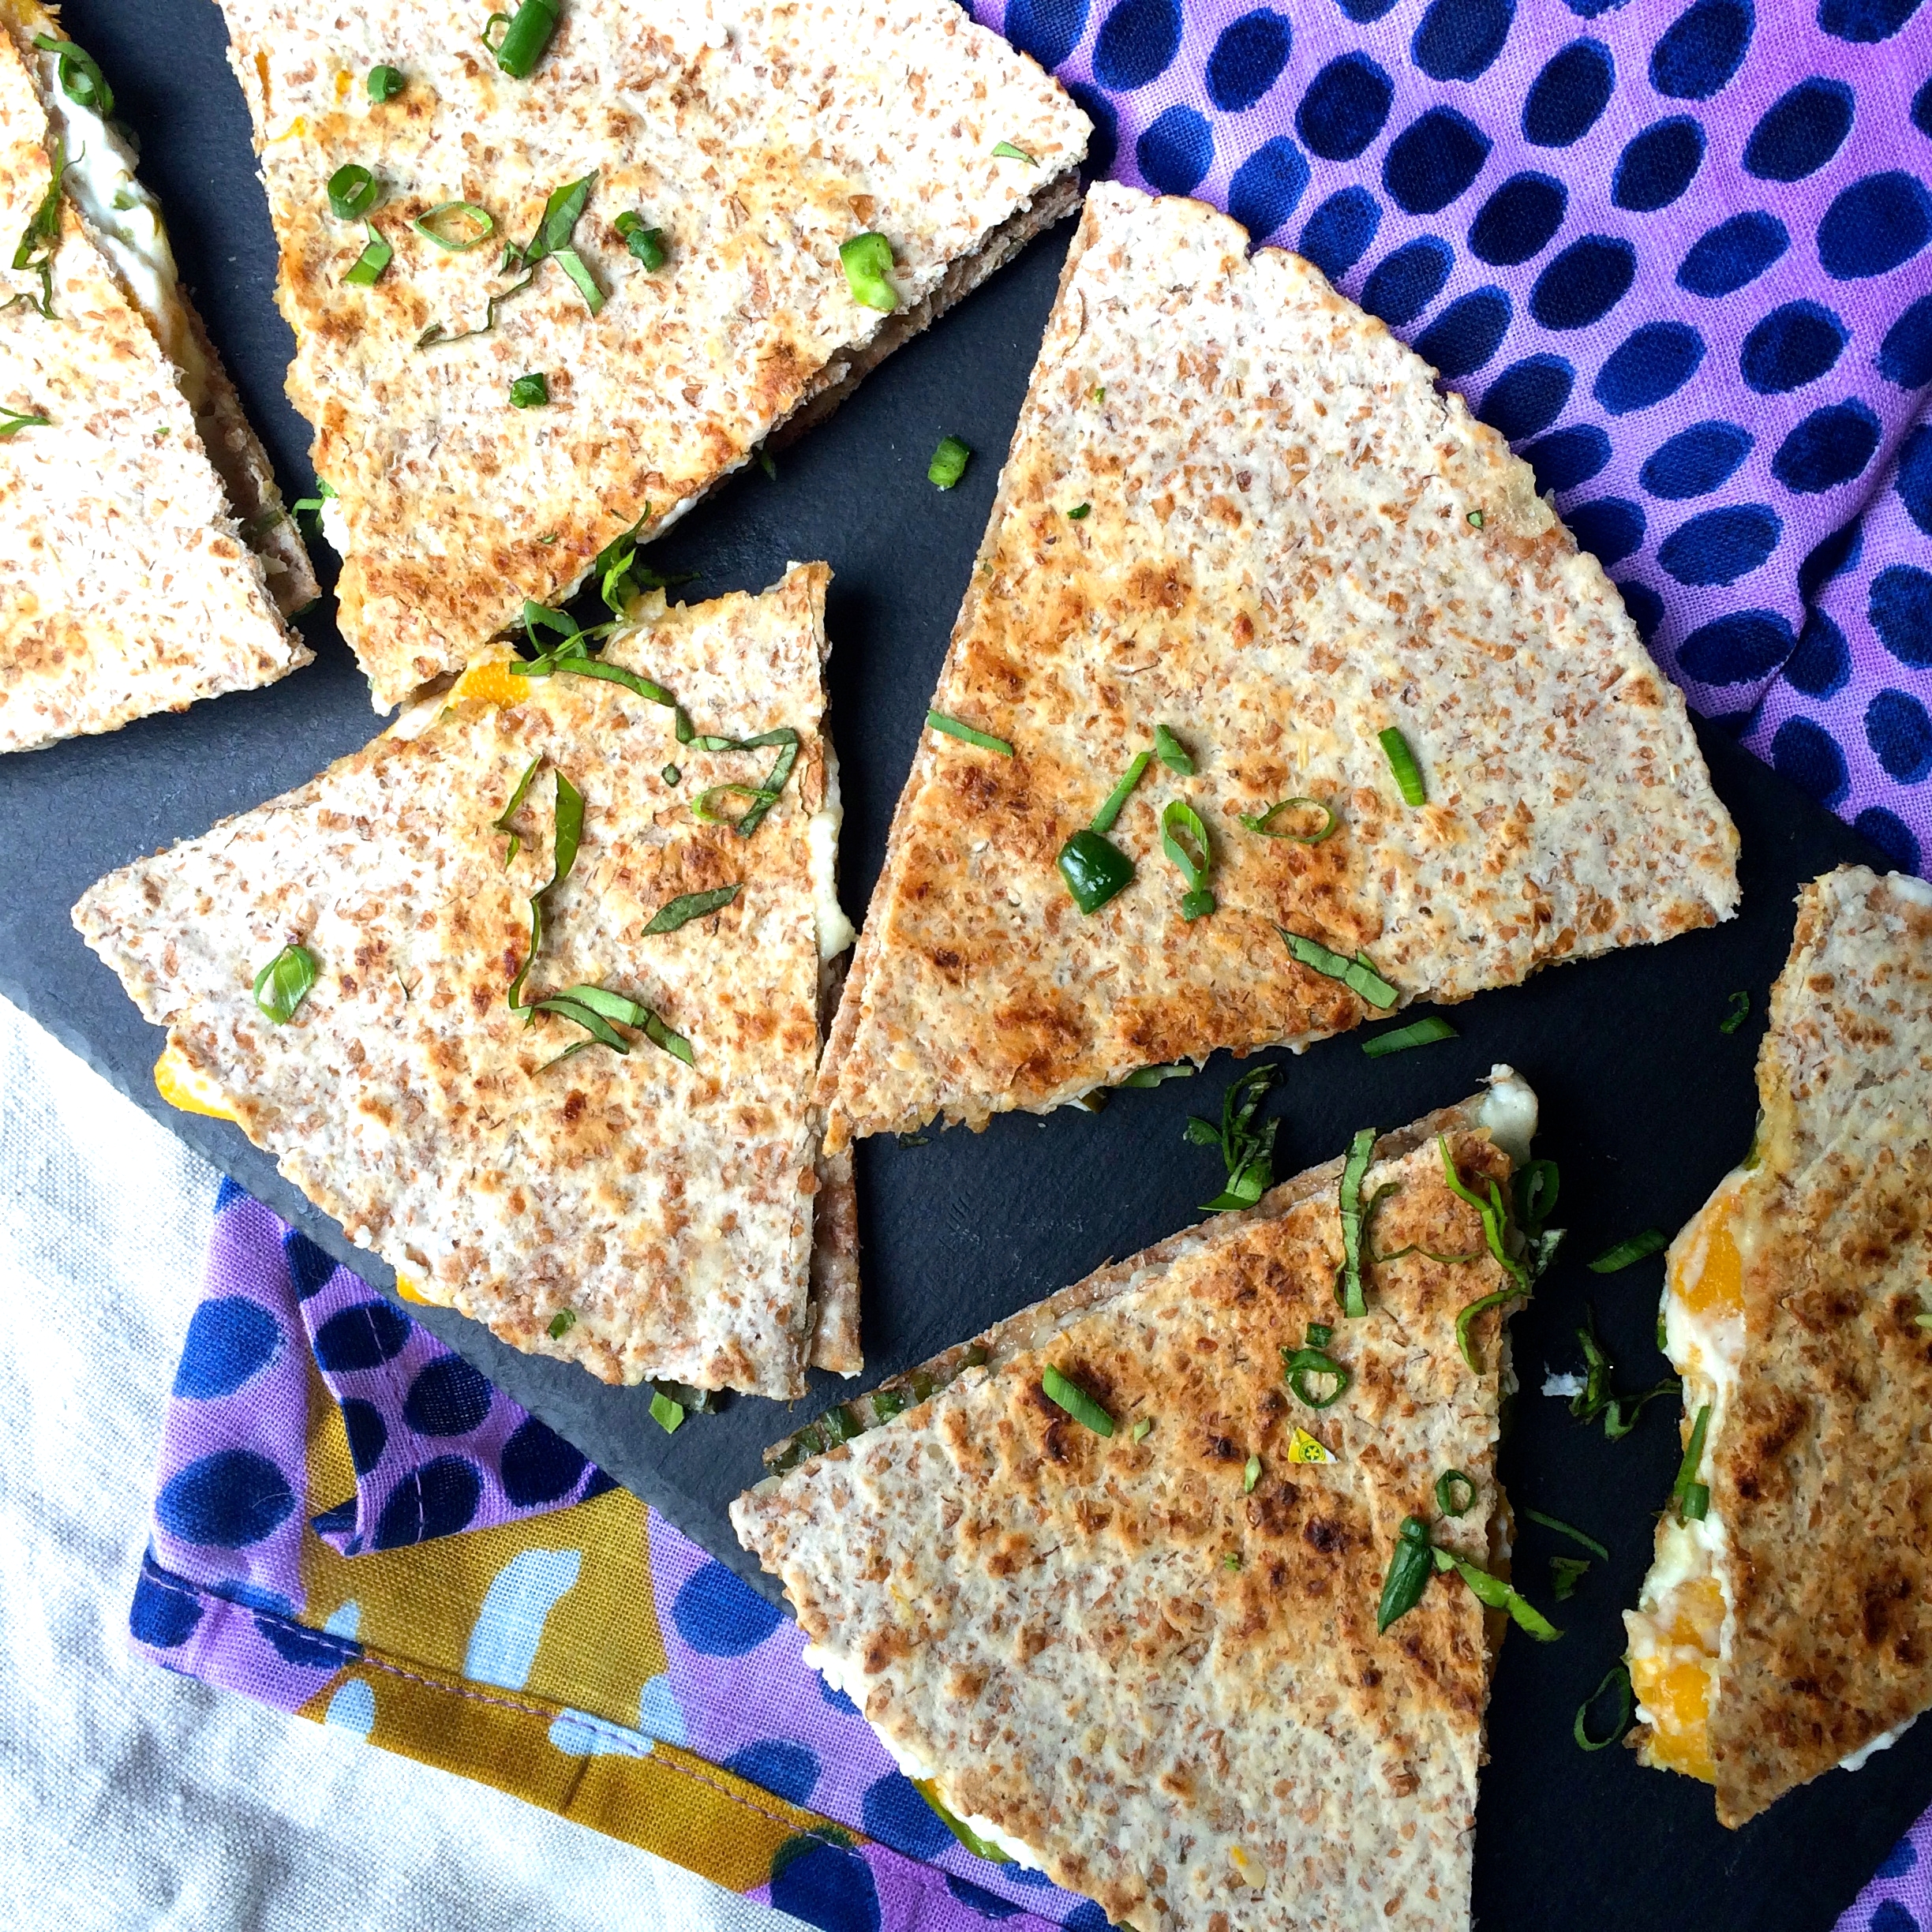
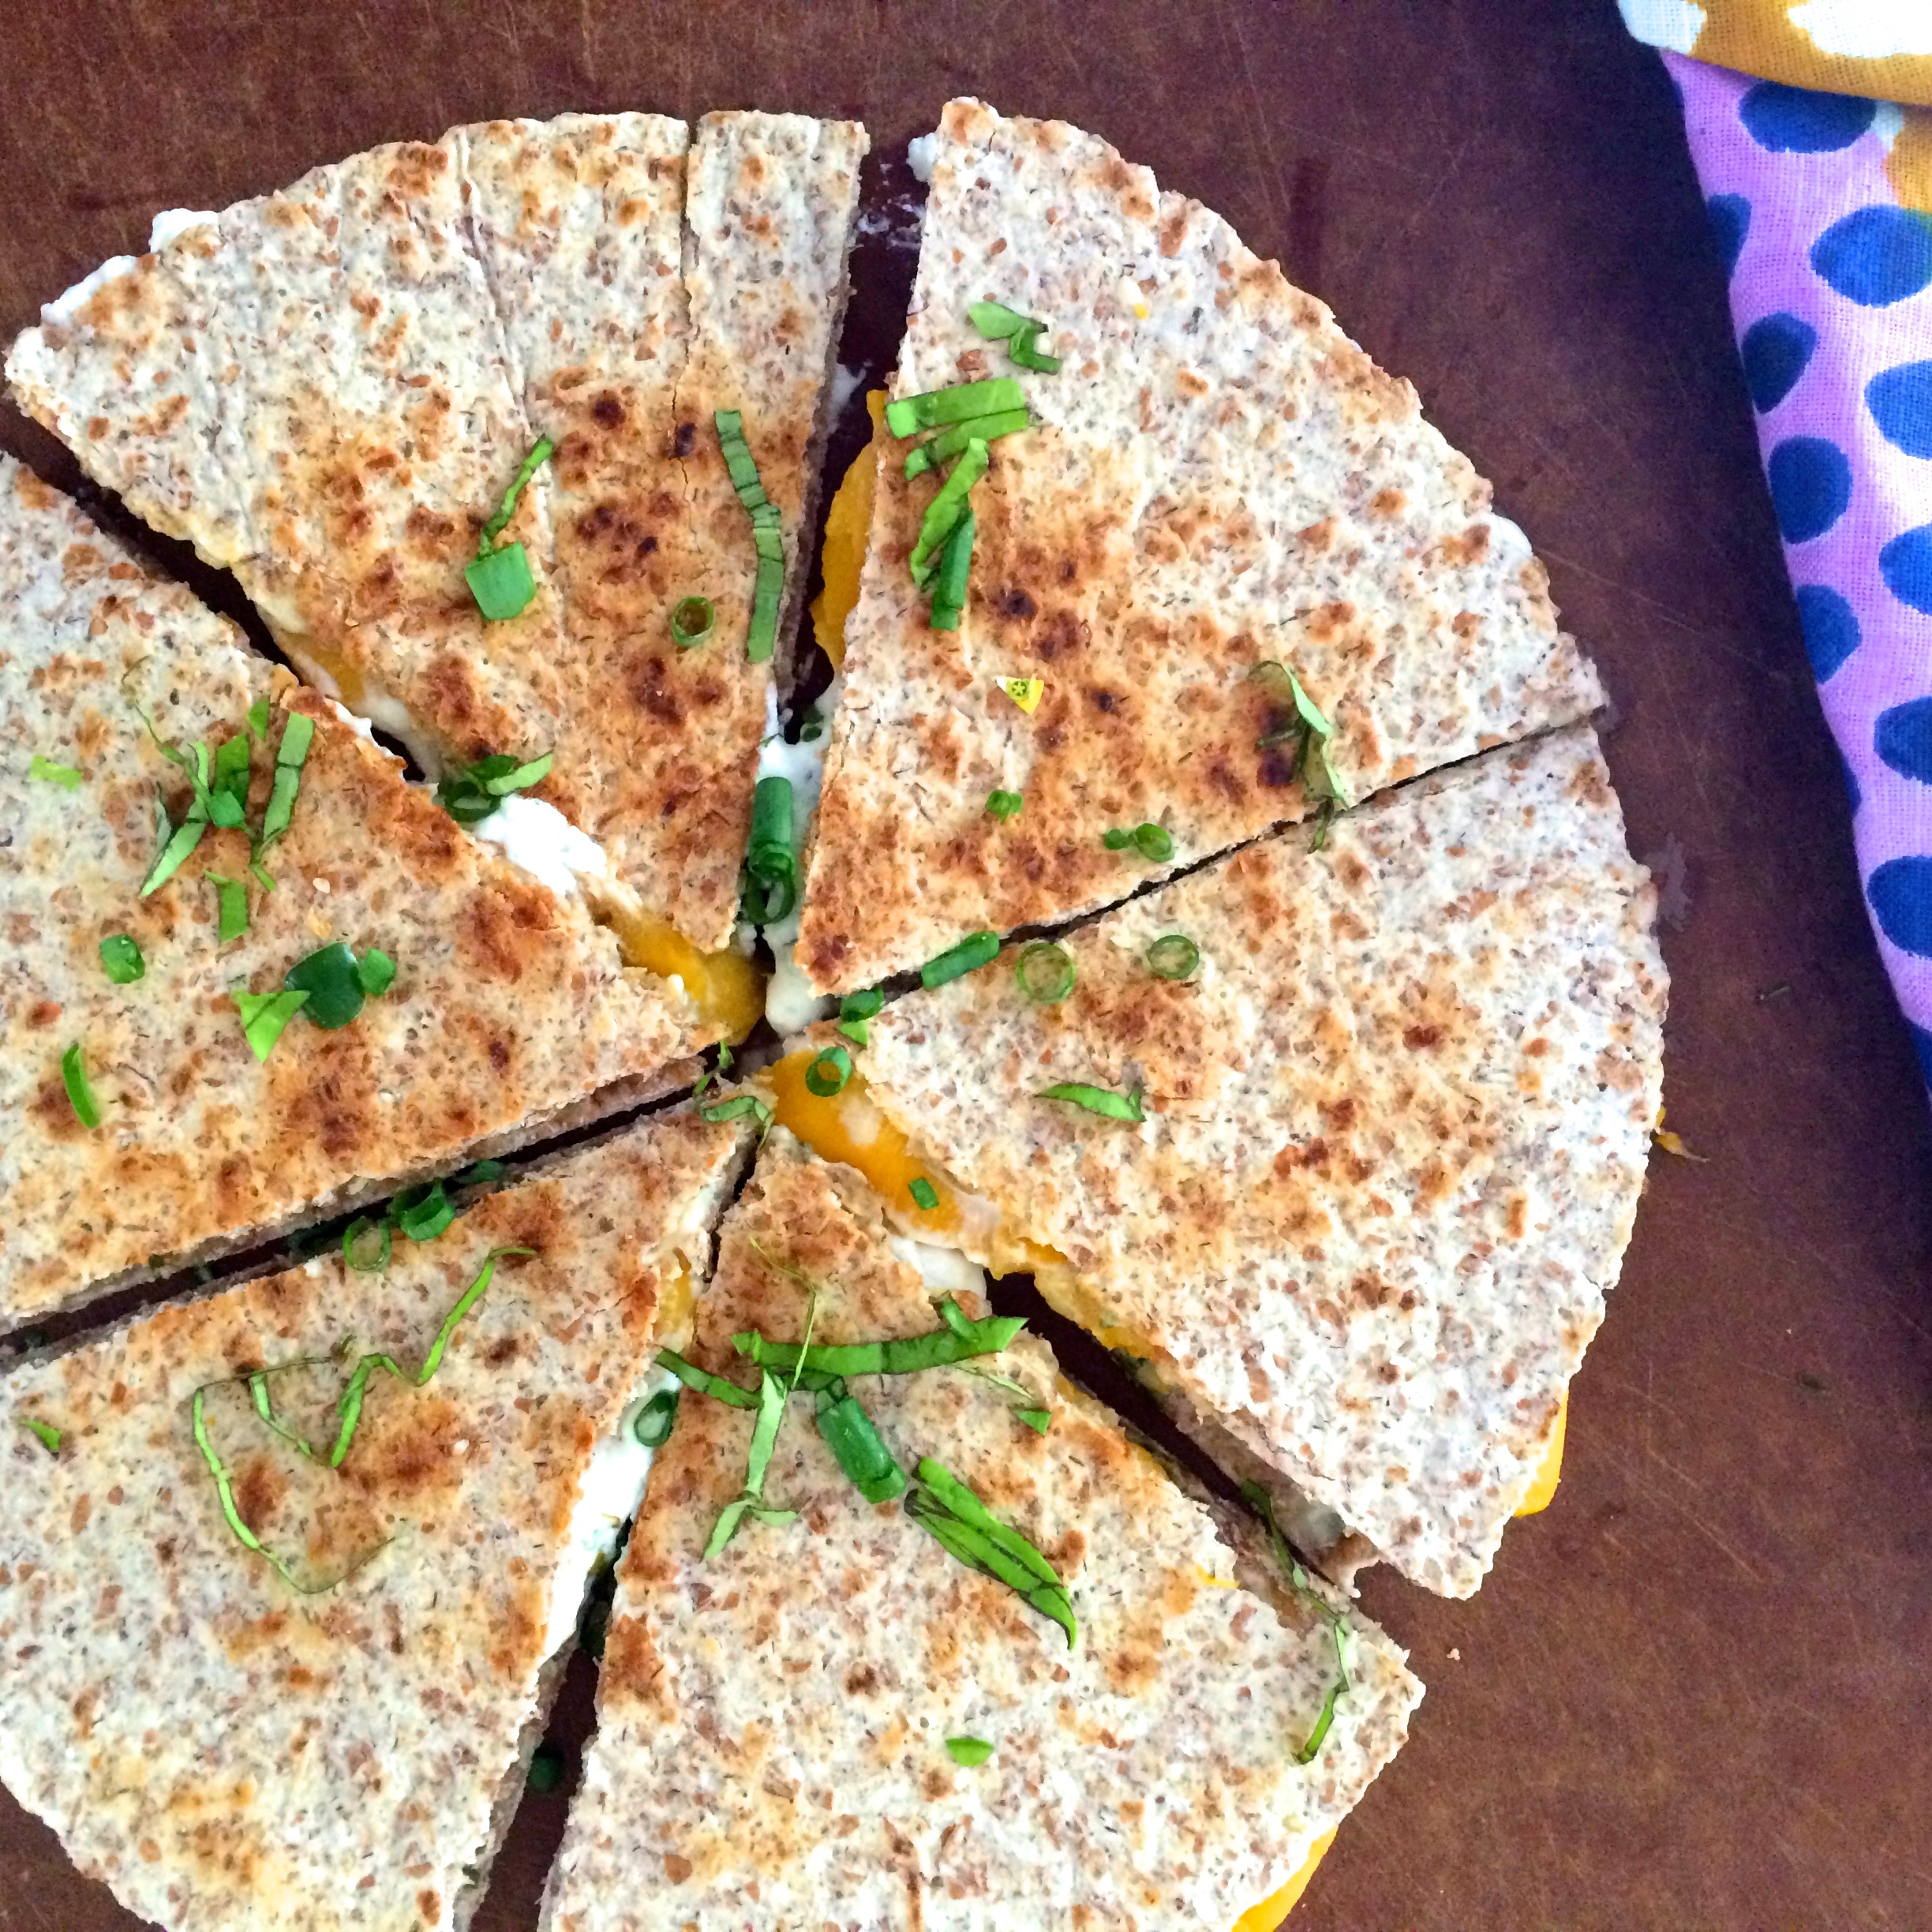
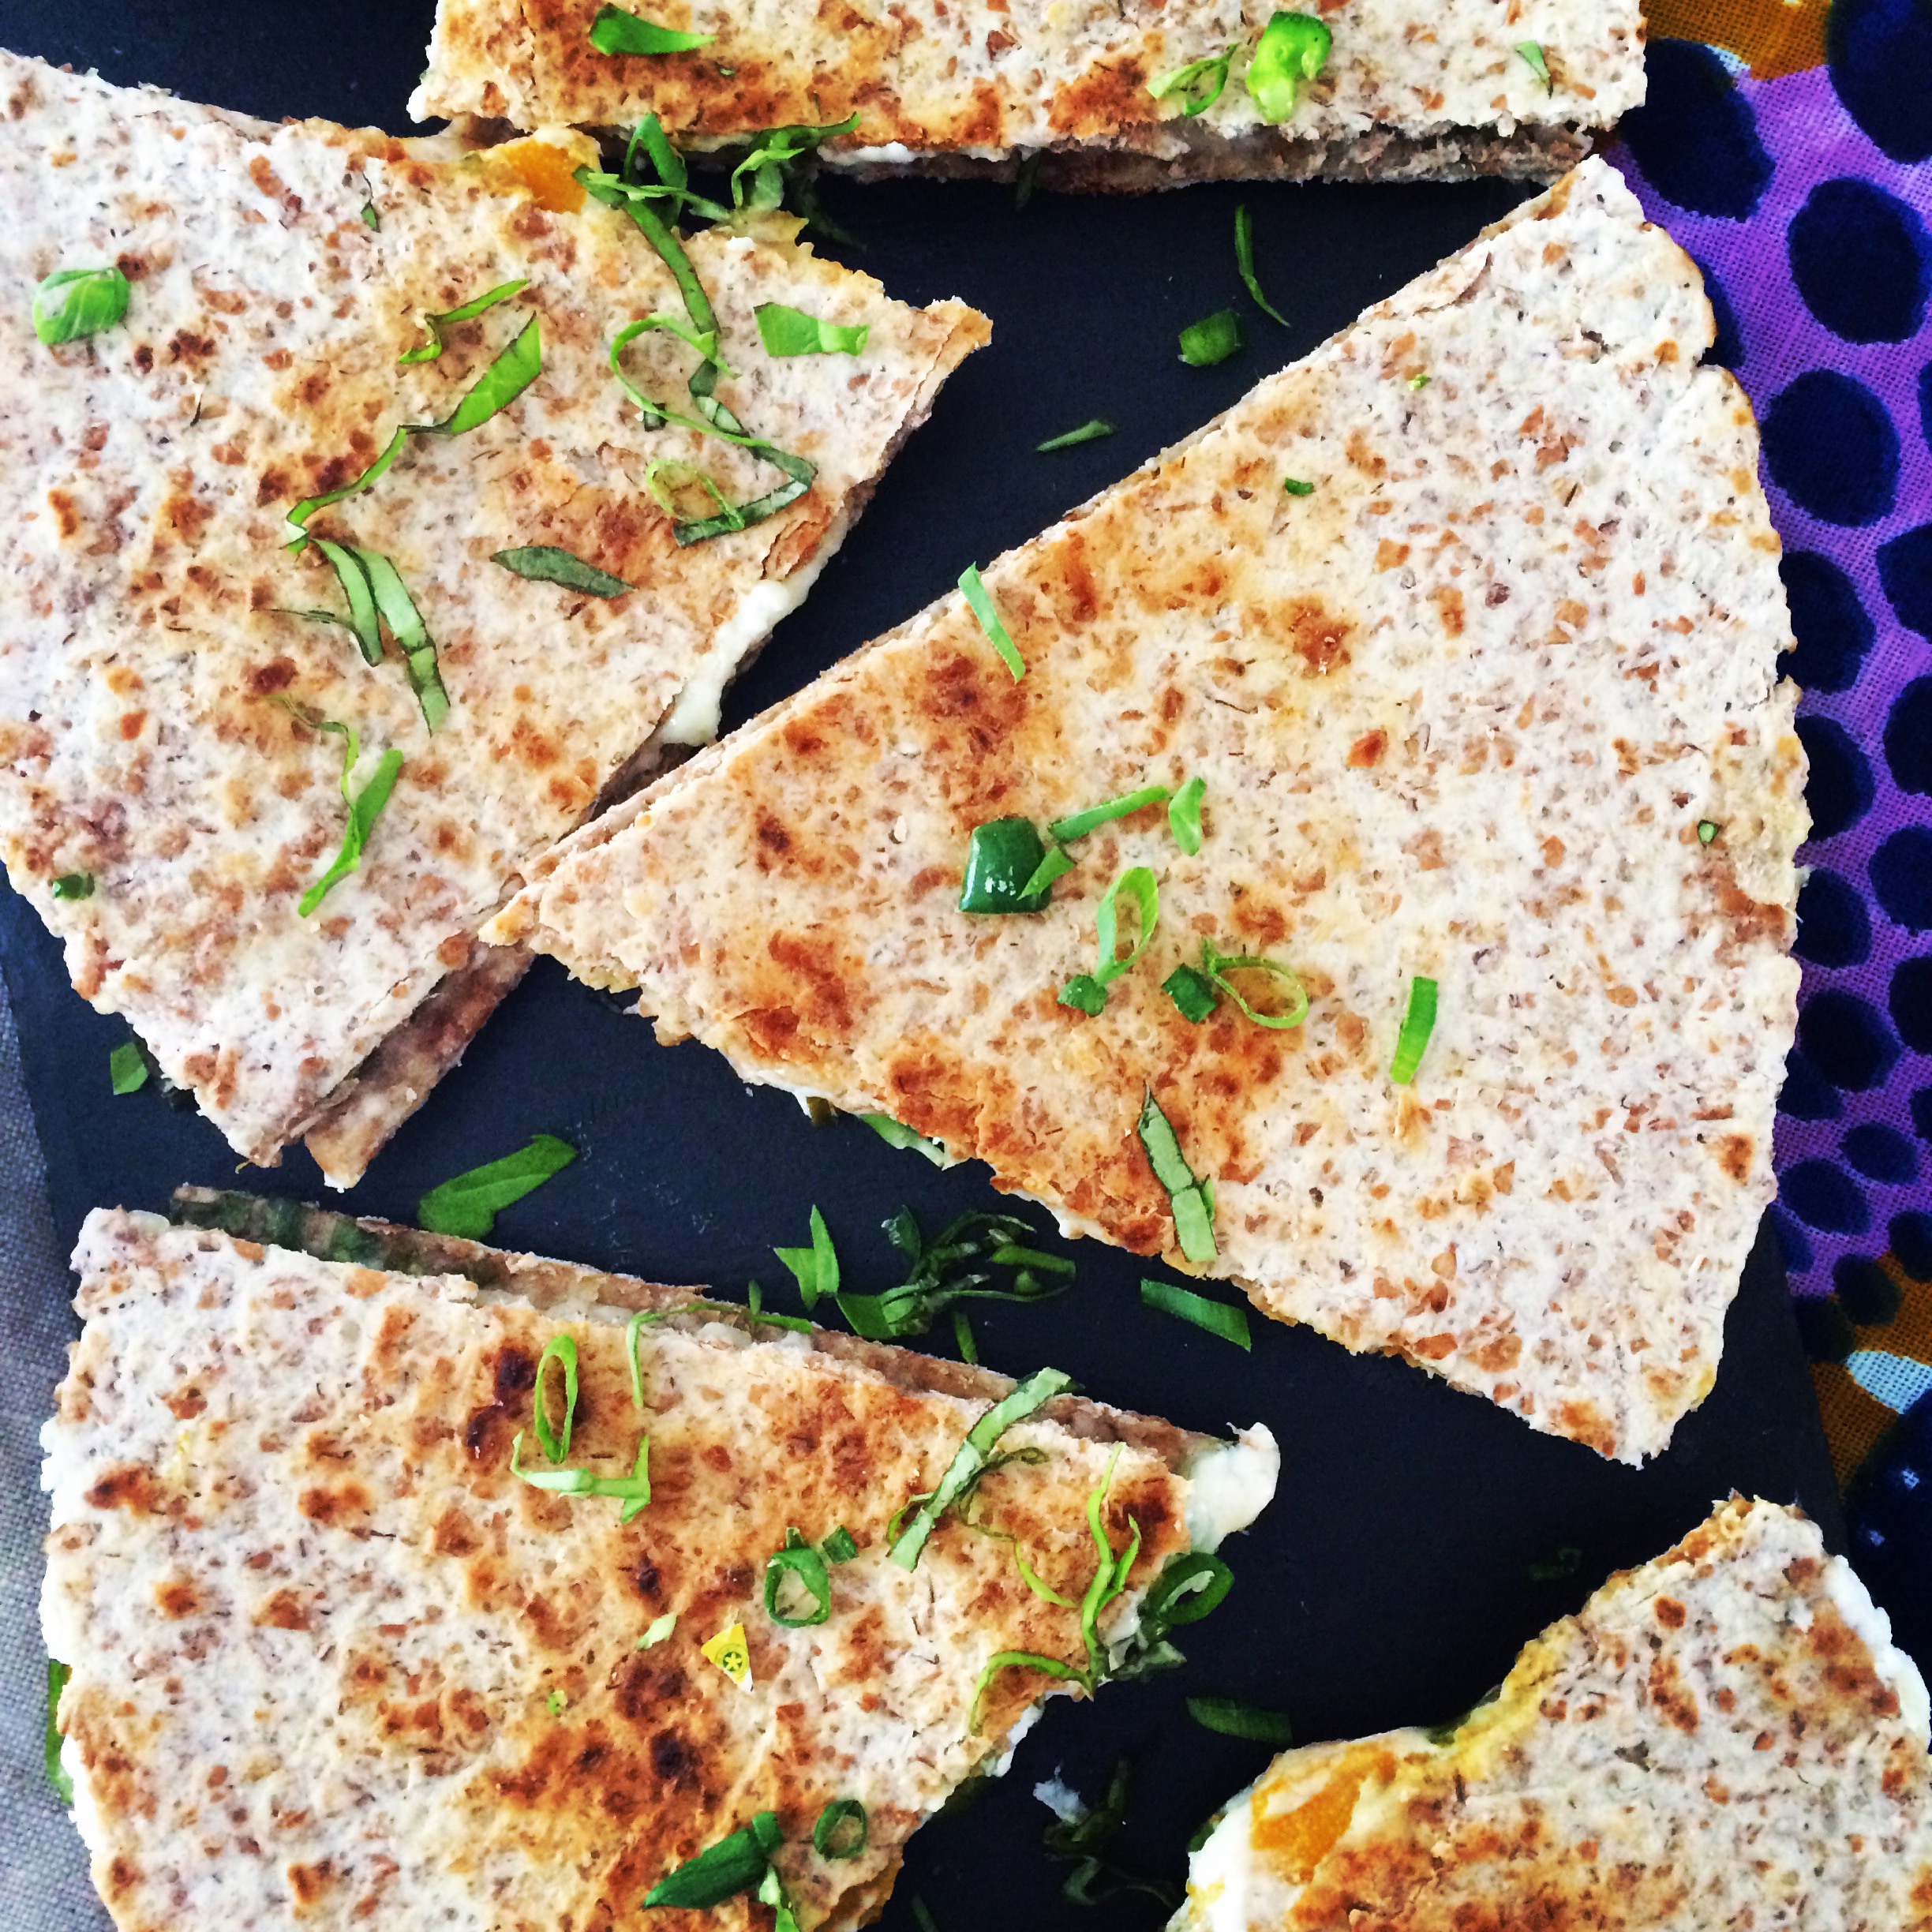
For this, I seasoned the chickpea flour with a flavor-packed puree of blanched kale, olive oil, and some of those earthy, smoky spices. The kale is hardly noticeable in the final taste of the dish, but the little flecks of green are quite pretty- not to mention nutritious.

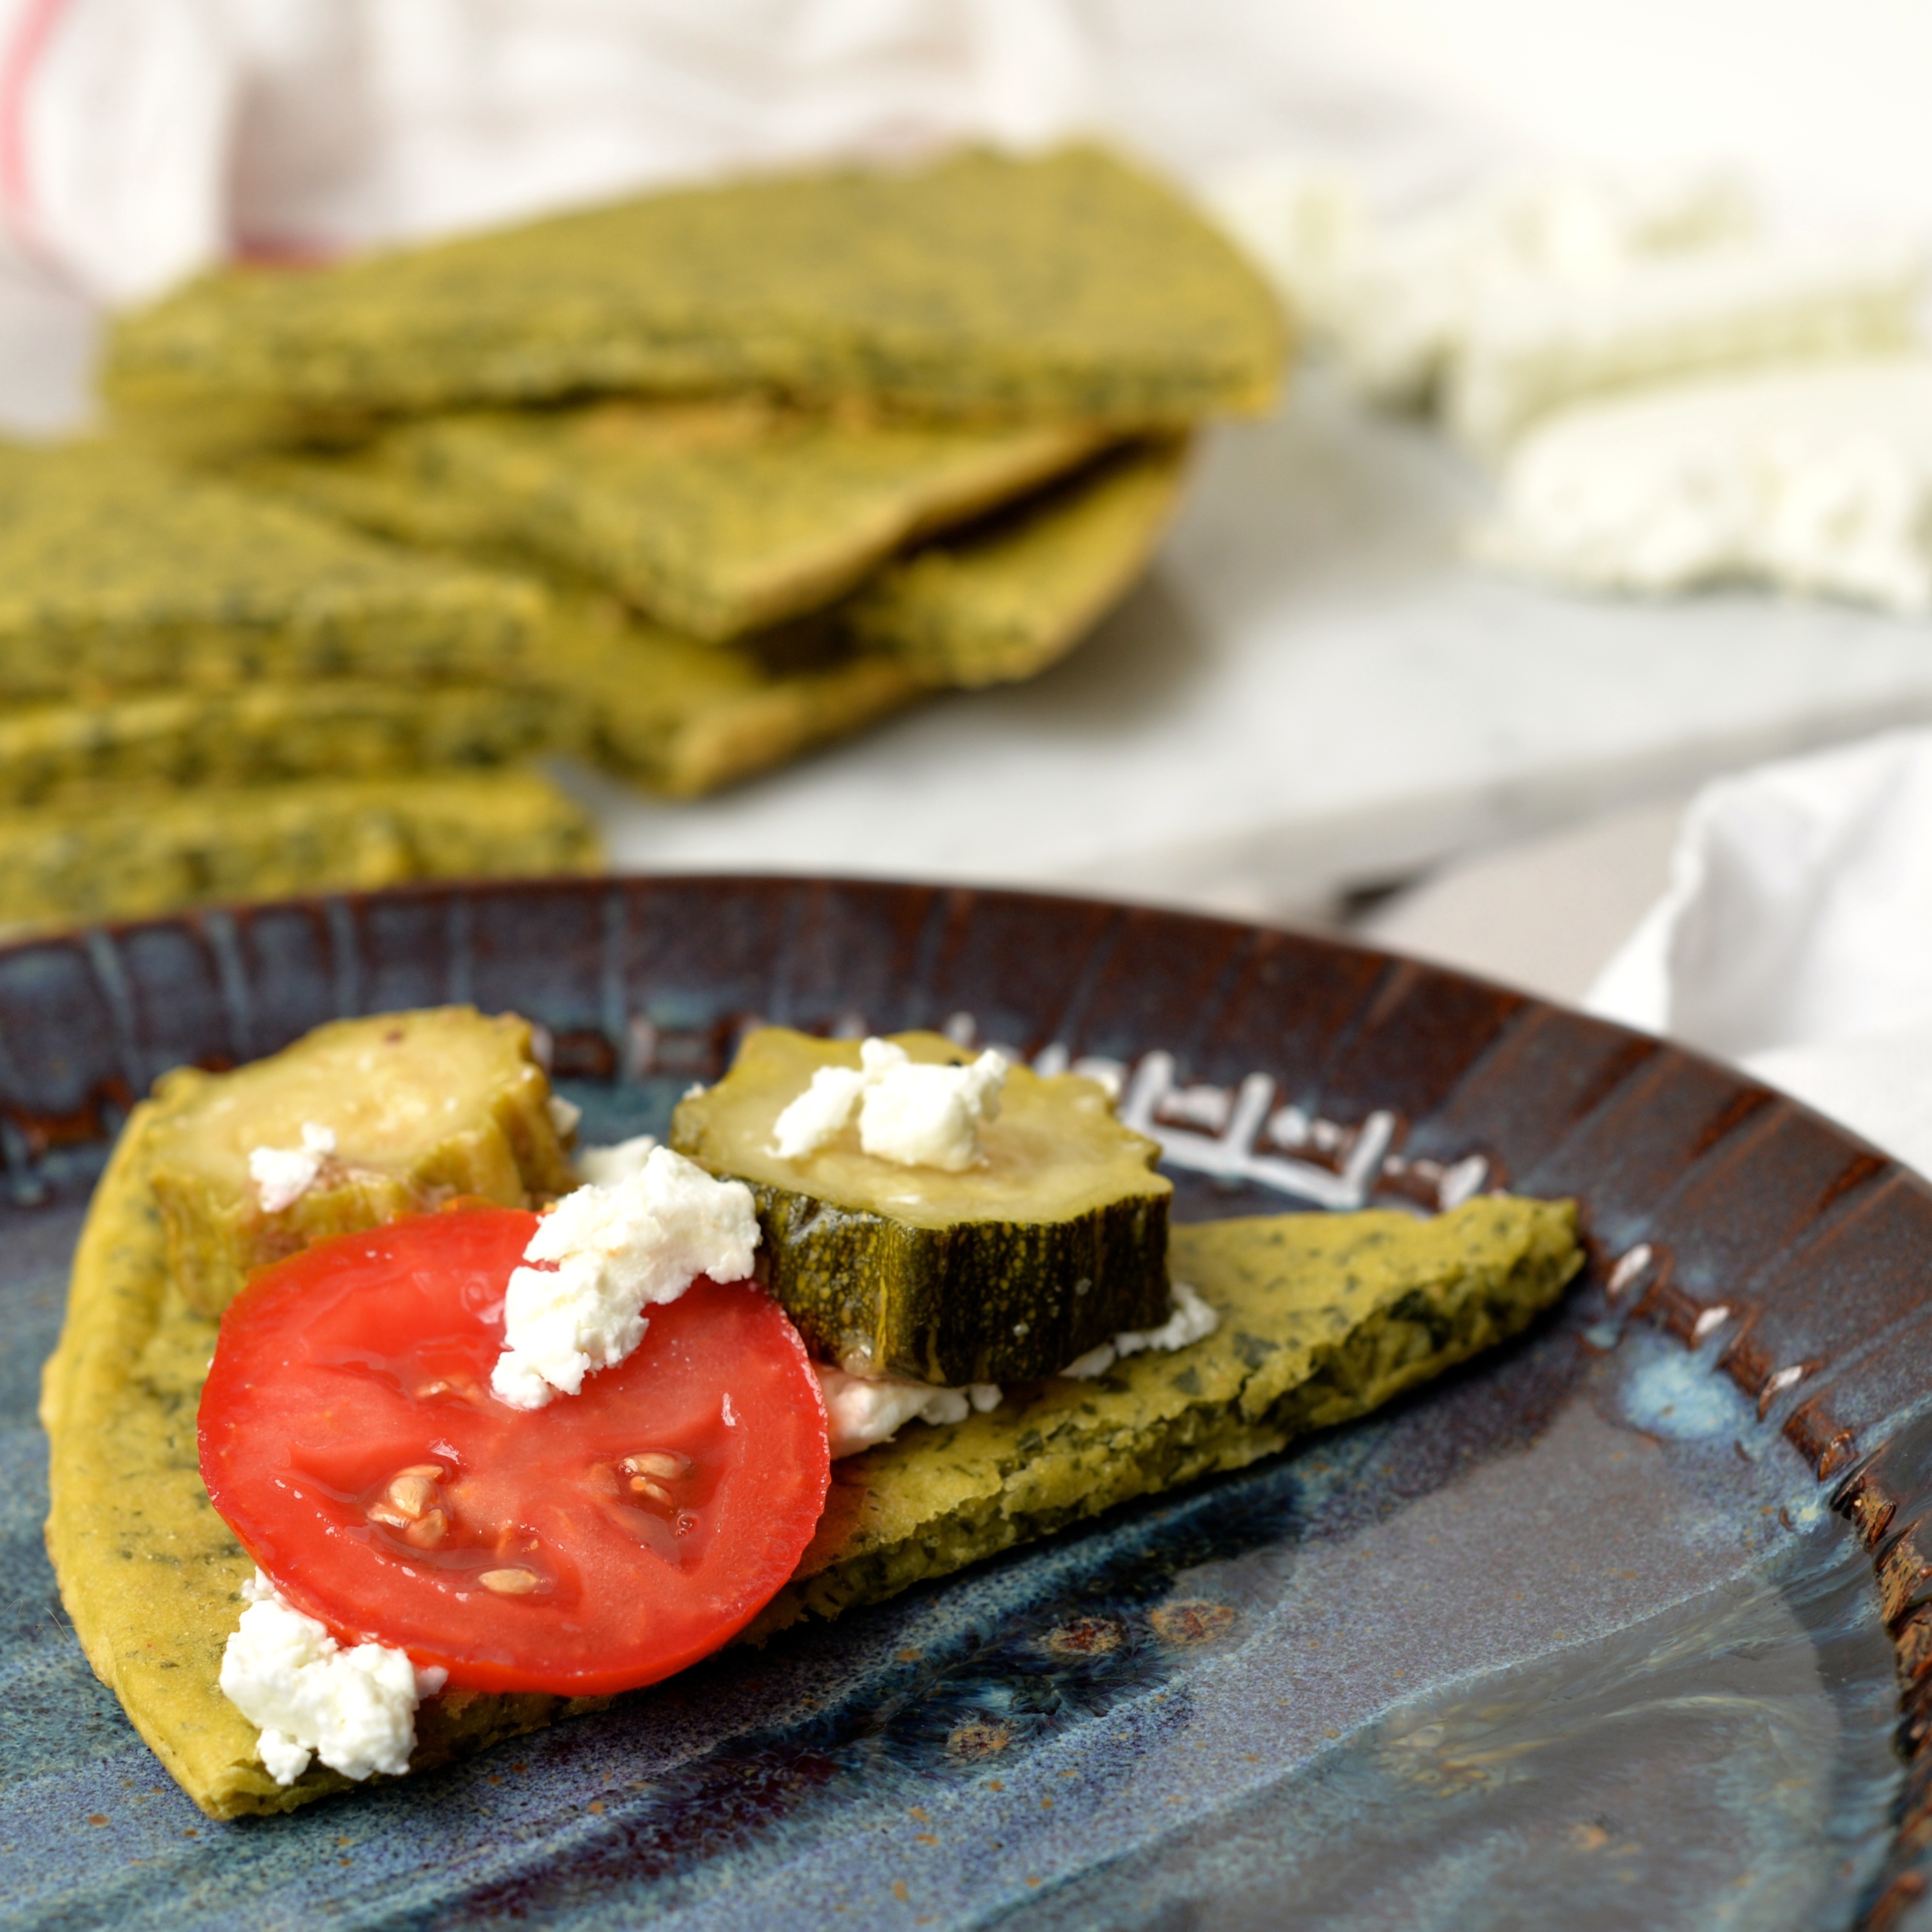
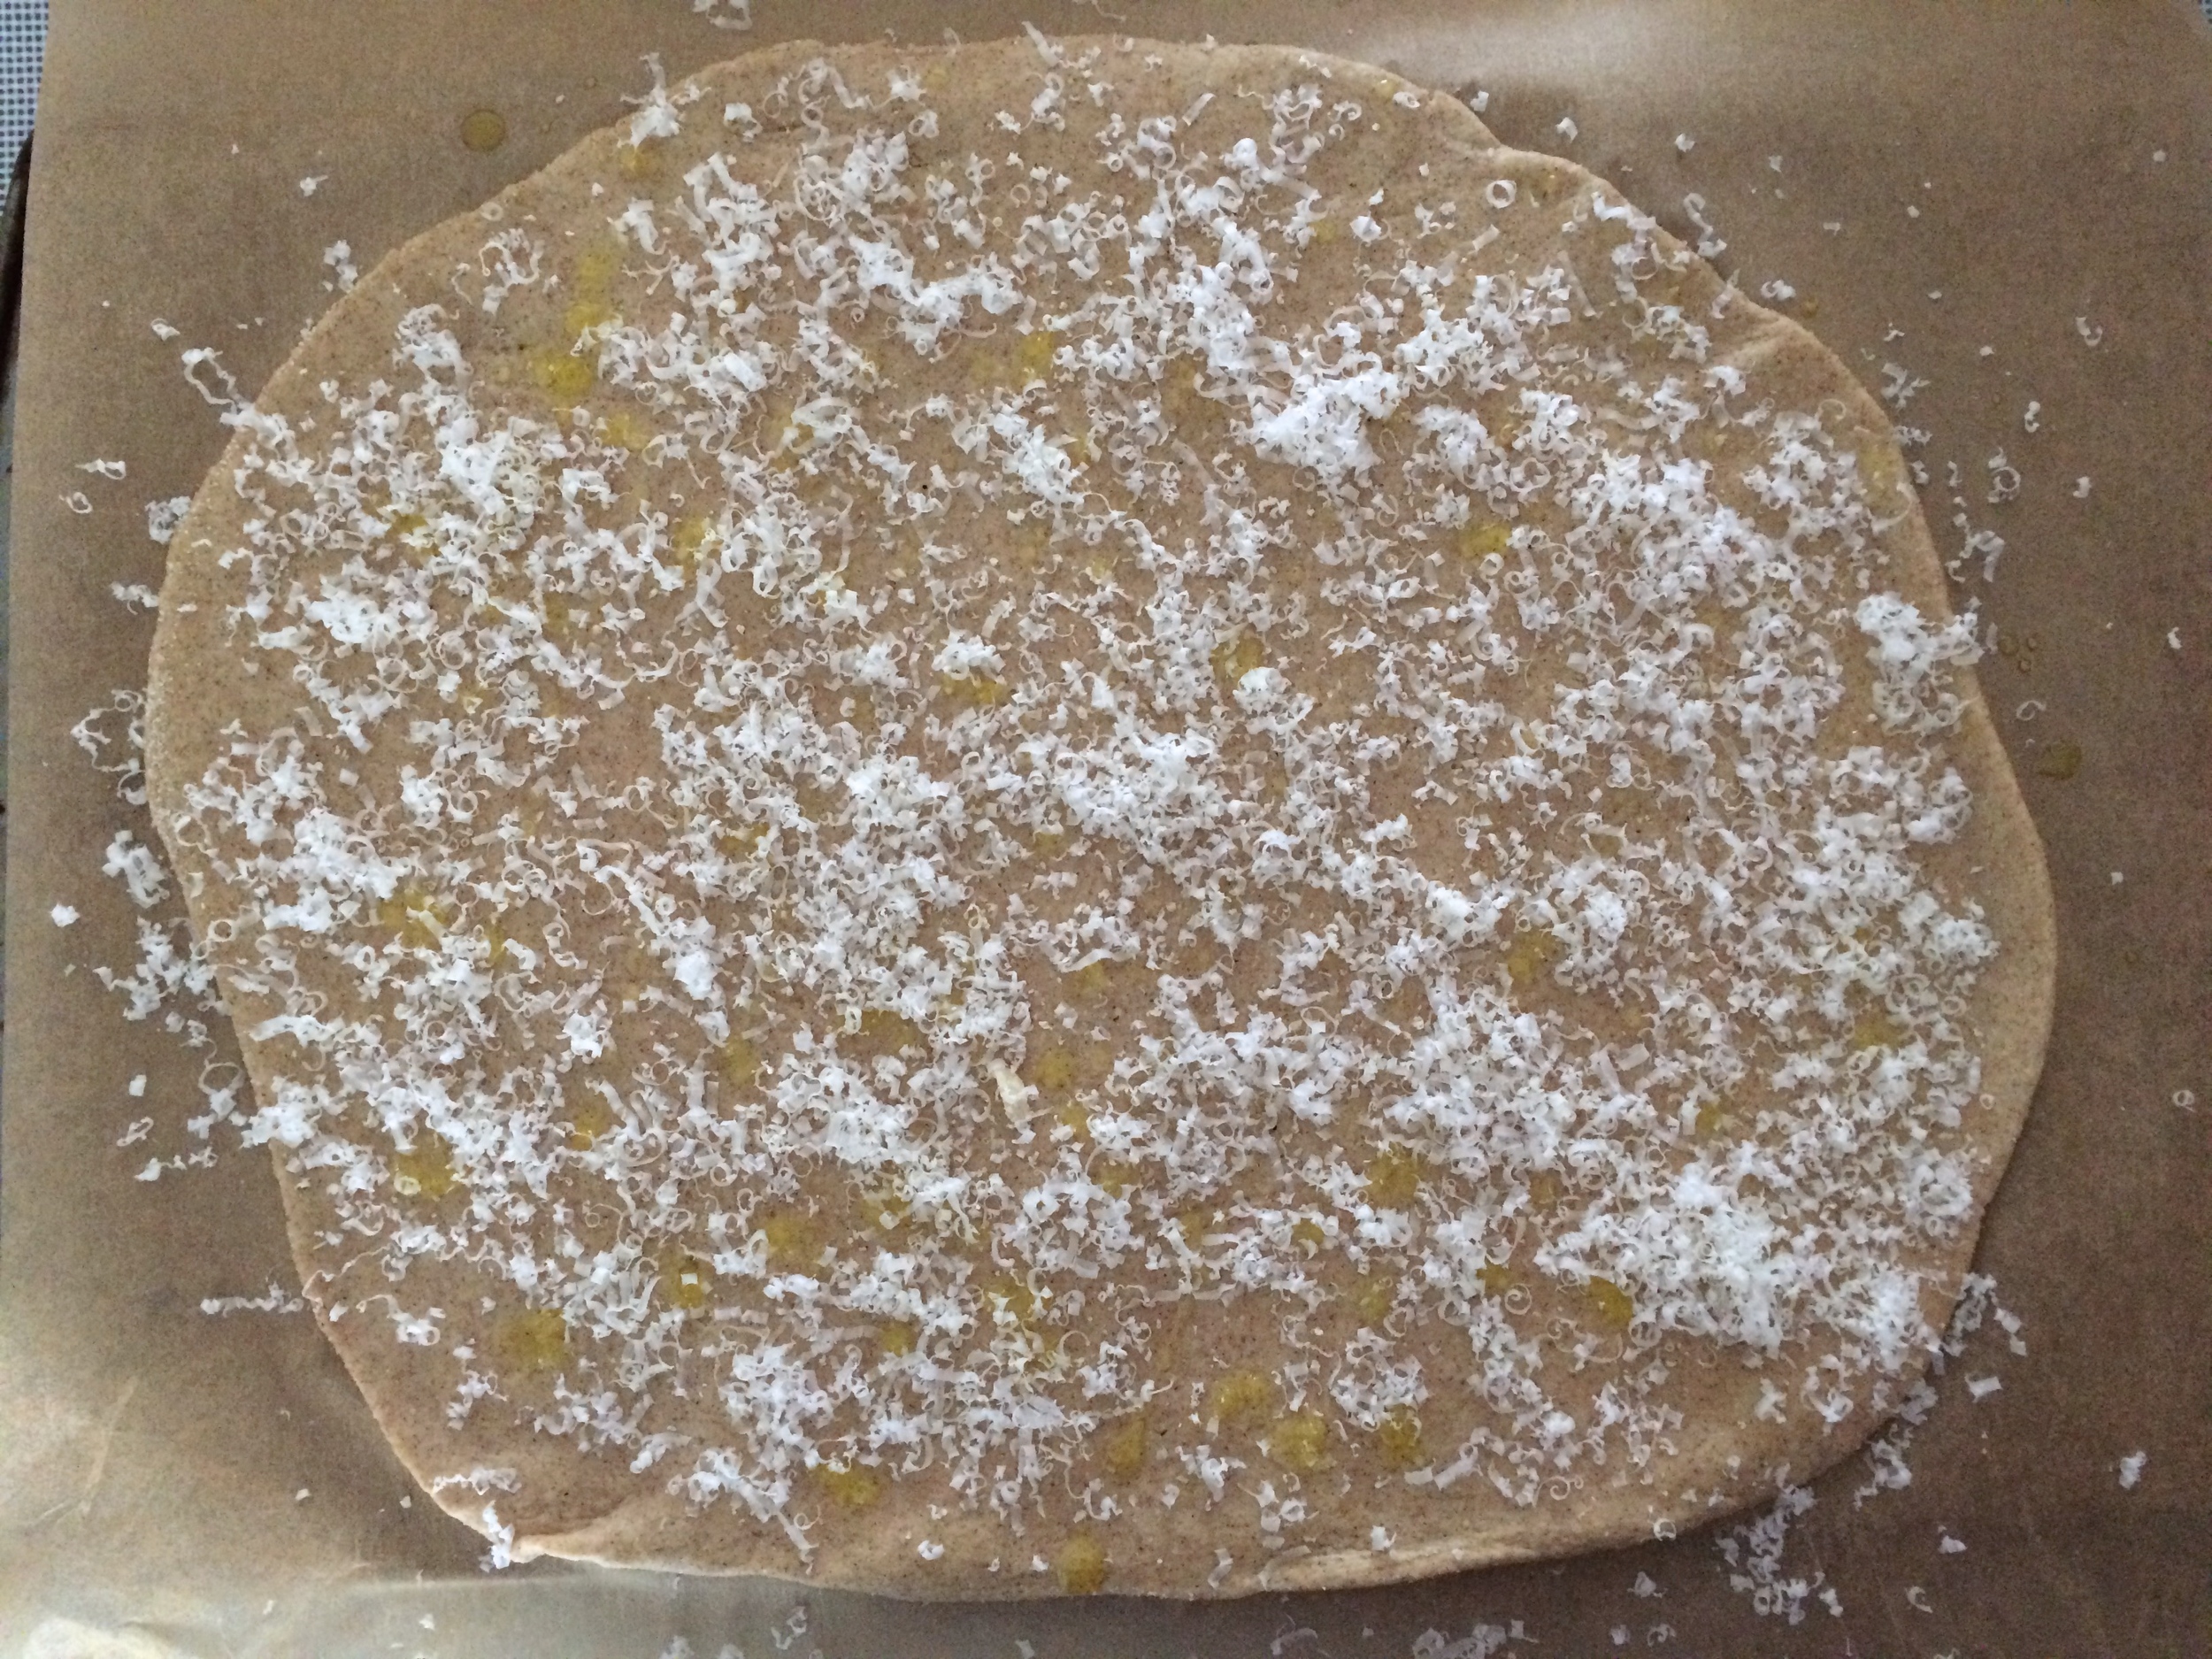
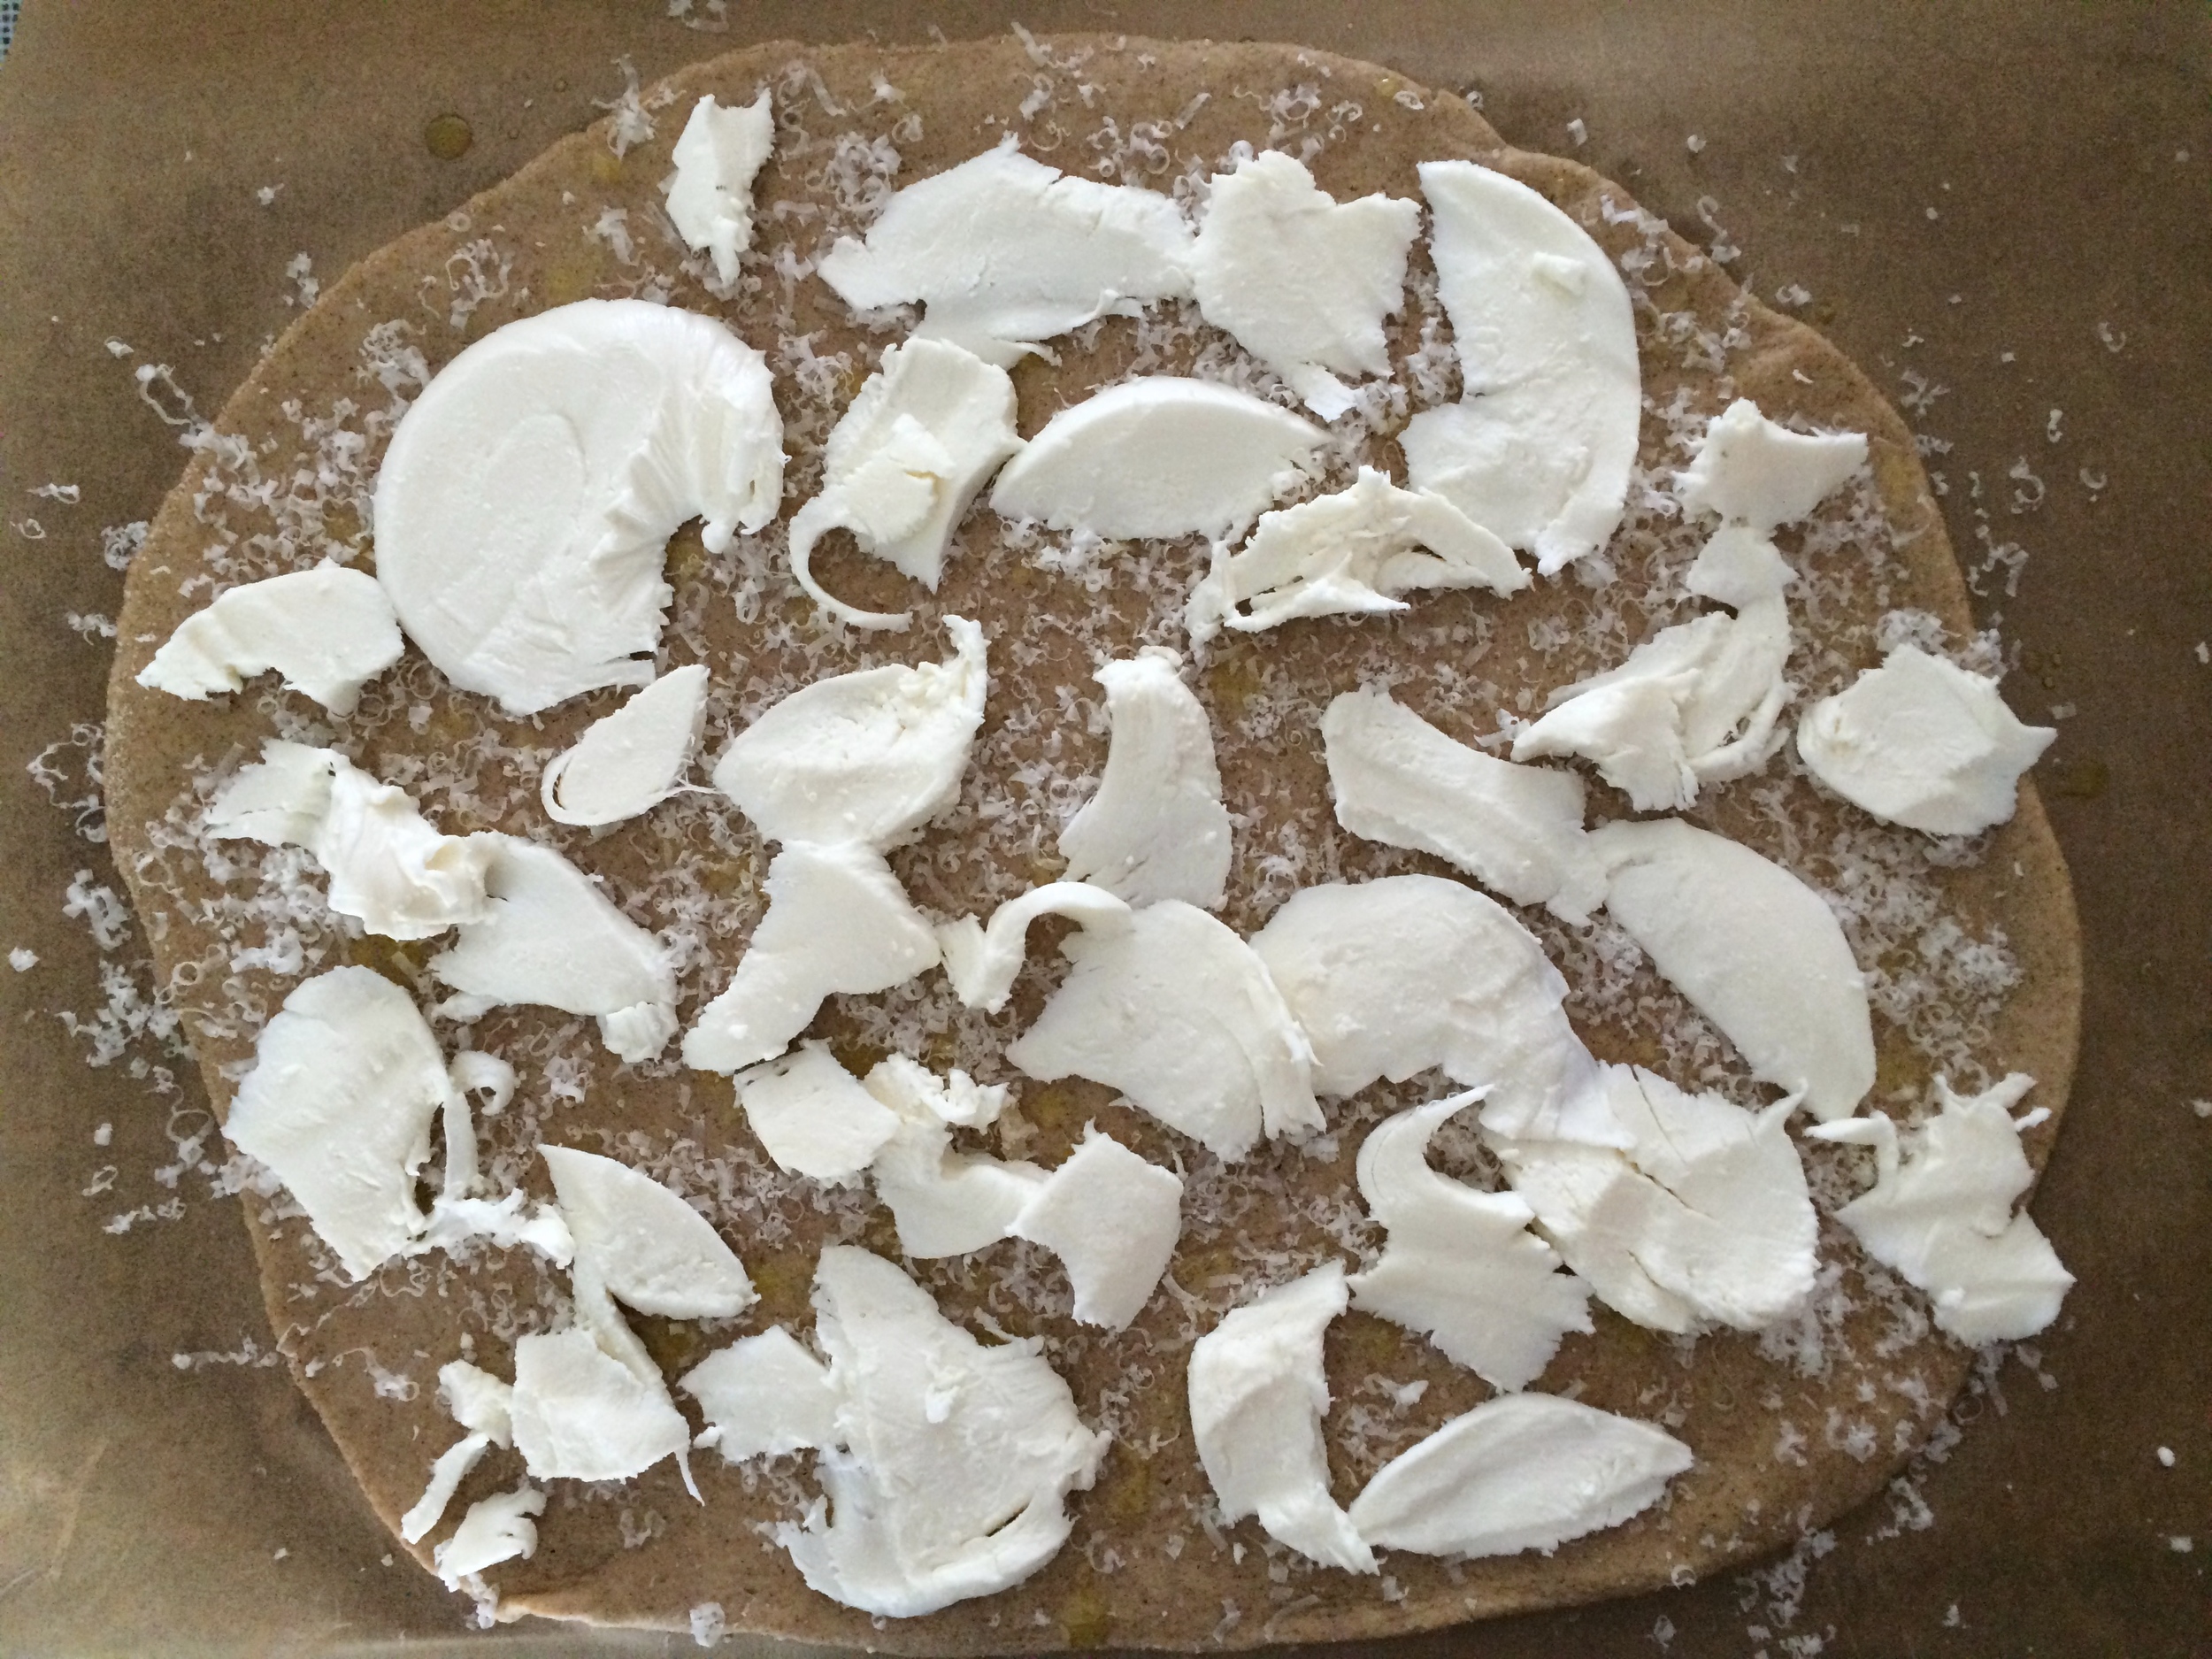
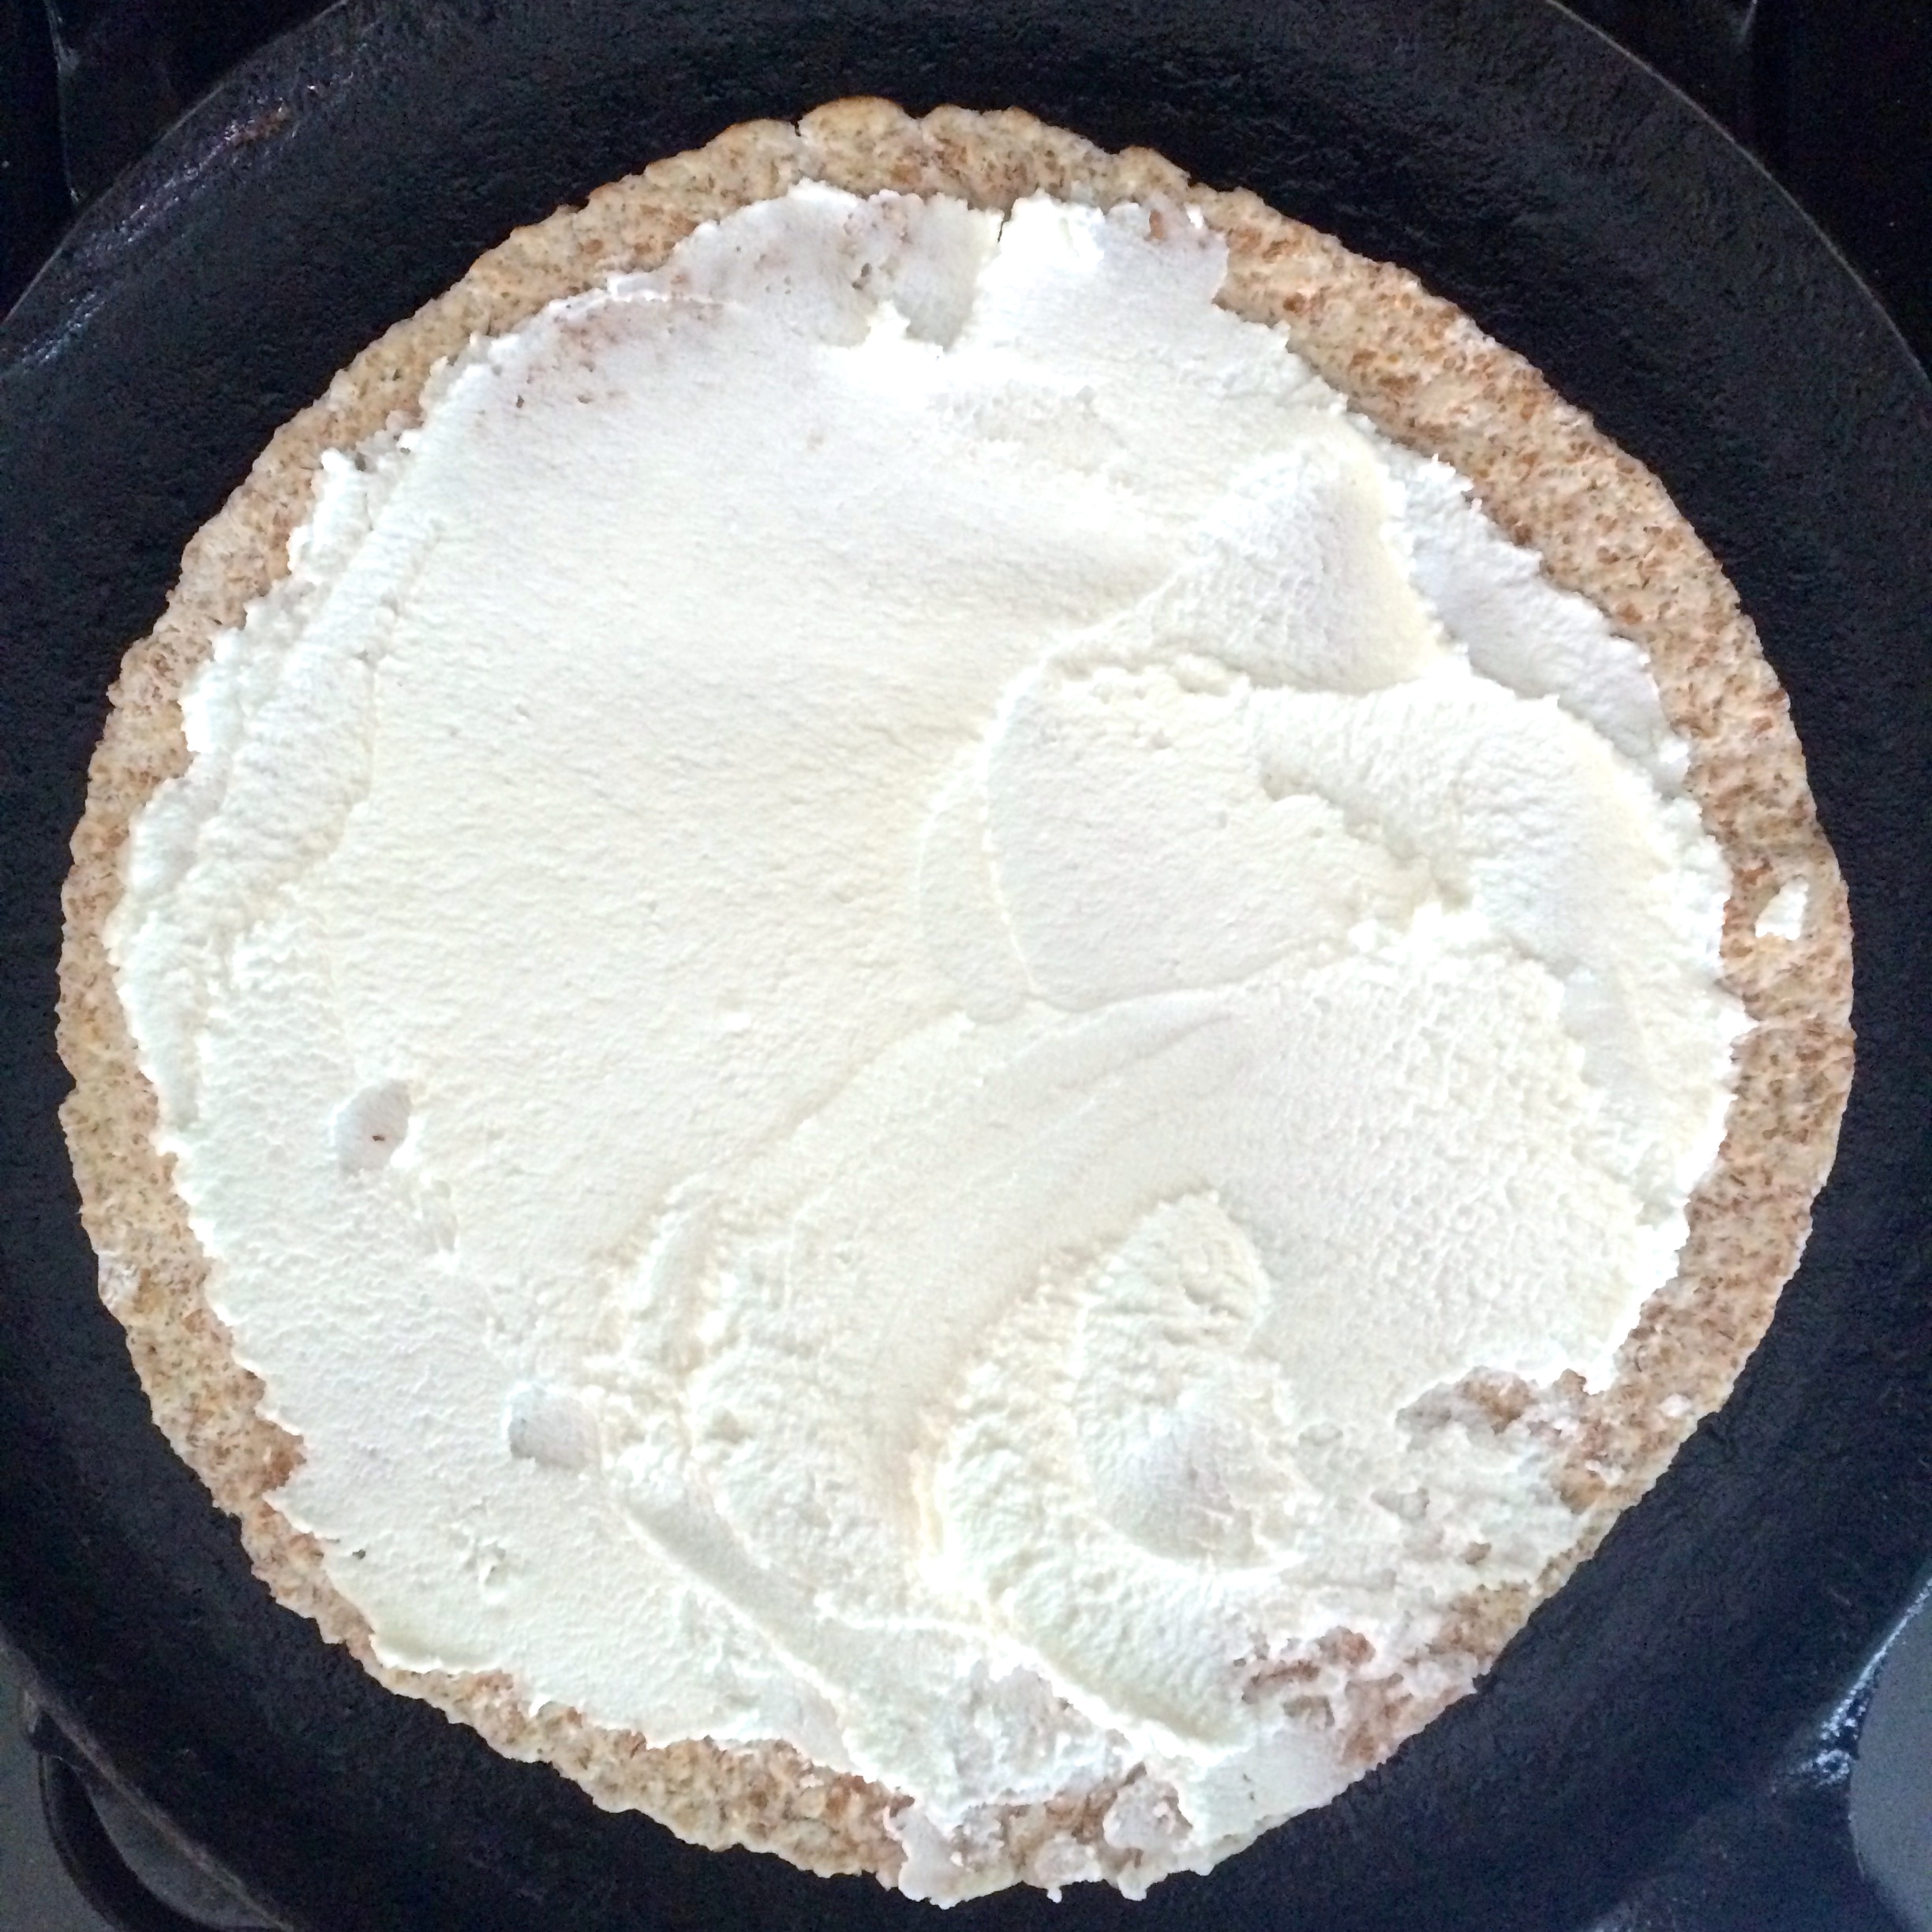
You can eat this plain because it is just that good, or serve it alongside a nice tangy goat cheese, some of my Zucchini Confit with Miso, fresh summer tomatoes, or even some ratatouille just like they do at Good King.

Spanish Spiced Kale Socca

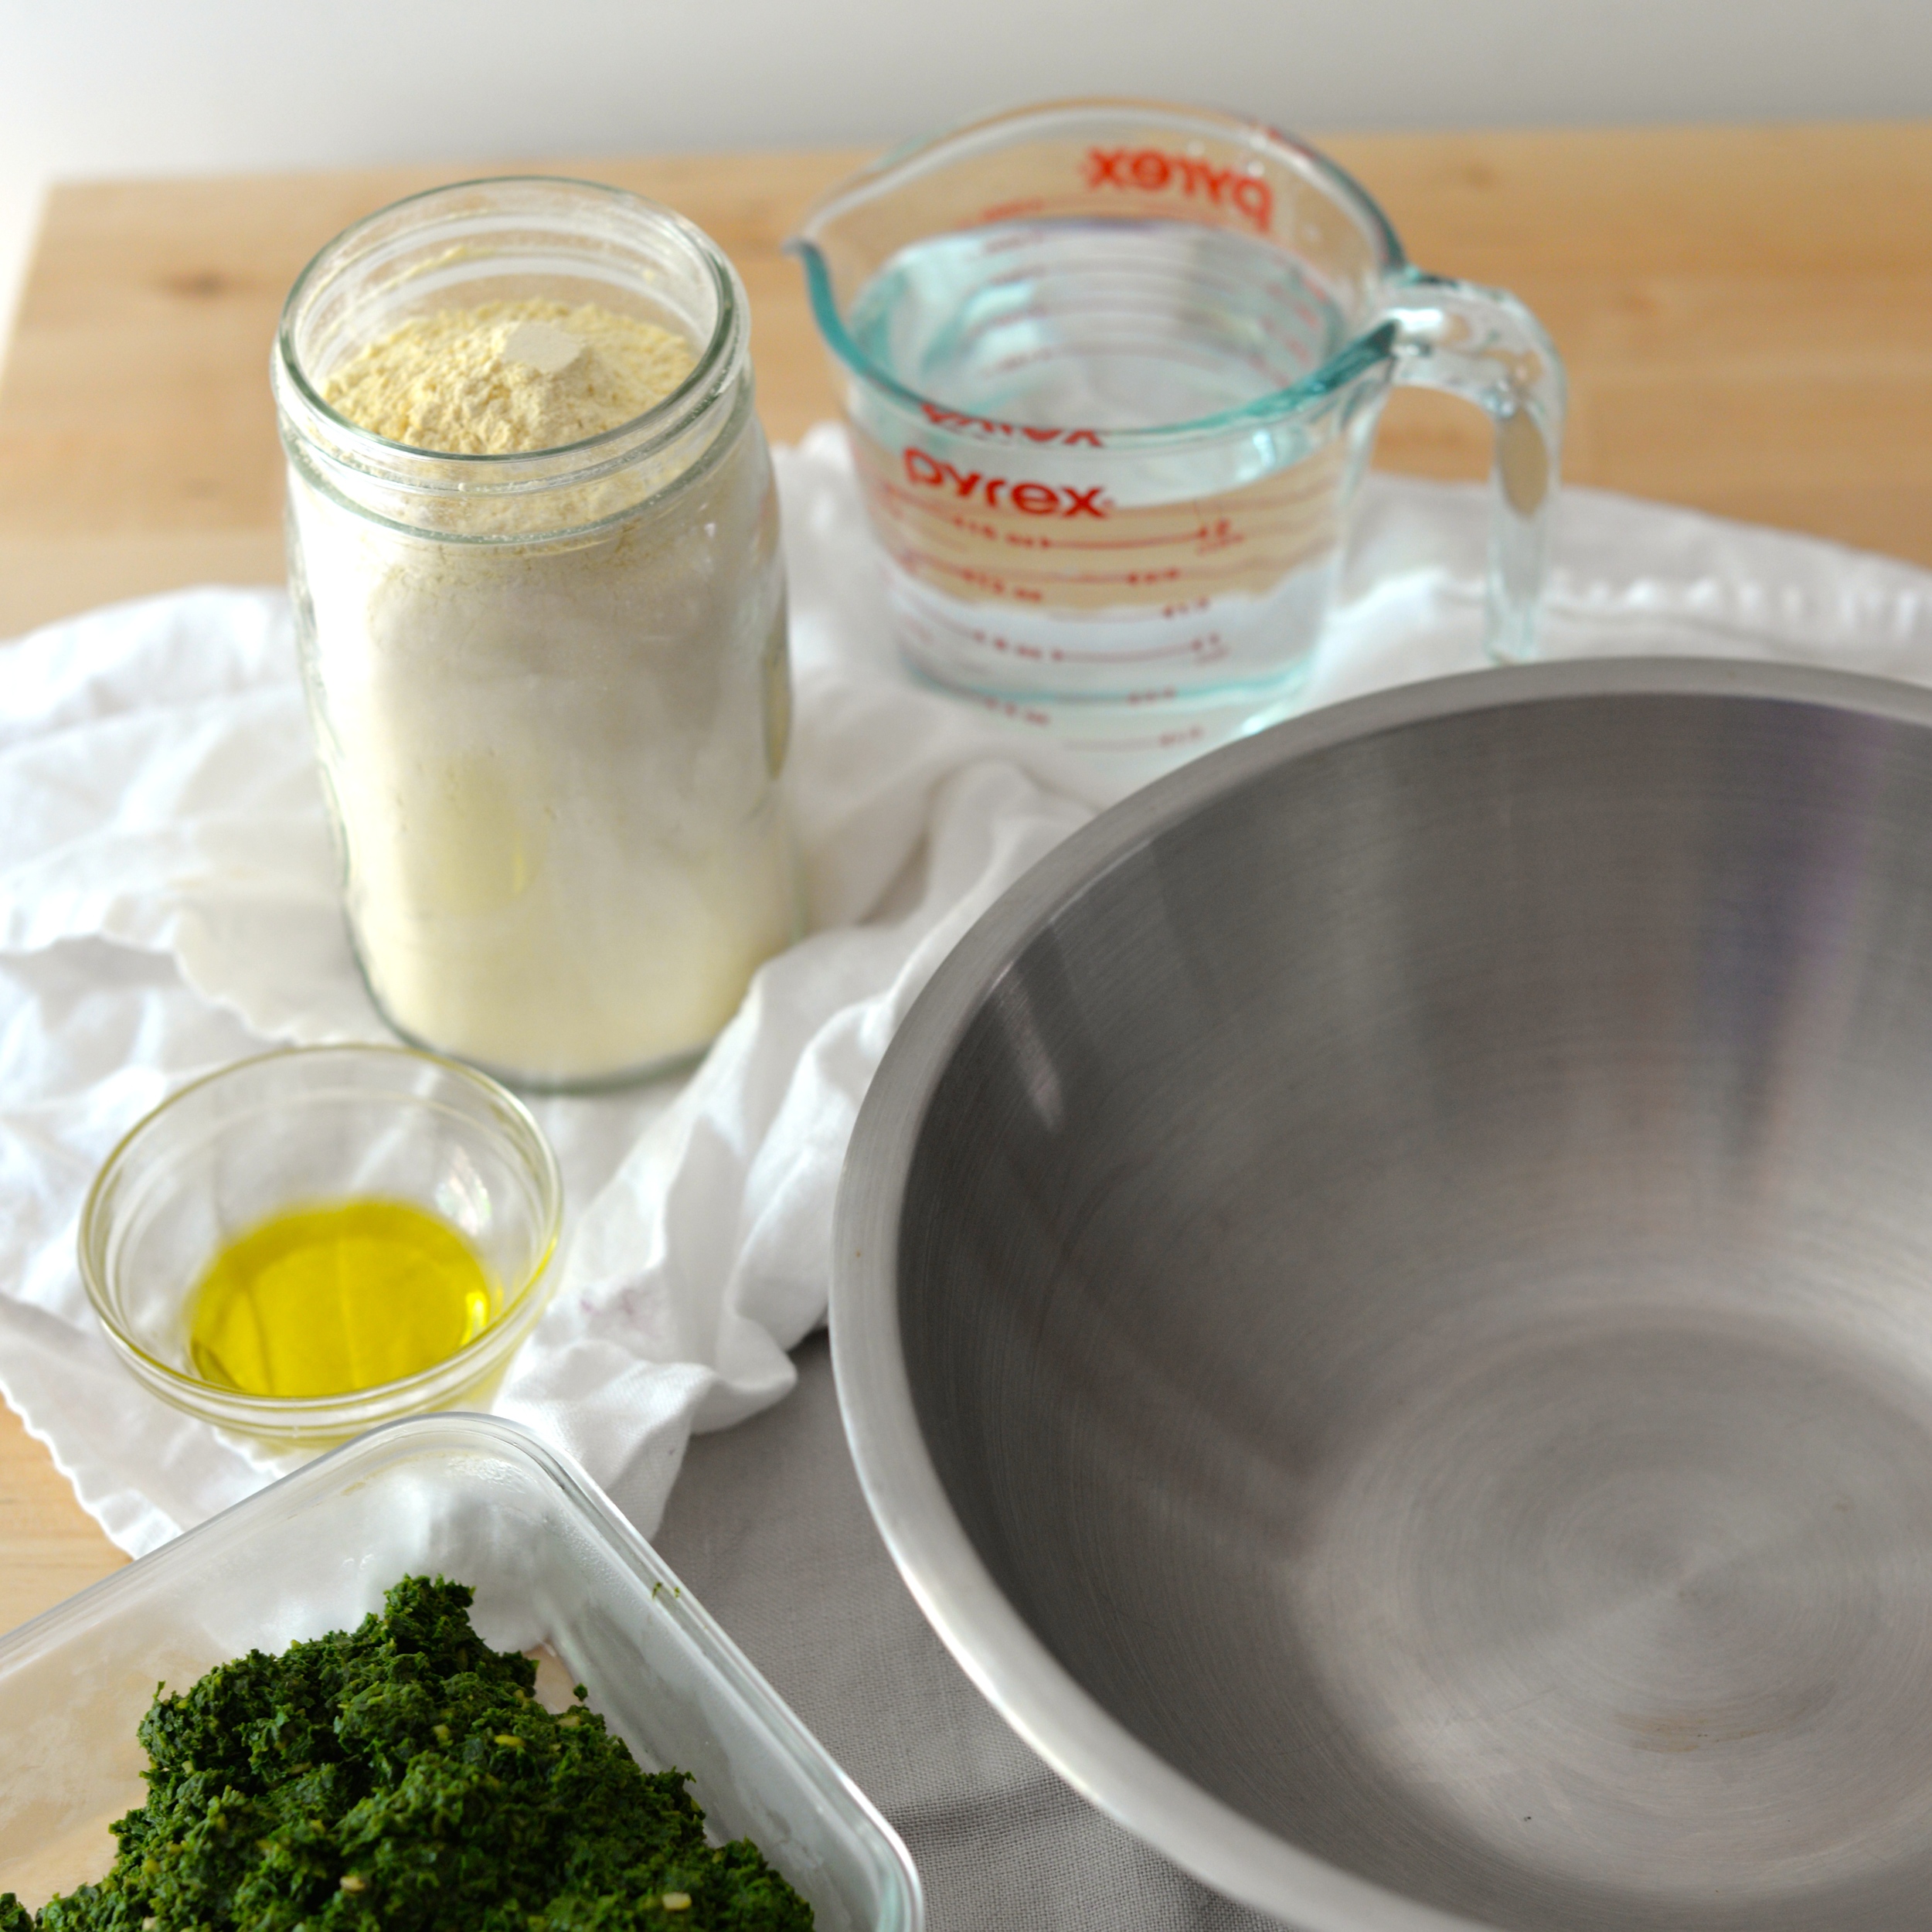
1 bunch kale, stems removed and roughly chopped
1/2 teaspoon smoked paprika
1/2 teaspoon ground cumin
3/4 teaspoon garlic powder
3/4 teaspoon dried minced onion (optional)
2 1/4 teaspoons salt
3 tablespoons extra-virgin olive oil
2 cups chickpea flour
2 1/4 cups water
1 tablespoon olive oil, divided, for cooking

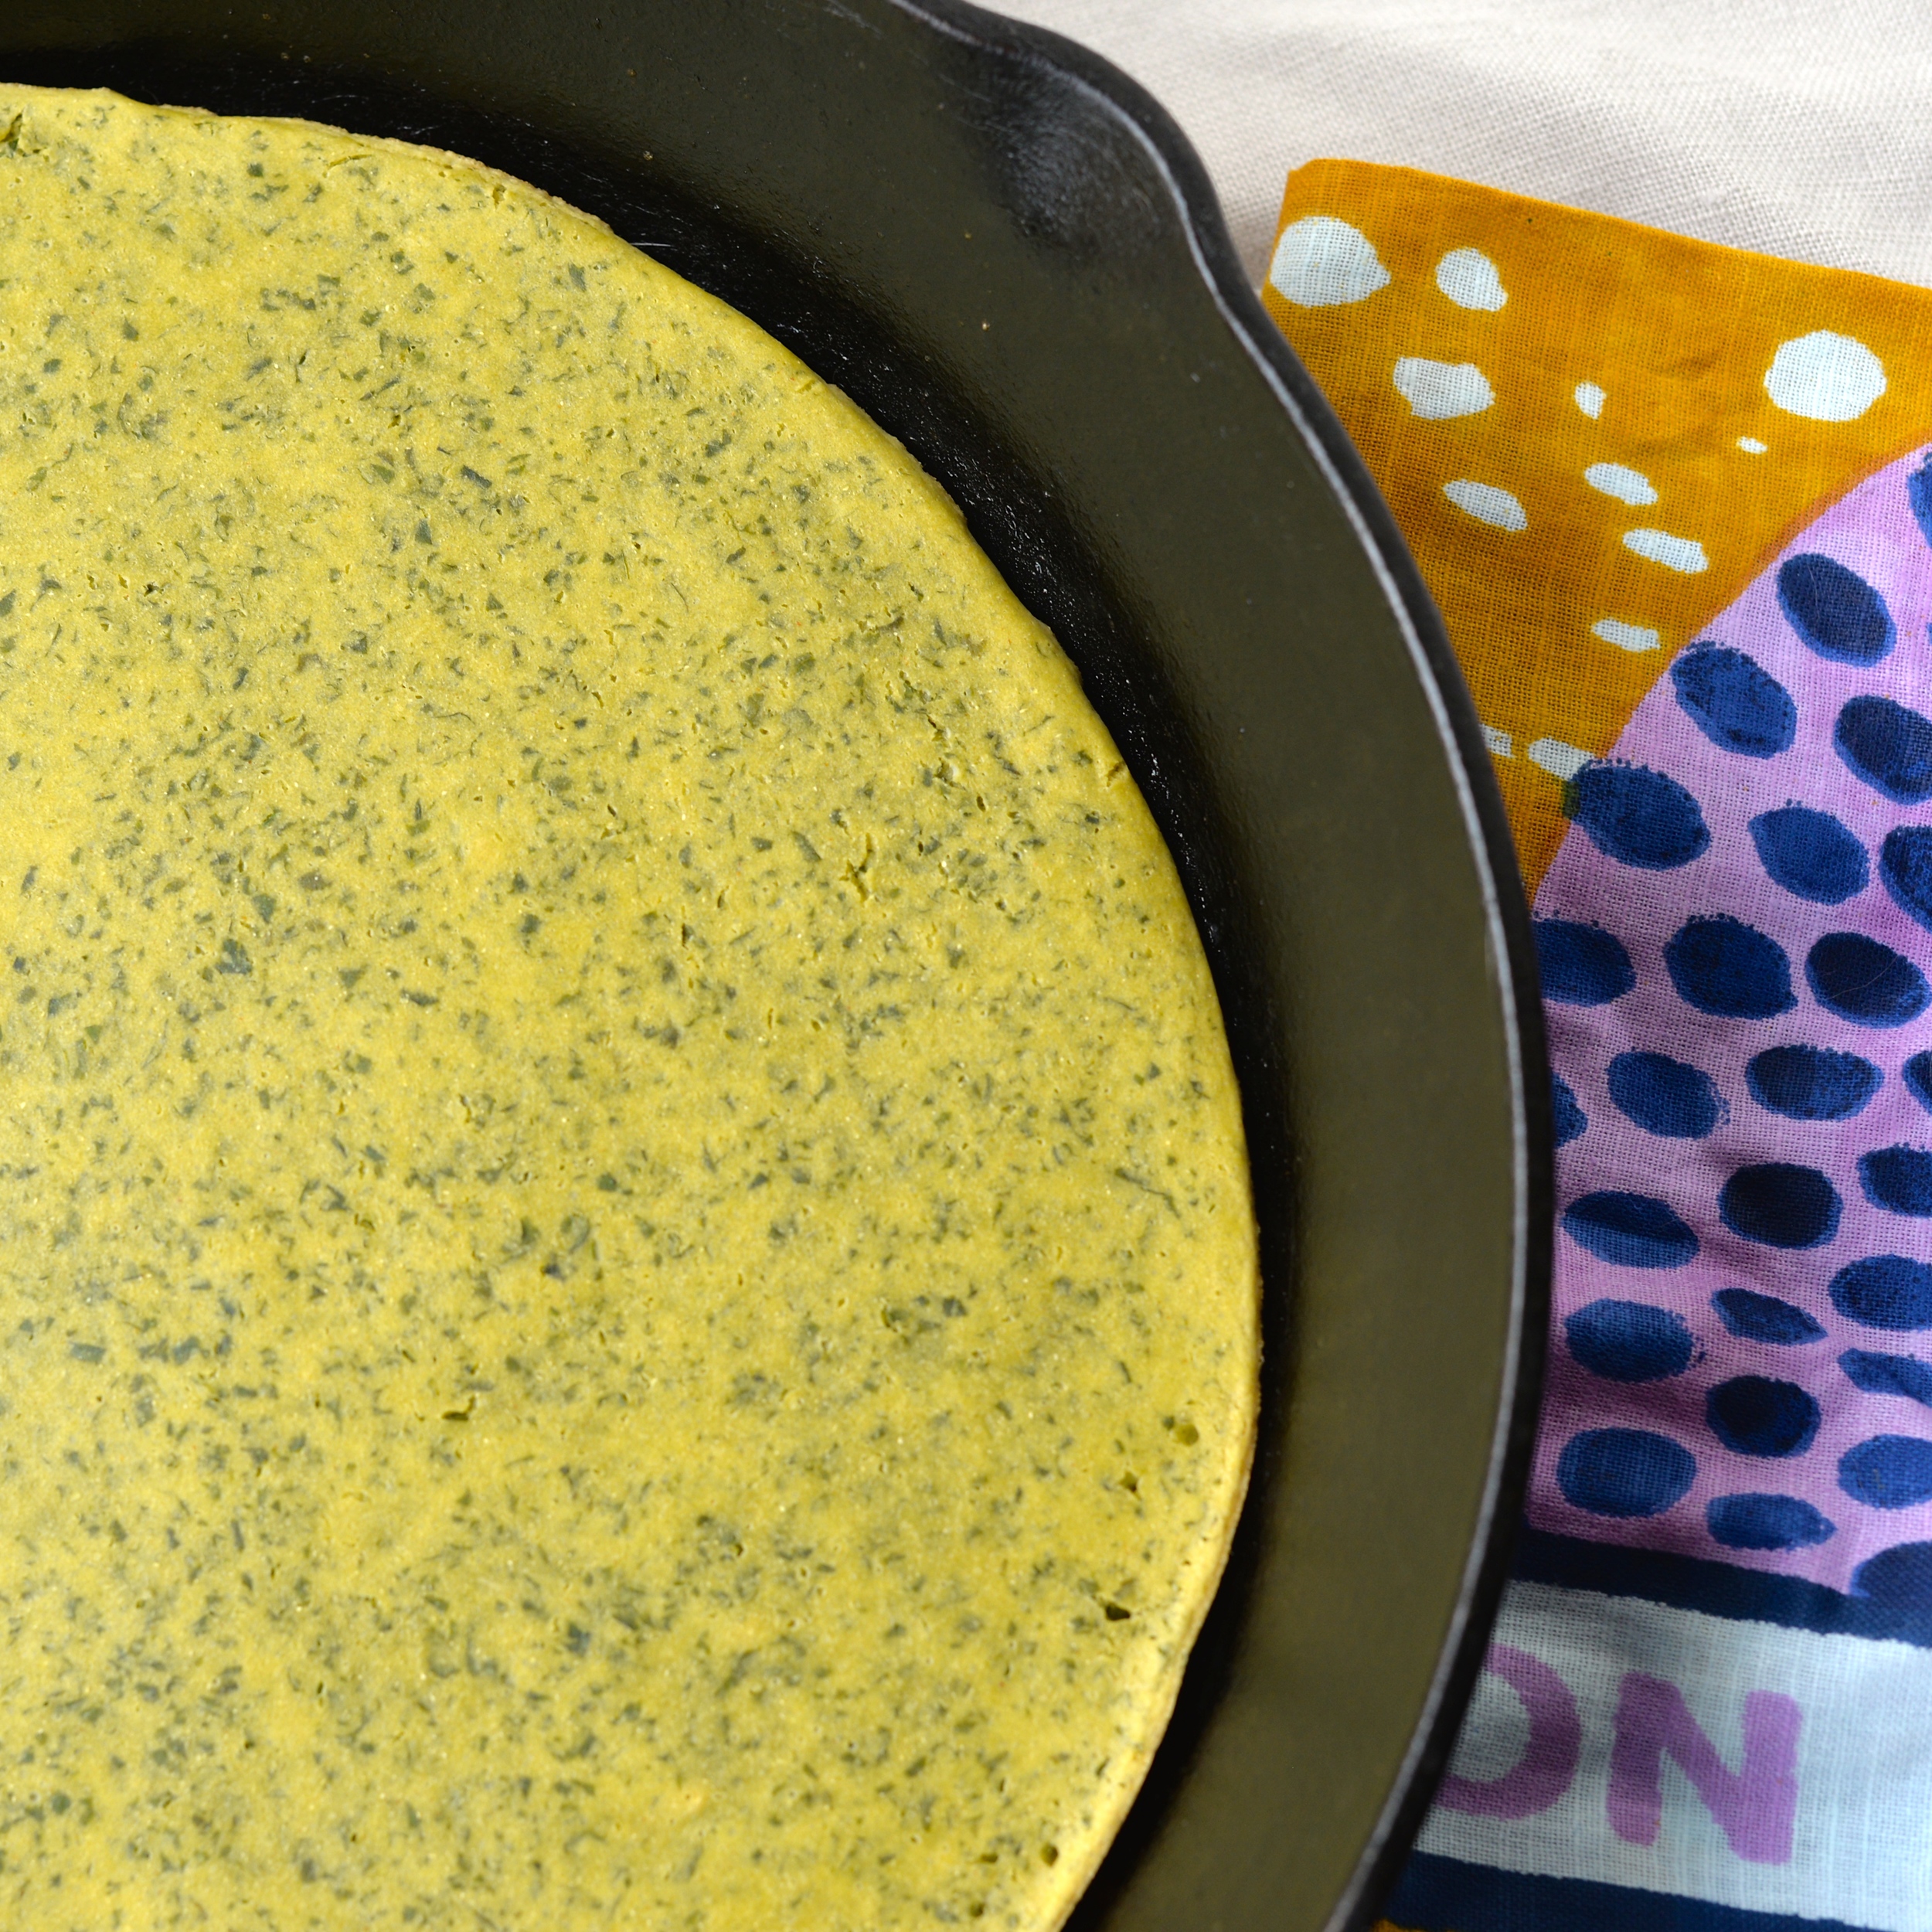
Preheat oven to 450 degrees Fahrenheit. Place a 12-inch cast-iron skillet in the oven while oven preheats.

Blanch kale. Heat a medium pot of water to boiling. Add chopped kale and cook for 60 seconds. Remove from heat, drain, and remove as much water as possible from kale.

Place kale in a food processor or blender and add smoked paprika, cumin, garlic powder, dried minced onion, salt, and olive oil. Process until mostly smooth.

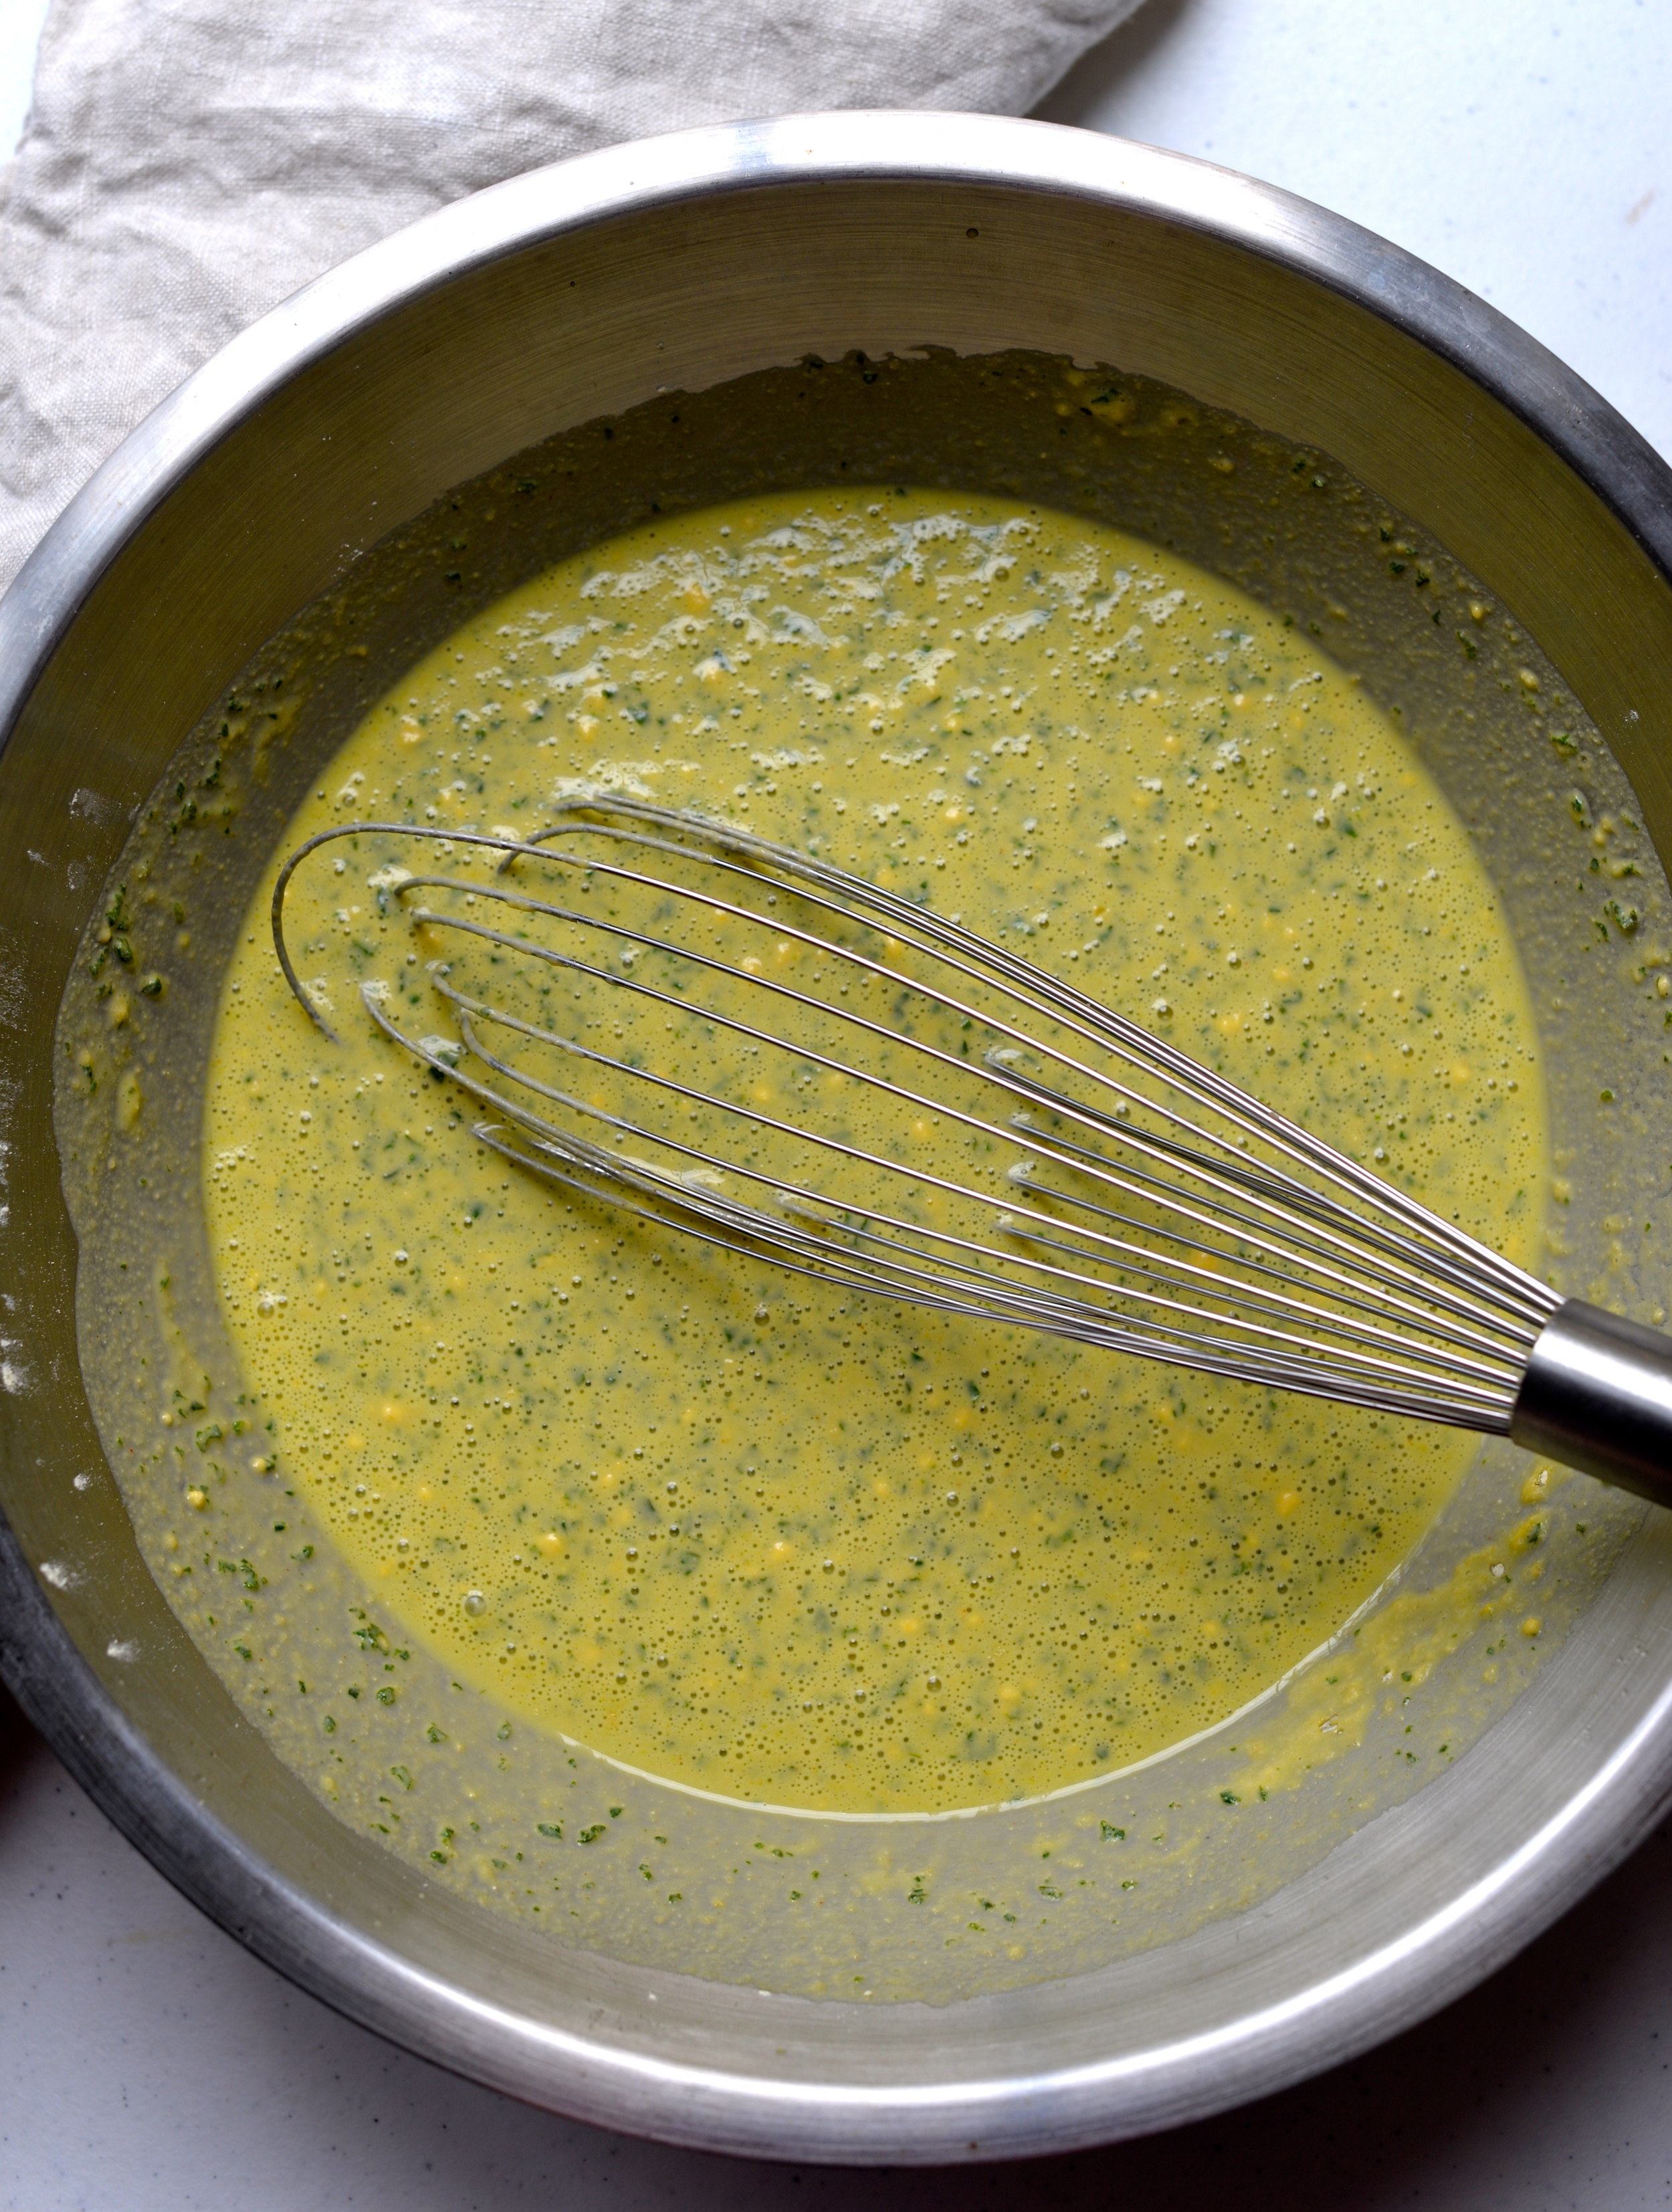
In a large bowl, whisk together chickpea flour with the water. Add pureed kale and spice mixture to bowl and stir until combined.

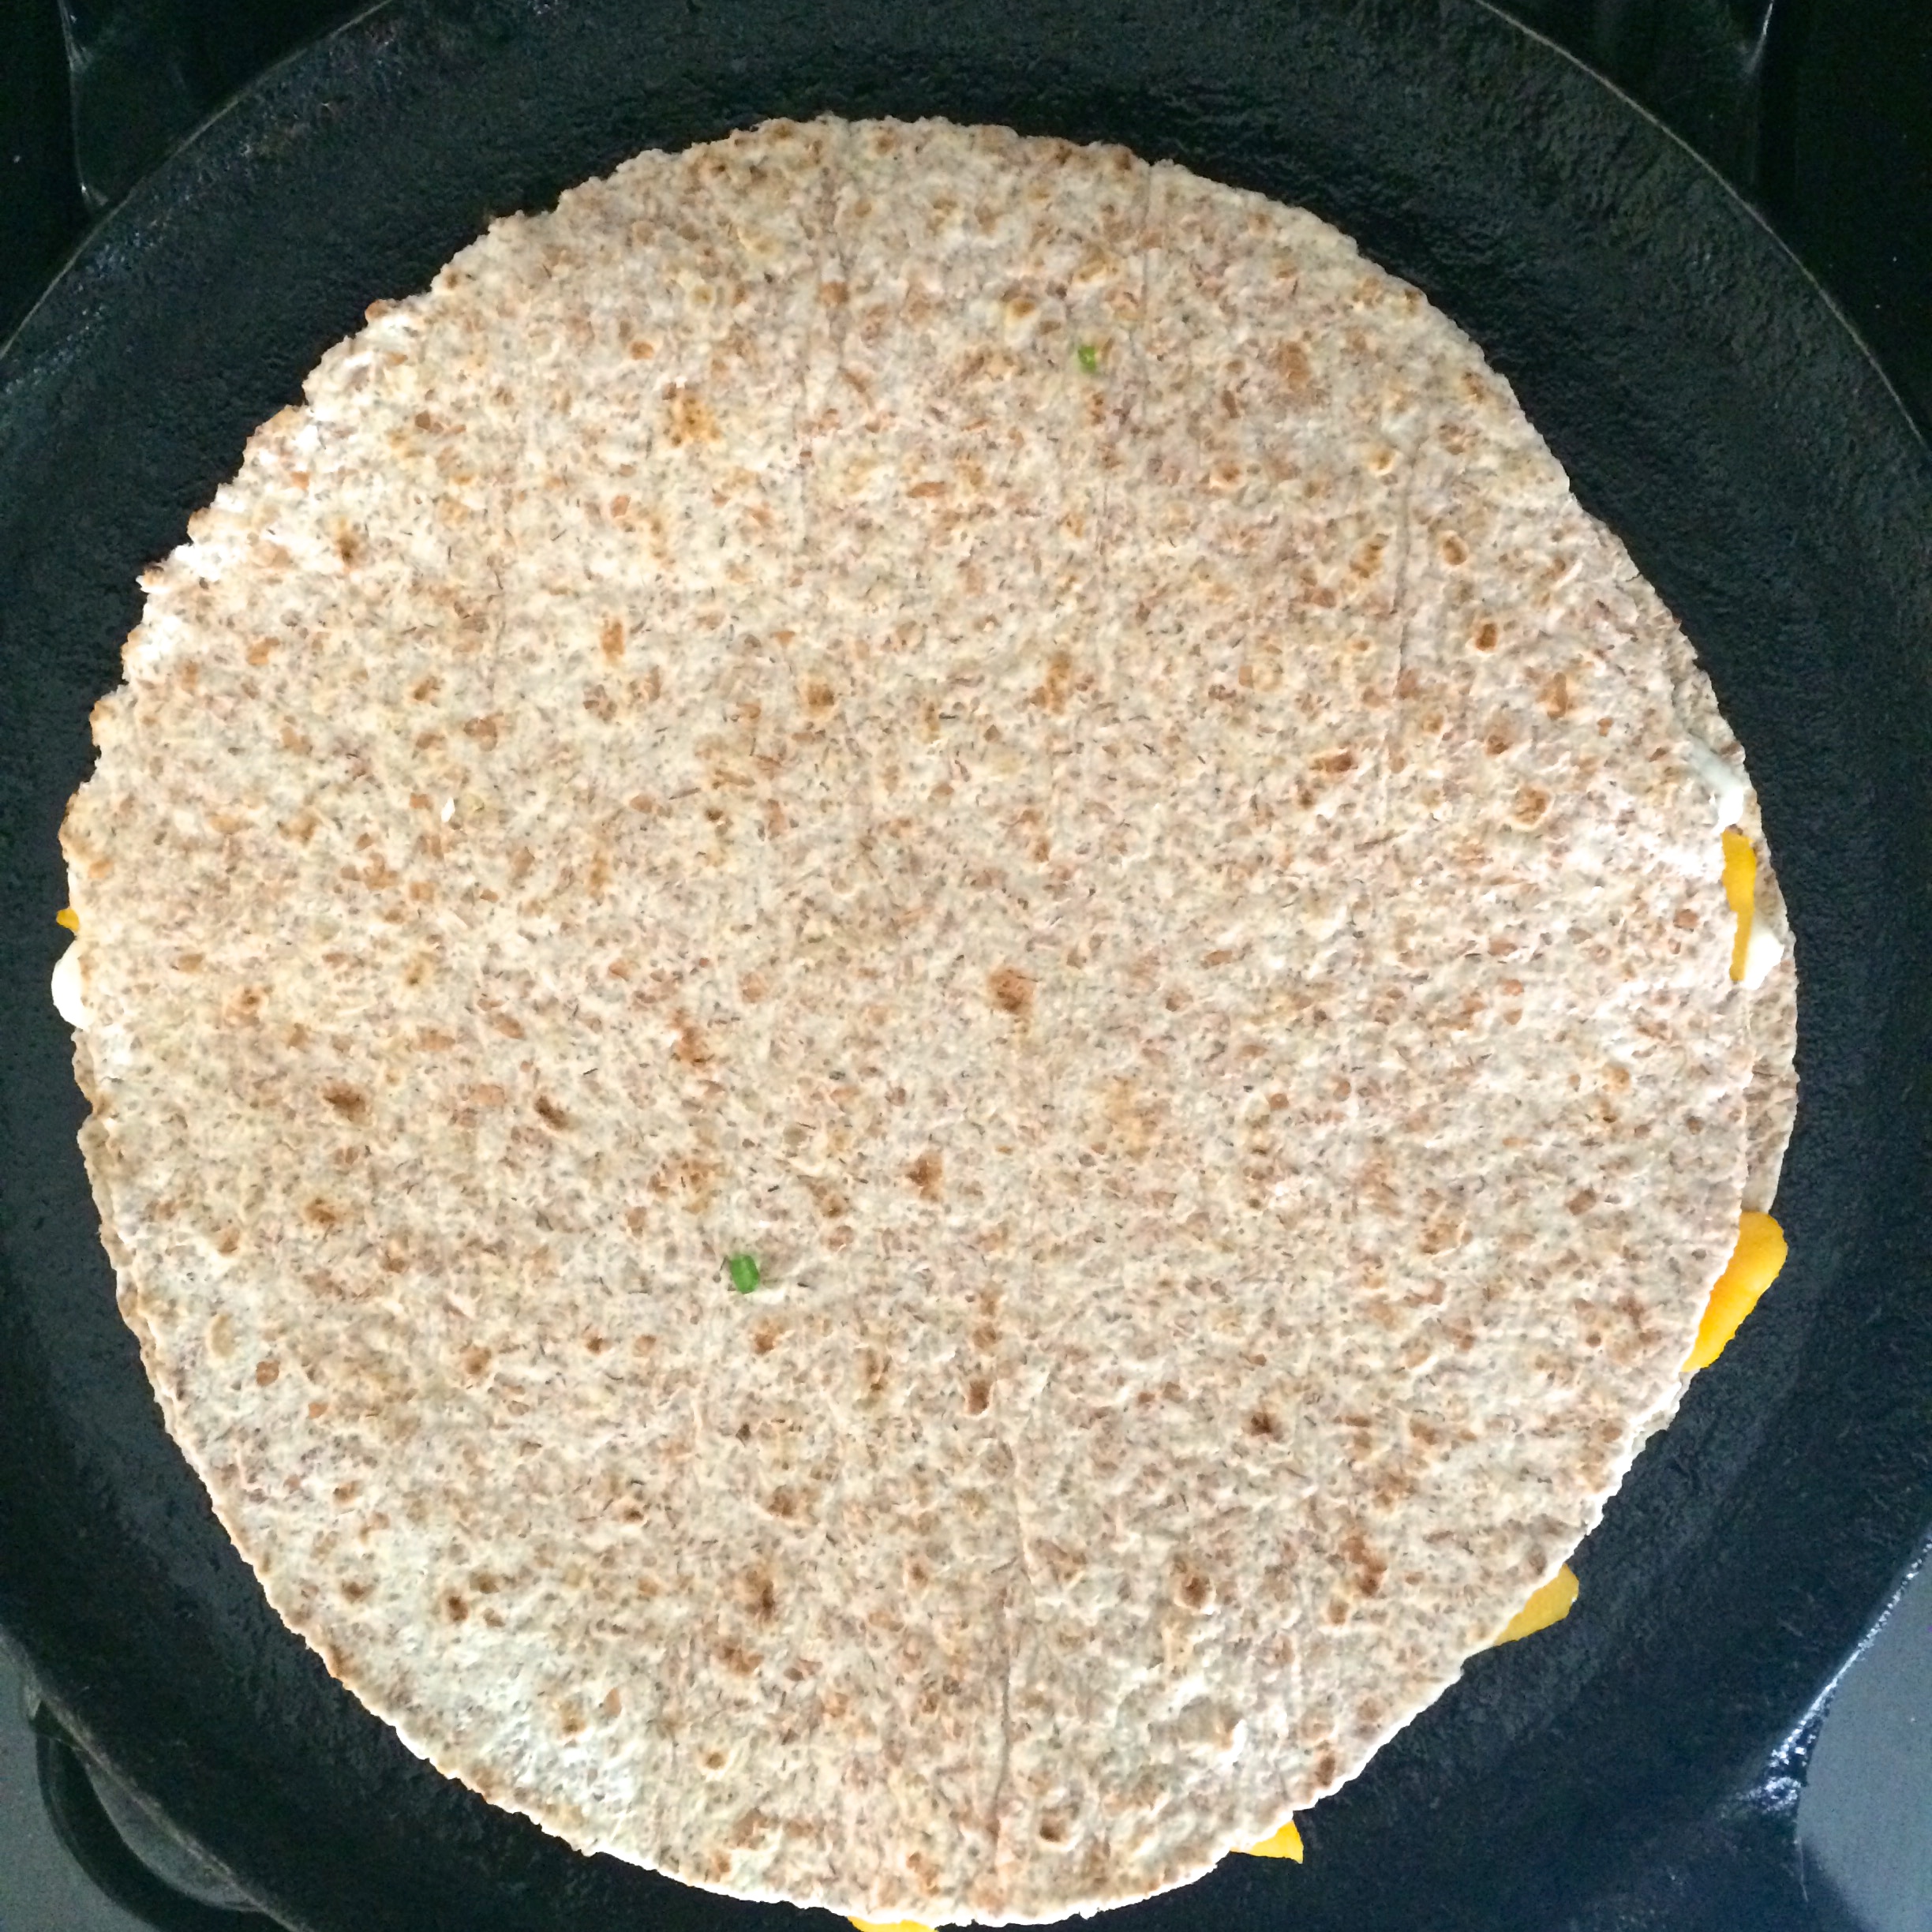
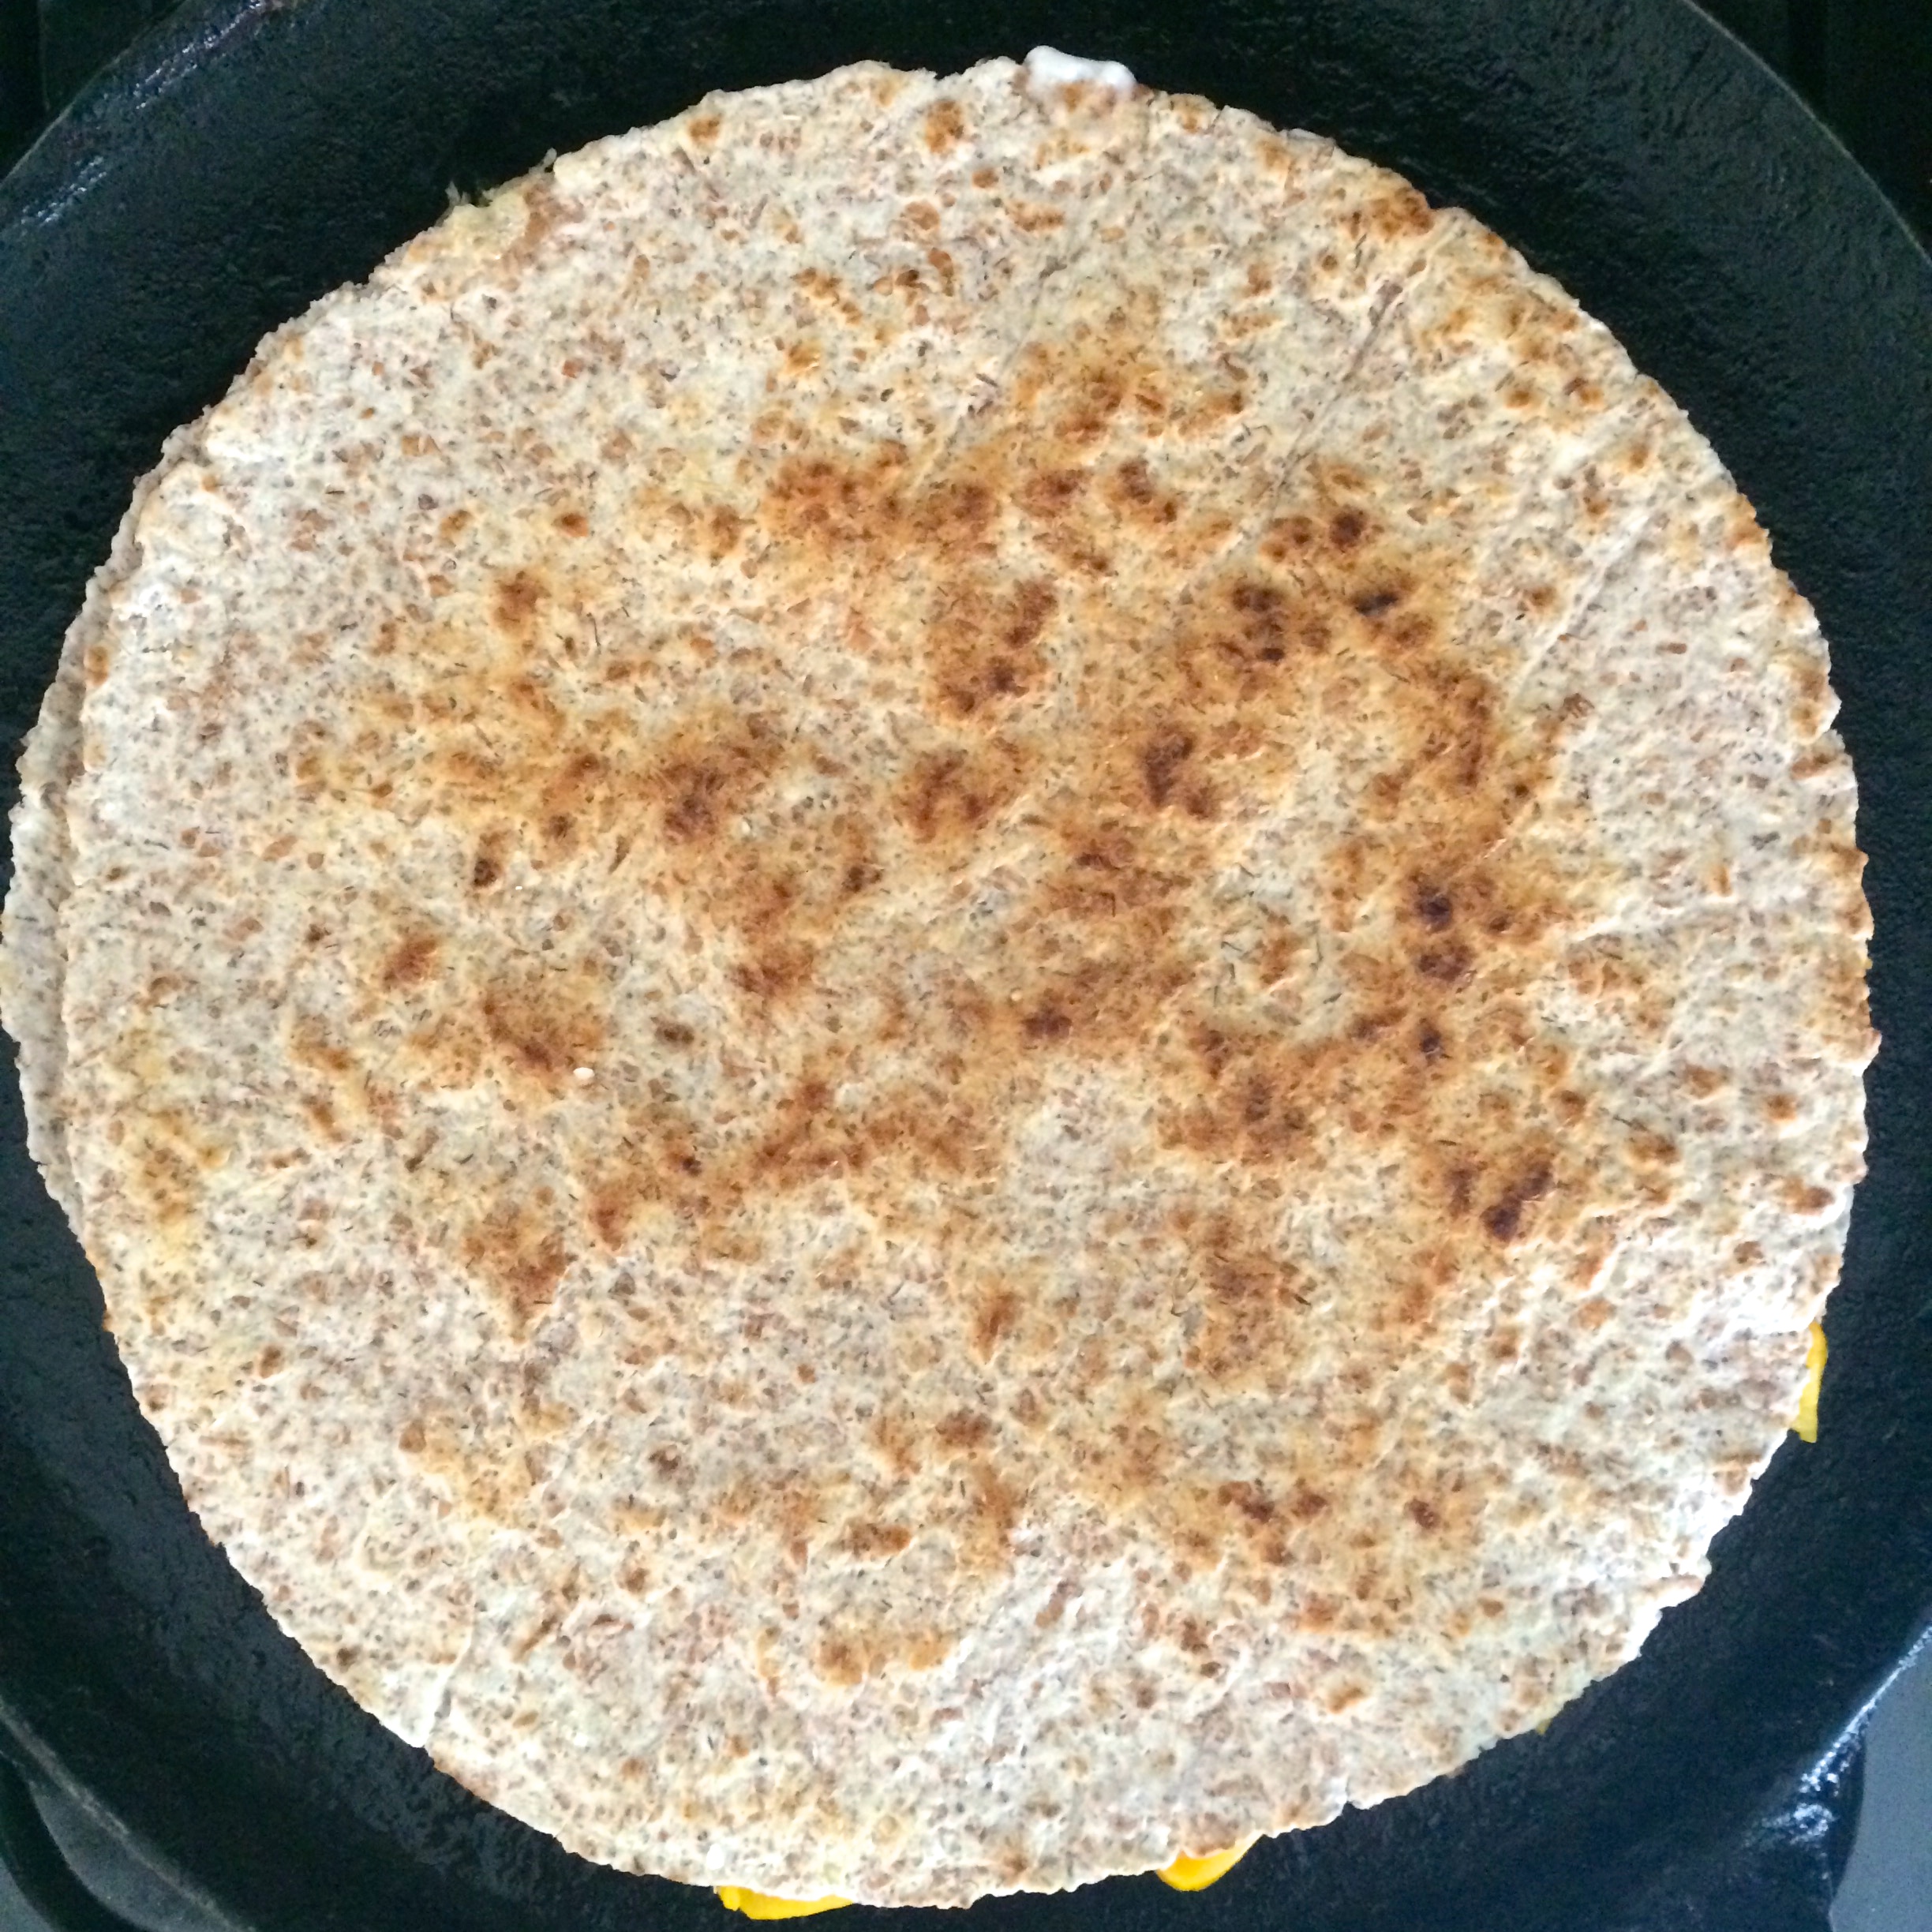
Remove hot pan from oven, and pour 1/2 tablespoon olive oil into pan, swirling to coat. Pour 1/2 of batter into pan, trying to create an even, smooth surface, and then return pan to oven and allow to cook for 12-15 minutes or until slightly golden on the edges. Remove socca from the pan, and repeat with another 1/2 tablespoon of olive oil and remaining batter. Enjoy! Makes 2 12-inch socca rounds.    


DSC_0306.jpg
DSC_0311.jpg
DSC_0341.JPG
DSC_0345.jpg
DSC_0347.JPG
DSC_0353.JPG
In Mains, Appetizers Tags vegan, vegetarian, chickpea flour, kale, gluten-free, recipe
Comment

Kohlrabi and Lentil Lettuce Cups with Olive Vinaigrette

July 23, 2015 Emily Watson

We are finally getting a break from the heat here in Philadelphia, but for a few days, it seemed like nothing I did could cool me down. I even resorted to looking up alternative solutions to staying cool at night with no clear winner. The worst suggestion: dampen a towel, freeze it, and then lay it on the bed prior to sleeping. Who thinks these things up? I can just use my imagination to know that that is a horrible idea. Not only would I probably still be hot in the middle of the night, I would now have a soaked mattress.

Basically, turning on the oven was not an option. These lettuce wraps were the perfect nearly no-cook solution to this heat wave. Crunchy, salty, punchy, and fresh, the filling in these little cups can be made ahead of time and scooped in your choice of green whenever you are ready. Or forgo the lettuce leaf and eat the filling all by itself.

Kohlrabi is one of those vegetables that I would see at the farmers' markets but could never could commit to buying. I never knew what to do with it. It was not until my mother decided to grow some in her garden one year where we had no choice but to figure out how to use it. Once you start cooking with it, you will see that it has a lot of potential. It comes from the cabbage family and is mild in flavor, but it has a wonderful crunchy, almost starchy texture. In these wraps, it fills in for the rice or grain that I would typically go for and has a wonderful clean flavor.

The filling is punchy. Fresh parsley, Dijon mustard, kalamata olives, and red wine vinegar really give a lot of flavor. Roasted red peppers, beluga lentils, extra-virgin olive oil and toasted walnuts help round everything out. It is vegan as is, but I am sure this would be delicious with some crumbled feta, goat cheese, or fresh mozzarella sliced on top.

Kohlrabi and Lentil Lettuce Cups with Olive Vinaigrette

2 tablespoons red wine vinegar
1 1/2 teaspoons Dijon mustard
3 tablespoons extra-virgin olive oil
11/4 cup chopped, pitted kalamata olives
1/4 cup Italian parsley, chopped
1/4 cup chopped roasted red pepper (about 1/2 pepper)
1/4 cup minced red onion
1 kohlrabi (1/2 pound), peeled and diced into 1/2-cm cubes
1 cup cooked beluga lentils*
1/2 cup + 2 tablespoons, chopped, toasted walnuts
1 head of red leaf or romaine lettuce, leaves separated, washed, and dried
salt and pepper to taste

Make the dressing. Combine the red wine vinegar, mustard, olive oil, and olives in a small bowl and whisk to combine. Set aside.

In a larger bowl, combine the parsley, chopped red pepper, minced red onions, diced kohlrabi, cooked lentils, and chopped walnuts in a bowl and stir to combine. Pour dressing over mix and stir until everything is well coated.

Fill lettuce leaves with vegetable mixture. Enjoy! Serves 4.

DSC_0177.jpg
DSC_0179.JPG
DSC_0182.JPG
DSC_0201.JPG
In Mains, Salads Tags kohlrabi, salad, vegetarian, vegan, lentils, summer, recipe
Comment

Cherry and Herb Bulgur Salad with Golden Halloumi

July 10, 2015 Emily Watson
DSC_0118.jpg

I'm baaaaaaacck! Life got in between the computer and me, but I could not be more grateful for the opportunity to step away and experience it all. My college boyfriend and I got engaged (!!!!!!!), we celebrated, we ventured to the New Jersey shore with friends, my older sister and cutest niece moved to Iowa, and my family traveled to the North Woods of Wisconsin for the 4th of July. As much as I crave routine and predictability and general "me time," these last several weeks threw all of that to the wind. My normal cooking routine went with it, as did those trips to the weekend farmers' markets that I look most forward to. I caught myself several times wishing that I could just escape, get away from all the movement. But then I would remember that it is a wonderful, unique opportunity to be surrounded by so many loving people, that life will once again pull us away into all of our own little spheres and I will be craving movement, excitement, and spontaneity as much as I have been craving calm, quiet, and routine. I have often recalled the words of one of my favorite yoga instructors. She reminds us that it is easy to foster inner calm and peace when you are able to control every element, when you physically remove yourself from the external chaos. The challenge lies in finding that internal peace amidst chaos, amidst change, amidst an environment you cannot control. Here's to summer, here's to embracing that chaos but finding even a snippet of inner calm, and here's to finally getting back into the kitchen.

Since I have been away for a while, I thought I would come back with a BING...I mean, a BANG! Well, a bing and a bang! Dark Bing cherries that is. And a bang because this dish is a total winner. Cherries have a fairly short season, so you have to get them while you can. As a kid, I used to have cherry pit spitting contests with my siblings, and as an adult, I resort to experimenting with cherries in the kitchen since launching cherry pits as far as you can is not nearly as fun when you are alone. This delightful dish mixes sweet, juicy cherries, with salty, chewy Halloumi. Halloumi, which traditionally comes from Cyprus, is one of those special squeaky cheeses, like the Indian paneer, that holds its shape when heated and does not melt. It is intensely salty, but the fruity vinaigrette, nutty bulgur, and bright herbs really help balance everything out.

This recipe is incredibly versatile. If you cannot find halloumi, you can substitute paneer or add some marinated tofu that has been crisped in the skillet. You can also just sprinkle it with a generous amount of salty (uncooked feta). If bulgur is not in your pantry, use another cooked grain you like such as quinoa or brown rice- aim for about 2 1/2 cups cooked grain total for the dish. Parsley can substitute for the cilantro and toasted hazelnuts or almonds for the toasted walnuts. Another idea? Toss in some cooked chickpeas.

Cherries are the real star here. Pureed into the vinaigrette and some left in bigger pieces, you can appreciate their mild sweet-tartness fully. Look for dark sweet cherries at your market or grocery store. I try to get organic as they are a fruit in which we eat the skin. Give them a good wash, and snack on a few while you are cooking. I really hope you enjoy this dish as much as we have.

Cherry and Herb Bulgur Salad with Golden Halloumi

Salad:
1 cup uncooked bulgur wheat
1 1/4 cups water
3/4 cup dark cherries, pitted and halved
1/2 cup fresh basil leaves, washed, dried, and roughly chopped
1/2 cup fresh cilantro leaves, washed, dried and roughly chopped
1/2 cup walnuts, toasted* and chopped
1 8-ounce package halloumi cheese, sliced into 8 slices
1 tablespoon extra-virgin olive oil
salt and pepper to taste

Cherry Vinaigrette:
1/4 cup dark cherries, pitted and halved
2 tablespoons white wine vinegar
4 tablespoons extra-virgin olive oil
1/4 teaspoon salt
freshly ground black pepper, to taste
1 teaspoon honey

DSC_0063.jpg

Cook the bulgur. Bring 1 and 1/4 cups water to boil over high heat. Add 1 cup of bulgur, cover with a lid, and reduce heat to very low. Cook for 10 minutes. Remove from heat and allow to rest for 10 minutes before removing the lid. Drain any excess liquid.

Meanwhile, make the vinaigrette. In a blender or food processor, add the vinaigrette ingredients and process until smooth. It will be a beautiful pink color. Set aside.

DSC_0077.jpg
DSC_0078.JPG

Cook the halloumi. Heat 1 tablespoon olive oil over medium heat in a nonstick or cast iron skillet. Add the halloumi slices in a single layer and cook 3-4 minutes per side or until golden. Remove from heat.

Assemble the salad. Toss the bulgur with the vinaigrette, reserving a tablespoon or so for drizzling atop the halloumi. Add the chopped cherries, herbs, and toasted walnuts. Mix to combine. Season to taste with salt and pepper, remembering that the halloumi will pack a salty punch. Layer the halloumi on top, and drizzle with the remaining vinaigrette. Enjoy! Serves 4.

* To toast the walnuts, roast at 400 degrees Fahrenheit for 8-10 minutes or until golden or toast on the stove-top for 8-10 minutes in a skillet over medium heat

DSC_0081.JPG
DSC_0083.JPG
DSC_0090.jpg
DSC_0117.JPG
In Mains, Salads Tags recipe, cherries, bulgur, halloumi, cillantro, vegetarian
4 Comments

Balsamic Roasted Strawberry and Mozzarella Pizza

June 15, 2015 Emily Watson

It may seem like a waste to take juicy, perfectly ripe sweet strawberries and roast them, but I promise you, the result is worth it. In fact, you can even use those less-than-perfect strawberries and roasting them will turn them into something sweet and special. Syrupy balsamic vinegar and strawberries is a classic combination. When the strawberries are roasted, their sweetness is even more enhanced and the vinegar brightens it all up.

These roasted strawberries could really be put to use on anything- served atop crostini with ricotta or brie or goat's milk cheese, swirled into yogurt, or mixed with whipped cream or coconut whipped cream. These strawberries spooned over a scoop of vanilla ice cream even sounds dreamy right now. This recipe was loosely inspired by Heidi Swanson's Roasted Strawberry recipe in her book, Super Natural Every Day. Heidi uses a hefty dose of maple syrup and some port wine to flavor her strawberries, but I enjoy the combination of honey and strawberries here.

I took the savory route and tossed them atop a simple white pizza with fresh mozzarella, fresh basil, and toasted pine nuts. Think of these strawberries replacing the tomatoes on a margarita pizza. The burst of sweetness you get with them combined with the salty cheese is addicting. I use a favorite crust of mine that I make at home, but your favorite pizza dough should work. I combine whole wheat flour, semolina flour, and cornmeal with water, yeast, honey, olive oil and salt in the food processor, blitz until a dough ball forms and allow the dough to rise before dividing it into smaller pieces. I am hoping to share that recipe on the blog soon, but in the meanwhile, just use your favorite pizza crust.

Balsamic Roasted Strawberry and Mozzarella Pizza

Balsamic Roasted Strawberries
8 ounces strawberries, washed and hulled and halved (quartered if large strawberries)
2 teaspoons olive oil
1 teaspoon honey, preferably local
1/4 teaspoon salt
1/2 teaspoon good quality balsamic vinegar

Pizza
8 ounces (1/2 pound) of your favorite pizza dough
1 tablespoon extra-virgin olive oil
3 tablespoons grated Parmigiano Reggiano
4 ounces fresh mozzarella, torn roughly into pieces
2 tablespoons pine nuts, toasted
1/4 cup roughly torn fresh basil leaves
salt and black pepper, to taste

Prepare roasted strawberries. Preheat oven to 350 degrees. Line a baking sheet with parchment paper. Toss the strawberries with the olive oil, honey, and salt. Arrange in a single layer and bake for 40 minutes or until soft and the liquid is bubbling around them. Remove from the oven, drizzle with balsamic vinegar and toss to combine. Set aside.

IMG_7176.jpg
IMG_7183.jpg
IMG_7178.jpg
IMG_7187.jpg

Prepare the pizza. Preheat the oven to 450 degrees Fahrenheit. If using a pizza stone, place it in the oven on the bottom rack as the oven heats. Line a rimless baking sheet with parchment paper. Sprinkle with cornmeal or flour and place dough in the center. Roll the dough out to about 1 centimeter thick, adding more cornmeal or flour to prevent the dough from sticking.

Drizzle the crust with 1 tablespoon olive oil. Sprinkle with 3 tablespoons Parmigiano-reggiano. Scatter fresh mozzarella over top, and sprinkle with roasted strawberries, drizzling pizza with any remaining syrup that has collected in the pan of strawberries. Place the pizza in the oven and bake for 12-15 minutes or until crust is crispy and cheese is bubbly and just beginning to turn golden in spots. Remove from oven, sprinkle with pine nuts, basil, and salt and pepper to taste. Enjoy! Makes 1 pizza or enough to serve 2-4 people.

IMG_7196.jpg
IMG_7197.jpg
IMG_7198.jpg
IMG_7201.JPG
IMG_7240.jpg
IMG_7238.jpg
In Mains Tags strawberries, pizza, pine nuts, basil, vegetarian, recipe
1 Comment

Mango and Goat Cheese Quesadilla

June 8, 2015 Emily Watson

Are you tired of mangoes yet? Good, me neither. I still have a few more mangoes to use up from the giant box we received last week, so we are all in luck.

Mangoes are a pretty awesome fruit, but as much as I love to source as close to home as possible and support local farms, mangoes certainly are not local. This box of mangoes happened to be from Mexico, but sometimes, they are not even from the same continent. Then again, neither are the bananas I eat, the cinnamon sticks I use, the many forms of coconut I consume, and the numerous types of nuts and chocolate that make their way into my diet nearly every day. My goal is to strive to eat the foods grown and produced in this region when I can, but to also appreciate and celebrate the wonderful, more exotic foods from time to time. They bring joy, flavor, spice, and transport us to faraway places.

Eating locally to me means modifying my diet with the seasons, consuming more of the foods that grow in my region during each season. I buy local strawberries, tomatoes, cucumbers, melons, and peaches and in the summer. Come fall, I buy my apples and pears from the farmers' market because we are lucky here in Pennsylvania to have the prefect climate for those crops. You will rarely find me cooking with butternut squash in the summer just as you will rarely find me serving a tomato and mozzarella salad in the winter. I think it is important to be aware of what is grown in the region in which we live and to source from there when we can so as to minimize our impact on the environment and reduce our ecological footprint. And frankly, certain foods taste better when they are in season. They reach their peak potential in color, flavor, and texture, and who would not want to take advantage of that?

All of this said, we received a box of mangoes as a gift and are more than happy to put these mangoes to work in the kitchen. This quesadilla is a bit of a different take on the traditional cheese-laden tortilla you often find in Mexican restaurants. It is light with the goat cheese and herbs, floral and sweet with the mango, and a little spicy with the bits of jalapeño. The first time I thought of putting fruit in a quesadilla was when I came across Sara's Strawberry and Leek Quesadillas on her blog, Sprouted Kitchen. The combination was unexpected but like everything Sara makes, it worked.

I save a few steps here without sauteeing leeks as I simply toss fresh scallions and basil from our porch pots and a bit of raw jalapeño atop slivers of mango. Sharp cheddar helps glue everything together and lends a saltiness and richness that pairs well with the lighter, more tangy goat cheese. This comes together in a snap. I thought of adding avocado slices or maybe a handful of black beans to the quesadilla, but I wanted to keep things simple. If you try it with either of those additions, however, let me know how you like it.

Mango and Goat Cheese Quesadilla


2 whole wheat tortillas
2 teaspoons coconut or olive oil, divided
1/3 cup fresh soft goat cheese
1/3 cup grated extra-sharp cheddar cheese
1/3 to 1/2 mango, peeled and thinly sliced
1/3 to 1/2 jalapeño pepper, seeds removed and diced (use more or less depending on spice level desired)
2 tablespoons thinly sliced fresh basil
2 tablespoons thinly sliced scallions

Prepare all of your ingredients as the process will go fairly quickly once the tortillas are in the pan. Heat a large skillet or flat-top griddle pan over medium heat. Add the teaspoon oil and swirl to coat. Add one tortilla to the pan. Top with goat cheese (either spread if cheese is the spreadable type or crumble evenly over). Arrange slices of mango on top. Sprinkle evenly with jalapeno pieces, basil, and scallions. Sprinkle cheddar cheese evenly over top, add second tortilla and gently press down to begin to seal top to bottom. Smear top with coconut oil or drizzle with teaspoon of olive oil.

Peak at the underside of the bottom tortilla and when golden, use a large spatula to carefully flip the quesadilla over. Press gently and continue to cook until bottom tortilla begins to brown and the cheddar has melted. Remove quesadilla from heat and allow to rest for 5-10 minutes before cutting to allow cheese to set. Cut into slices and serve. Enjoy! Serves 1-2.

IMG_7012.jpg
IMG_7013.jpg
IMG_7014.jpg
IMG_7017.jpg
IMG_7022.jpg
IMG_7024.jpg
IMG_7028.JPG
IMG_7067.JPG
IMG_7057.jpg


In Mains, Sandwiches Tags recipe, mangoes, goat cheese, quick, vegetarian
6 Comments
← Newer Posts Older Posts →
Hi! I'm Emily. I love to cook whole, nourishing foods, and this is where I share my kitchen experiments and sometimes a little bit of life.

Hi! I'm Emily. I love to cook whole, nourishing foods, and this is where I share my kitchen experiments and sometimes a little bit of life.

Featured
  • July 2017
  • May 2017
  • April 2017
  • March 2017
  • February 2017
  • January 2017
  • December 2016
  • November 2016
  • October 2016
  • September 2016
  • August 2016
  • July 2016
  • June 2016
  • May 2016
  • April 2016
  • March 2016
  • February 2016
  • January 2016
  • December 2015
  • November 2015
  • October 2015
  • September 2015
  • August 2015
  • July 2015
  • June 2015
  • May 2015
  • April 2015
  • March 2015
  • February 2015

  • Appetizers 18
  • Breakfast 18
  • Life 4
  • Mains 39
  • Miscellaneous 2
  • Salads 21
  • Sandwiches 6
  • Side Dishes 8
  • Smoothies 4
  • Snacks 10
  • Soups 14
  • Spreads Dips Sauces 5
  • Sweets 6
  • Vegetarian 1

  • almonds
  • appetizers
  • autumn
  • avocado
  • breakfast
  • brown rice
  • chickpeas
  • chocolate
  • cilantro
  • coconut
  • coconut milk
  • fall
  • gluten-free
  • kale
  • lentils
  • make ahead
  • mint
  • oatmeal
  • recipe
  • salad
  • snack
  • soup
  • spring
  • summer
  • sweet potatoes
  • tahini
  • vegan
  • vegetarian
  • walnuts
  • winter

subscribe

Sign up with your email address to receive new posts directly

We respect your privacy.

Thank you!

All photographs, recipes and content are property of Nourishing Matters, unless otherwise noted. Please do not redistribute without my permission. Thank you!

Powered by Squarespace