• Home
    • About Nourishing Matters
    • About Emily
    • Frequently Asked Questions
  • Recipes
    • Offerings
    • Past Programs and Events
    • Experience and Teaching Style
    • Articles and Features
    • Travel
Menu

nourishing matters

Street Address
City, State, Zip
Phone Number
where wholesome meets delicious

Your Custom Text Here

nourishing matters

  • Home
  • About
    • About Nourishing Matters
    • About Emily
    • Frequently Asked Questions
  • Recipes
  • Work with Me
    • Offerings
    • Past Programs and Events
  • Yoga
    • Experience and Teaching Style
  • Press
    • Articles and Features
  • Adventures
    • Travel

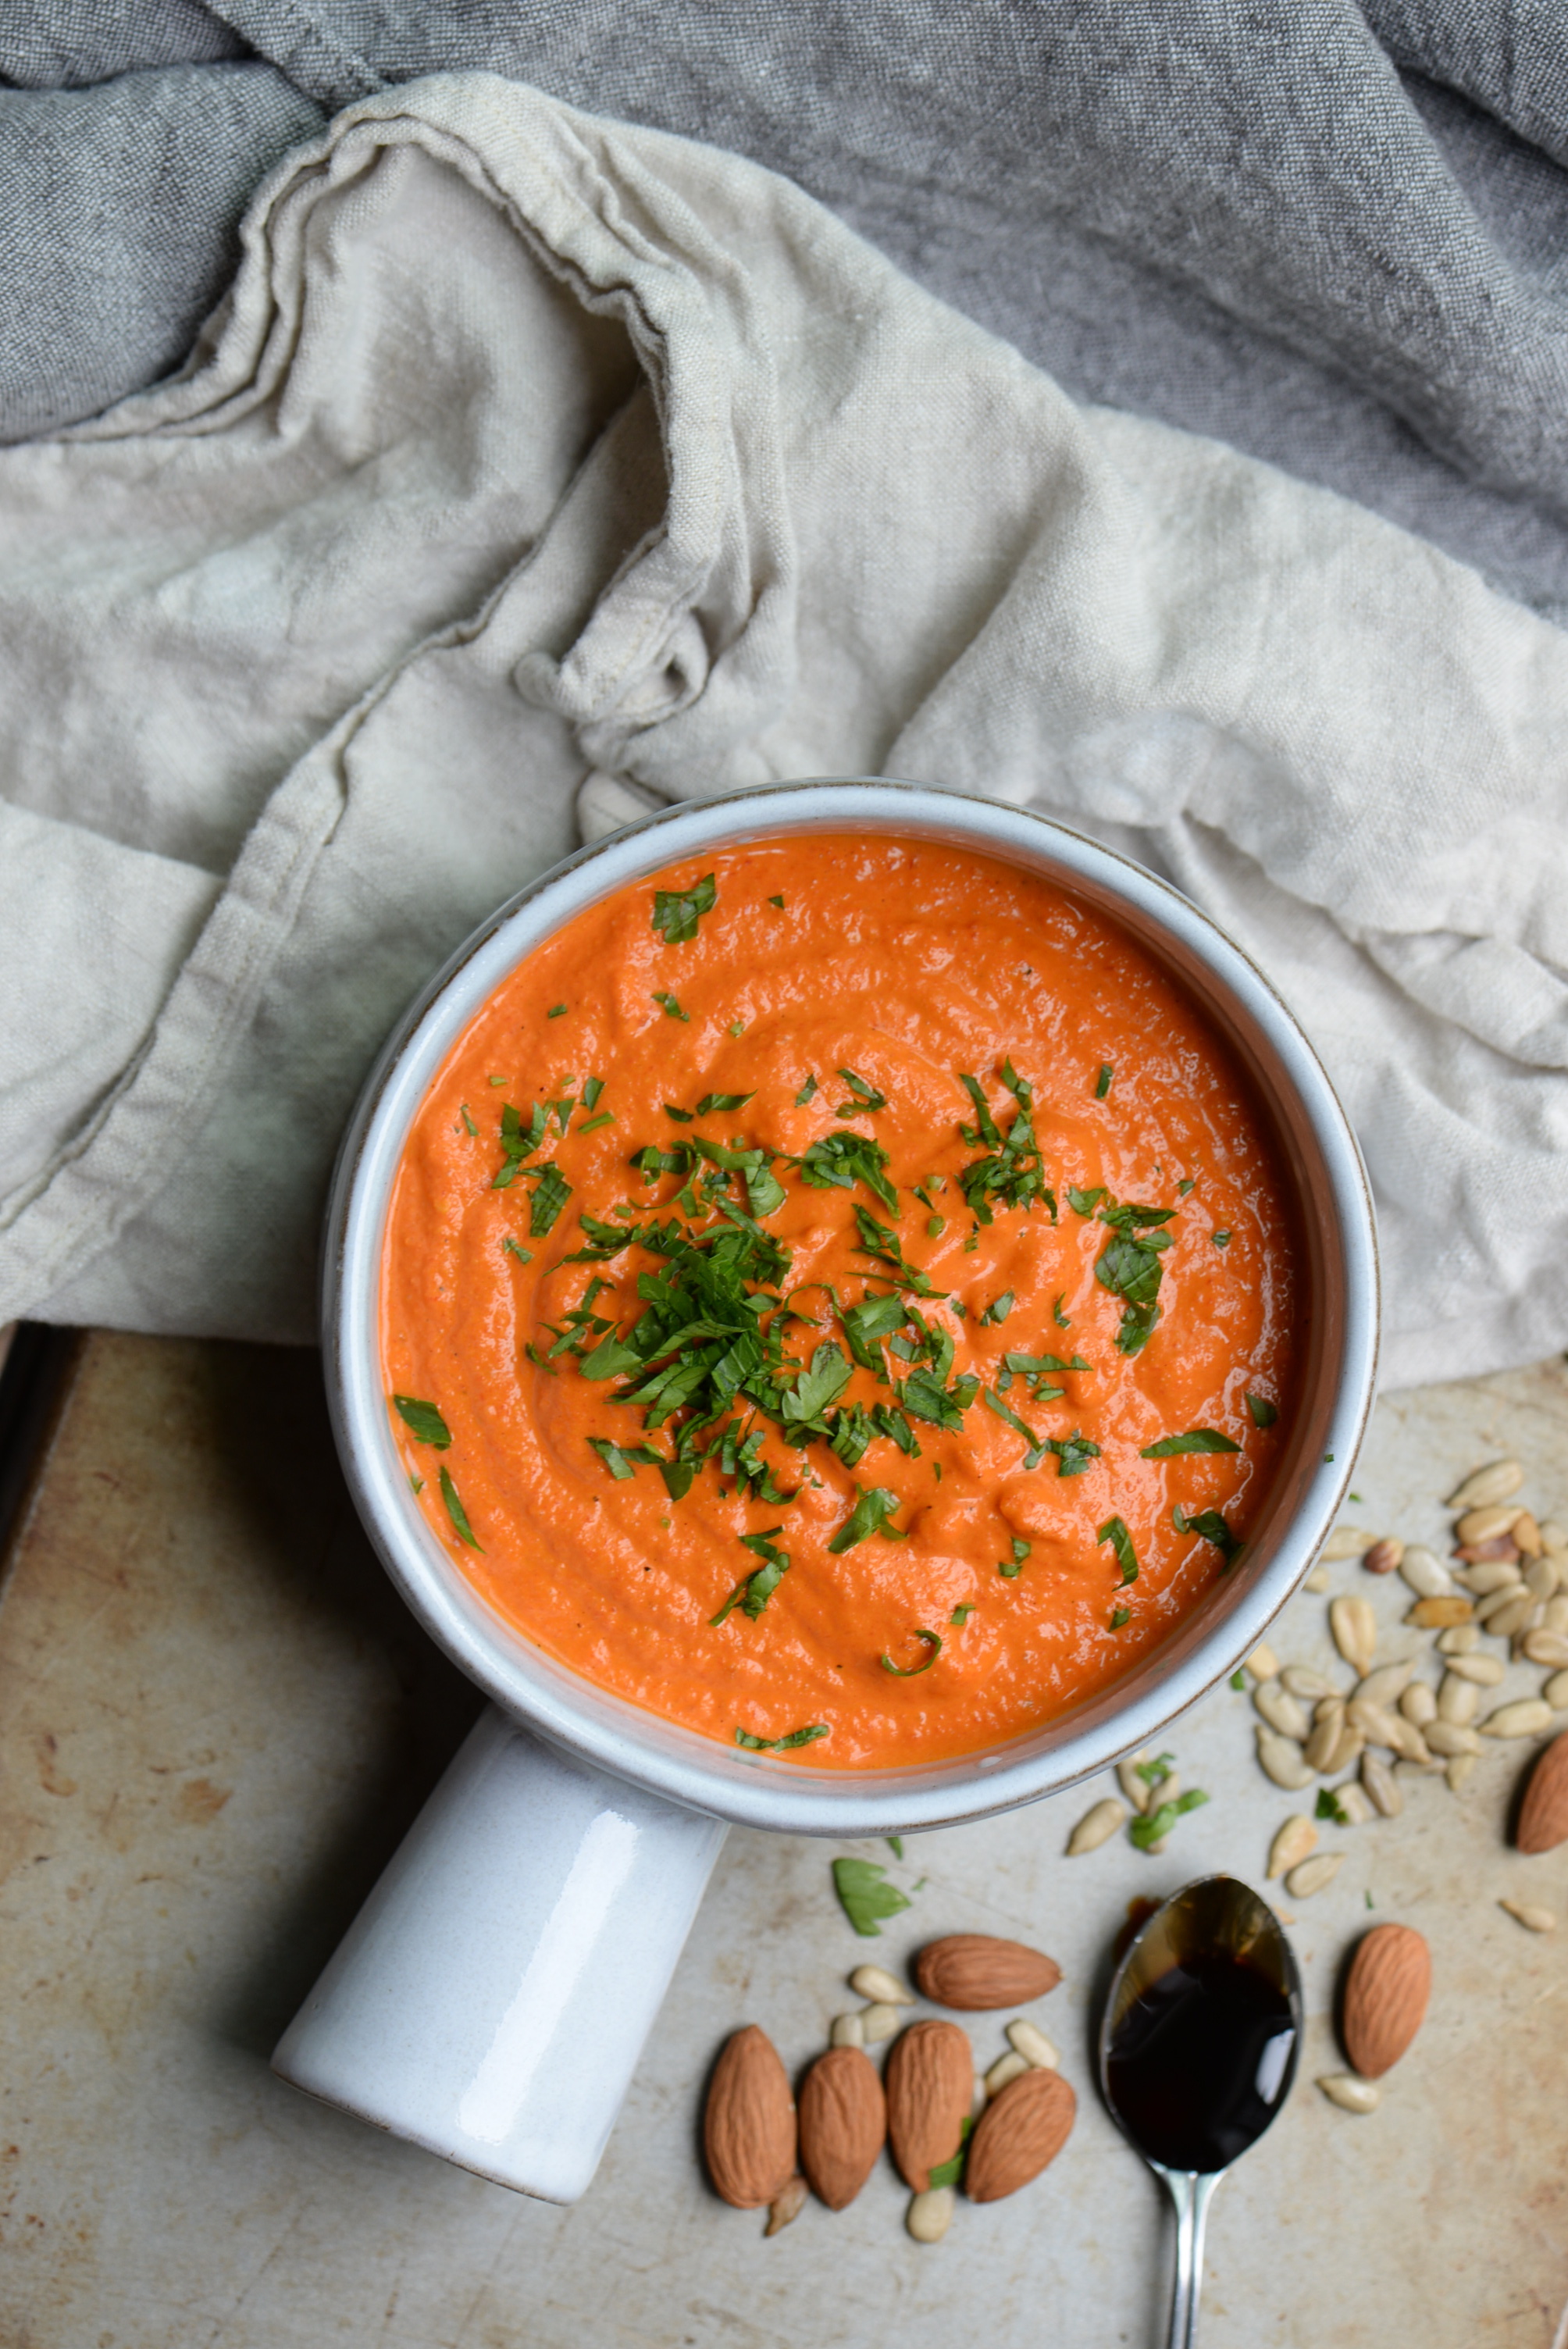
Pomegranate and Roasted Red Pepper Dip

July 31, 2017 Emily Watson

My sister-in-law got married just over a week ago in an intimate ceremony in the Catskills. It was a fun-filled three-day affair complete with a stunning bride, heartfelt vows, and tons of love from their closest family and friends. In return for an epic wedding present she and her fiancĂ© gave us (they made us this beautiful video of my husband and me they presented us on our wedding day), I offered to prepare their welcome wedding feast. Now I'm not totally insane for offering; her wedding would only be 27 people. She requested lots of small bites that people could nibble on as they moved about, chit-chatting and getting to know each other.

The first thing that popped into my mind was a delicious dip bar! I'm a huge fan of mezze because I think there's pretty much something for everyone. Also, dips are low commitment. They can be made ahead of time, only get better with time as the flavors meld, and almost always involve throwing things in a food processor and pressing 'ON.' 

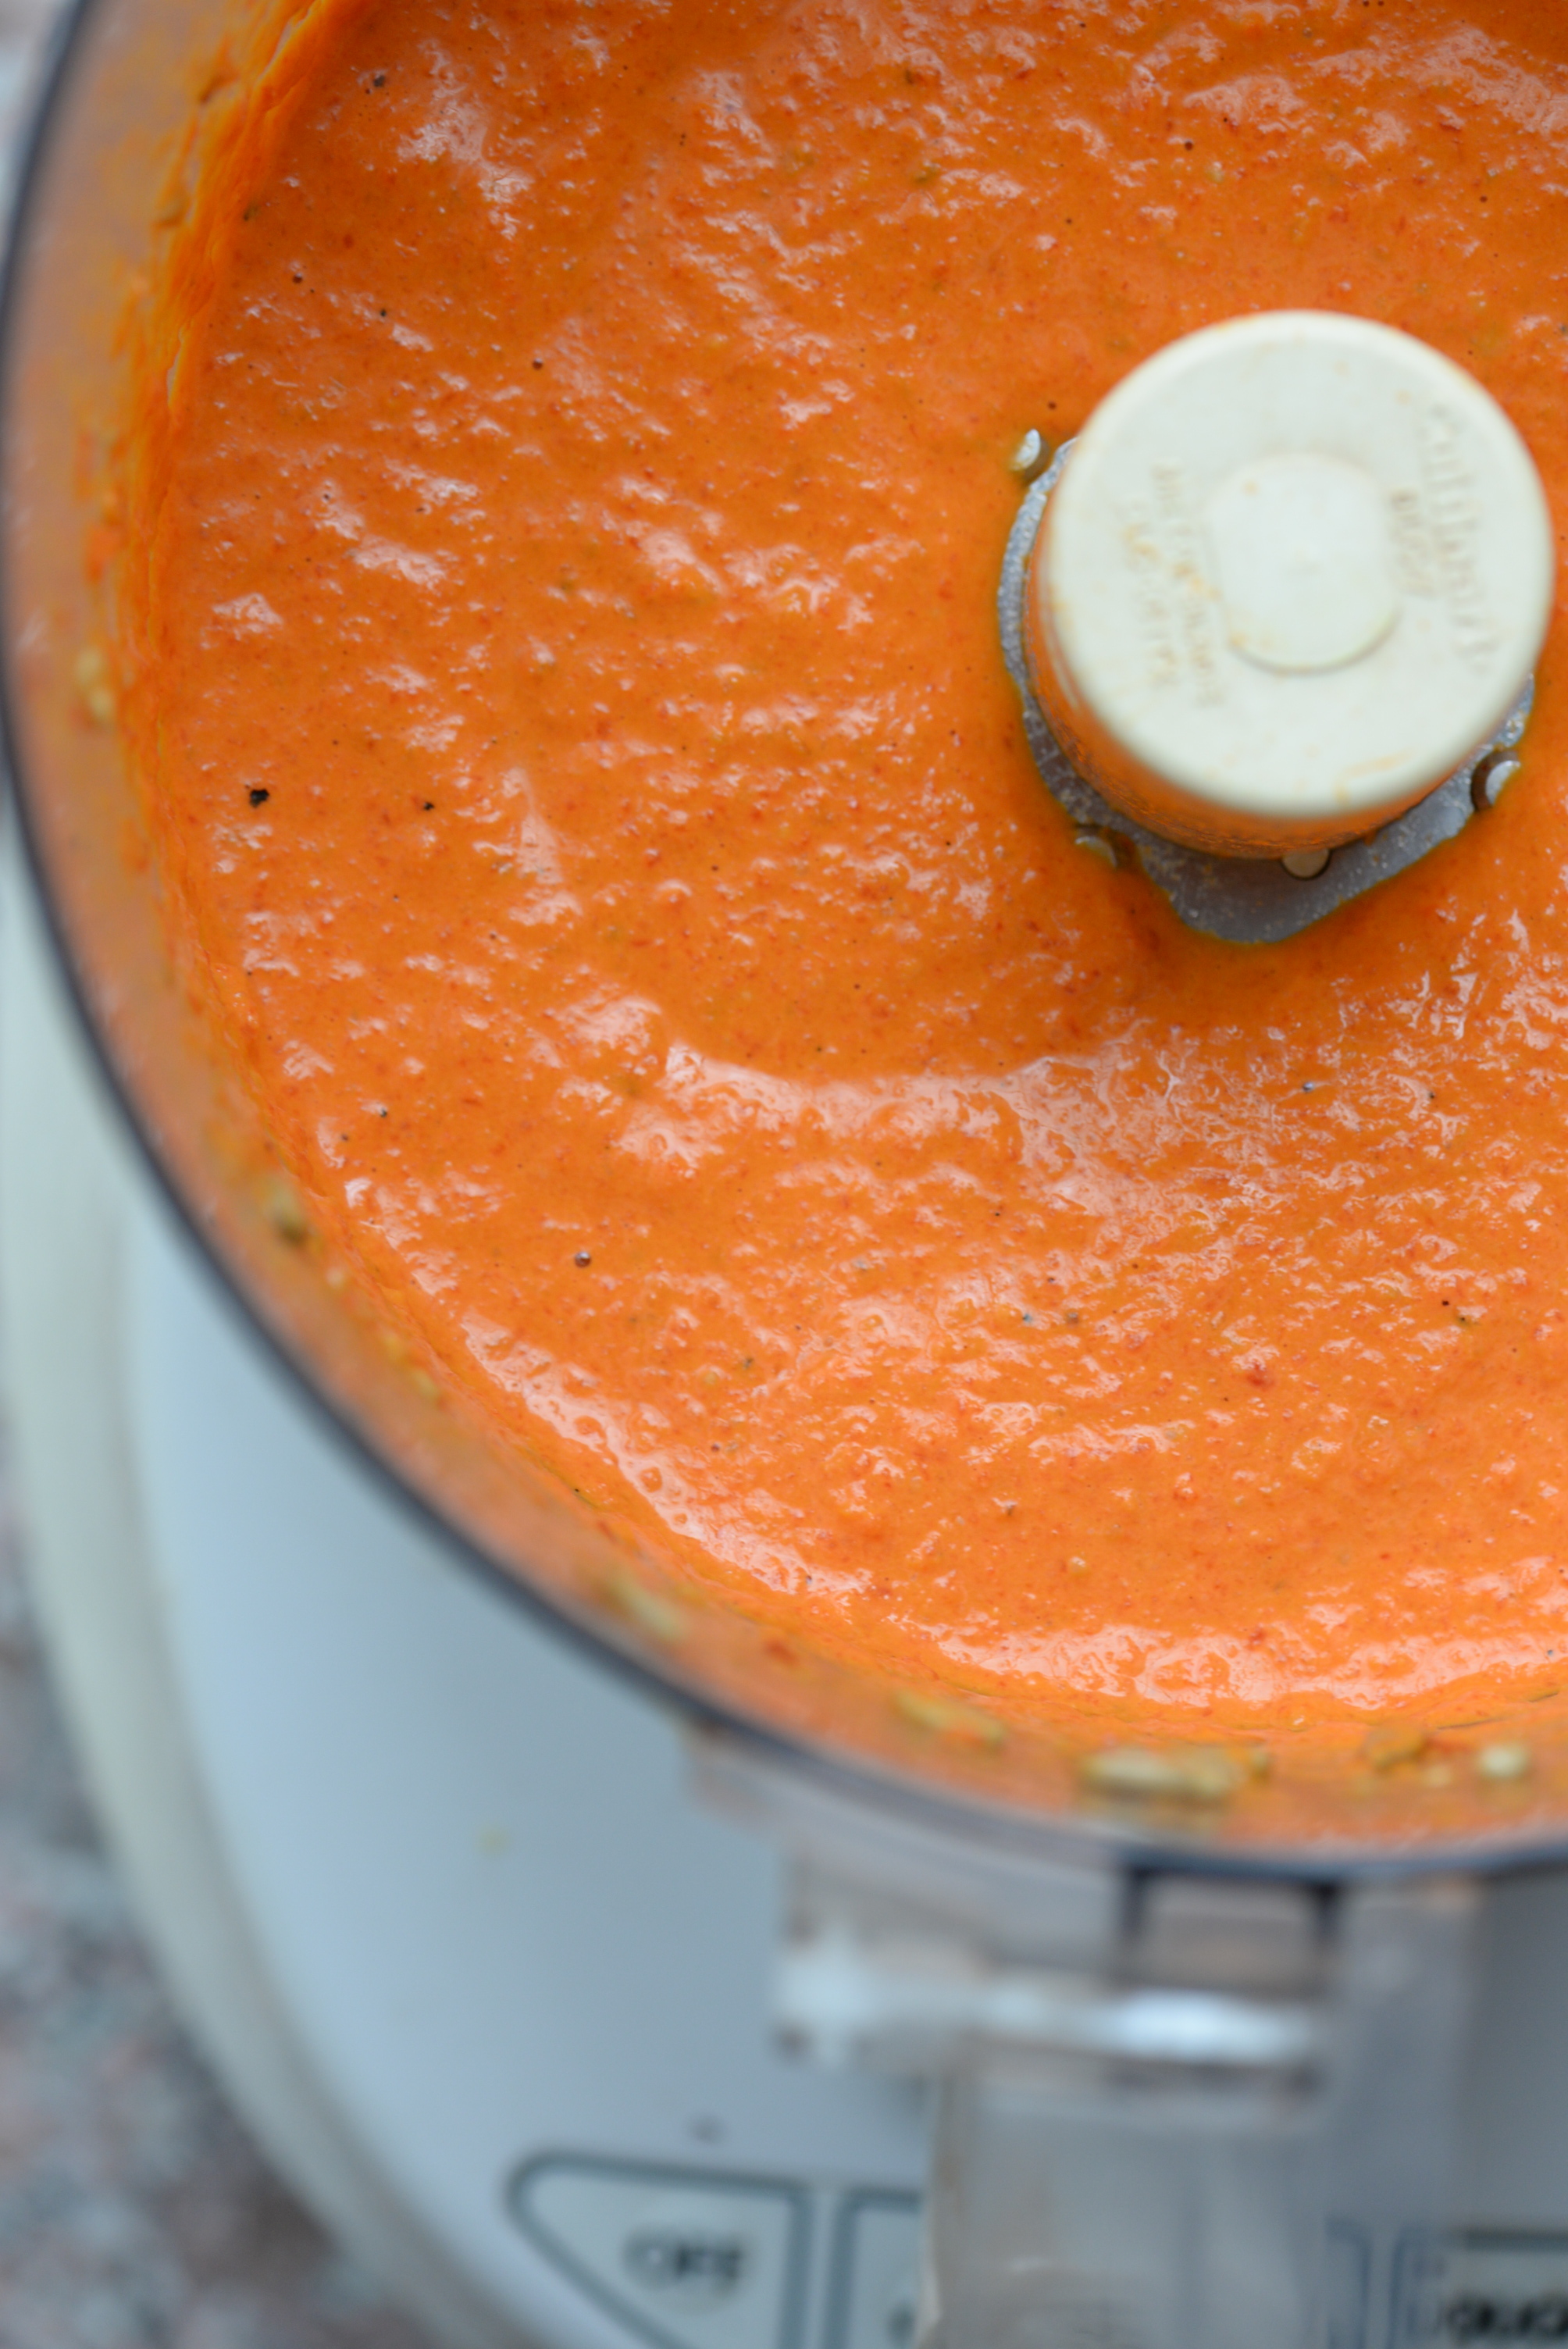
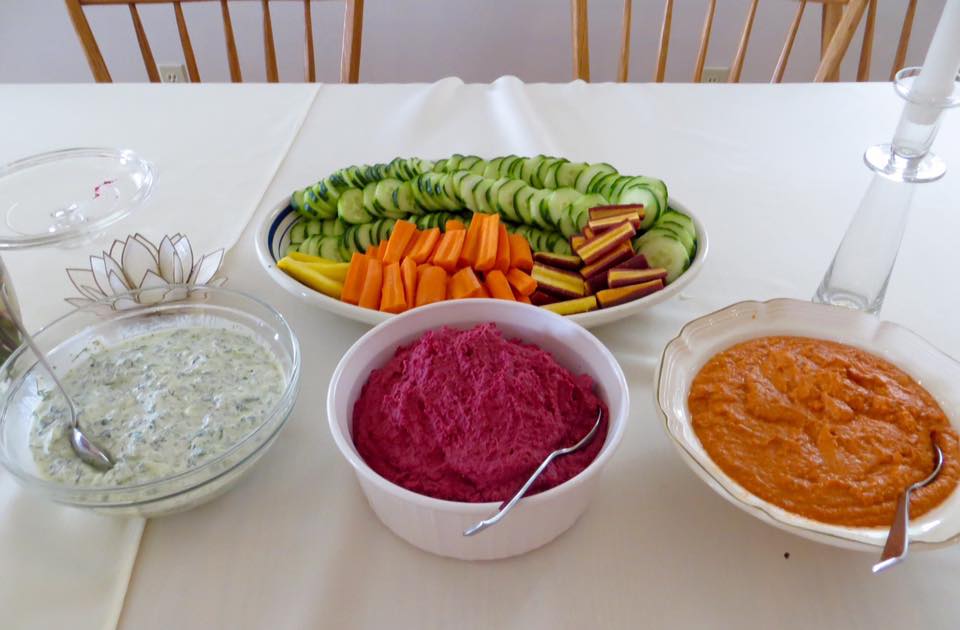
On the menu was a smoky beet hummus because it's just too pretty not to have on a tablescape, a bright and herby tzatziki of which I'm going to have to share with you someday because it was eat-with-a-spoon tasty, and this tart and earthy red pepper dip that I could slather on just about everything.

It's the offspring of two dips that come from different cultures with equally rich food histories. From Spain, you have romesco, a smoky red pepper dip that uses hazelnuts and/ or buttery Marcona almonds, smoked paprika, and often thickened with stale bread. The other dip, muhammara, hails from Syria and Turkey and is a red pepper and walnut dip slightly sweetened by the tart and tangy pomegranate molasses. If you haven't heard of or tasted pomegranate molasses, you're in for a real treat. It adds tremendous depth of flavor and nuance to anything it graces. It's that secret ingredient that people won't be able to quite put their finger on. I bought mine from Whole Foods, but you can get it online. There are even recipes out there to make your own with pomegranate juice and sugar, but a bottle of it will serve you well.

It's summer, and red peppers are quite abundant which means you can go about roasting your own in the oven and peeling them for a real seasonal treat. Or, if you're like me and have 8 other dishes to make for a wedding feast, you buy good quality roasted red peppers from a jar, drain them and proceed with the recipe. Having made this dip with home-roasted peppers, it does take on a rounder, more full-bodied taste, but it's only slightly perceptible. And probably only psychological if I'm being honest. 

Use this as dip, a sandwich spread, a bruschetta topper, a sauce for whatever protein you're having for dinner...it's so versatile. It also tastes just as great a few days after making which means it's the perfect treat for entertaining. 

DSC_6189.JPG
DSC_6197.JPG

Pomegranate Roasted Red Pepper Dip

1 10-12-ounce jar roasted red peppers, drained
1/2 cup marcona almonds
1/4 cup toasted and peeled hazelnuts for fancy version or toasted sunflower seeds for everyday version
1 tablespoons pomegranate molasses
3/4 teaspoon smoked paprika
2 garlic cloves, minced
Sea salt, to taste
5 tablespoons extra-virgin olive oil
1 1/2 tablespoons finely chopped parsley, for sprinkling
Toasted bread, pita, or vegetables for serving

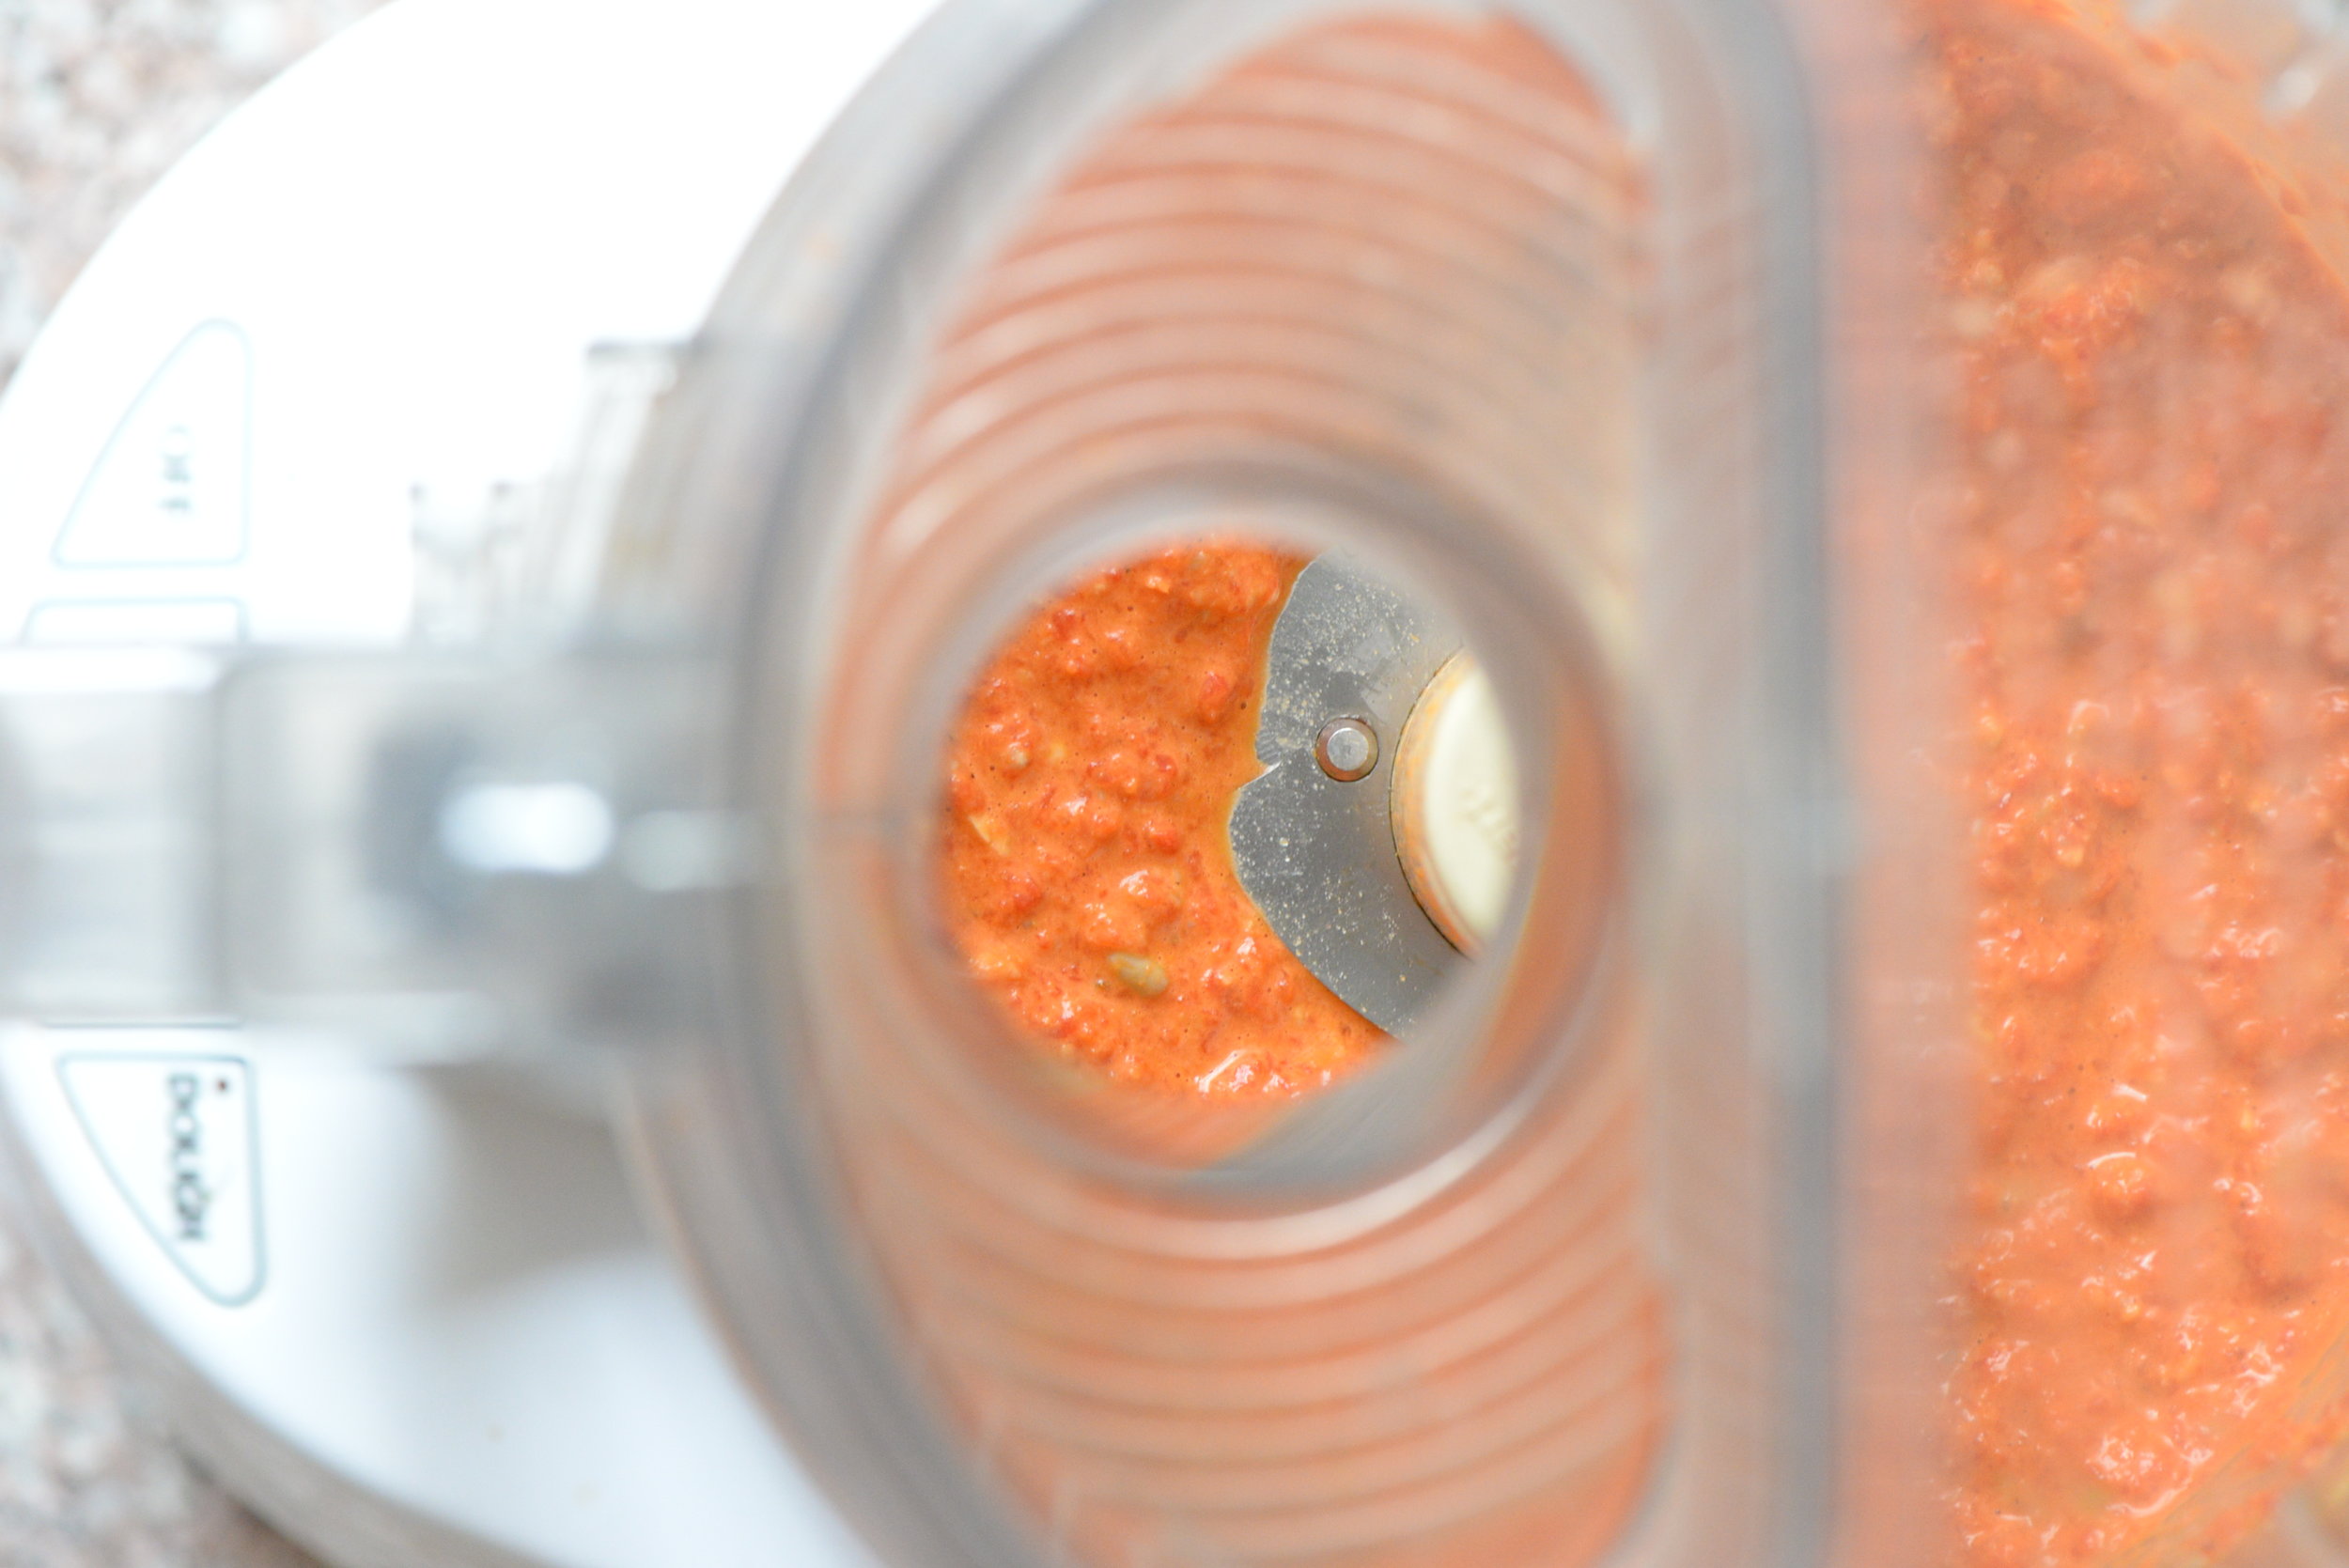
In a food processor or blender, combine all ingredients except parsley. Blend until smooth, scraping down sides as necessary. Season to taste with salt and pepper. Spoon into a bowl, sprinkle with parsley, and serve. Dip can be made ahead of time and refrigerated until serving.
DSC_6215.JPG

I leave you with a pic of all three dips at the wedding welcome dinner. Thanks to my mother-in-law for capturing the photo while I ran around like a crazy woman.

20292707_10211712055290450_1873346655898618142_n.jpg
In Appetizers Tags summer, red pepper, dip, appetizers, recipe, gluten-free, almonds, hazelnut, pomegranate
39 Comments

30 + Chocolate and Hazelnut Tin Can Cake

December 5, 2015 Emily Watson

Just a few months ago, I was cleaning out my closet with my sister, and I pulled out this cute little black dress. It was made of a soft and stretchy material and had a flowy little skirt. Minus the little skirt, it was a pretty conservative number with short sleeves and a crew neck that covered even my collar bones, so I was a bit surprised by my sister's reaction when I held it up to her. I expected her to ooh and ahh at how cute the dress was, ask me where I got it, and do that whole girly thing, but instead what I got was, "You're too old for that." I stuffed the dress back into the closet, lost total interest in going through the rest of my clothes, and wondered what else was I too old for. 

I sulked about my twenty-nine years for about two weeks after that, thought about how I should have been more established in my career by now, about how I should have been more adventurous in my twenties, about how I should have worn that little black dress more times than I did when I was still "young," still allowed. I went on this downward spiral of feeling sorry for myself, about those lost opportunities, about the shoulda-woulda-couldas. I know, I was being a bit dramatic, but my sister's comment stung. I know she did not mean it to be so harsh, but I took it way more personally, probably because I was a bit sensitive about getting older anyway, about entering another decade and dealing with the expectations of what someone in his or her thirties does and does not do.

I finally snapped out of my little self-pity phase. When my 30th birthday finally rolled around earlier this week, I was ready to celebrate not the old shoulda-woulda-couldas, but the shall, will, and can do's. My twenties brought some pretty exciting experiences in my life, all for which I am grateful, but I am making sure that my thirties top it.

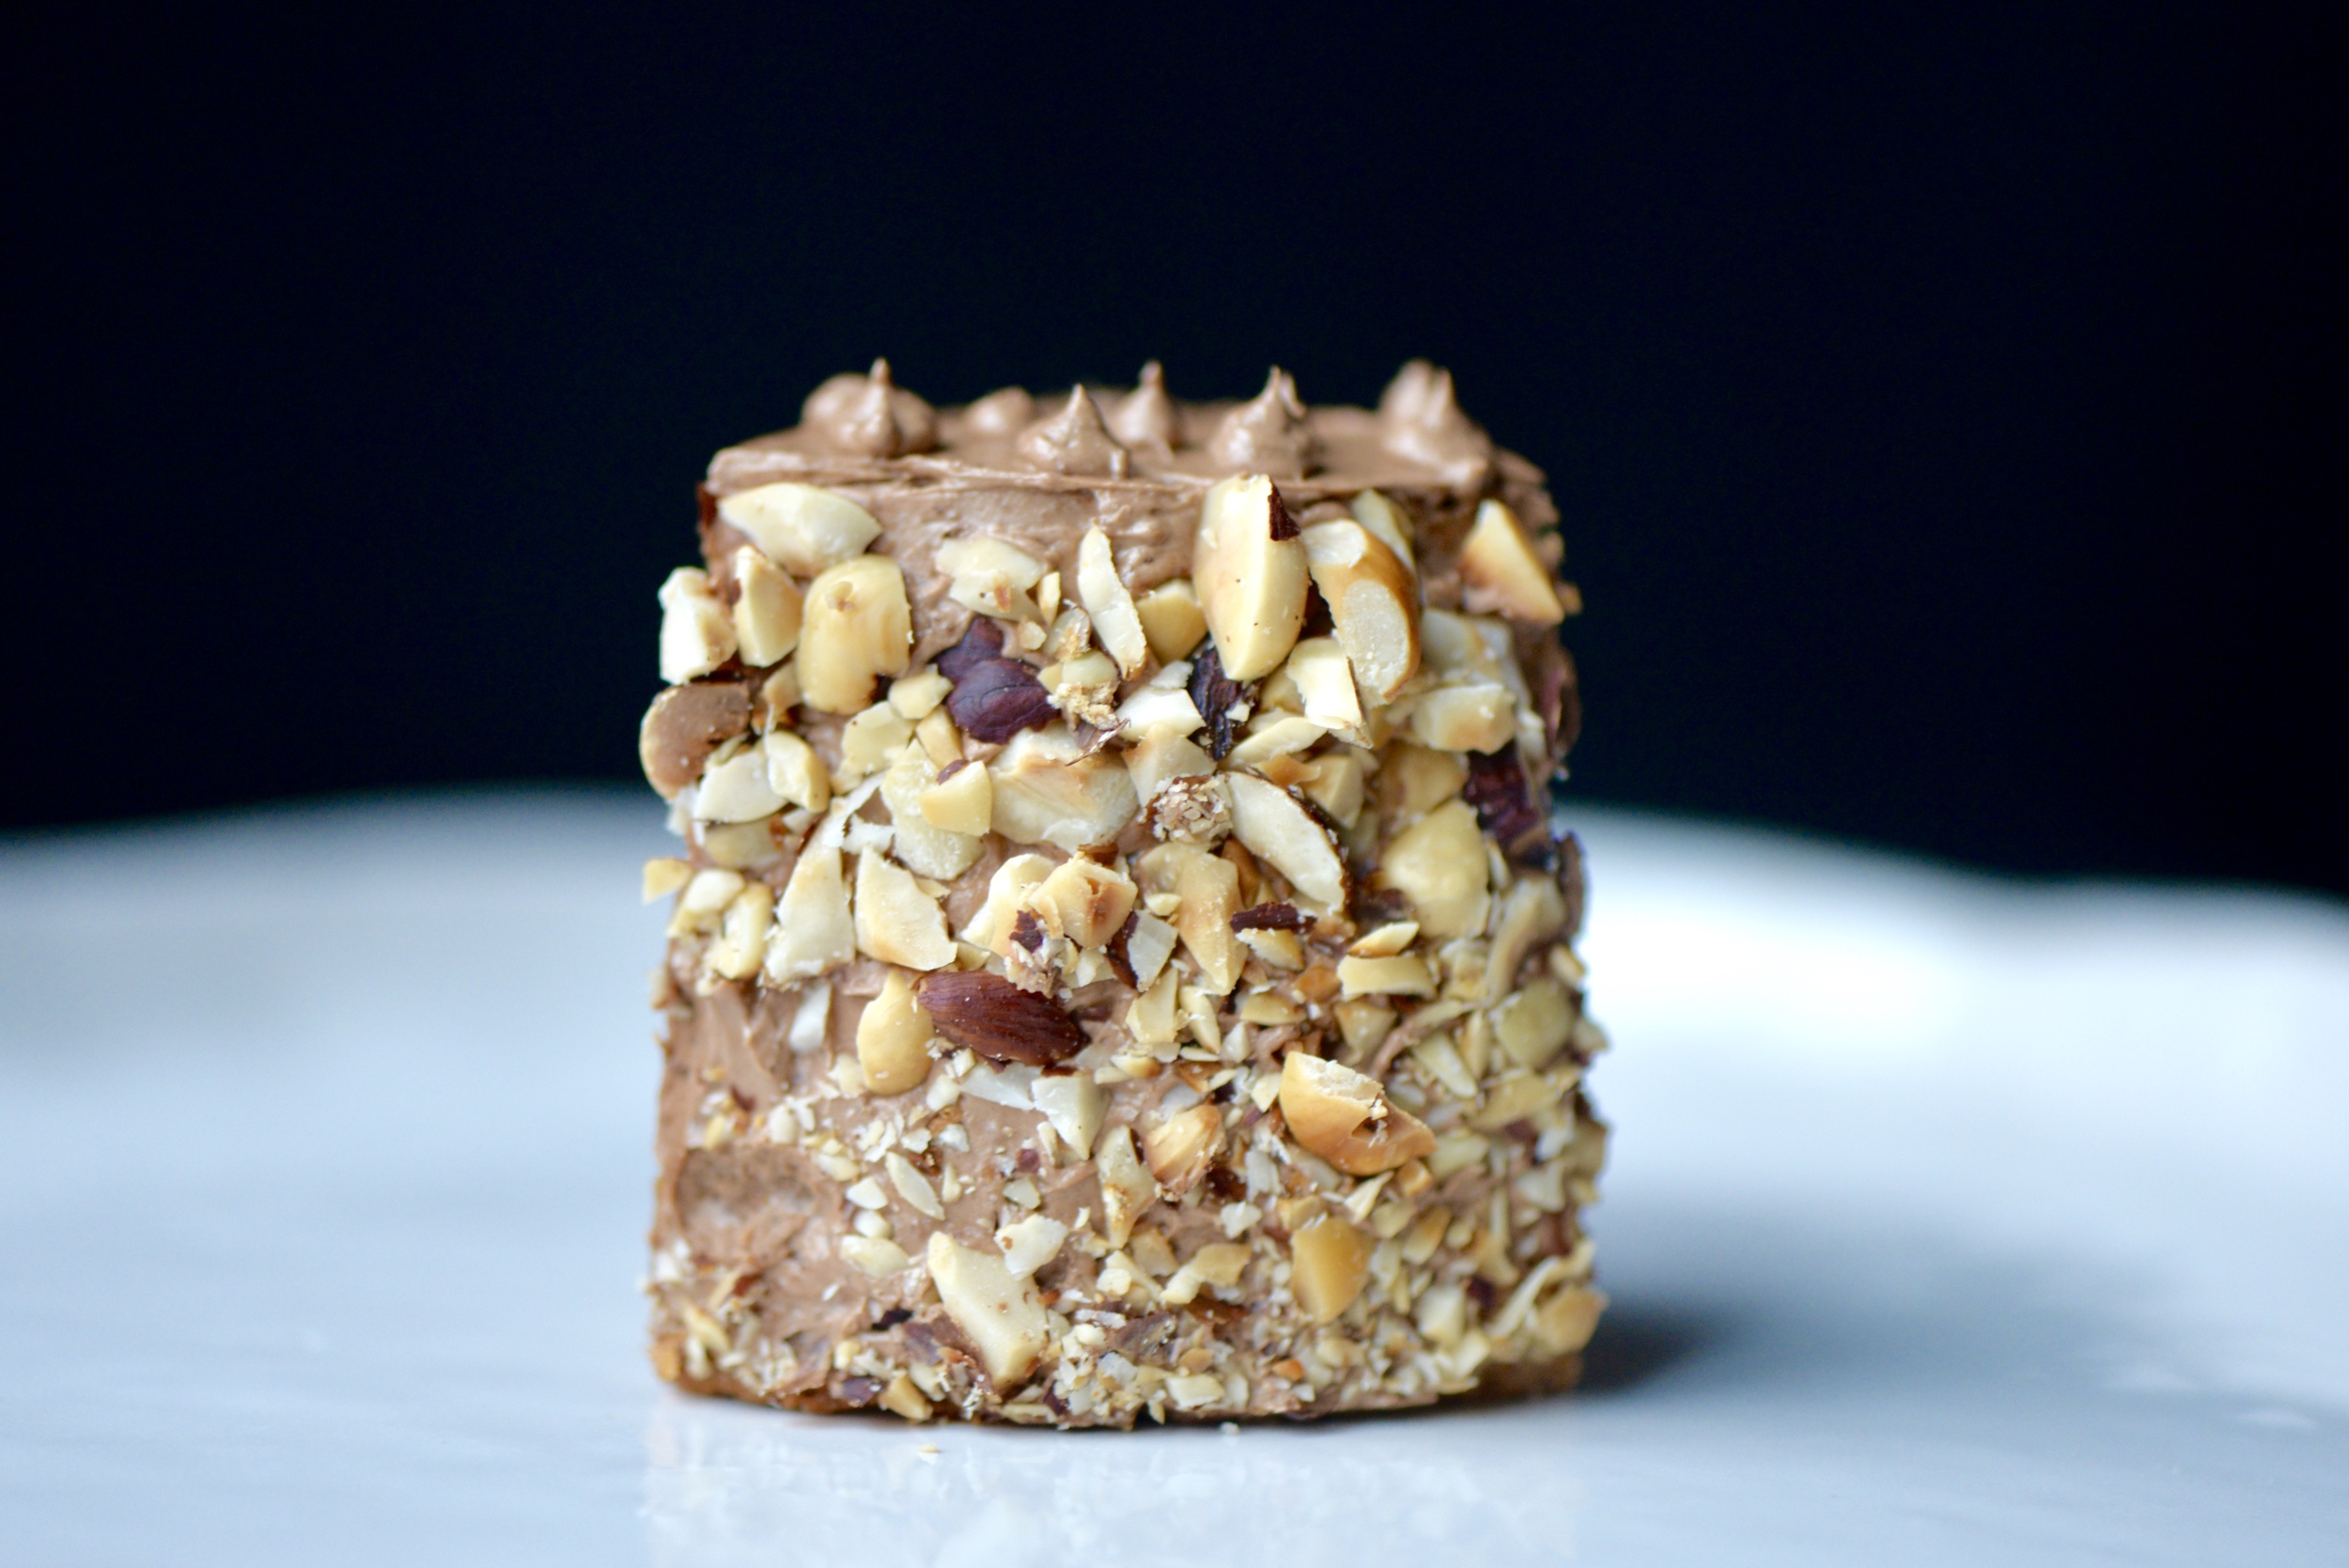
No more pity party over here, just this delicious little chocolate and hazelnut cake.

Before getting to the recipe, I have to say that my family is always so wonderful about celebrating my birthday over Thanksgiving. For the past few years, they have gotten me one of those super-addicting cookie cakes from the Great American Company, and each and every year, it somehow gets destroyed. One year it was dropped, another year, it somehow got folded up like a cookie taco by the time it made it home, and this year, my little sister's new dog "who never eats food off of the counter," licked half of the icing off of the cake. Unfortunate, but silly events, and I am grateful for a family that goes through the trouble of celebrating my birthday when we can all be together.

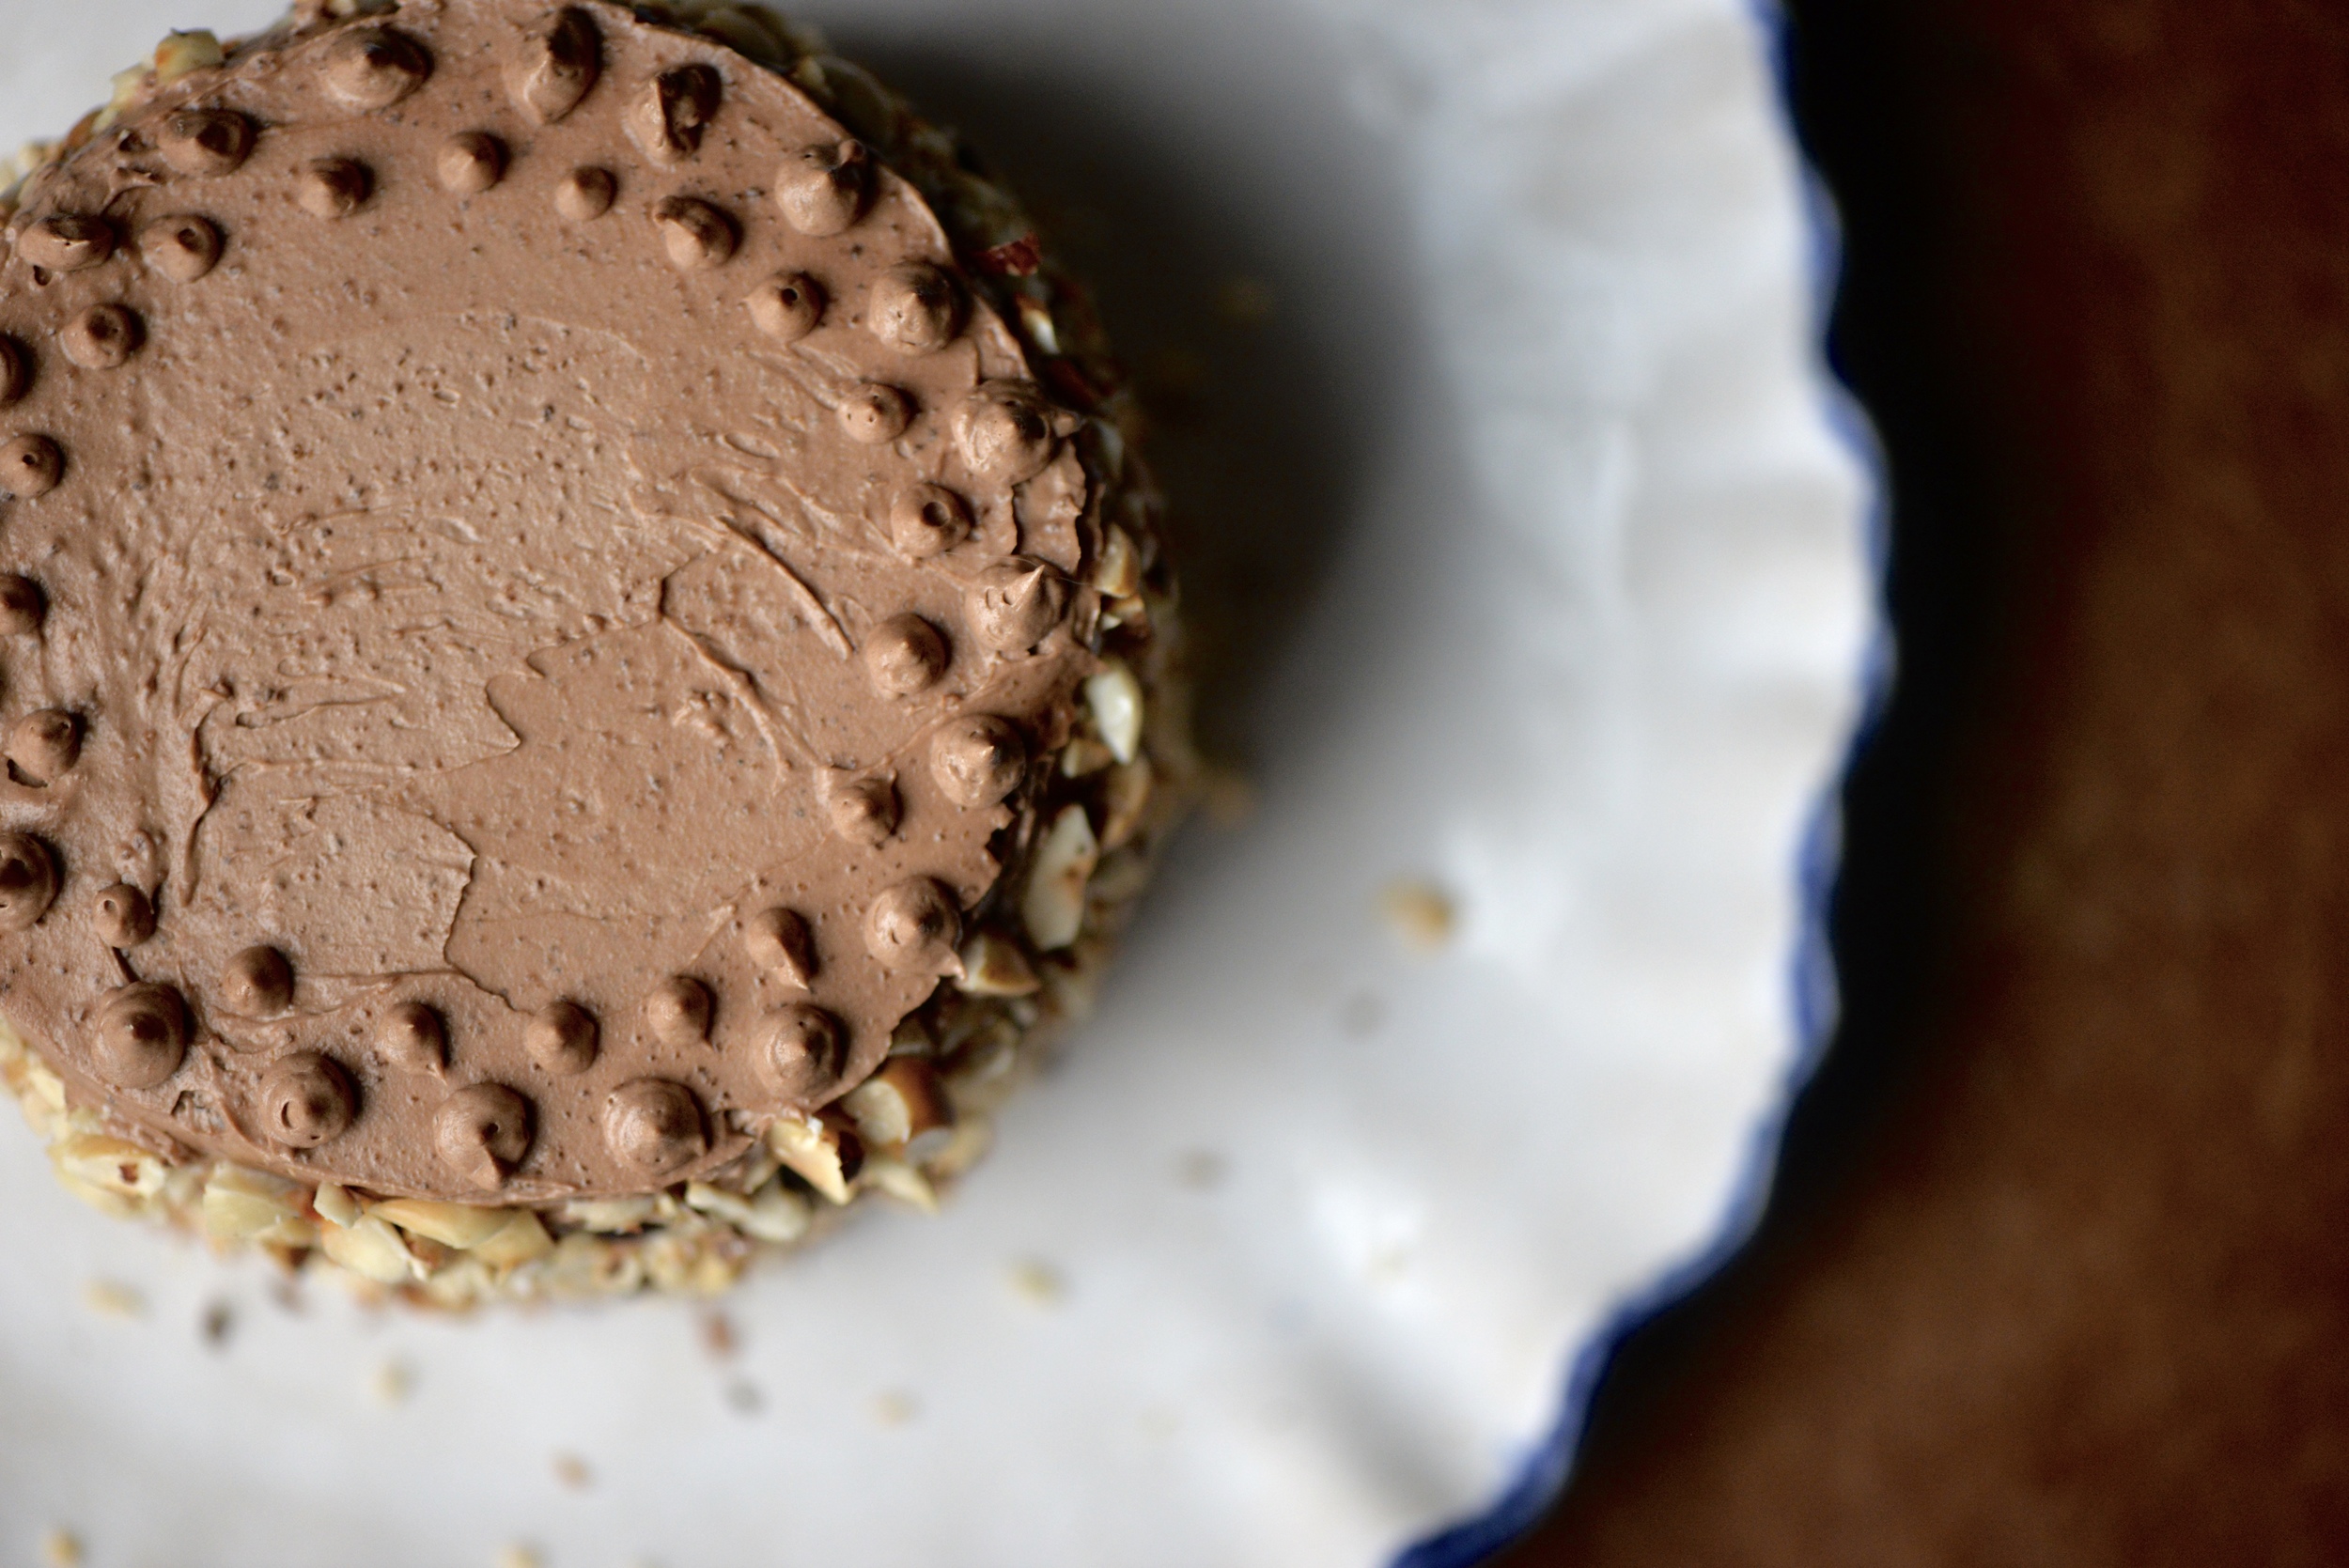
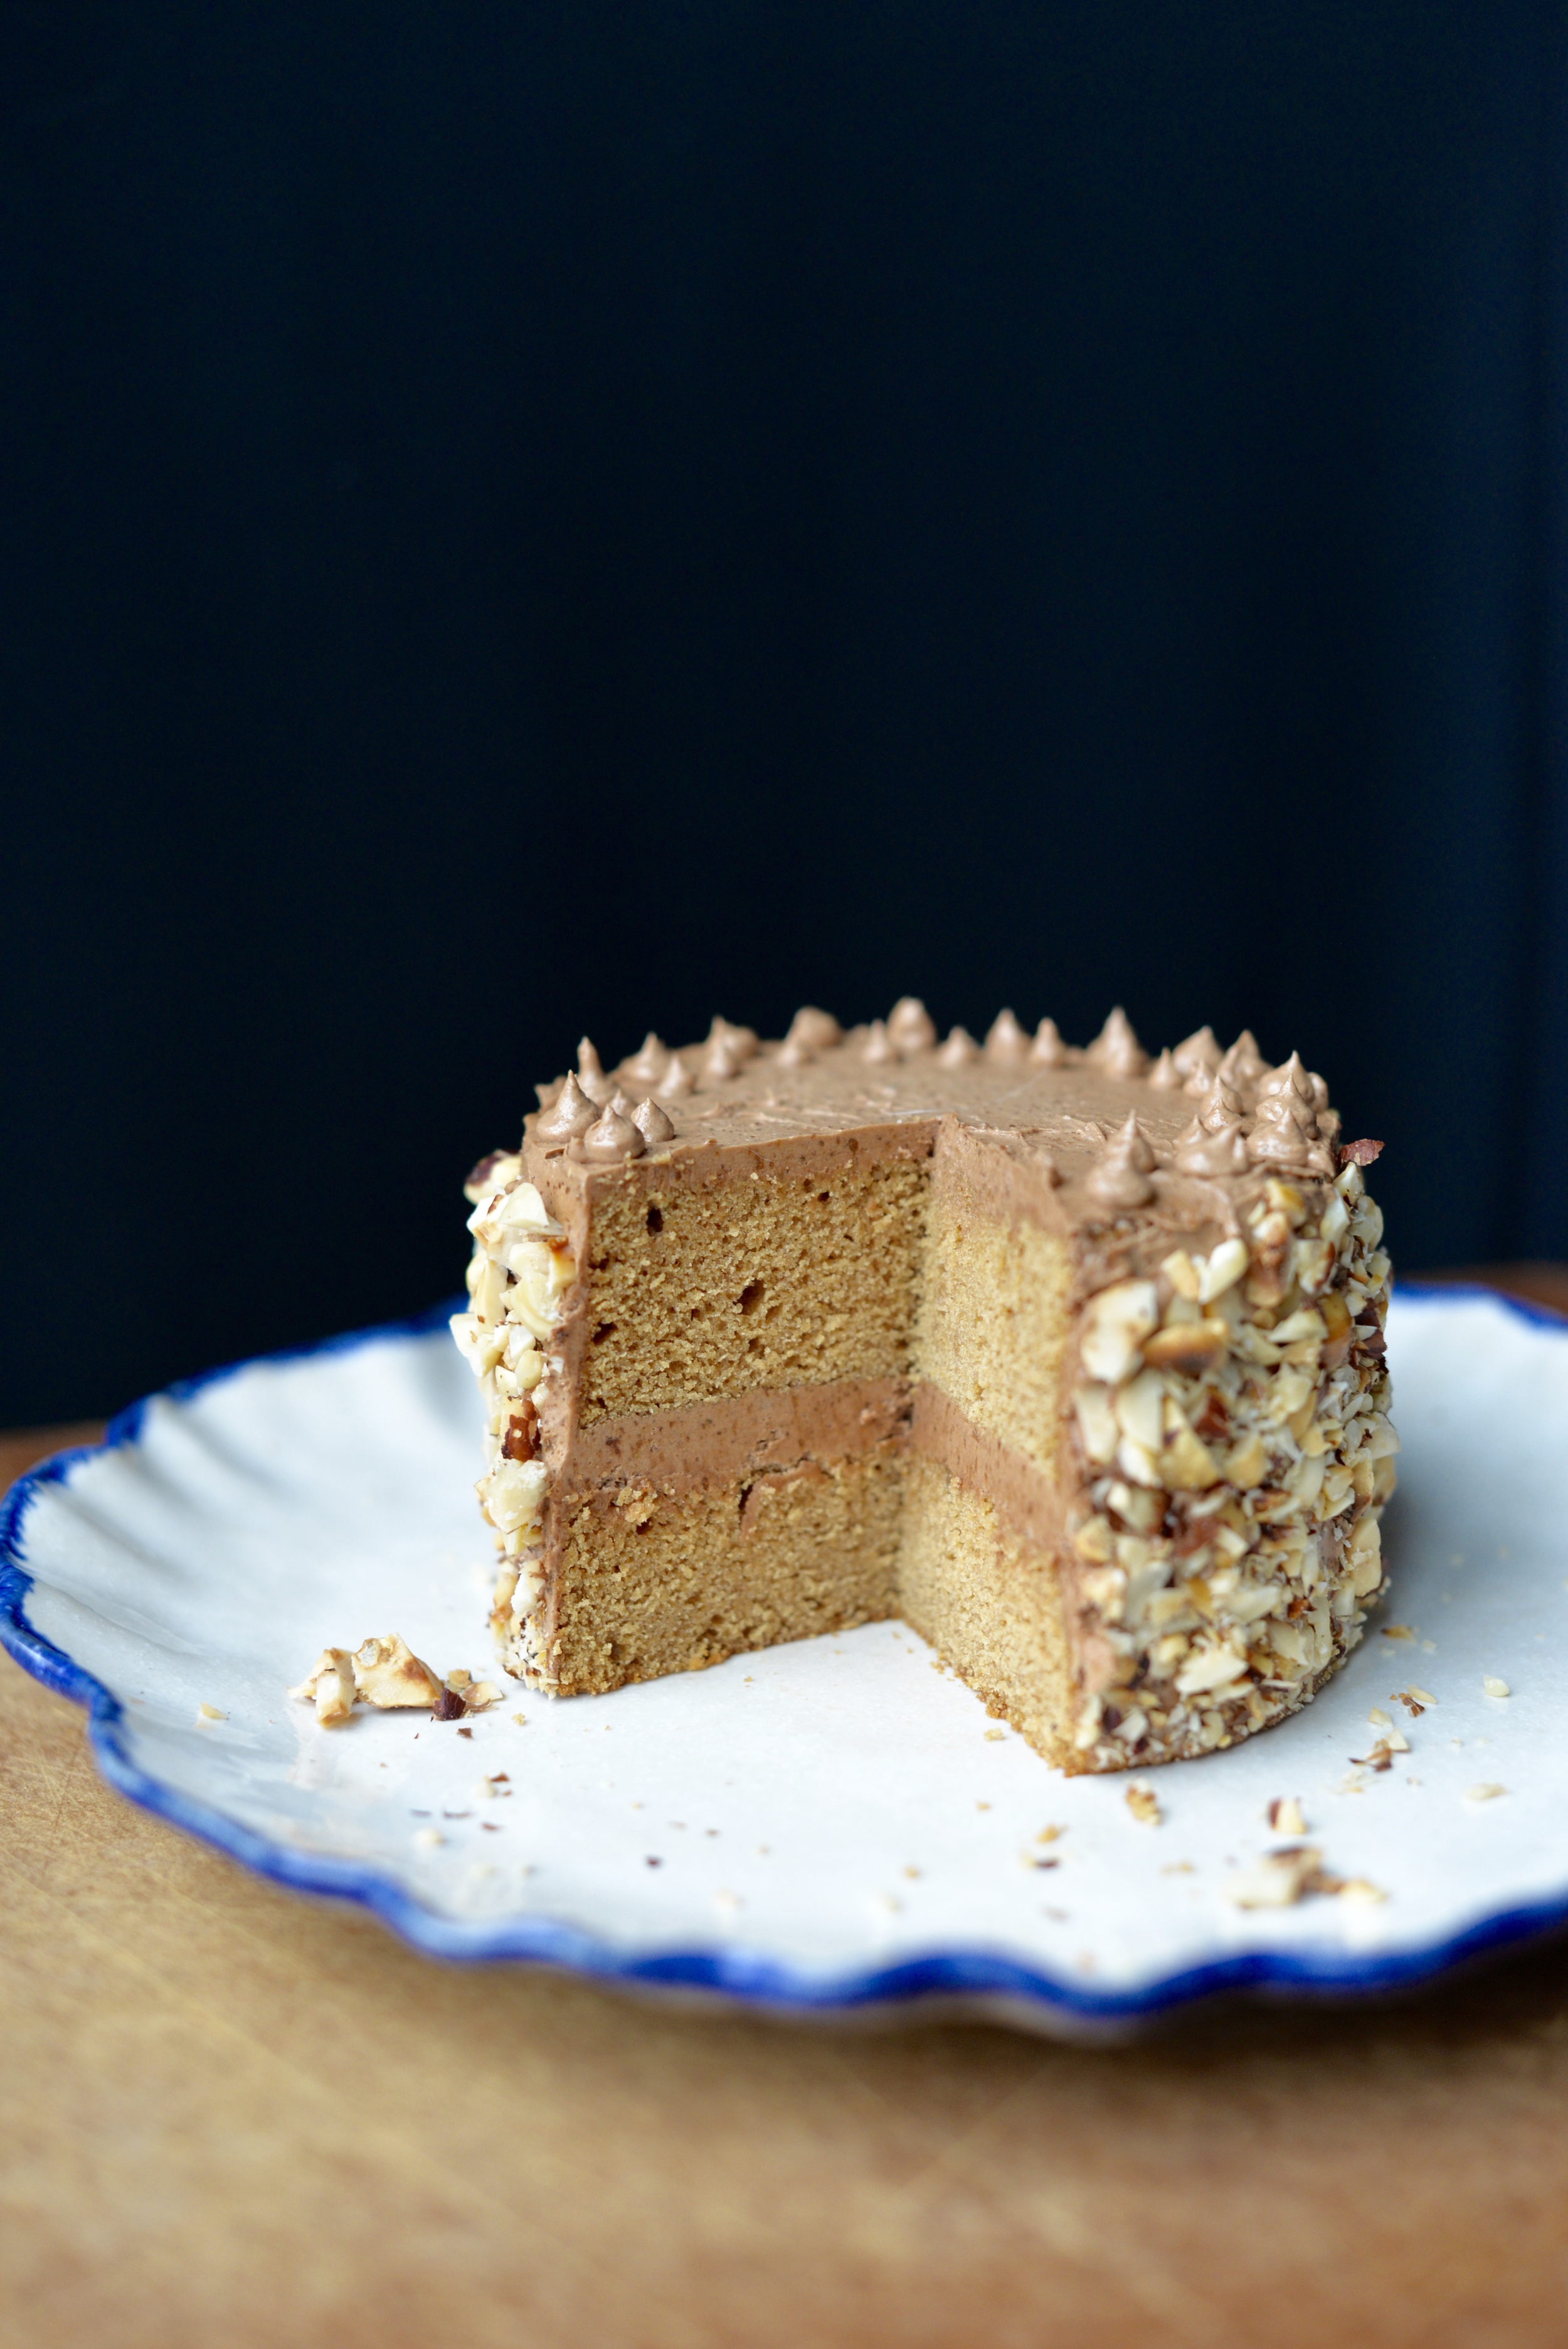
Now onto this cake! I wanted to make a little cake because there are only two of us at home, but also because just how cute is this?! This was inspired by a mix of recipes from around the web, but I picked chocolate and hazelnut because 1) I love chocolate and hazelnut (see these truffles) and 2) I wanted a fancy combo to ring in this new decade.

The tin can bit was inspired by a cake at the Domestic Goddess. I adapted the batter from a Mini One Bowl Yellow Cake at The Cake Merchant but made some changes in the prep and used coconut sugar to give it a richer, caramel flavor. The icing is my own creation.

Chocolate and Hazelnut Tin Can Cake

Cake:
1/2 cup plus 1 tablespoon whole wheat pastry flour
1/2 teaspoon baking powder
1/2 teaspoon salt
2 1/2 tablespoons unsalted butter, softened
1/3 cup coconut sugar
3 tablespoons kefir or buttermilk
1 large egg
1/2 teaspoon vanilla extract

Frosting:
1/4 cup unsalted butter, softened
1/2- 3/4 cup coconut sugar (or powdered sugar for a smoother frosting)
3 tablespoons nutella or other chocolate hazelnut spread
2 teaspoons cocoa powder
1/4 teaspoon kosher salt
1 cup chopped toasted hazelnuts (skins removed after toasting)

For the cake, preheat oven to 350 degrees Fahrenheit. Grease a clean 28 ounce tin can and line bottom and sides with parchment paper.

In a bowl, whisk together flour, baking powder, and salt. In a separate bowl, beat the butter and sugar until light and fluffy with an electric mixer. Add kefir or buttermilk, egg, and vanilla, and beat for about a minute or until well combined. Slowly sprinkle in flour mixture. and beat for 45 seconds or until mixture is smooth, scraping down the sides often.

Pour batter into prepared tin can, bang can on counter to get out any air bubbles, and bake for 35-45 minutes or until toothpick poked into center comes out clean. Cool on wire rack for 15 minutes. Remove from can and allow to cool completely.
Meanwhile, prepare frosting. Cream butter and sugar together until light and fluffy. Start with 1/2 cup sugar and add more sugar to taste. Beat in nutella, cocoa powder, and salt until well combined. Set aside until cake has cooled completely.

To frost cake, remove top rounded portion of cake until top is level. Cut cake into two even layers. Apply an even layer of frosting on the bottom layer (about 1/3 of the frosting), then top with second layer. Apply a thin crumb-coating all over cake, place in fridge for 10 minutes to firm up, and then continue to frost cake with remaining frosting. Press chopped hazelnuts into side of cake. Cake is best eaten the day it is made, but you can store it in the fridge overnight. Enjoy! Makes 1 4-inch two layer cake.

IMG_0668.jpg
DSC_2325.jpg
DSC_2350.jpg
DSC_2372.jpg
In Sweets Tags cake, dessert, chocolate, hazelnut
Comment

Asparagus, Fennel, and Pear Salad with Citrus Dressing

May 6, 2015 Emily Watson
IMG_6048.jpg

Fennel is one of those vegetables that people either love or hate. I happen to love its bright licorice flavor in all forms- raw, roasted, shaved, gratinéed. I really fell in love with it during my study abroad in Italy. In Rome, it was casually mixed into salads much like we toss carrots into mixed greens. In Sicily, it was most often paired with Sicilian oranges, briny olives, and local extra-virgin olive oil.

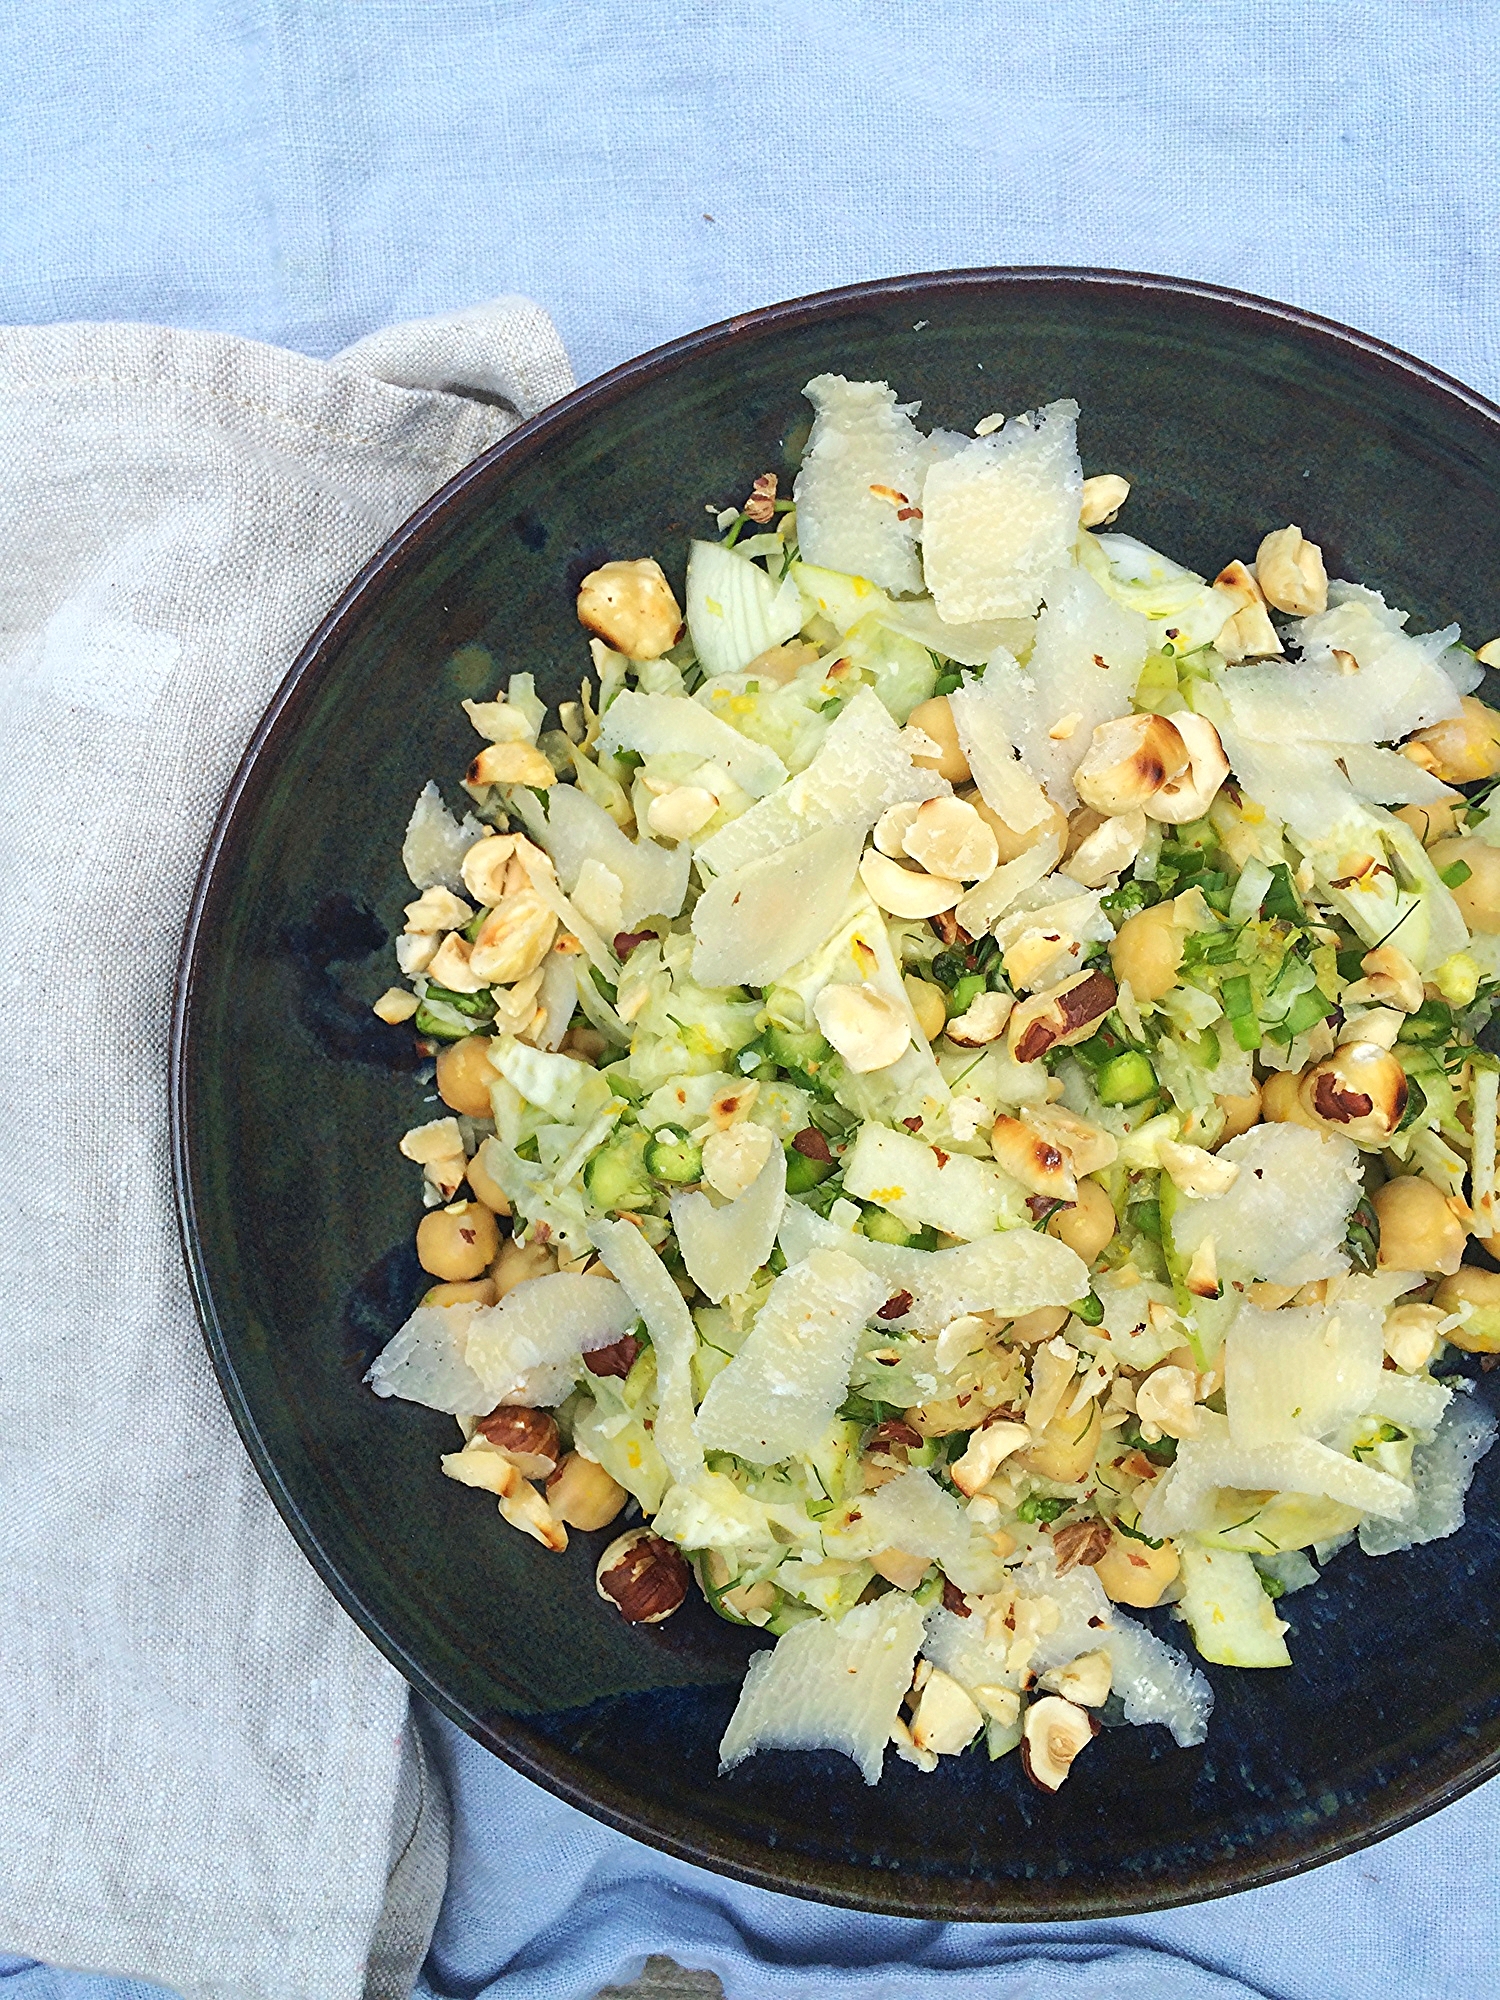
Oftentimes people think they do not like fennel until they have it in the right preparation. I have seen self-proclaimed fennel-haters gobble up the last bits of a caramelized fennel dish as roasting it mellows and sweetens its flavor. In this salad, I make the vegetable a little more approachable in a different way. I thinly slice it so that it can wilt in the citrus dressing and pair it with a popular spring vegetable- asparagus. I add crunchy sweet pear, nutty hazelnuts and salty Parmigiano-Reggiano to make this a salad that you will probably want to double or even triple, even if you are serving fennel-haters. It is so refreshing, so crisp, and so bright.

I recommend serving this salad within an hour or two after mixing as it will really begin to wilt. Right before serving, sprinkle with the Parmigiano-Reggiano, if using, and the hazelnuts so that they can retain a bit of their bite. The salad can sit longer, but it will continue to wilt and will not be quite as crunchy.

Asparagus, Fennel, and Pear Salad with Citrus Dressing

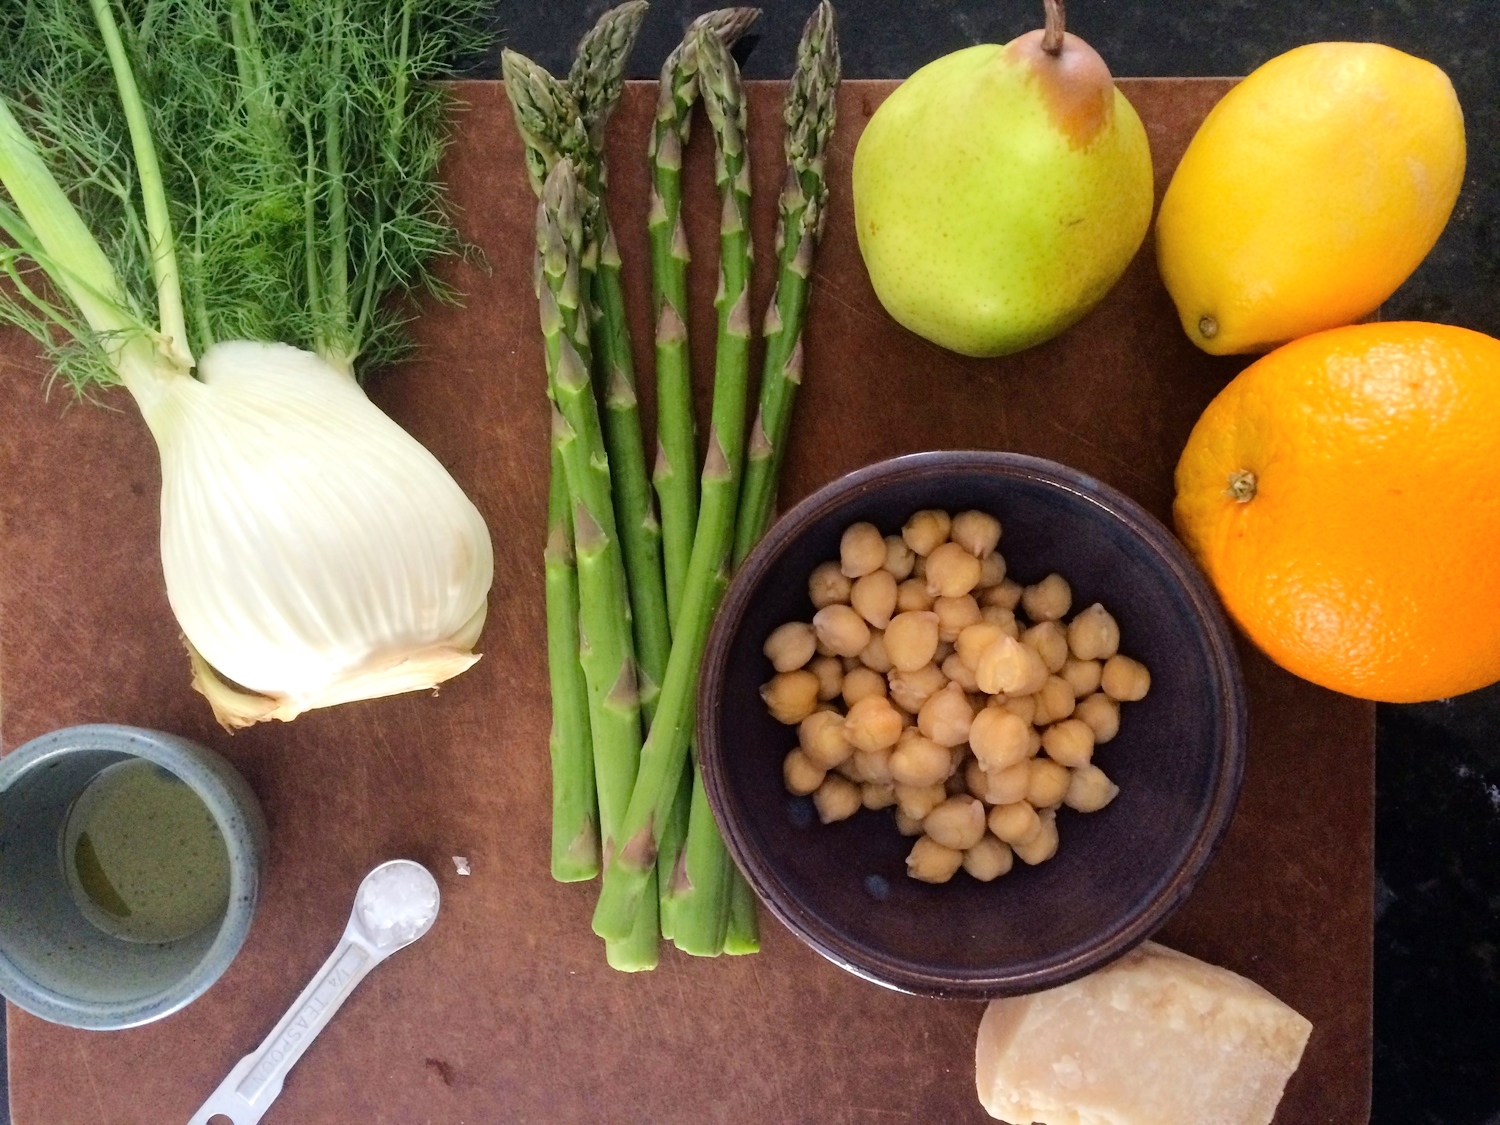
1/2 bunch asparagus, tough ends removed
1 small fennel bulb with fronds
1/2 firm pear, thinly sliced and then chopped (I used a firm Barlett pear)
1 cup cooked chickpeas, drained
1/2 lemon, zested and juiced
1/2 orange, zested and juiced
1 1/2 tablespoons extra-virgin olive oil
1 1/4 teaspoons sea salt
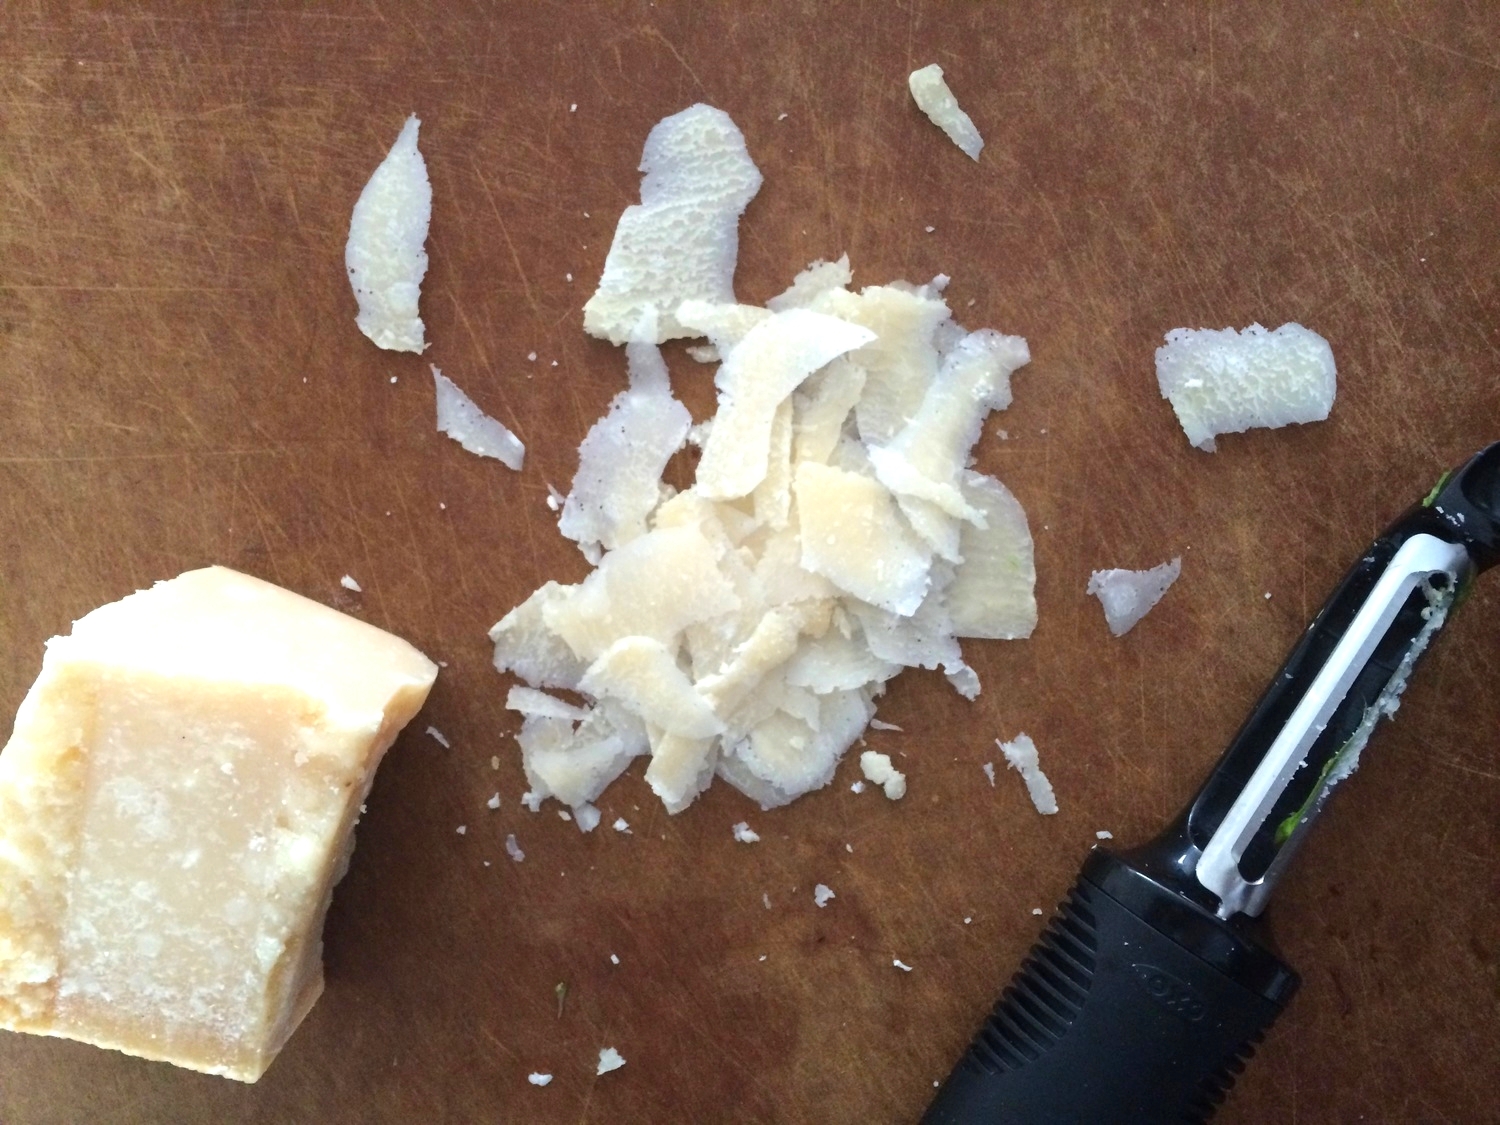
1/4 cup shavings of Parmigiano-Reggiano (I used a vegetable peeler)
1/4 cup hazelnuts, toasted and skinned, and chopped
freshly ground black pepper, to taste

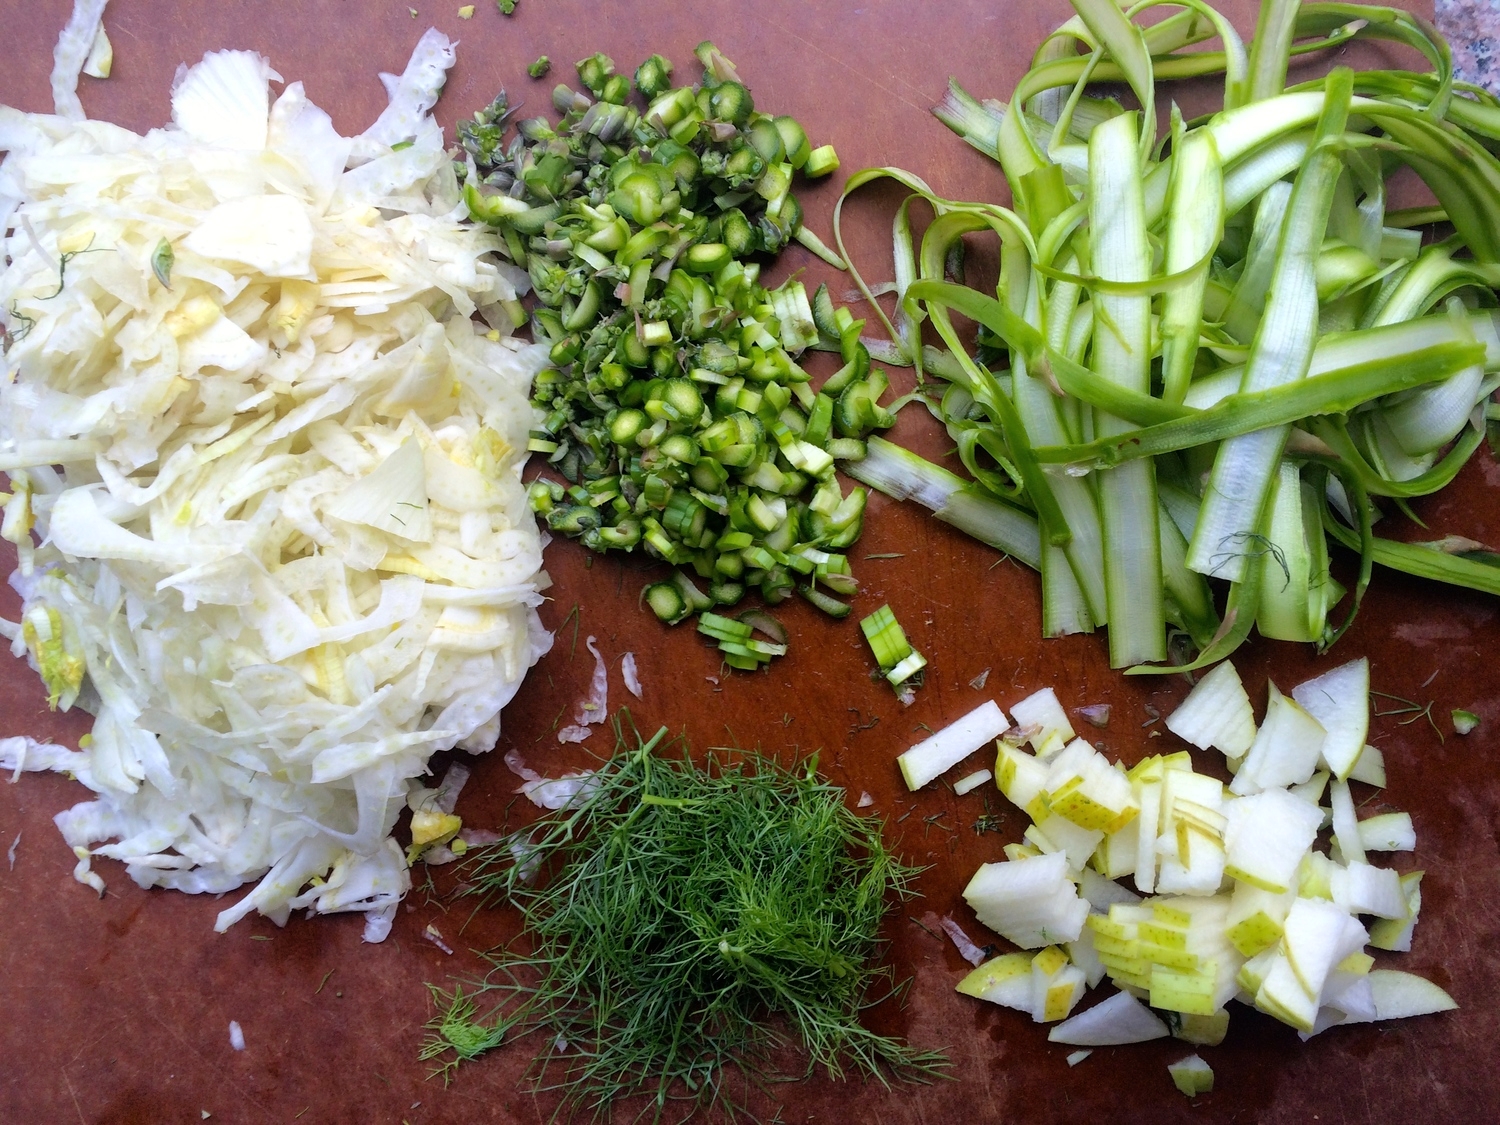
Prepare the vegetables. Use a vegetable peeler to thinly shave asparagus stalks. Set shavings aside and then finely chop remaining pieces, including tops. Thinly slice fennel bulb. Pluck off about 2 tablespoons of fennel fronds and roughly chop. Prepare pear and set aside.

IMG_6006.jpg
IMG_6012.JPG

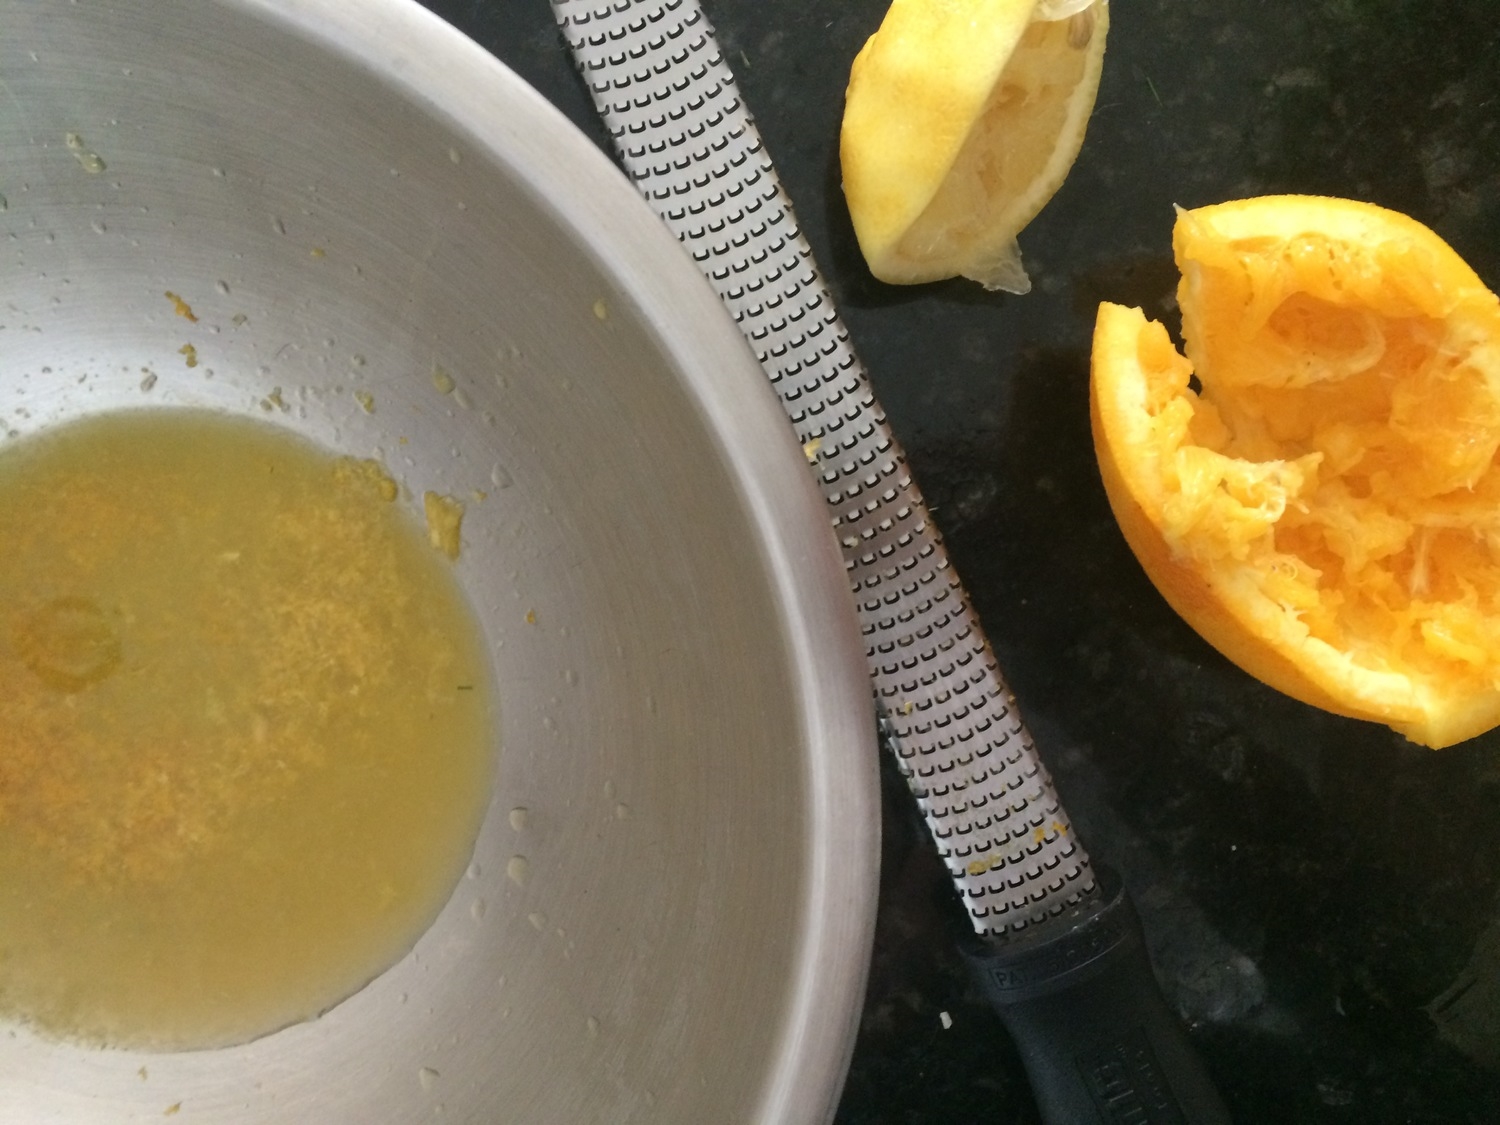
Prepare the dressing. In a medium bowl, mix juice and zest from lemon and orange, extra-virgin olive oil, salt, and pepper to taste. Whisk briefly to combine. Taste and adjust salt and pepper.

IMG_6015.JPG
IMG_6016.JPG

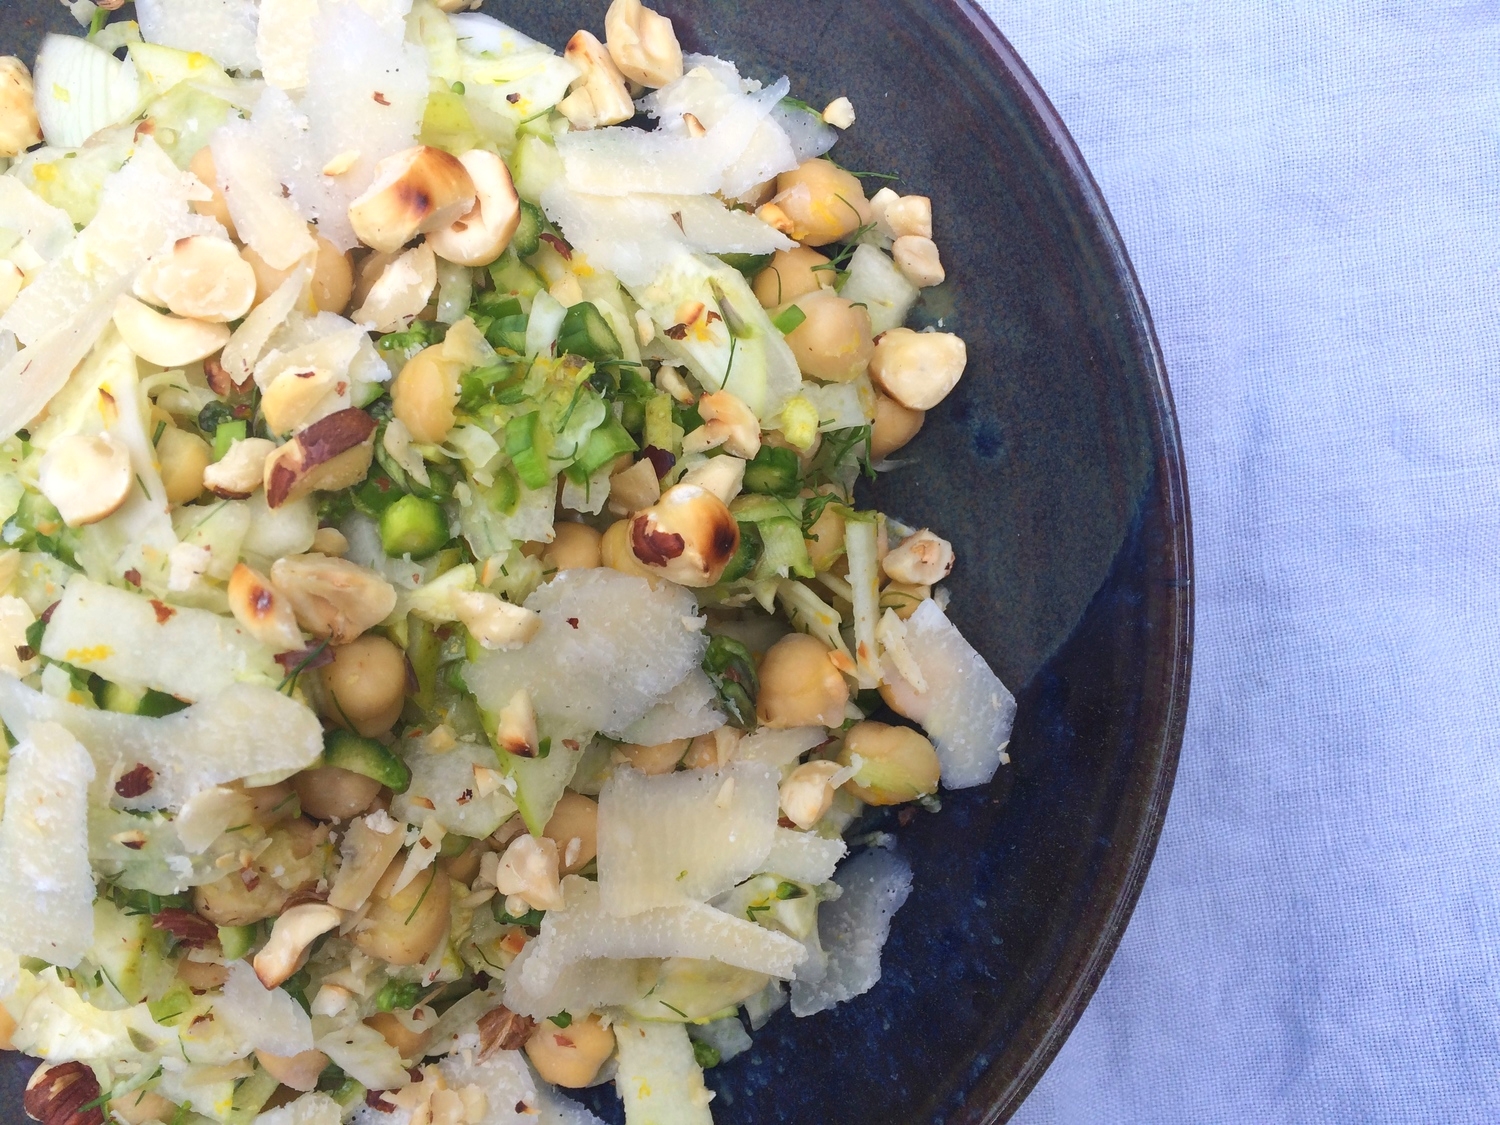
Add the vegetables to the bowl with the dressing and toss to coat. Readjust seasoning. Right before serving, sprinkle with Parmigiano-reggiano shavings and toasted hazelnuts. Best served shortly after assembling. Serves 4. 

Notes:

  • Leave out cheese if making vegan. You may have to add a little more salt to make up for the difference.
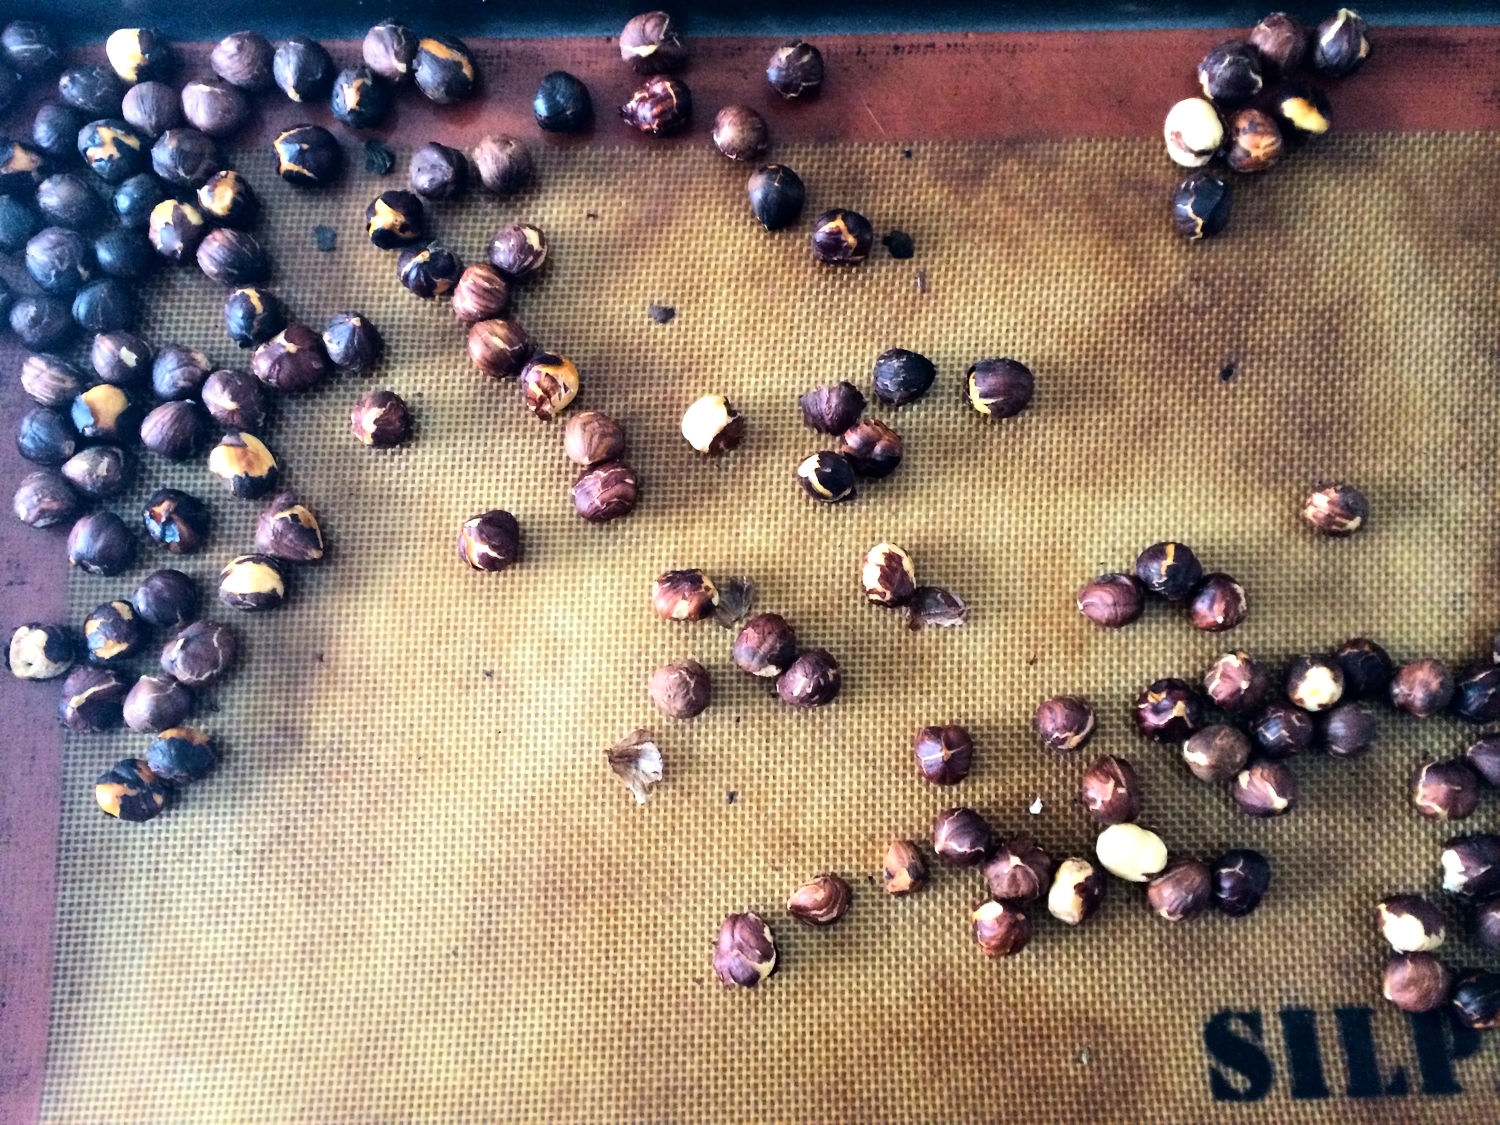
  • To toast and skin hazelnuts, toast in a dry skillet over low to medium low heat for 8-10 minutes or until golden. Use a towel to rub the hazelnuts together to remove their papery, bitter skins.
  • Substitute walnuts or almonds for hazelnuts.
  • Substitute a firm, crisp apple if you do not have a pear on hand.
IMG_6047.jpg


In Salads Tags asparagus, spring, fennel, pears, hazelnut, salad, recipe, vegetarian, vegan, chickpeas
2 Comments

Chocolate and Hazelnut Praline Truffles

March 7, 2015 Emily Watson

When I was little, until I was well into my teenage years, we gifted my father a box of Godiva chocolates every year for his birthday. And every year, like a good dad, he acted completely and totally surprised when he unveiled the little golden box from beneath the wrapping paper. He would break the plastic seal to the sounds of ooohs and ahhhs of his children, pass around the little pamphlet revealing what was inside each chocolate, and let each of us four kids take a piece of chocolate for ourselves. By the time I was in middle school, I no longer needed that little pamphlet to tell me which chocolate I wanted. The Open Oyster, with its hazelnut praline center, had become my favorite. It was my first introduction to the amazingness of hazelnuts mixed with chocolate, even before my first taste of Nutella, and there has been no looking back since.

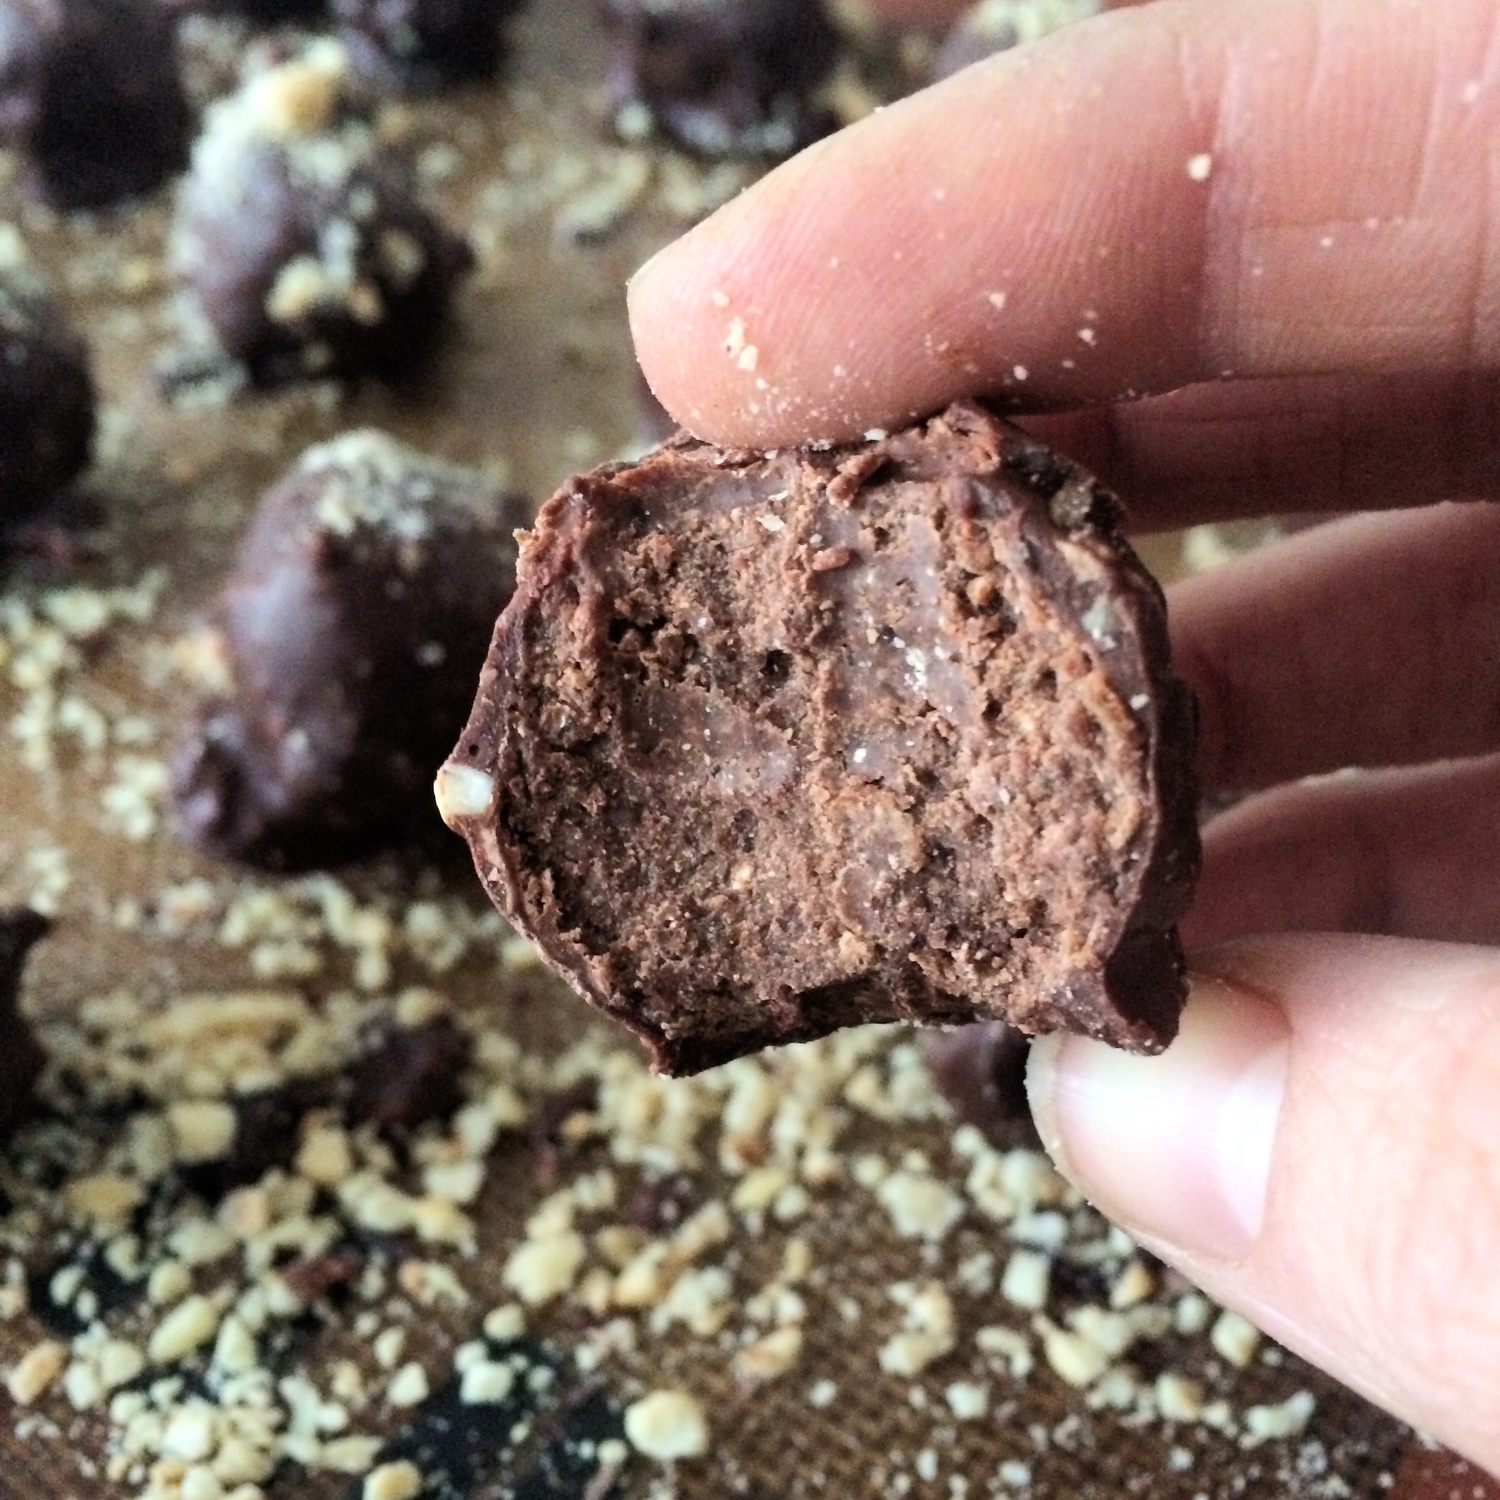
These truffles take a little work, but after one bite, all that time spent in the kitchen will seem completely worth it. Not to mention you will smell like a jar of Nutella by the end of it all. They make great gifts or party favors, and people will have a hard time believing they are homemade and have so few ingredients. The utterly genius and absolutely delicious idea of a maple syrup-based praline came from the Almond Praline from Gourmande in the Kitchen, so I cannot take full credit for this magical combo.

Chocolate and Hazelnut Praline Truffles

1 c. raw hazelnuts, divided
1/4 c. maple syrup
1 t. vanilla extract
1/2 t. sea salt
1 c. 70% dark chocolate, roughly chopped
1 c. 70% - 80% dark chocolate, depending on preference, roughly chopped

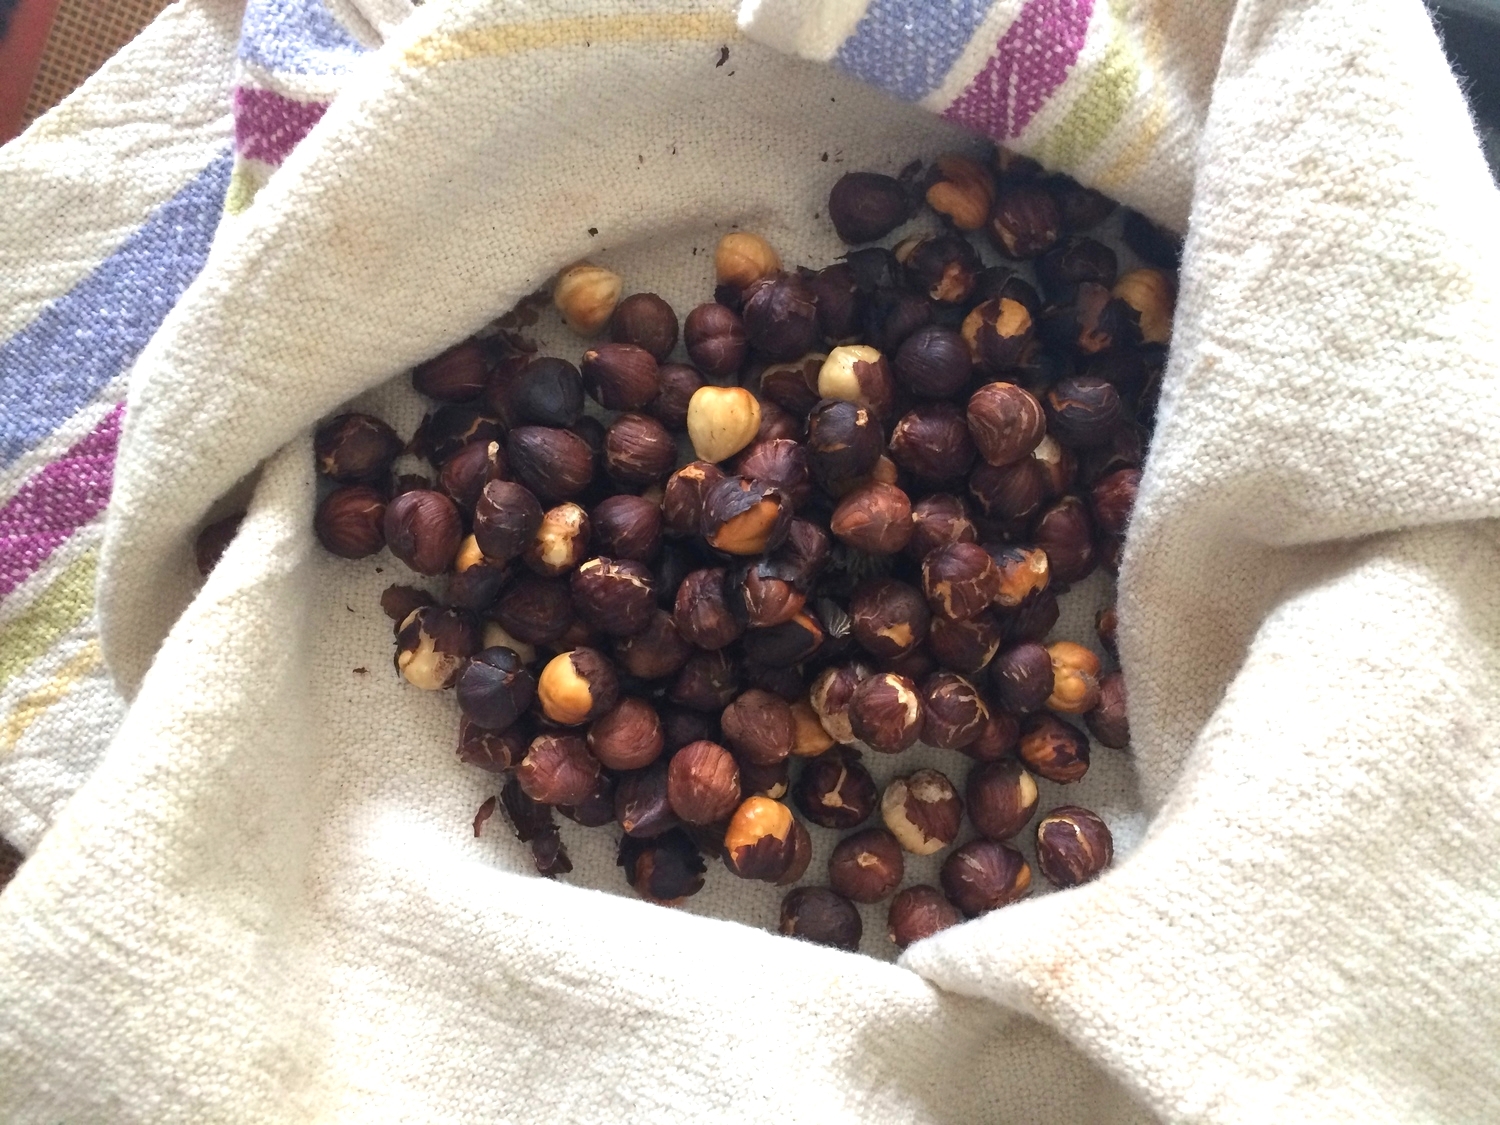
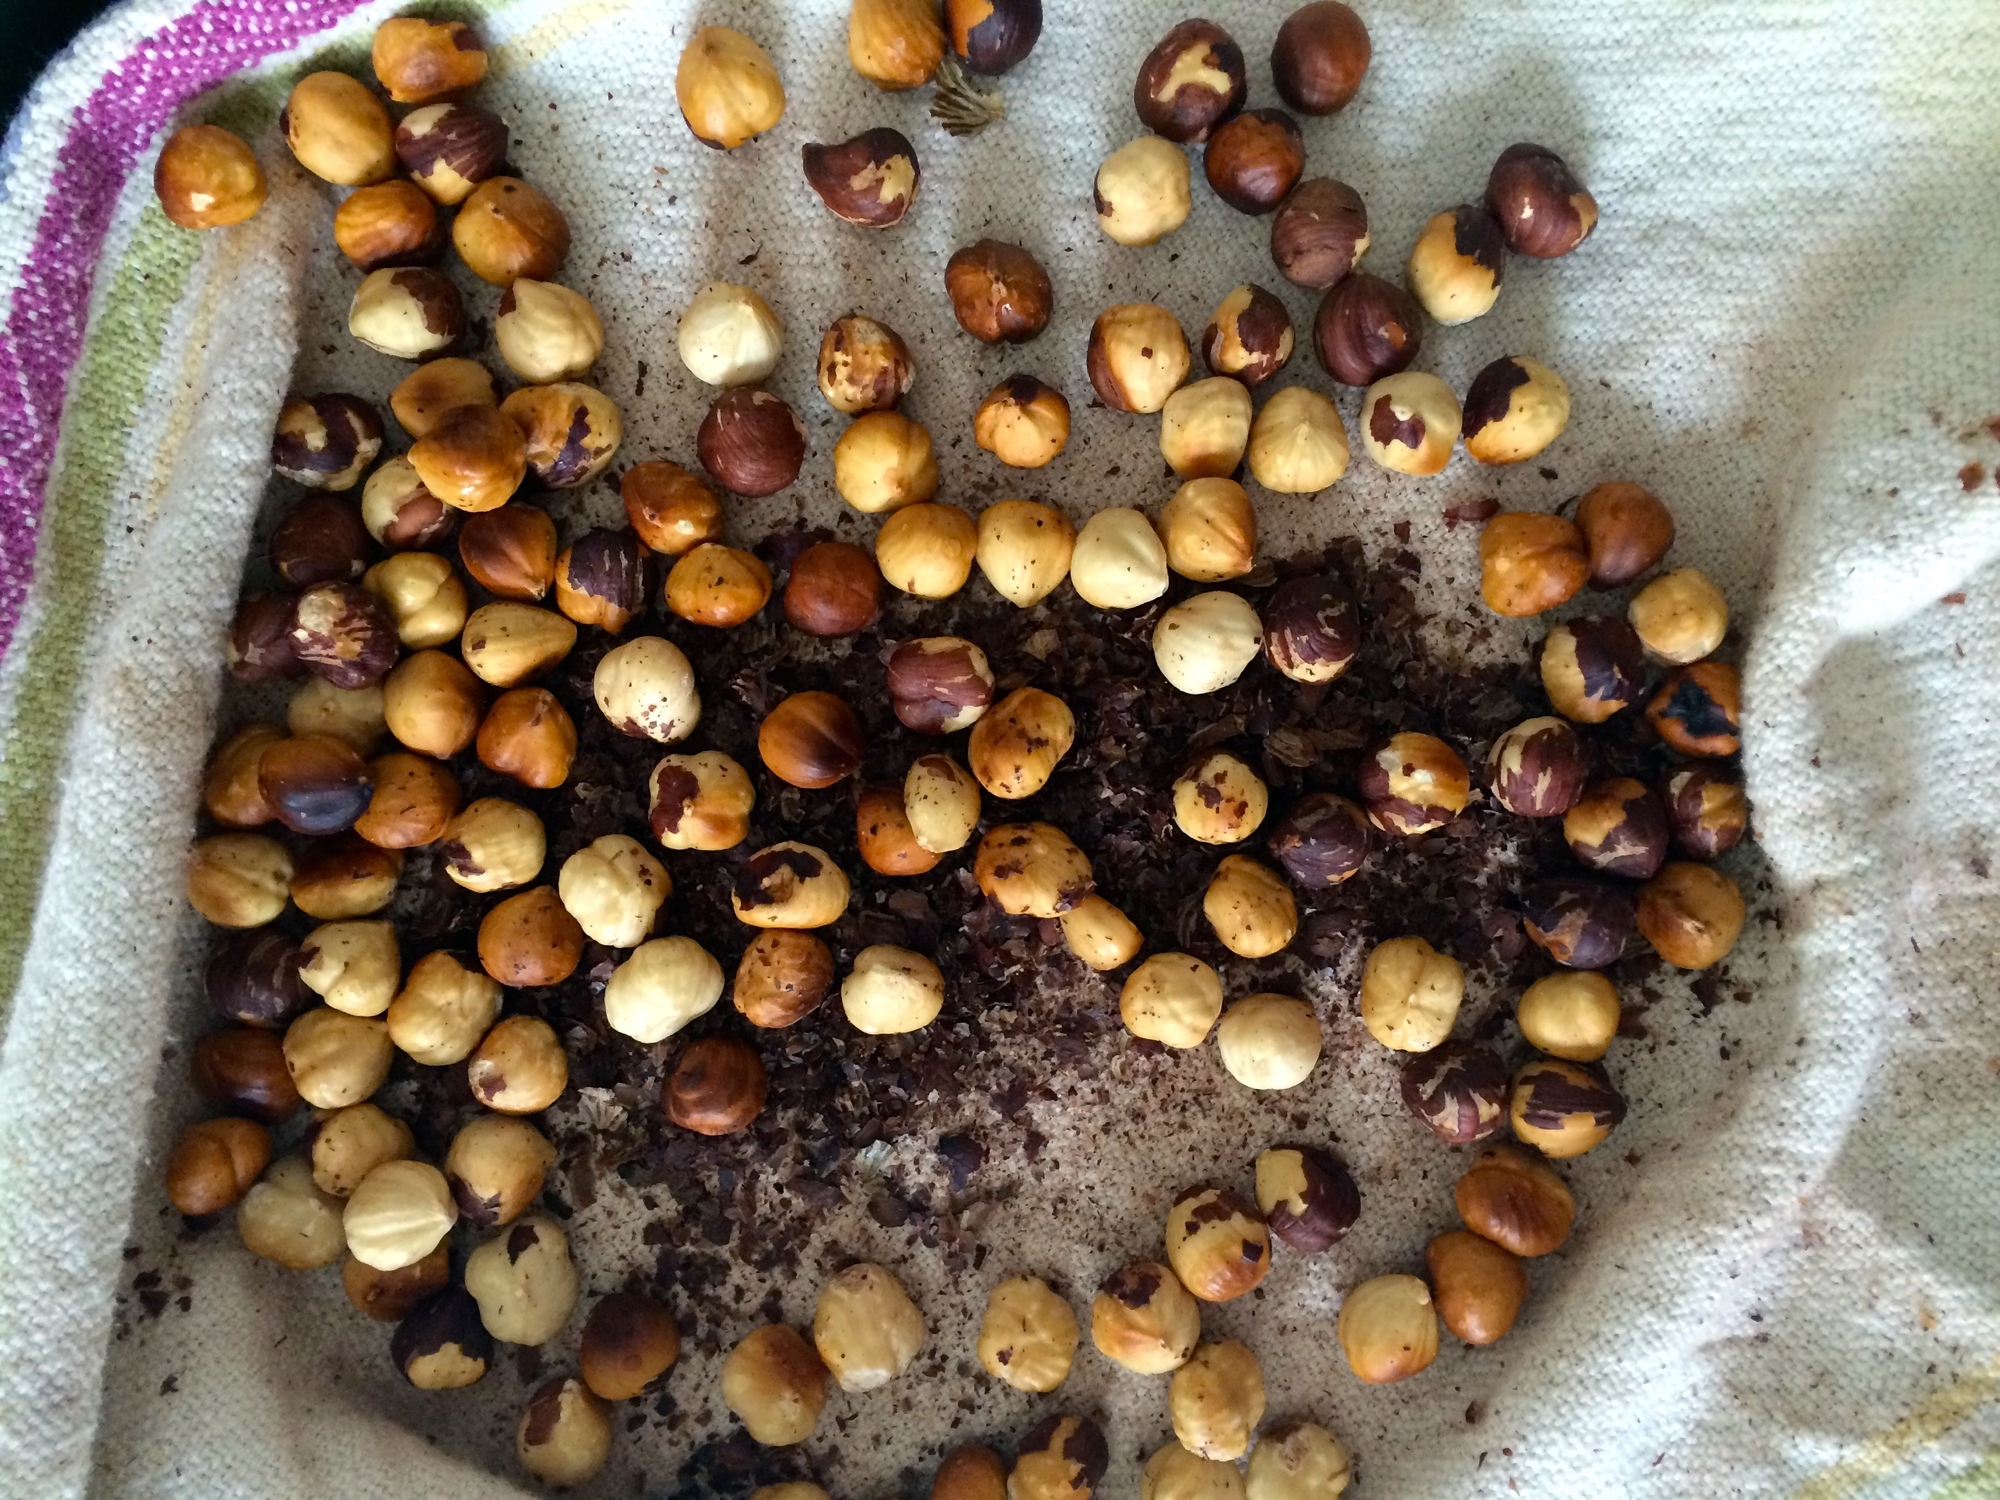
Begin by toasting all of the hazelnuts. Preheat the oven to 400 degrees Fahrenheit. Toast the hazelnuts for 8-10 minutes on a baking sheet or until they begin to look golden and their papery skins are beginning to loosen. Remove the nuts from the oven, allow them to cool for a bit, and move to a kitchen towel. Wrap the hazelnuts in the towel, and rub them together to remove their bitter, papery skins.

IMG_3683.jpg
IMG_3684.jpg
IMG_3688.jpg
IMG_3690.jpg

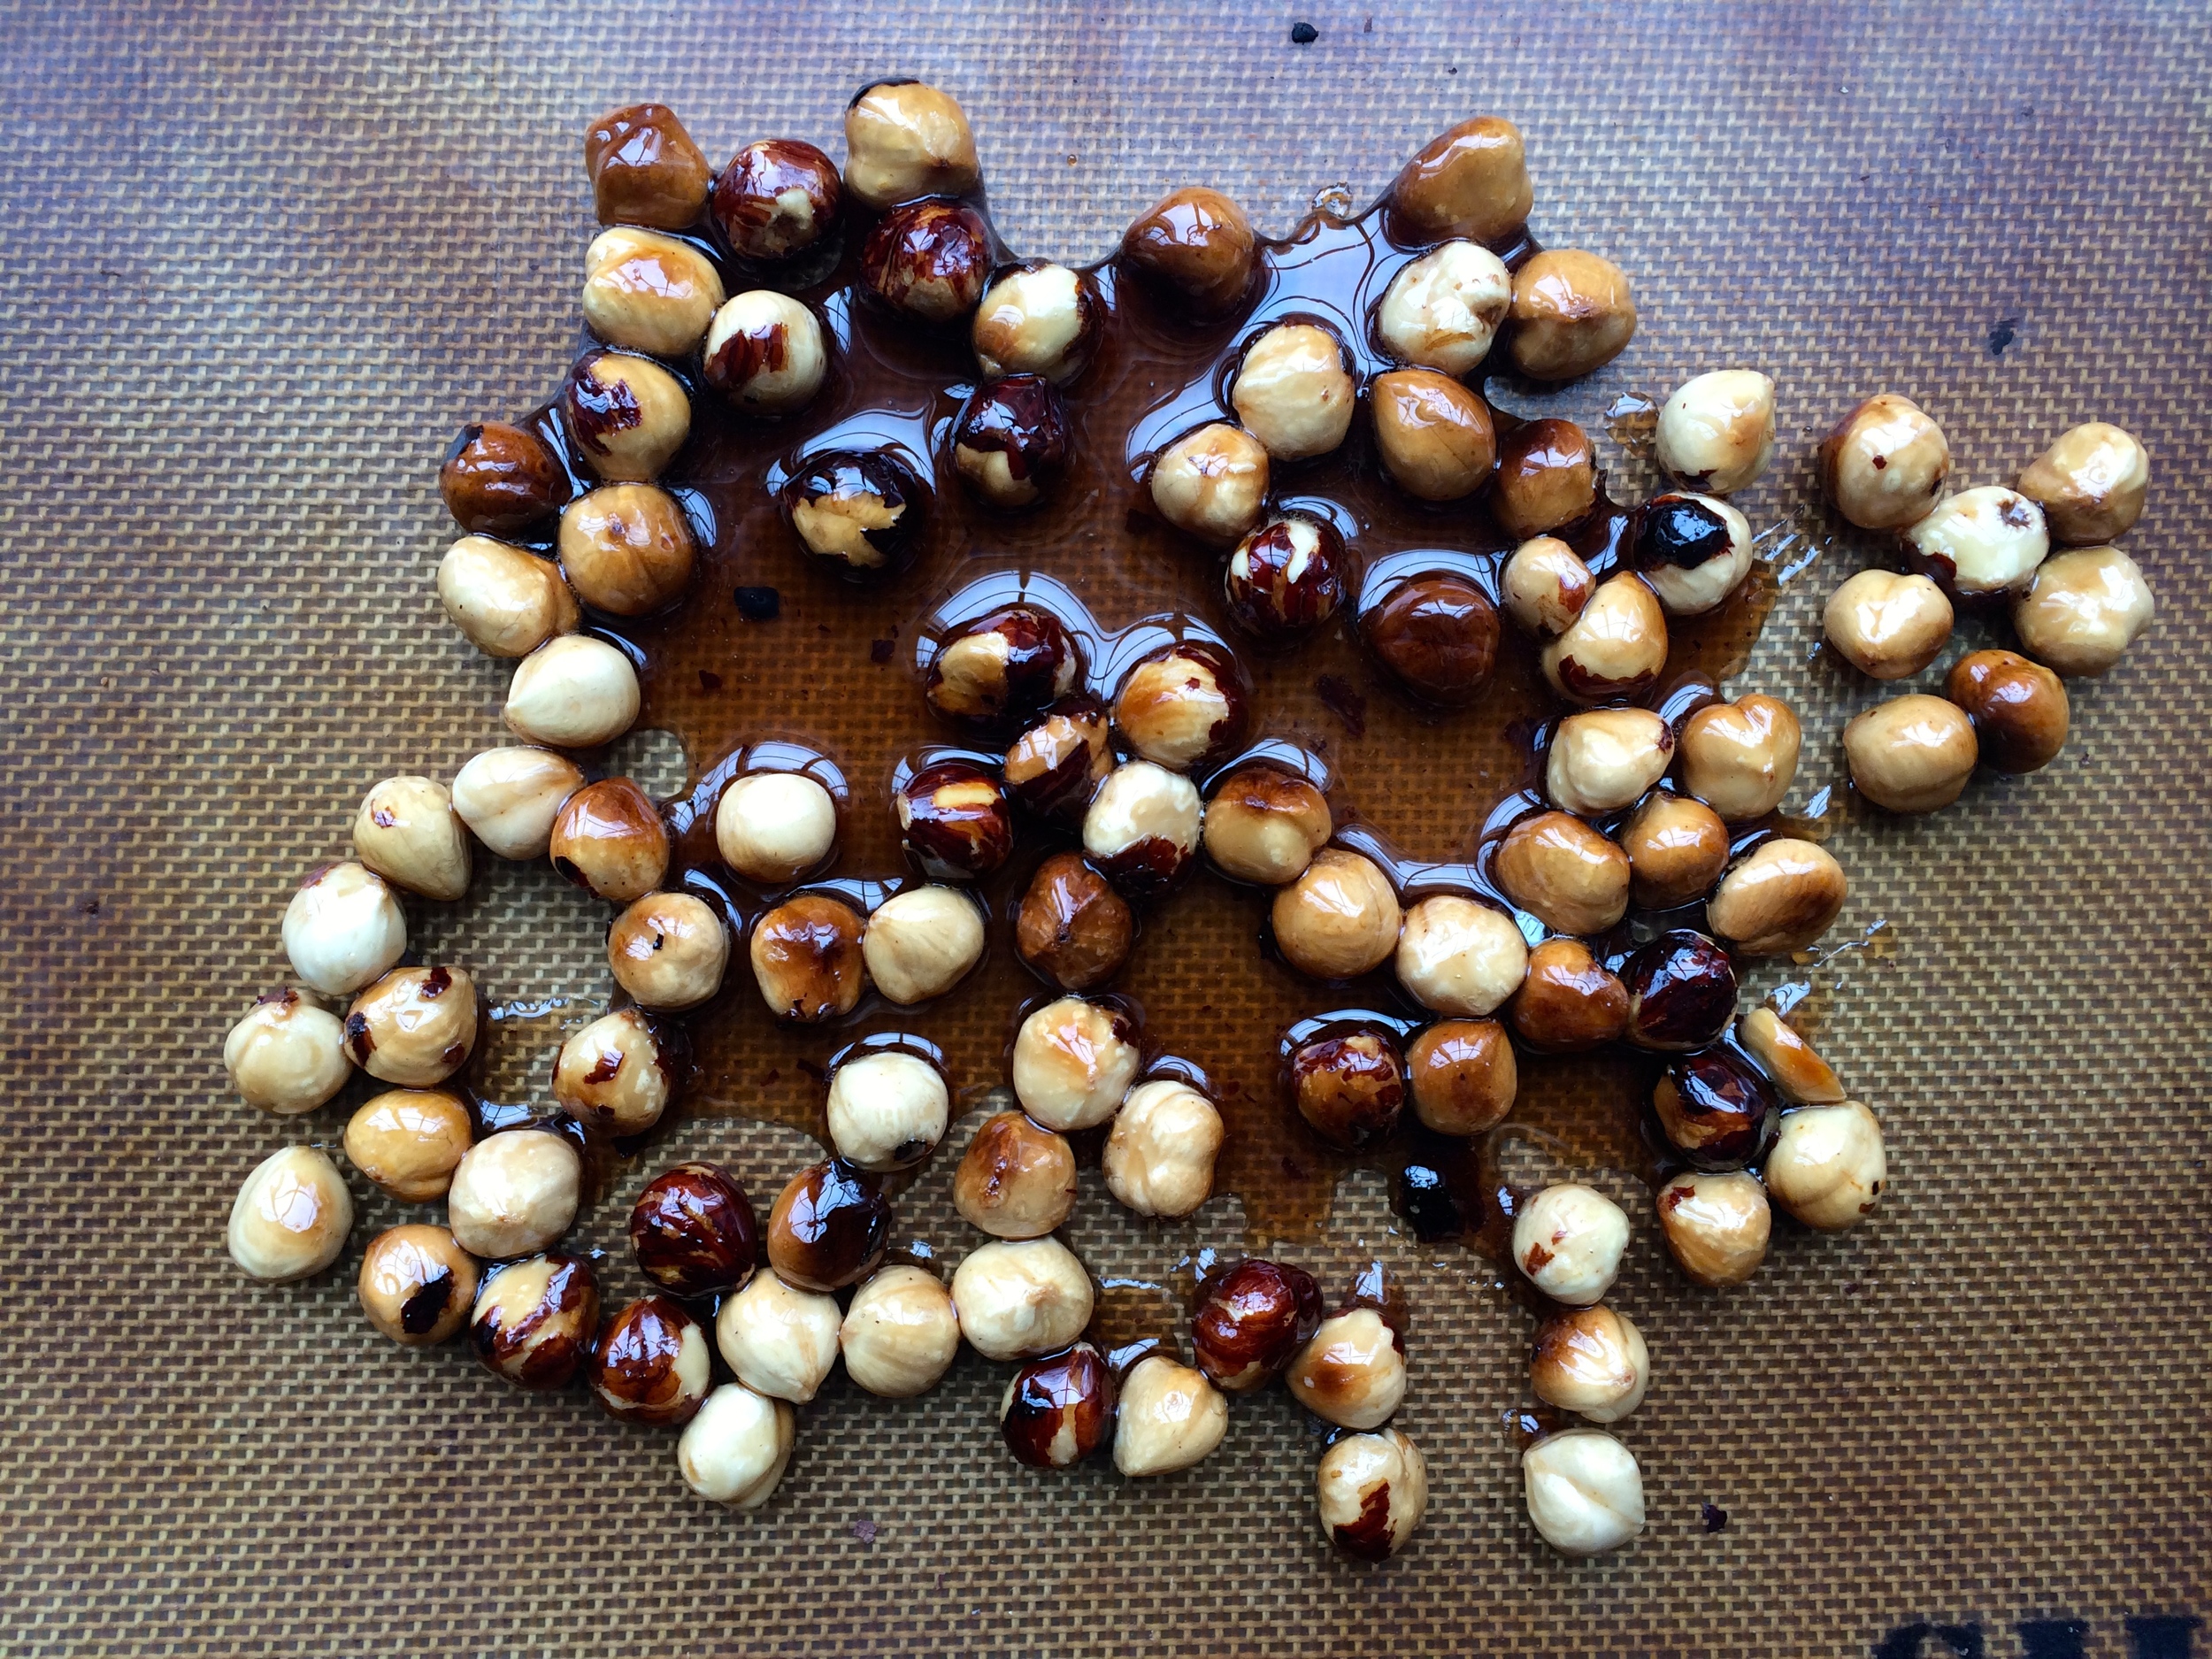
When most of the skins are removed, transfer 2/3 cup of the hazelnuts to a saucepan. Add the maple syrup, vanilla extract, and sea salt and stir to combine. Bring the mixture to a boil over medium-high heat for 10-12 minutes, stirring often. You want the maple syrup to darken and thicken. In the meantime, line a baking sheet with parchment or a Silpat. When the maple syrup mixture is ready, remove from heat and spread the mixture in an even layer on the lined baking sheet and allow to cool completely. I placed my mixture outside in the freezing winter cold, but you can place the baking sheet in the freezer or fridge to speed up the process. The mixture should harden and crystallize, but don't fret if it's still a little soft after 30 minutes or so, as the truffles will still come together in the end.

IMG_3708.jpg
IMG_3712.JPG
IMG_3715.jpg
IMG_3719.JPG

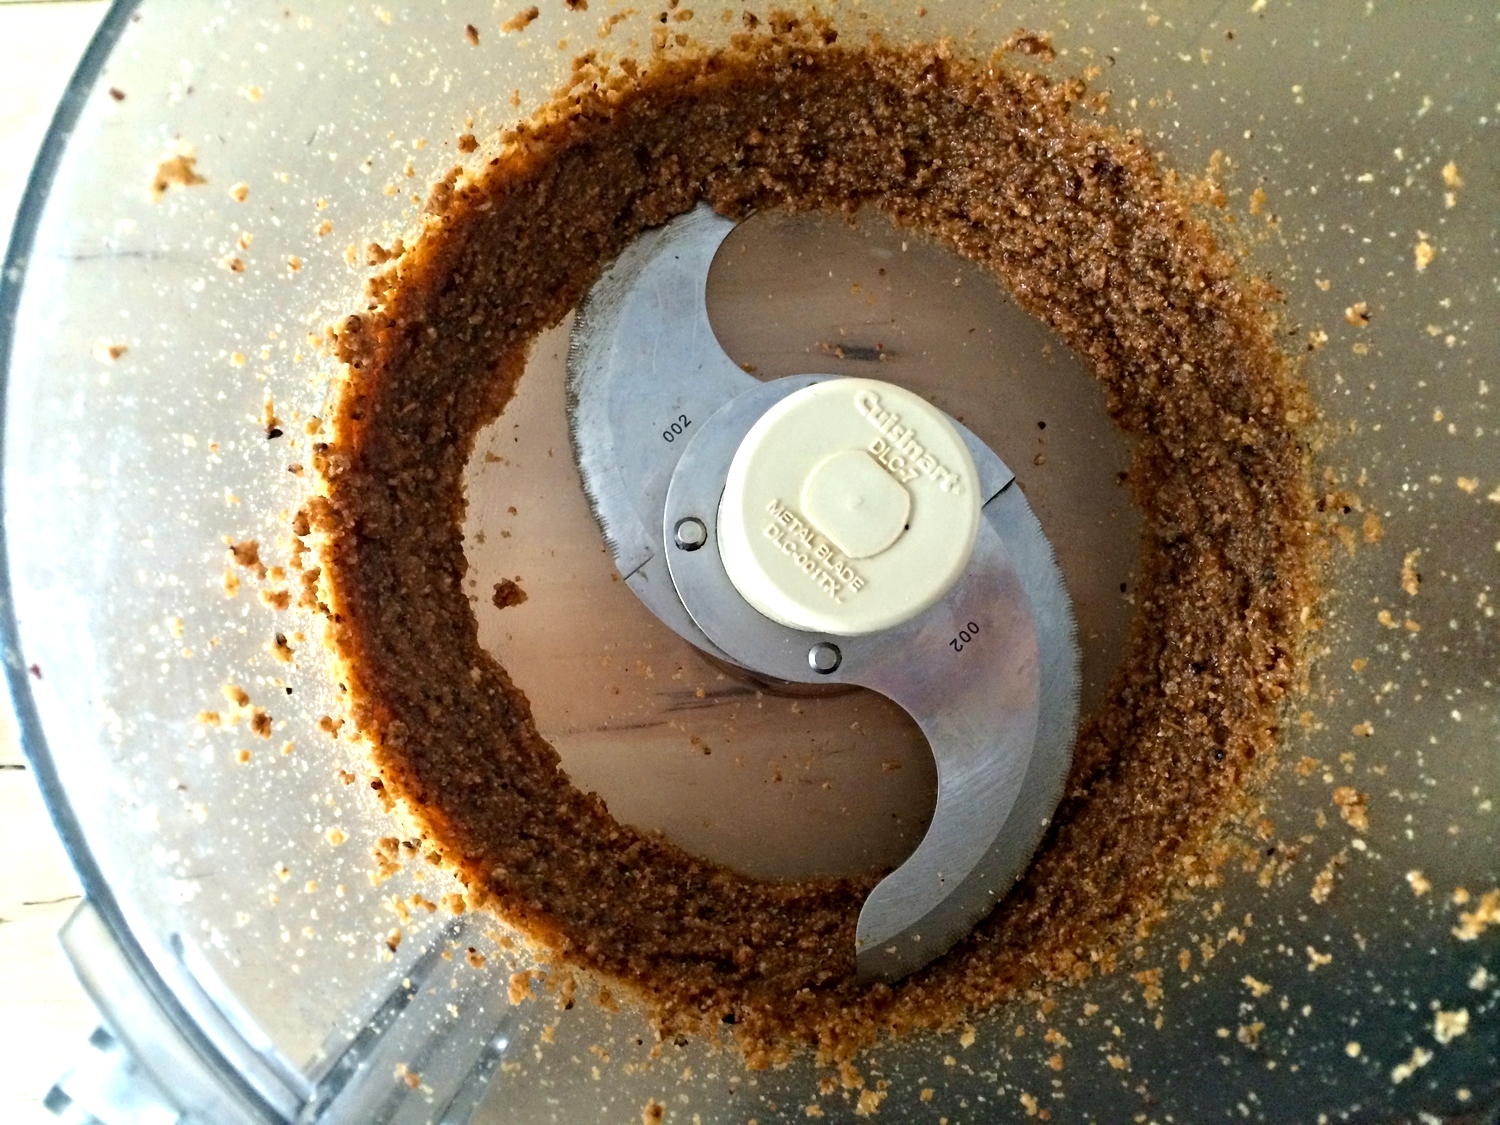
Break the hardened hazelnut praline into pieces and process in a food processor for 2-3 minutes or until the mixture resembles a chunky nut butter. Set aside.

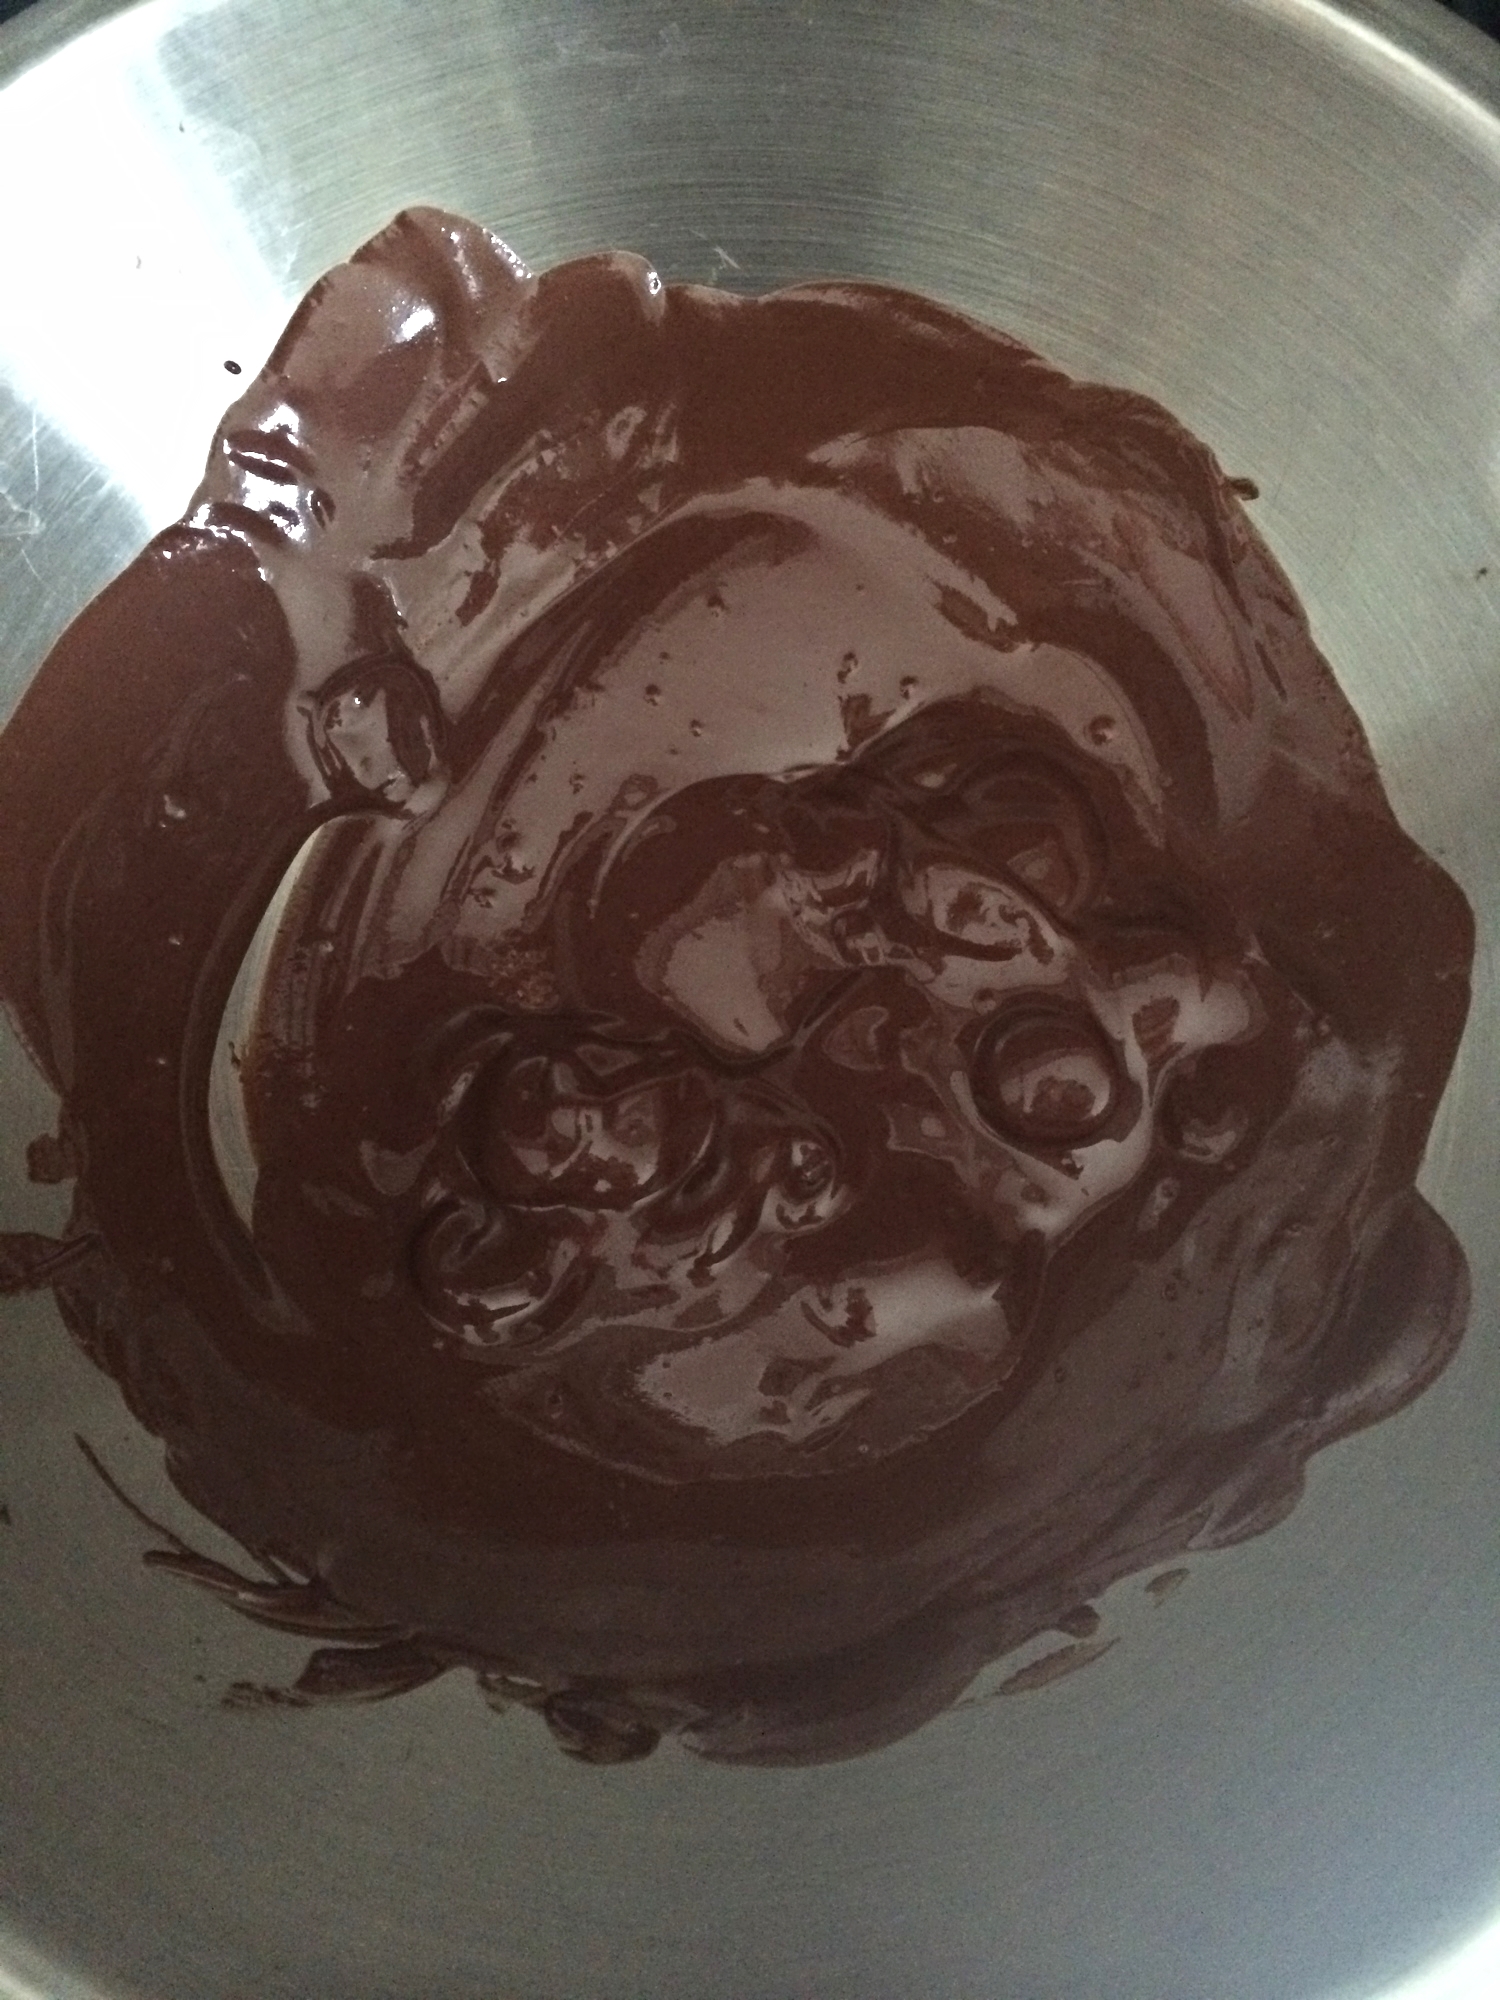
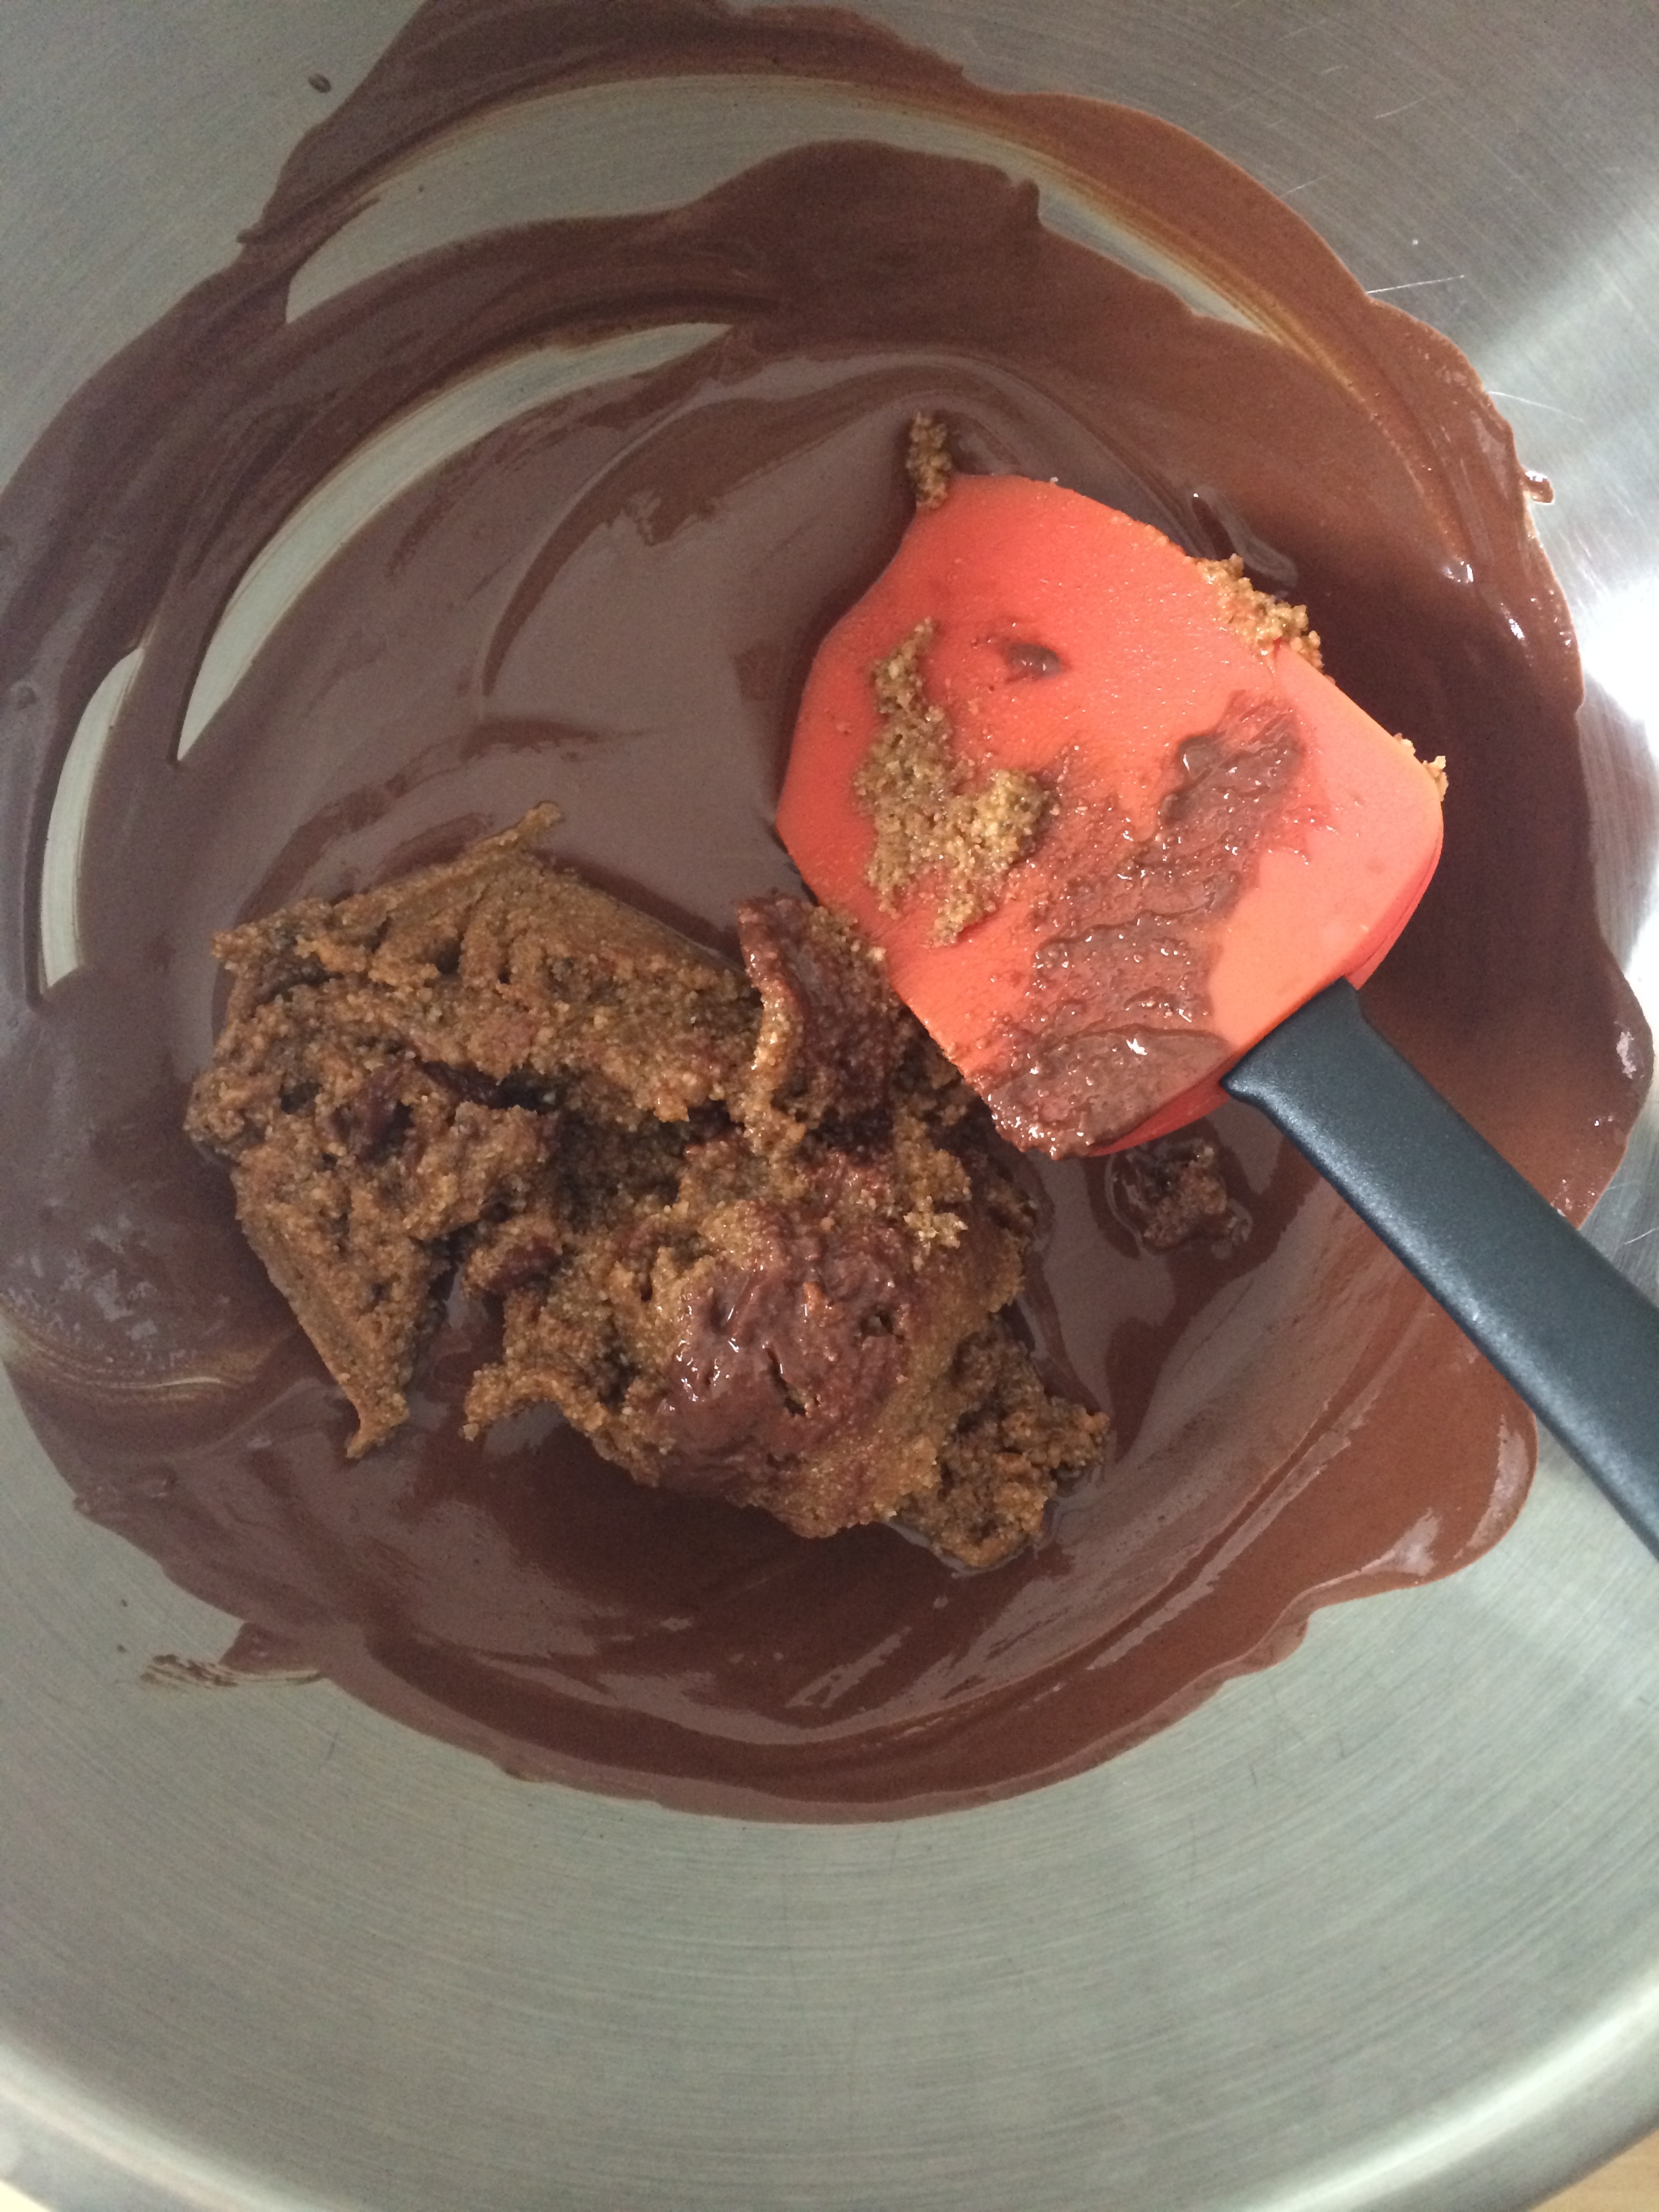
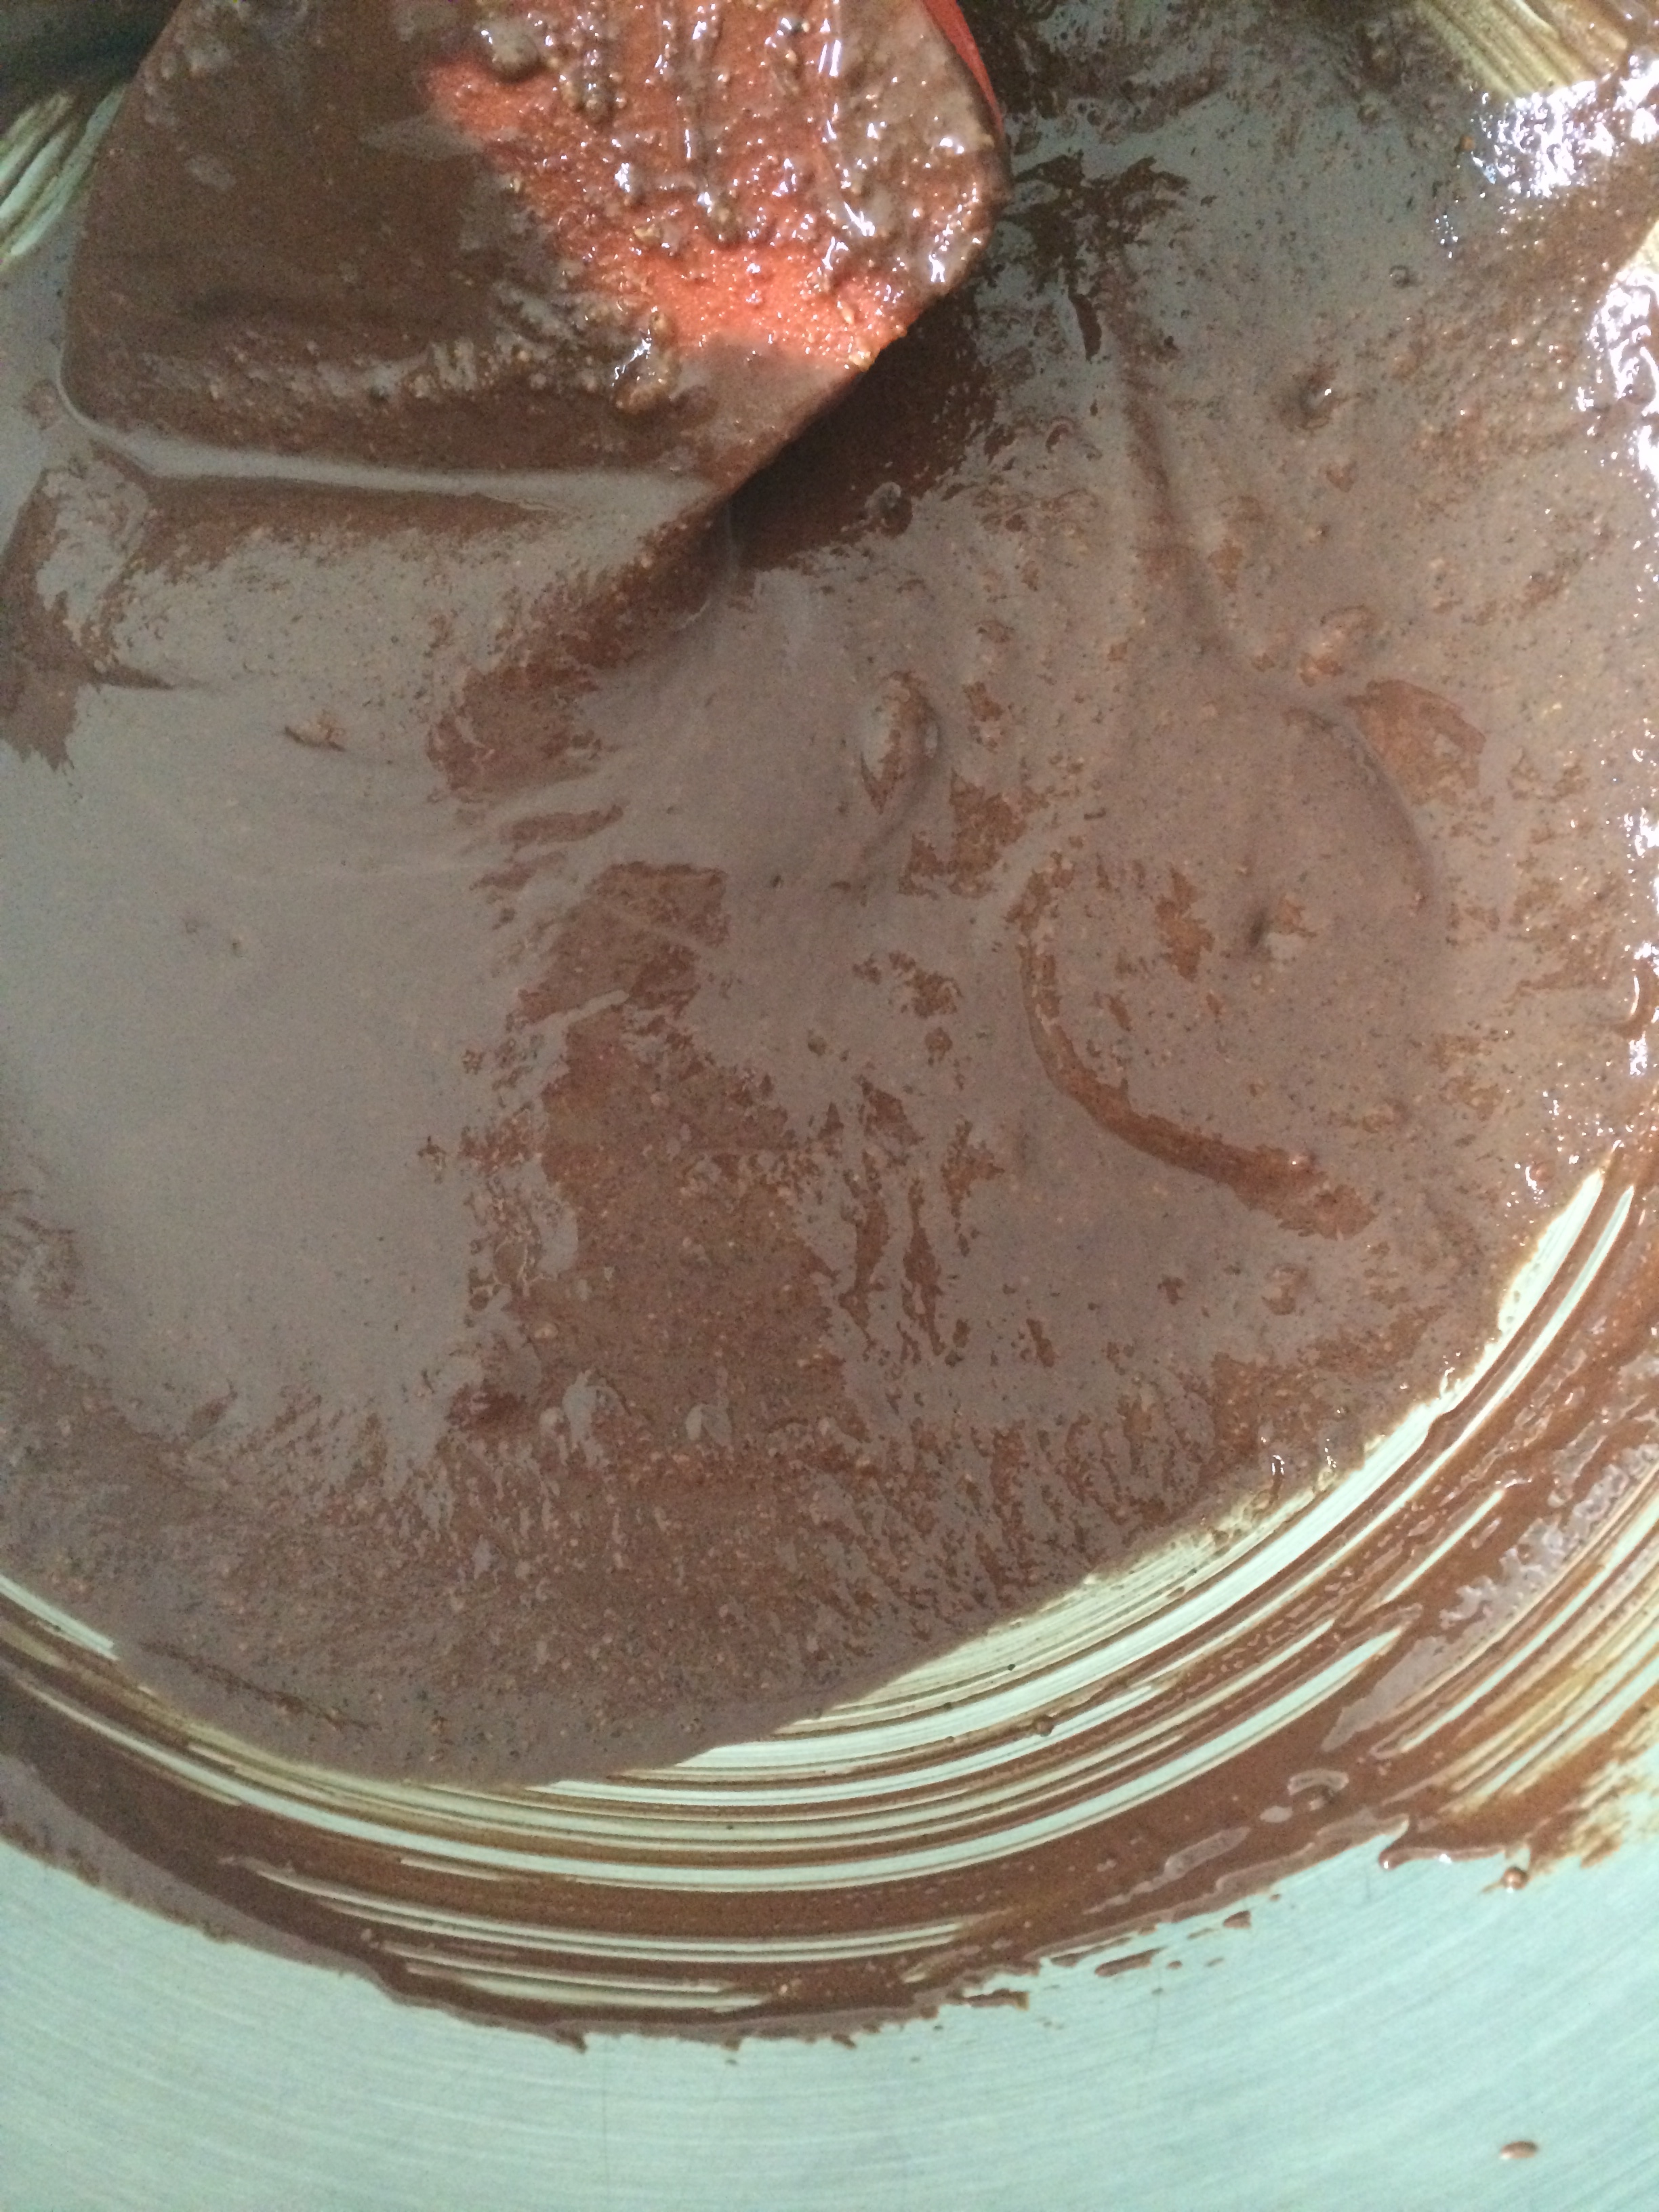
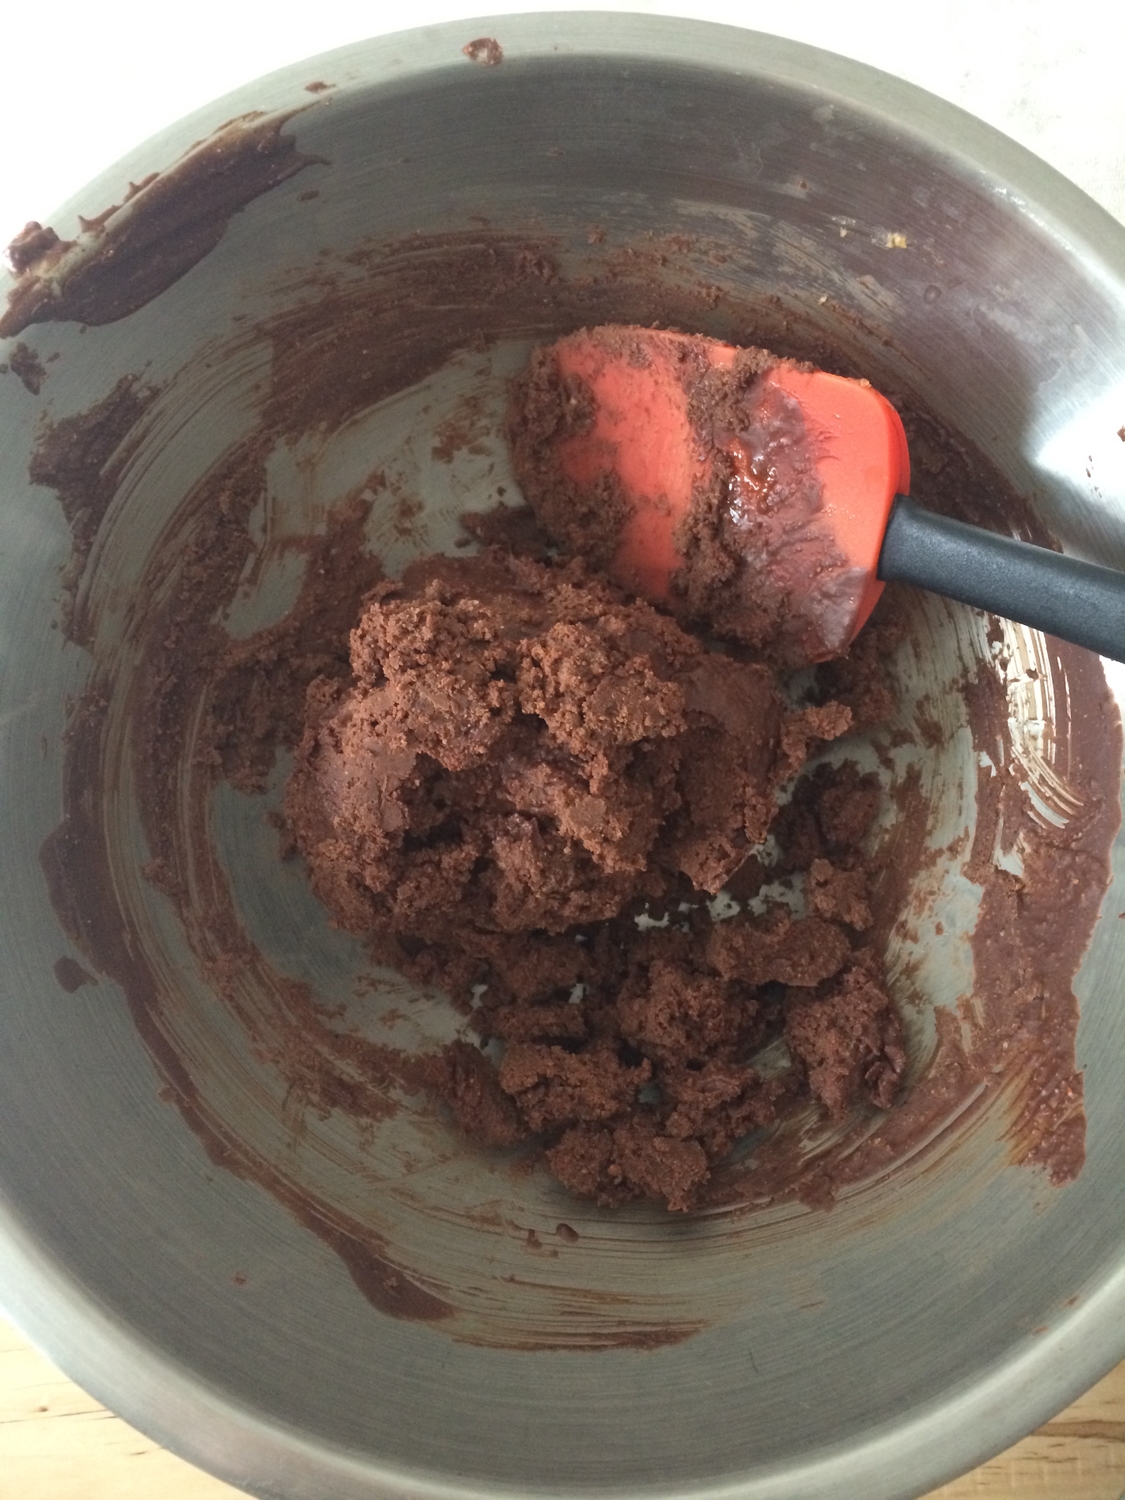
Begin to melt 1 cup of 70 % dark chocolate in a double boiler, stirring often. Just as the chocolate mixture is almost completely melted, remove the bowl from the heat and stir until smooth. Add the processed hazelnut praline mixture and mix thoroughly. Allow the chocolate hazelnut mixture to cool completely, about 30 minutes. You can place the mixture in the fridge, stirring every 10 minutes or so to speed up the cooling. This will make it easier to roll the truffles.  

IMG_3724.jpg
IMG_3720.jpg
IMG_3726.jpg
IMG_3727.jpg

In the meantime, roughly chop the remaining 1/3 cup of hazelnuts either by hand or in the food processor. Set aside 2 tablespoons of these hazelnuts for decorating. Place the remaining 1 cup of dark chocolate in another bowl that can be used as a double boiler.

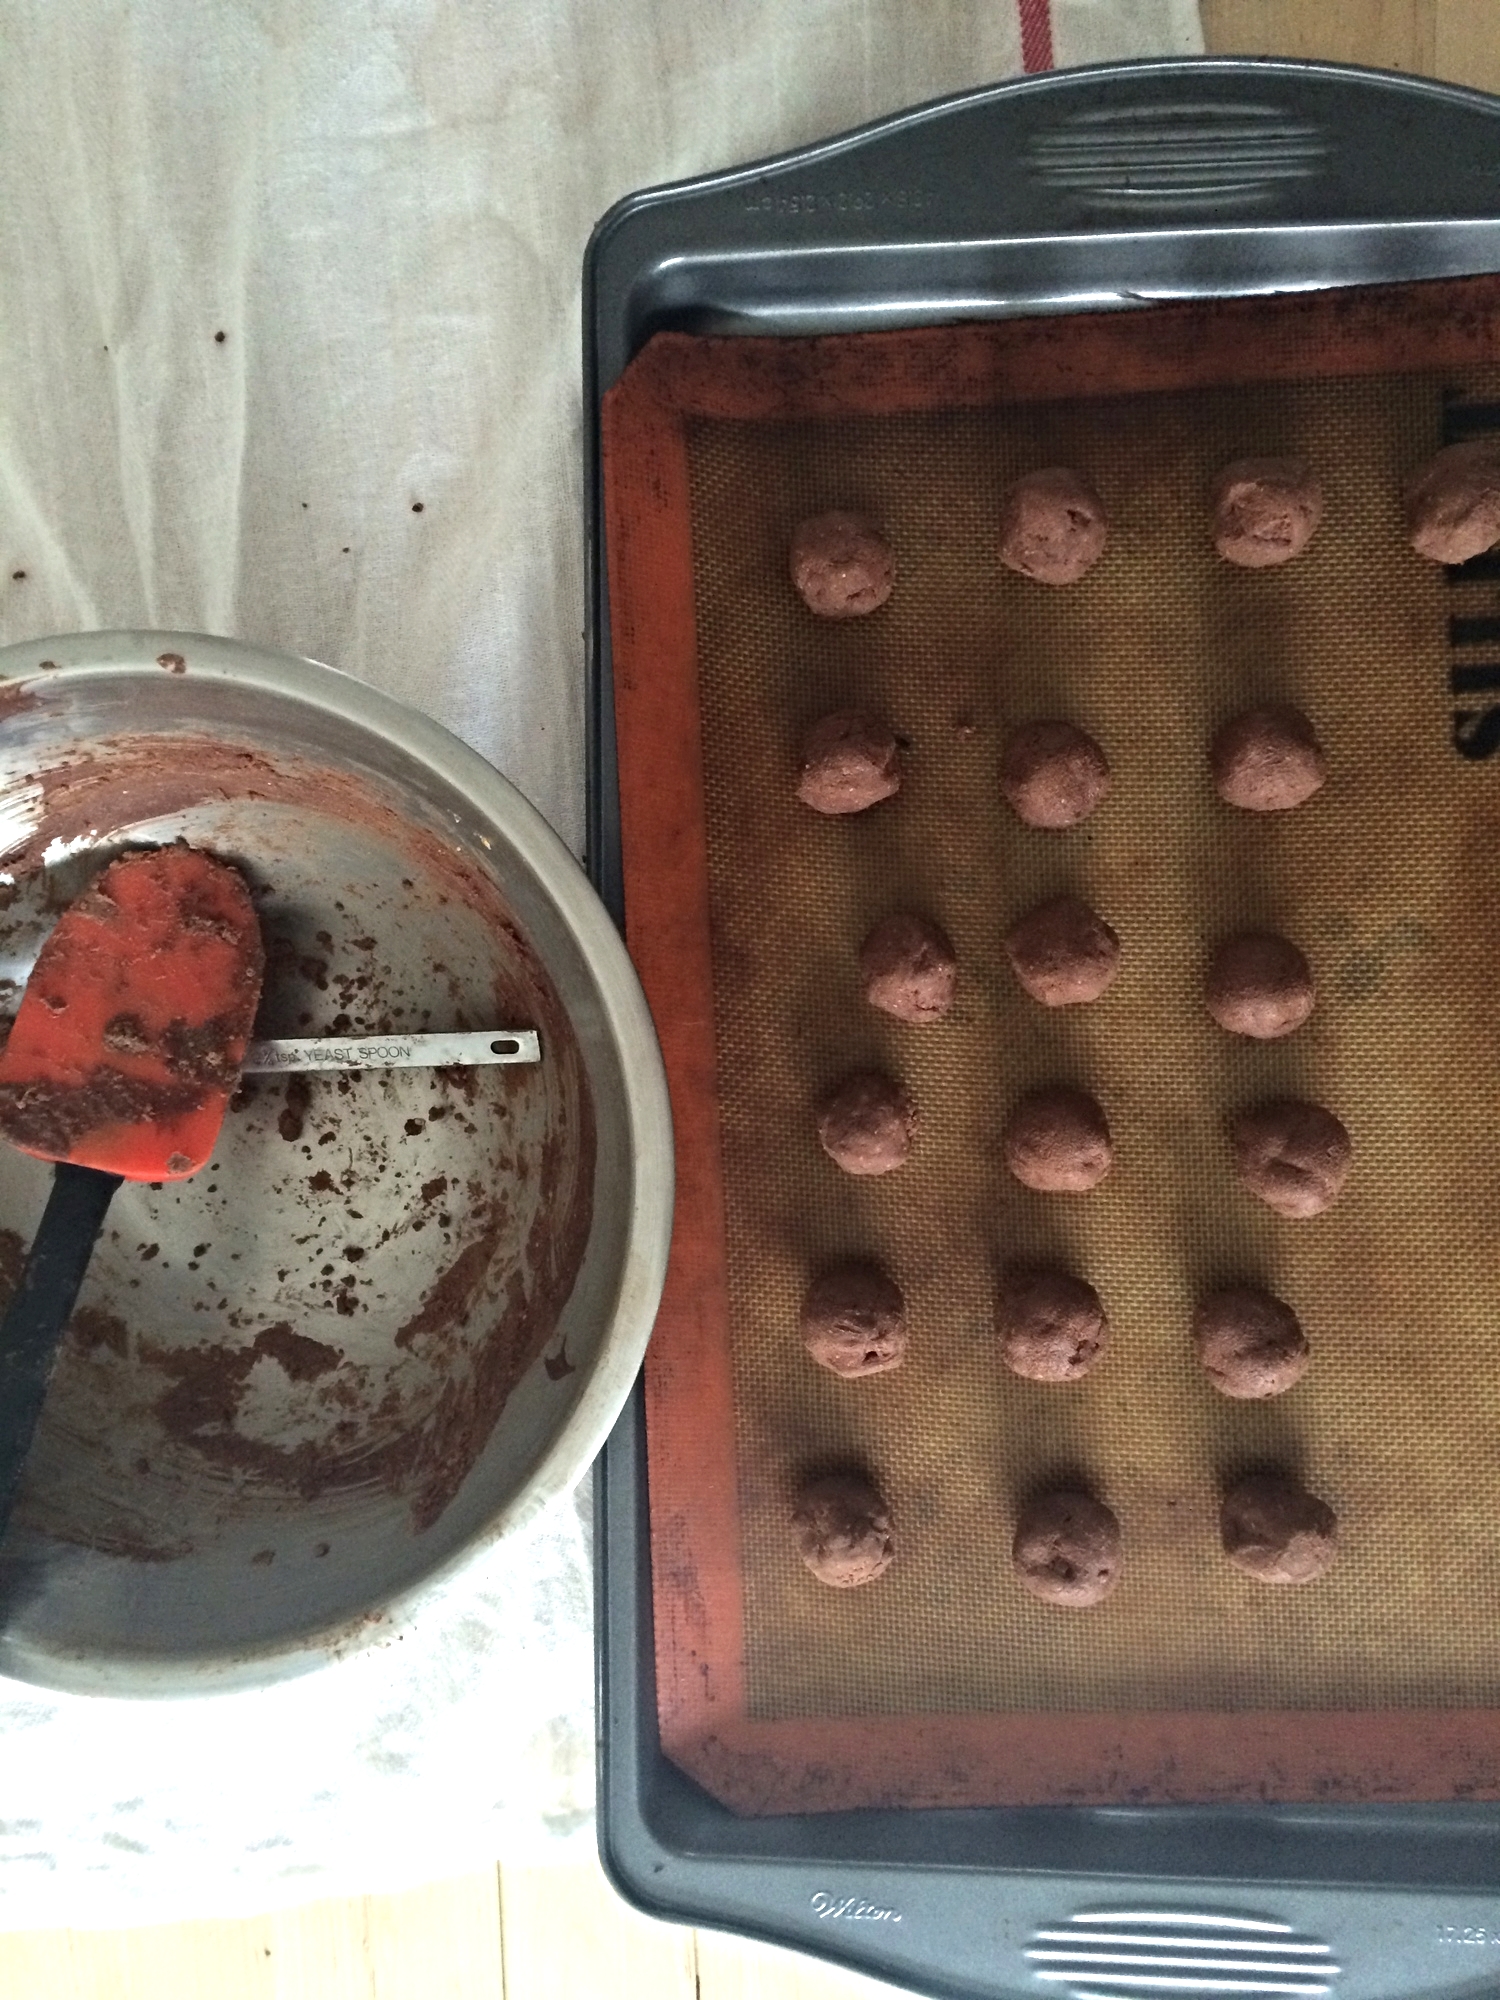
When the hazelnut mixture has become stiffer and colder, you can begin to form the truffles. Line a baking sheet with parchment or a Silpat. Using a measuring spoon, scoop a scant tablespoon of the mixture into your hands and roll it into balls. I happen to have a 2 1/4 teaspoon measuring spoon for measuring yeast for bread making so I used that, but use whatever you have on hand. The mixture may seem stiff or crumbly at first, but it's easy to press the pieces back together if that happens. You should have about 18-20 truffles by the time you are done. Place these truffles in the fridge or freezer for a few minutes as you prepare the crunchy chocolate coating.

IMG_3730.JPG
IMG_3732.jpg
IMG_3737.jpg

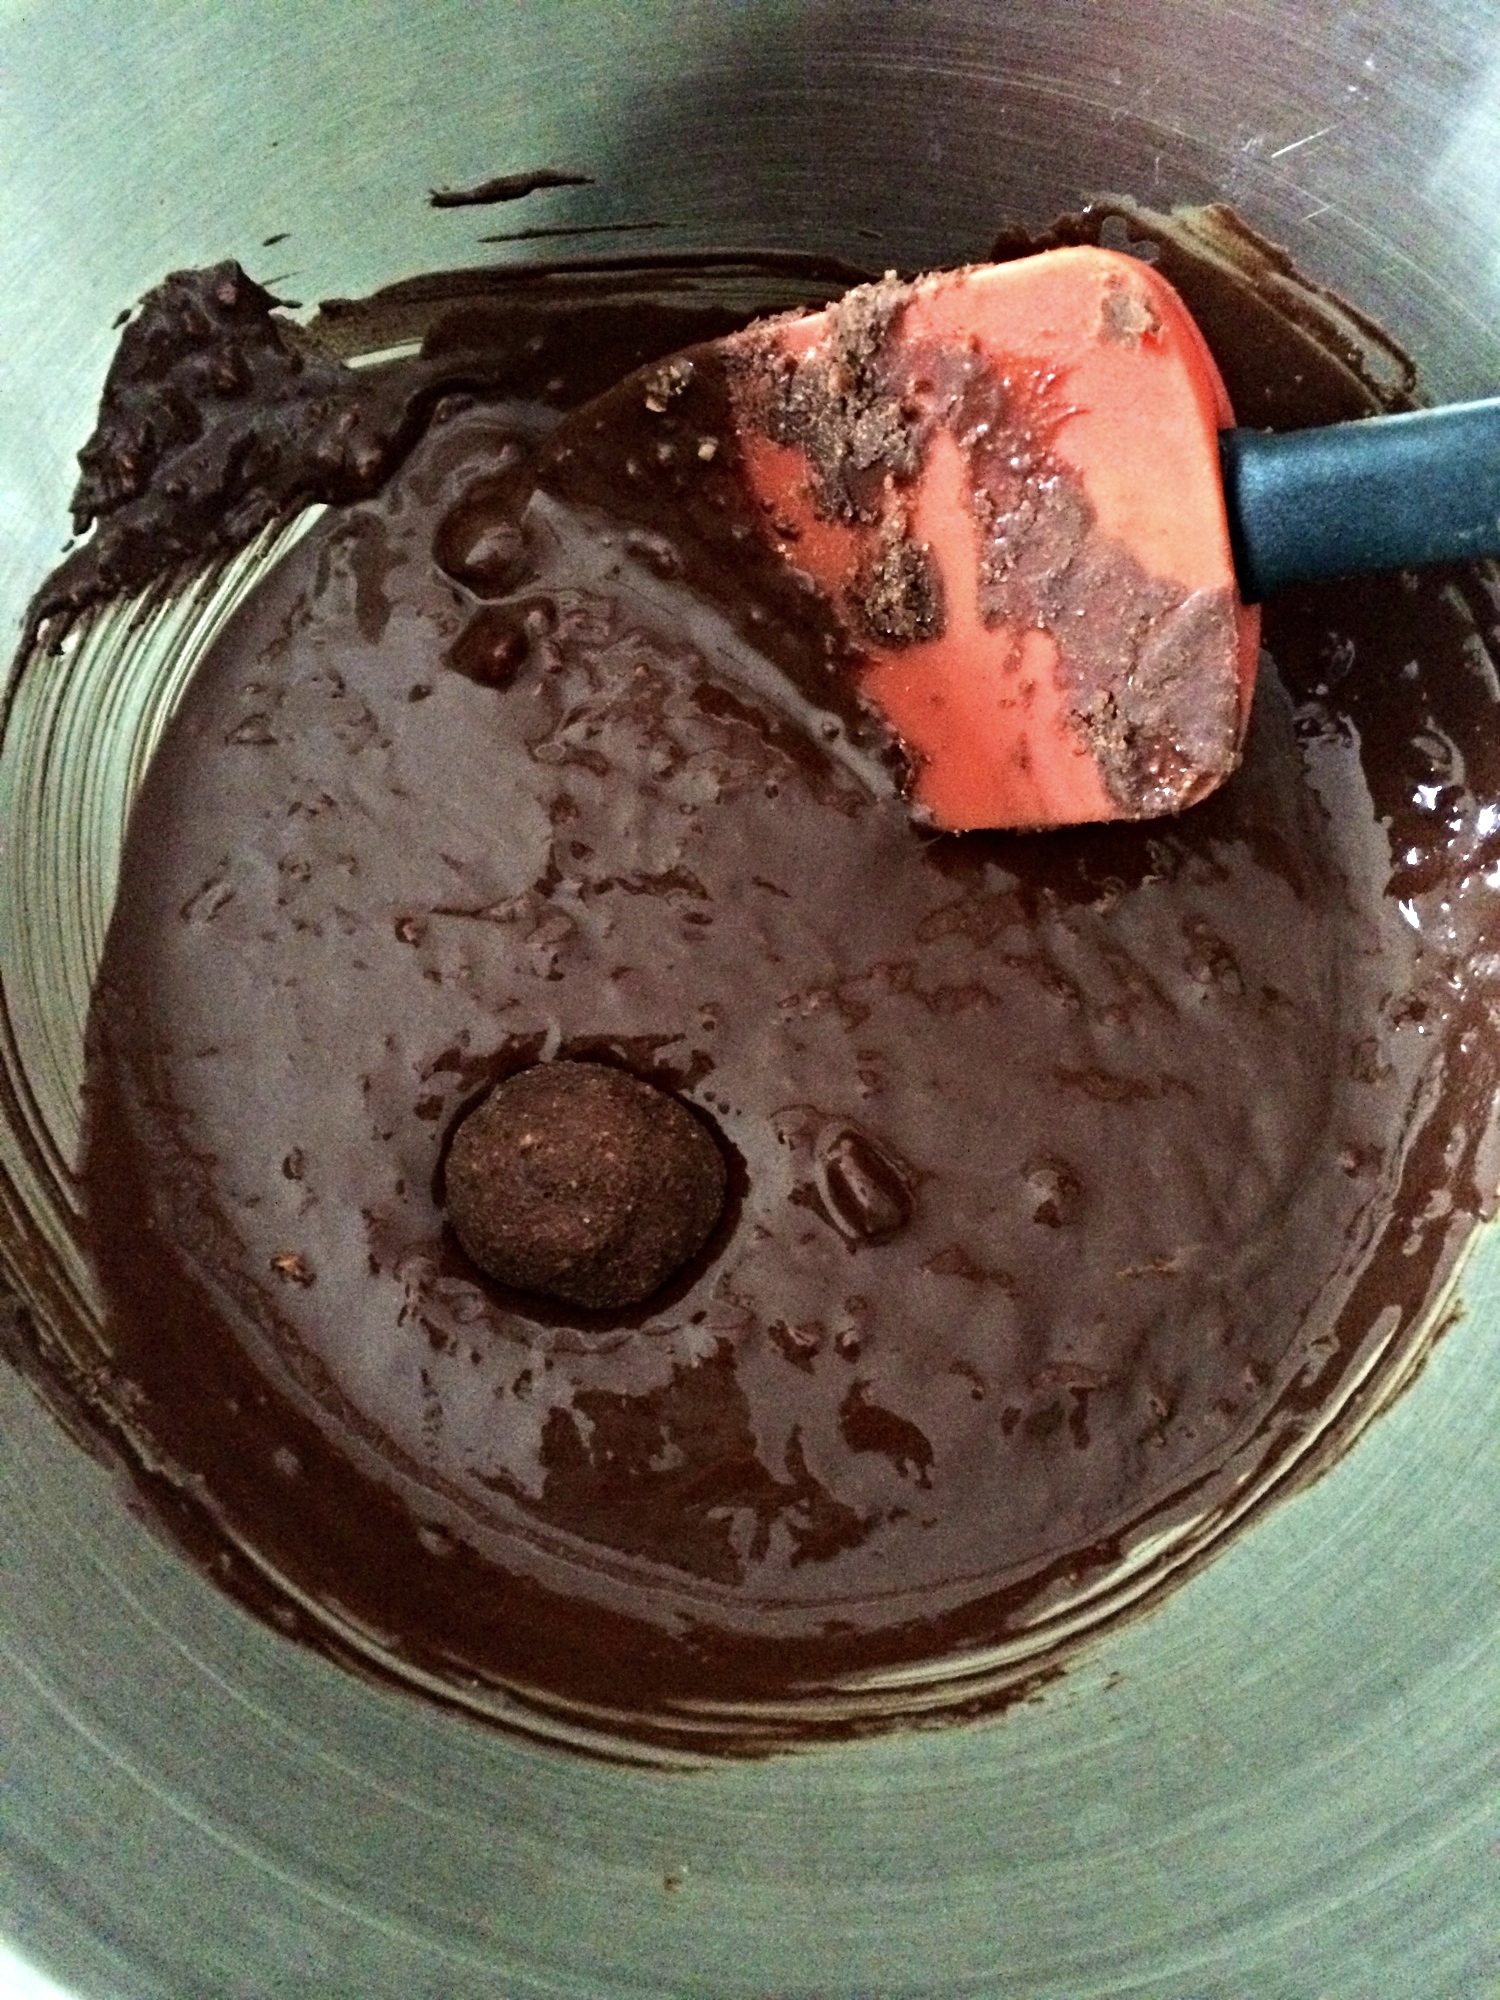
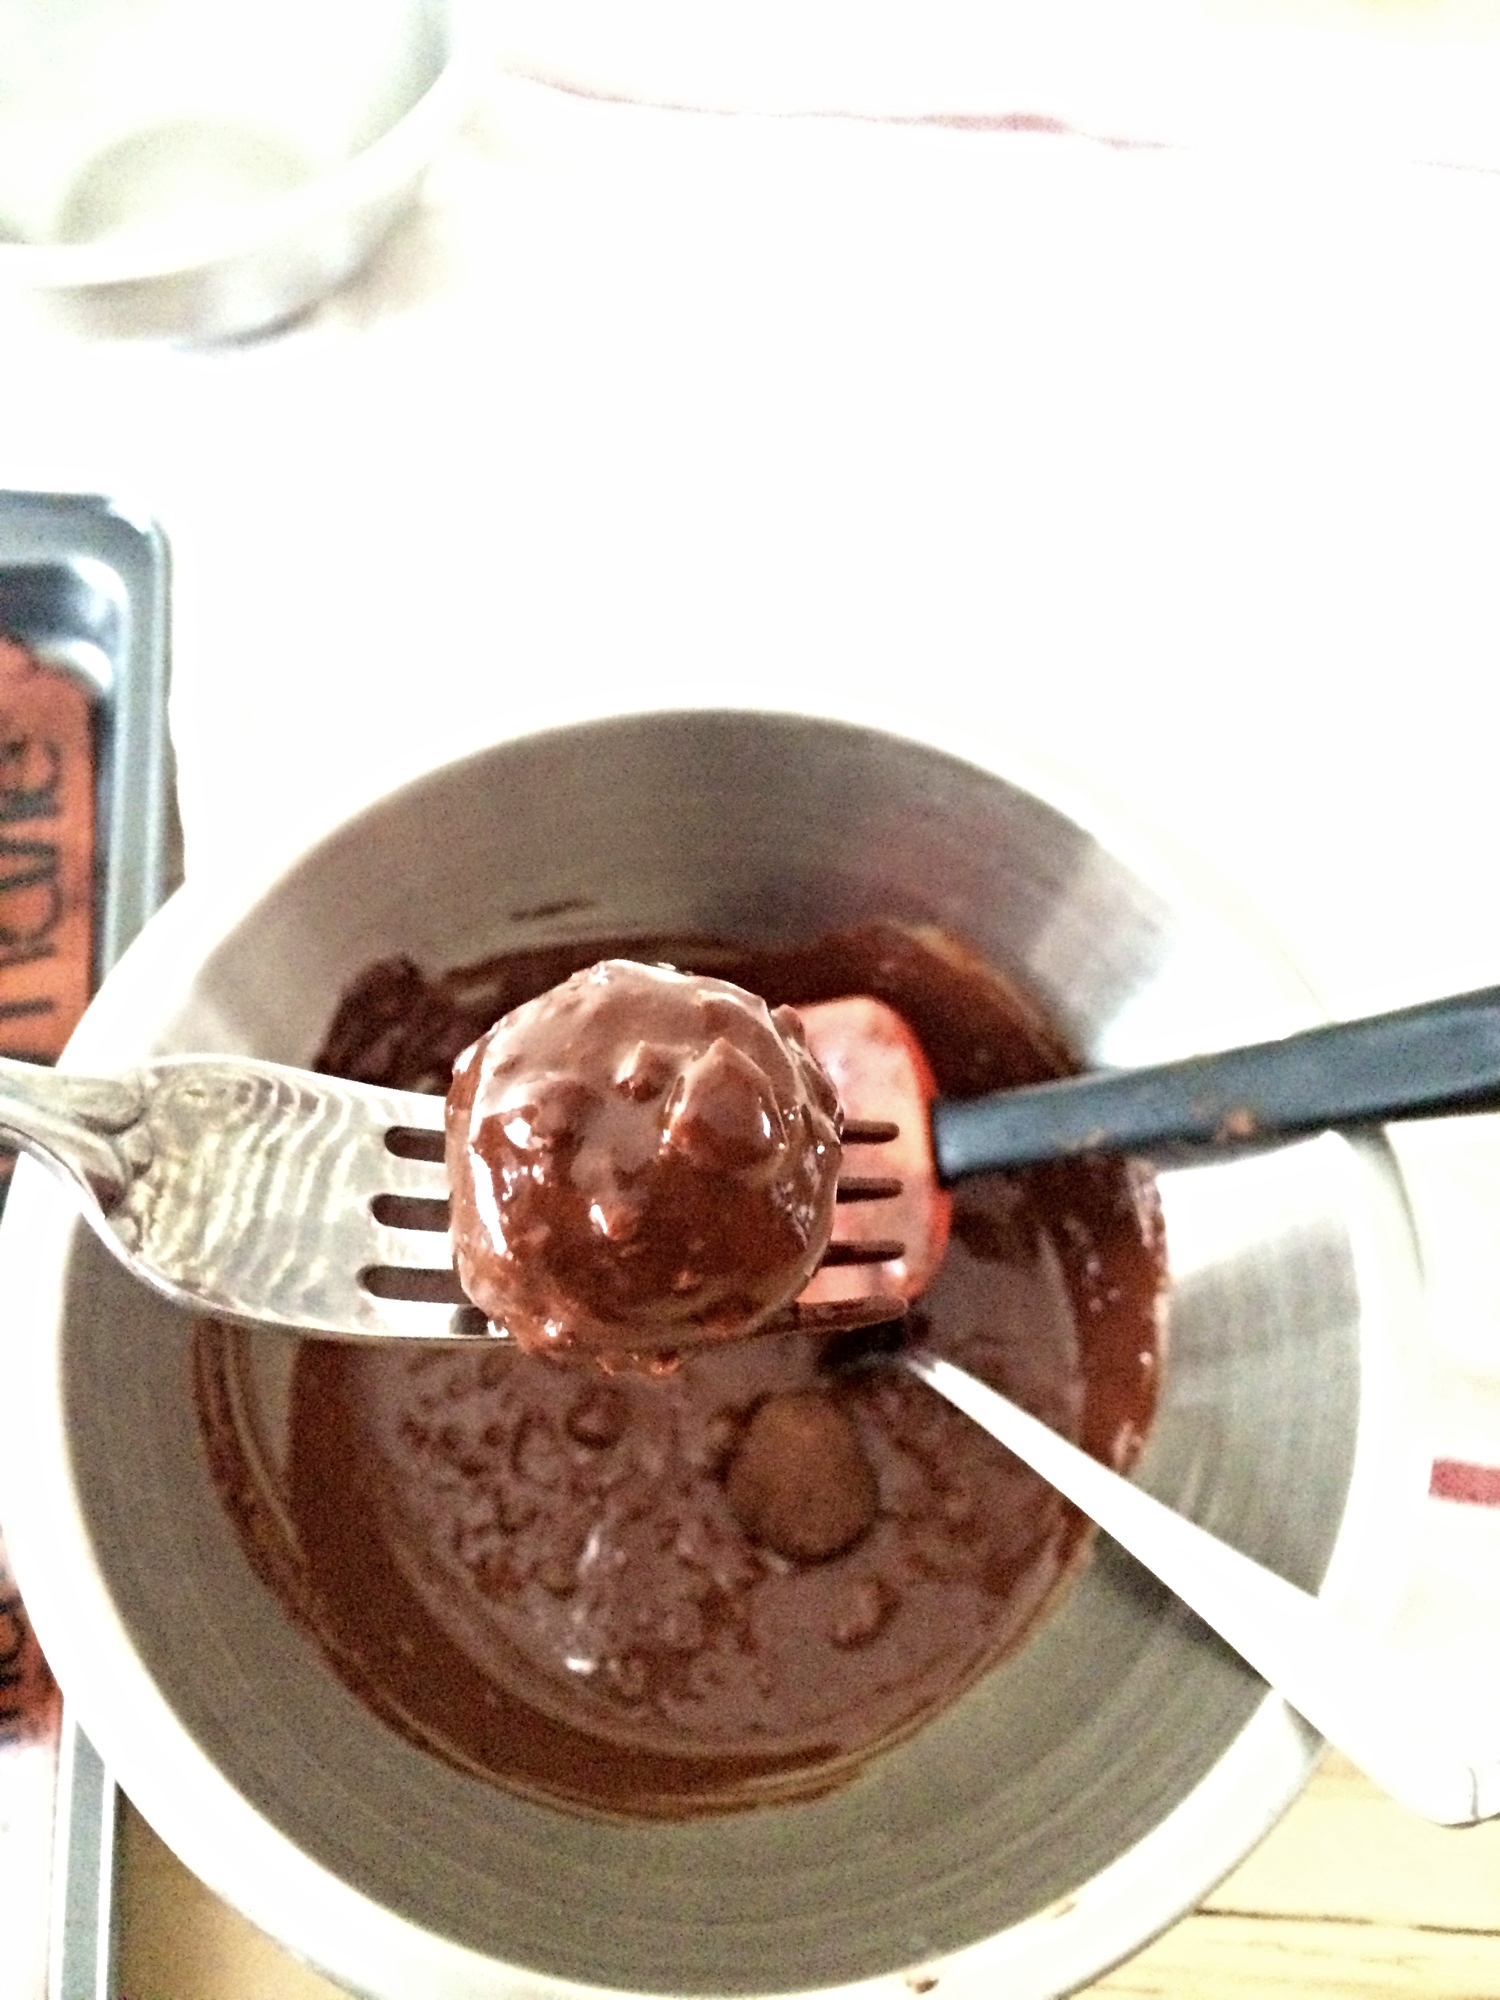
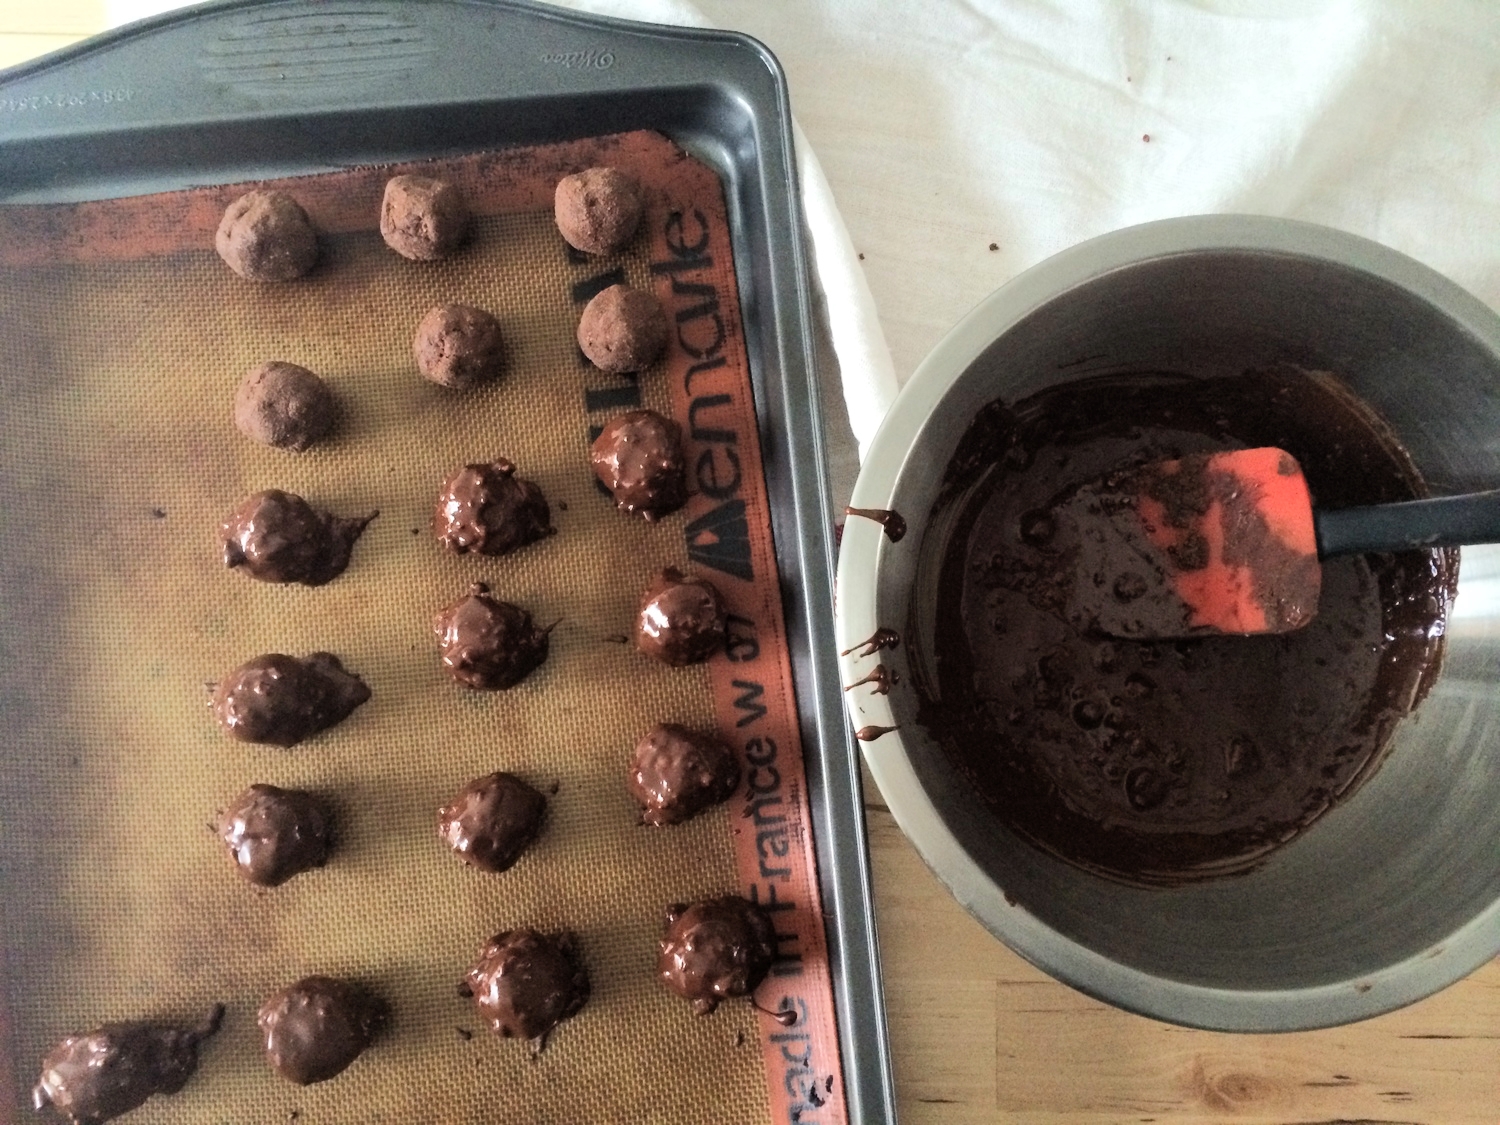
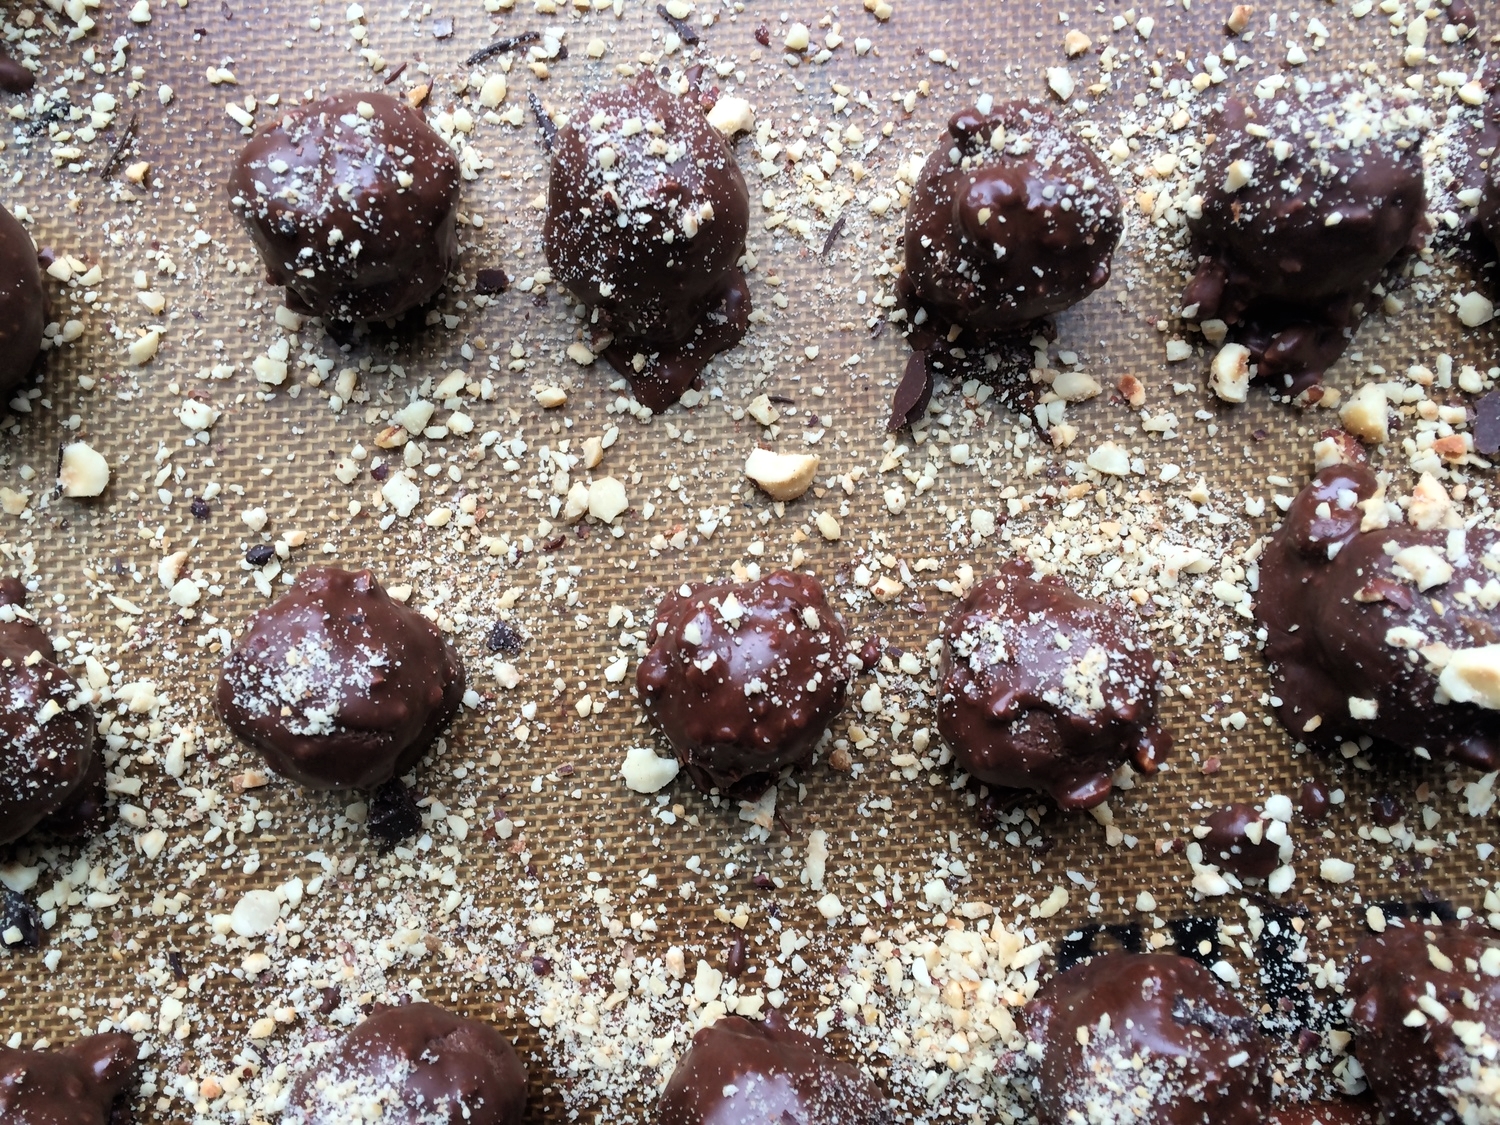
Over a double boiler, melt the 1 cup of dark chocolate. Just as the chocolate mixture is almost completely melted, remove the bowl from the heat and stir until smooth. Add the reserved roughly chopped hazelnuts (not the 2 tablespoons set aside for decorating), and stir to combine. Remove the truffles from the fridge or freezer and using two forks, dip each truffle into the melted chocolate until evenly coated. Allow any excess to drip off and return the coated truffle to the lined baking sheet. After all truffles have been dipped, carefully sprinkle the remaining 2 tablespoons of reserved chopped hazelnuts over the top of the truffles. Allow the truffles to cool completely in the fridge. These truffles can be served at room temperature, but it is best to store them in the refrigerator. They should last about 7-10 days if properly stored. Makes 18-20 truffles.

IMG_3740.jpg
IMG_3739.jpg
IMG_3741.jpg
IMG_3742.JPG
IMG_3750.JPG
IMG_3766.jpg
In Sweets Tags recipe, chocolate, hazelnut
Comment
Hi! I'm Emily. I love to cook whole, nourishing foods, and this is where I share my kitchen experiments and sometimes a little bit of life.

Hi! I'm Emily. I love to cook whole, nourishing foods, and this is where I share my kitchen experiments and sometimes a little bit of life.

Featured
  • July 2017
  • May 2017
  • April 2017
  • March 2017
  • February 2017
  • January 2017
  • December 2016
  • November 2016
  • October 2016
  • September 2016
  • August 2016
  • July 2016
  • June 2016
  • May 2016
  • April 2016
  • March 2016
  • February 2016
  • January 2016
  • December 2015
  • November 2015
  • October 2015
  • September 2015
  • August 2015
  • July 2015
  • June 2015
  • May 2015
  • April 2015
  • March 2015
  • February 2015

  • Appetizers 18
  • Breakfast 18
  • Life 4
  • Mains 39
  • Miscellaneous 2
  • Salads 21
  • Sandwiches 6
  • Side Dishes 8
  • Smoothies 4
  • Snacks 10
  • Soups 14
  • Spreads Dips Sauces 5
  • Sweets 6
  • Vegetarian 1

  • almonds
  • appetizers
  • autumn
  • avocado
  • breakfast
  • brown rice
  • chickpeas
  • chocolate
  • cilantro
  • coconut
  • coconut milk
  • fall
  • gluten-free
  • kale
  • lentils
  • make ahead
  • mint
  • oatmeal
  • recipe
  • salad
  • snack
  • soup
  • spring
  • summer
  • sweet potatoes
  • tahini
  • vegan
  • vegetarian
  • walnuts
  • winter

subscribe

Sign up with your email address to receive new posts directly

We respect your privacy.

Thank you!

All photographs, recipes and content are property of Nourishing Matters, unless otherwise noted. Please do not redistribute without my permission. Thank you!

Powered by Squarespace