• Home
    • About Nourishing Matters
    • About Emily
    • Frequently Asked Questions
  • Recipes
    • Offerings
    • Past Programs and Events
    • Experience and Teaching Style
    • Articles and Features
    • Travel
Menu

nourishing matters

Street Address
City, State, Zip
Phone Number
where wholesome meets delicious

Your Custom Text Here

nourishing matters

  • Home
  • About
    • About Nourishing Matters
    • About Emily
    • Frequently Asked Questions
  • Recipes
  • Work with Me
    • Offerings
    • Past Programs and Events
  • Yoga
    • Experience and Teaching Style
  • Press
    • Articles and Features
  • Adventures
    • Travel

Buckwheat Crepes with Mushroom and Chard Filling

April 28, 2015 Emily Watson

Crepes are such a romantic food. My first encounter with them was on a trip to Barcelona when I was studying abroad after high school. They were selling them at a little cart at the beach, and my friends insisted I try one. Filled with nothing but Nutella, they were enormous. And they were heavenly. Thin and delicate, yet sturdy enough to hold the chocolatey hazelnut spread within it. I loved the crispy little edges, too. We sat on the dock eating them, allowing our feet to dangle over the edge, barely tickling the Mediterranean. I was determined to learn how to make crepes before leaving Barcelona and enrolled in a culinary class with some friends. Our instructor decided to teach us how to flip them in the pan with a swift flick of the wrist, and my all-too-eager friend jumped at the challenge. The next thing we knew, we had a buttery crepe stuck to the newly painted ceiling of our culinary instructor's apartment. It eventually fell, but not without leaving a perfect grease circle in its wake. Oops.

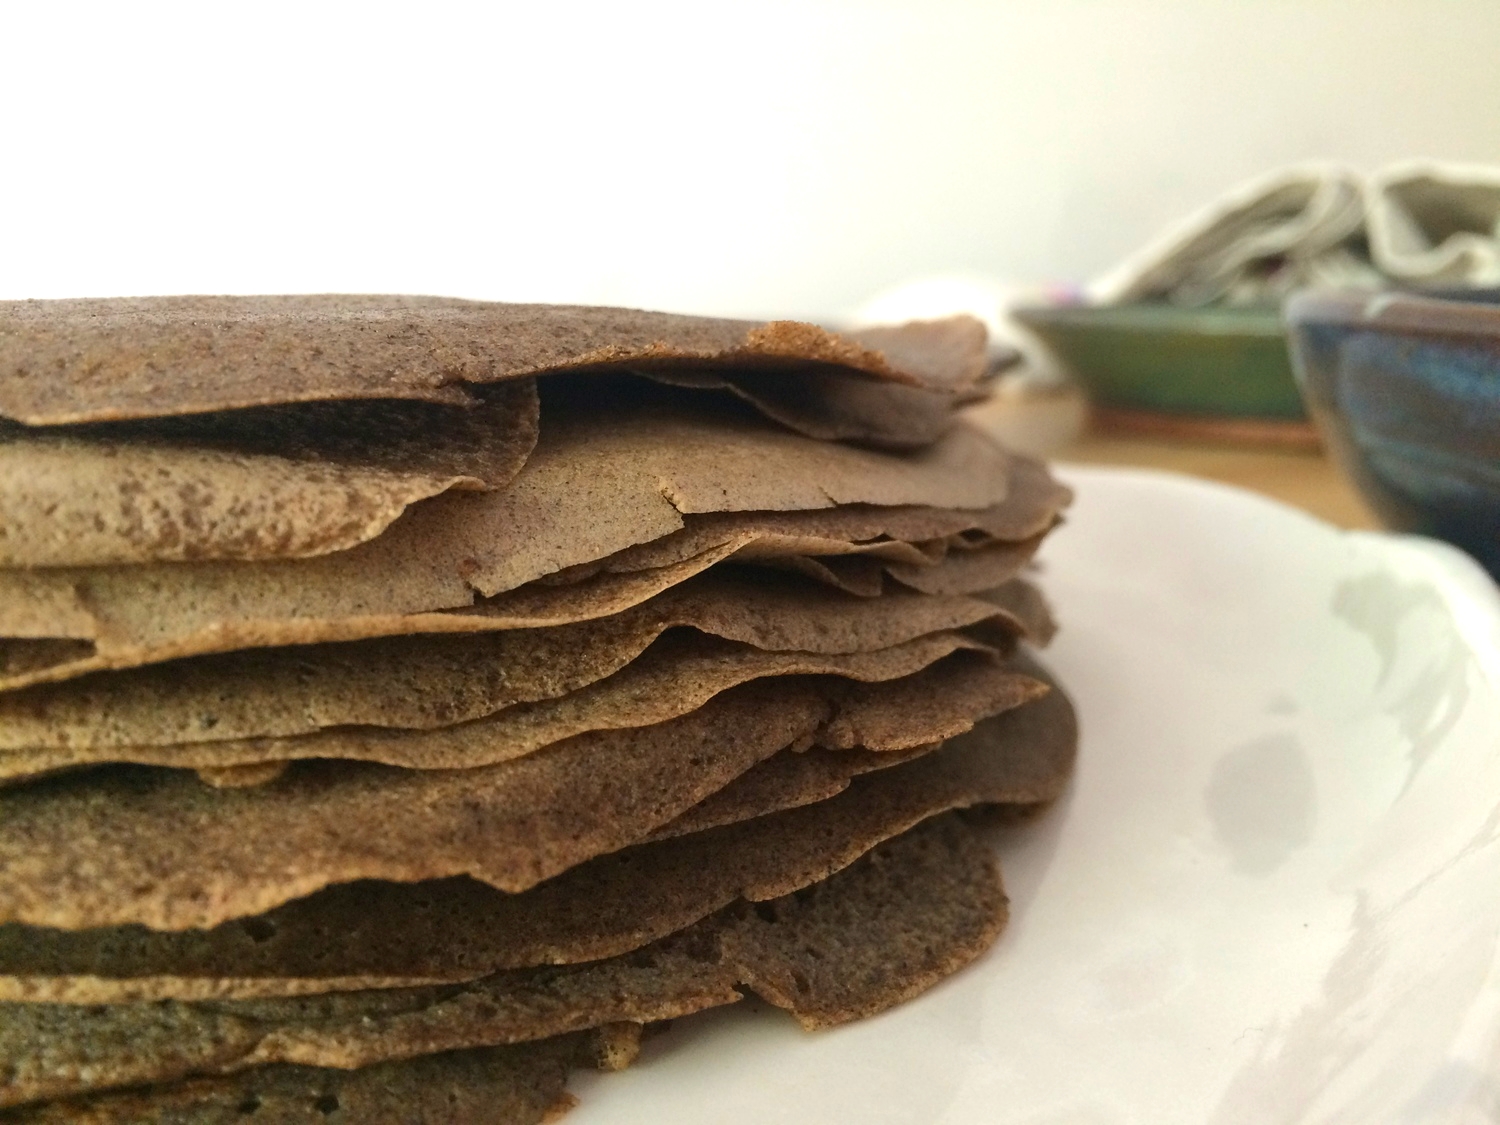
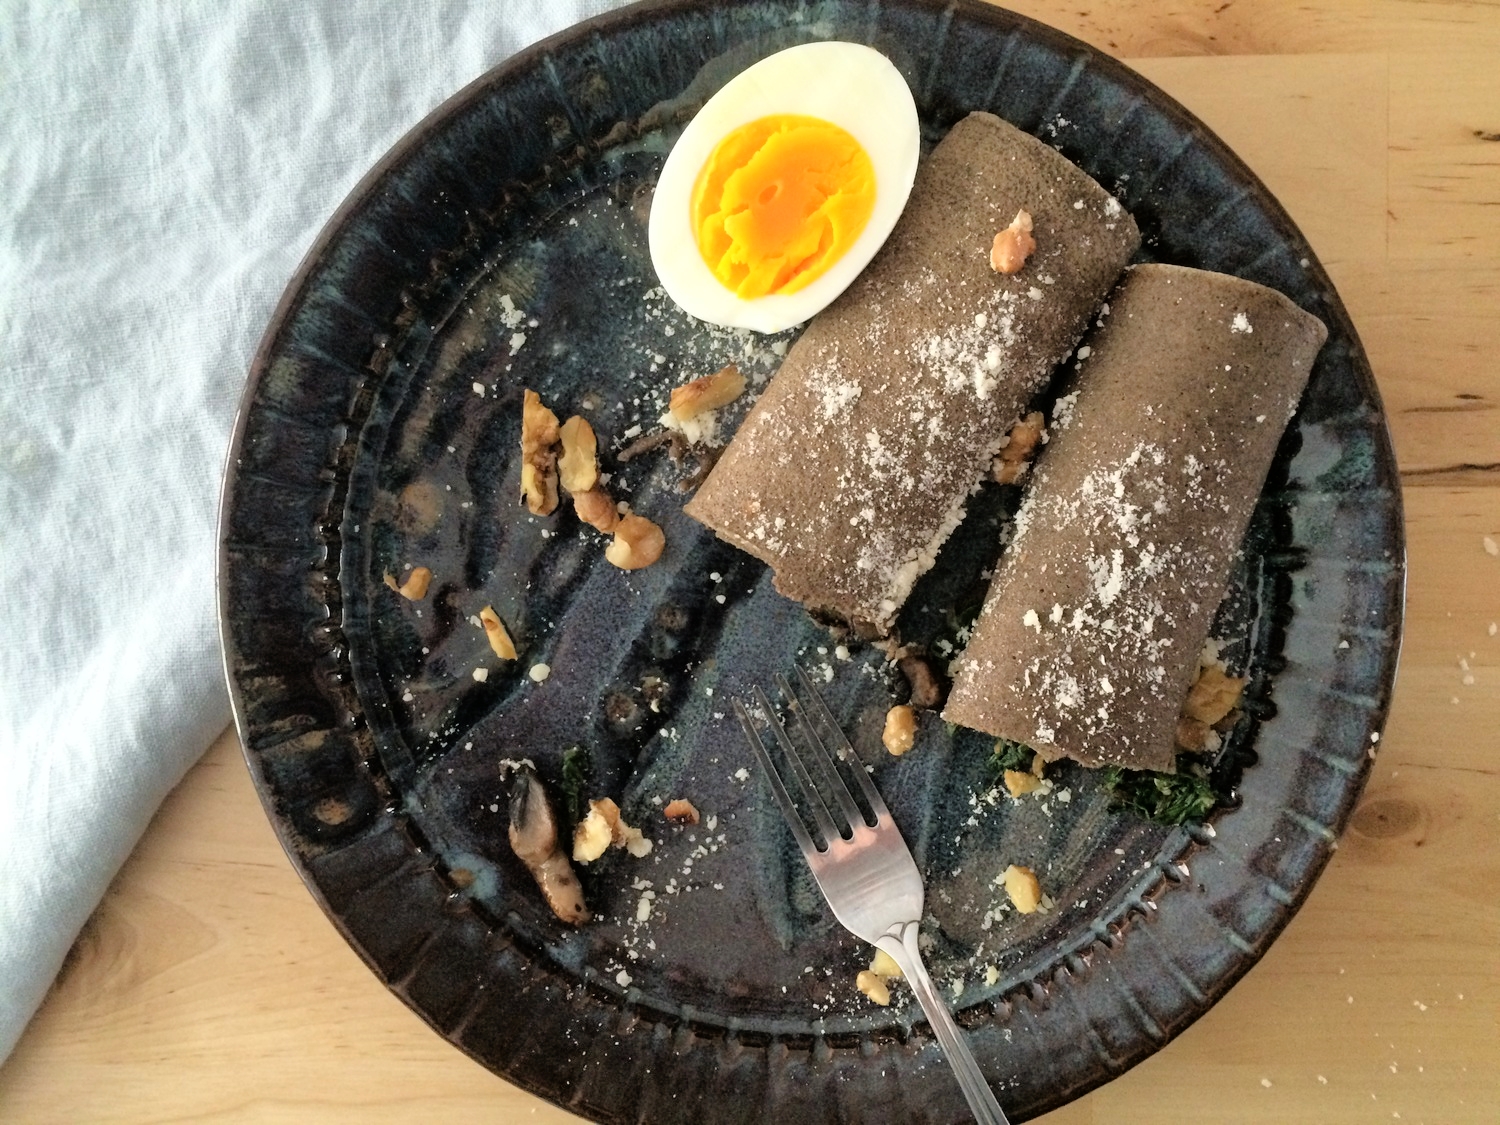
I have had quite a few crepes since then, but my favorite has been from the French inspired Cafe L'Aube here in Philadelphia that serves a beautiful buckwheat crepe with ham, egg, and Emmentaler cheese. The buckwheat gives the crepe an earthiness and robustness that I love. I was inspired to try my own buckwheat crepe at home, relying on a few tips from my crepe-making lesson in Barcelona to create ever so thin pancakes with crispy edges. I branched out with the filing too, incorporating spring vegetables and a fresh local goat's milk cheese. I served a medium-boiled egg alongside the crepe and found myself cutting pieces of egg and pieces of crepe to make the perfect little bite. A plate of these really made me feel like I was at a European cafe, if only temporarily.

A few things to make note of while you cook. For one, take the time to wash the chard and drain it well. You want to eliminate any grit and sand that so often sticks to chard leaves. I use goat cheese here because it offers a nice tang to the heavier, earthier vegetables, but just about any cheese would do, but be sure to mix it into the filling while it is hot so that it melts well. The batter can be made a day ahead, and stored in the refrigerator, and the cooked crepes can be frozen for up to a month with parchment paper slices in between to prevent sticking.

Buckwheat Crepes with Mushroom and Chard Filling

8 Buckwheat Crepes (see recipe below)
1 tablespoon olive oil
1/2 tablespoon unsalted butter
1 shallot, peeled and finely chopped
2 garlic cloves, peeled and finely chopped
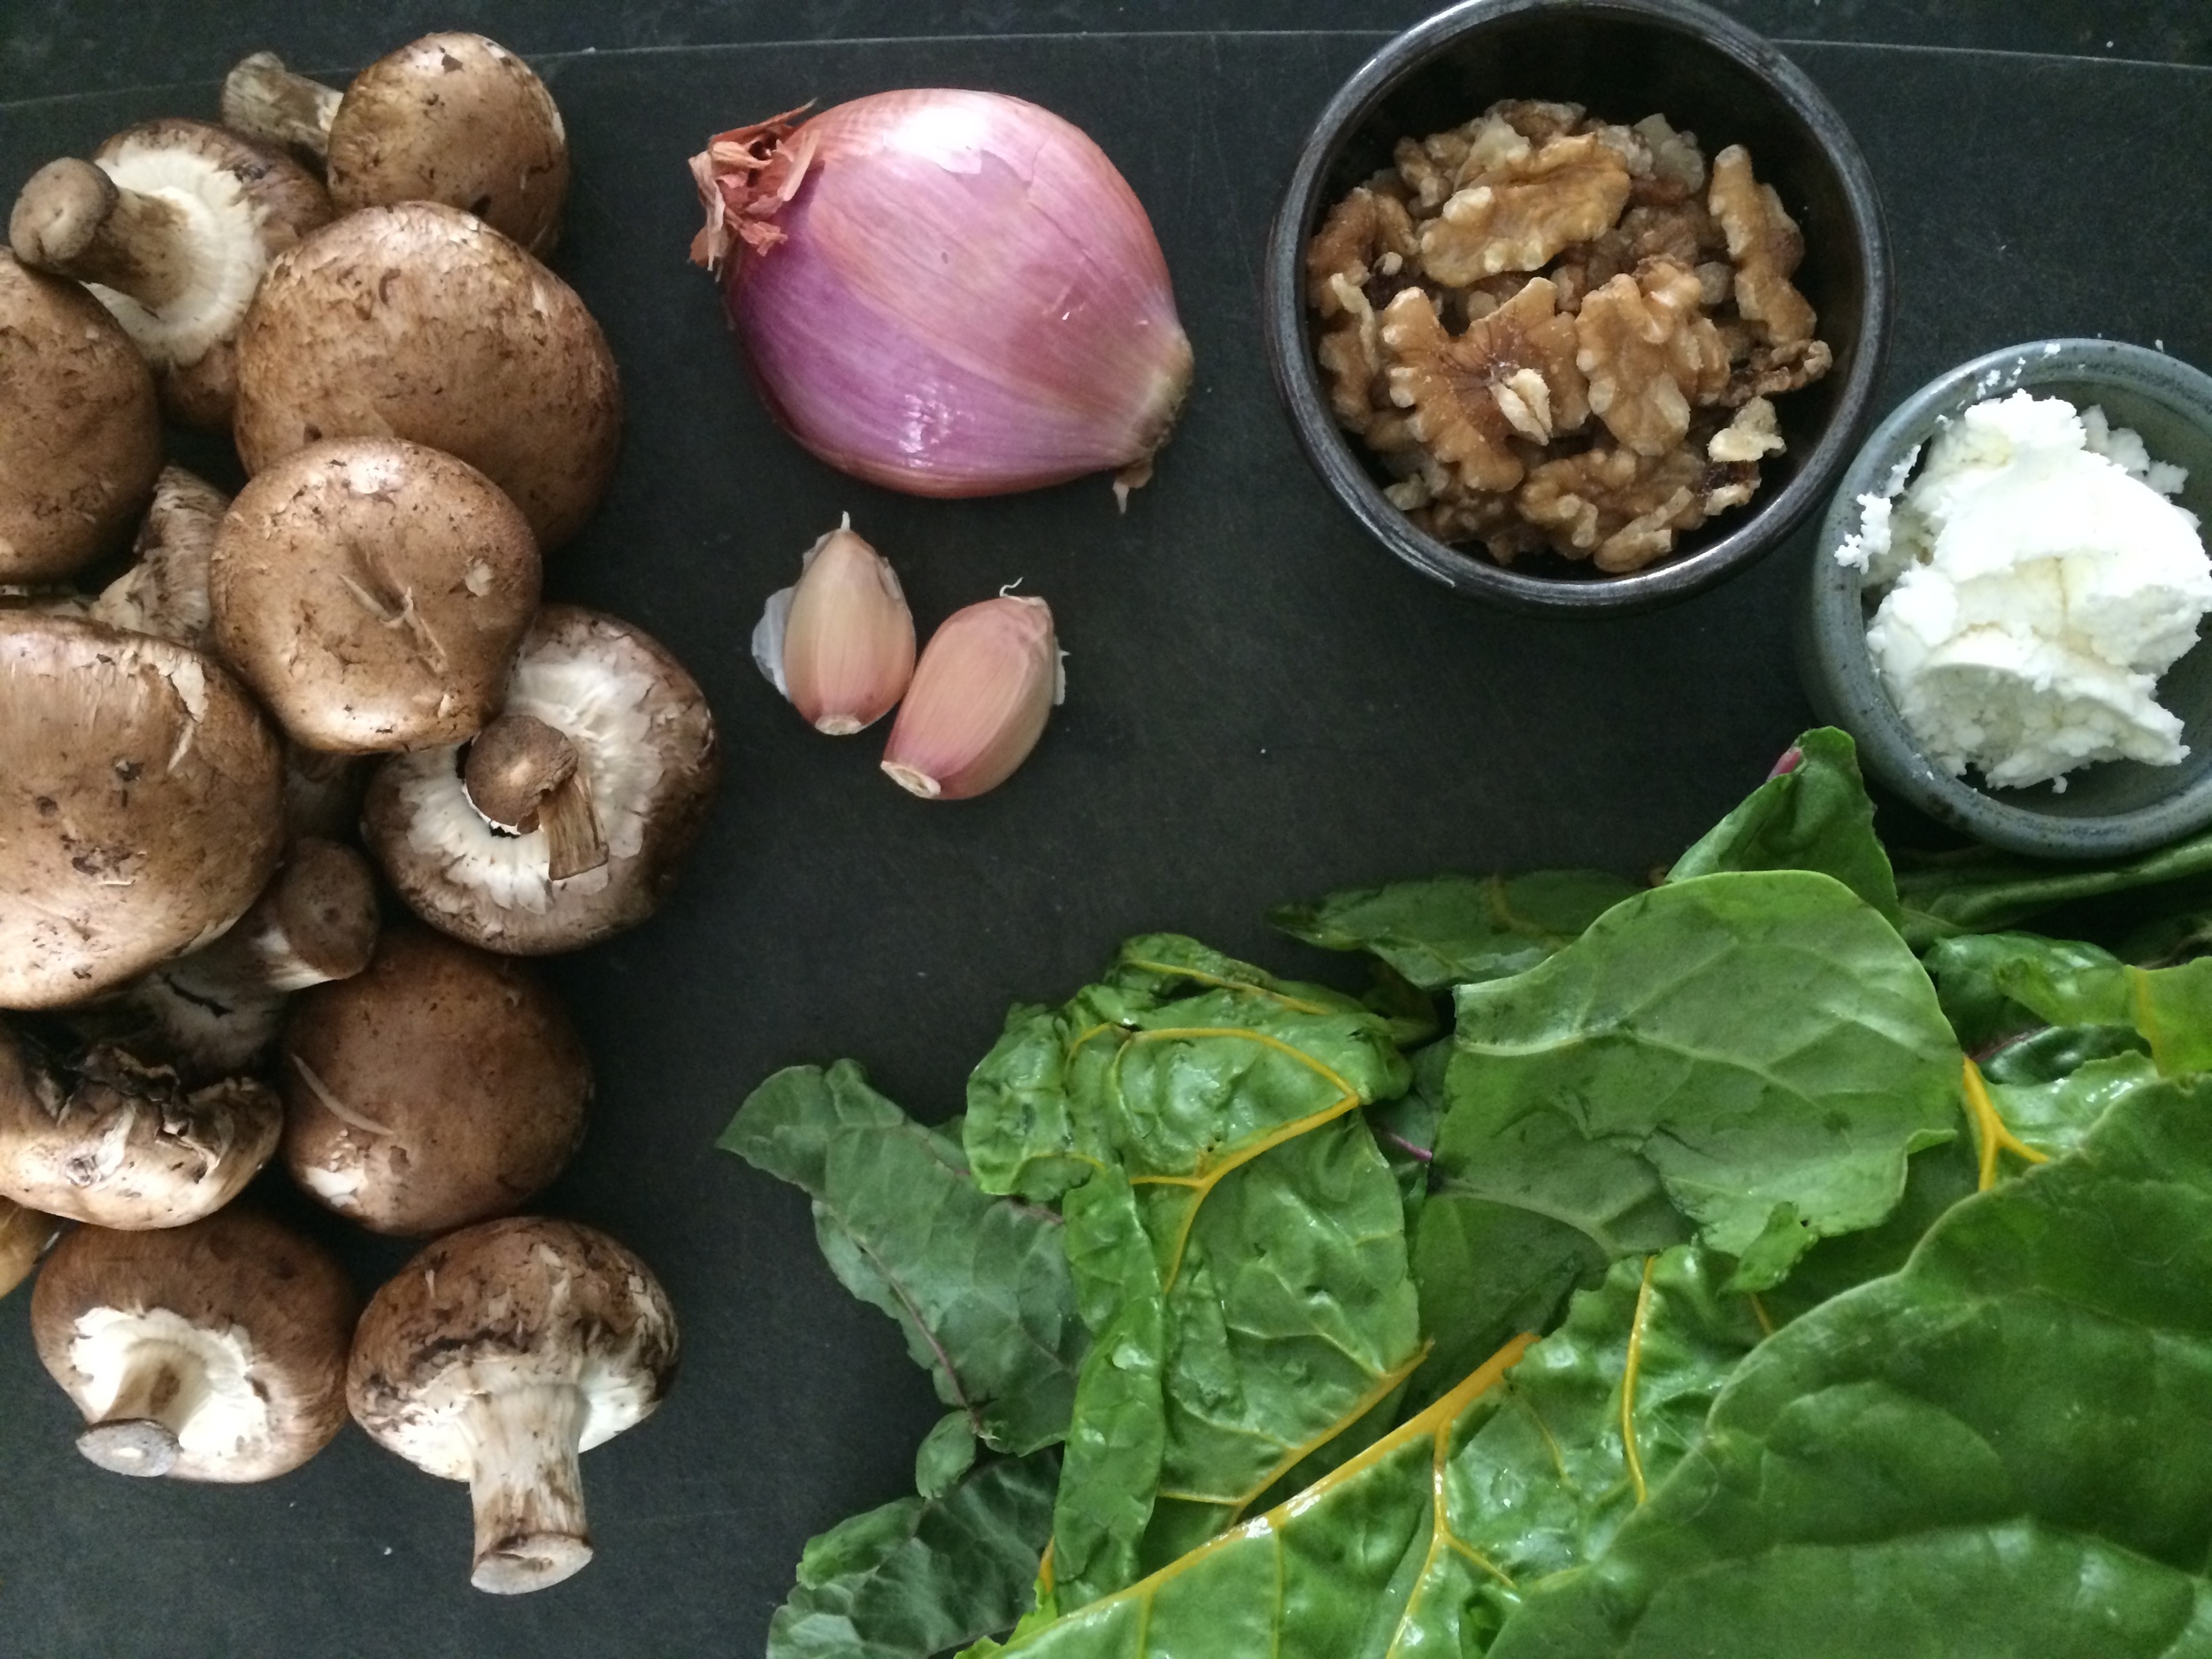
1/2 pound cremini mushrooms, stems removed and thinly sliced
1/2 pound chard leaves (stems removed**), washed, dried and sliced into 1/2 inch ribbons (about 6 cups)
1/2 cup walnuts, chopped
3 tablespoons fresh goat cheese
salt and pepper to taste
1/4 cup pecorino romano for sprinkling, optional
4 hard-boiled eggs for serving, optional

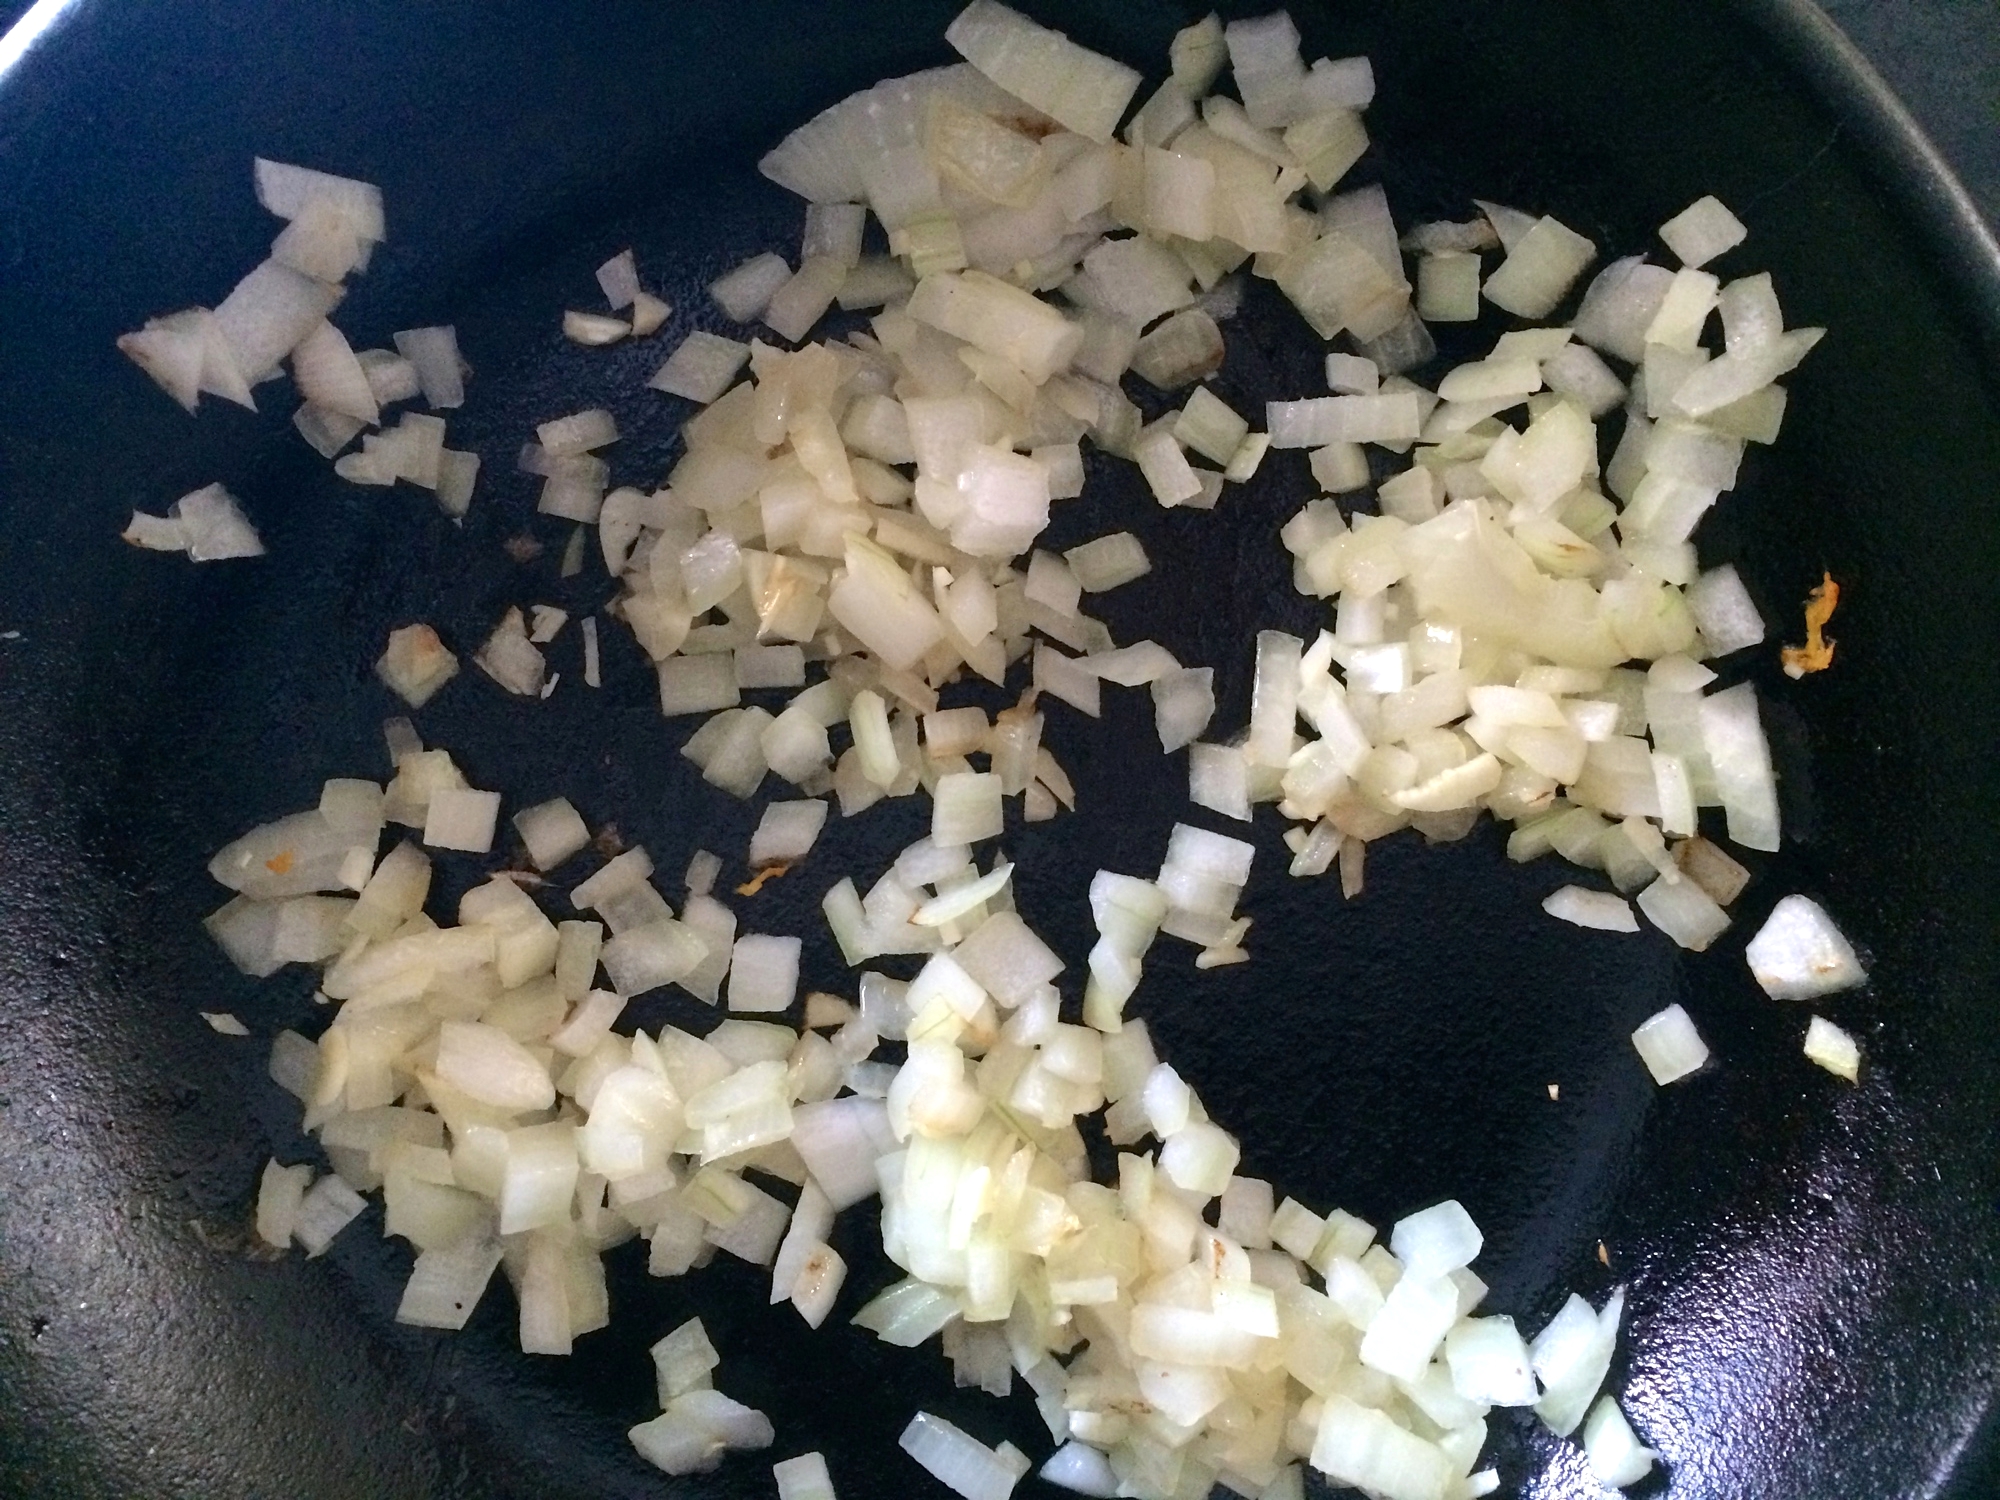
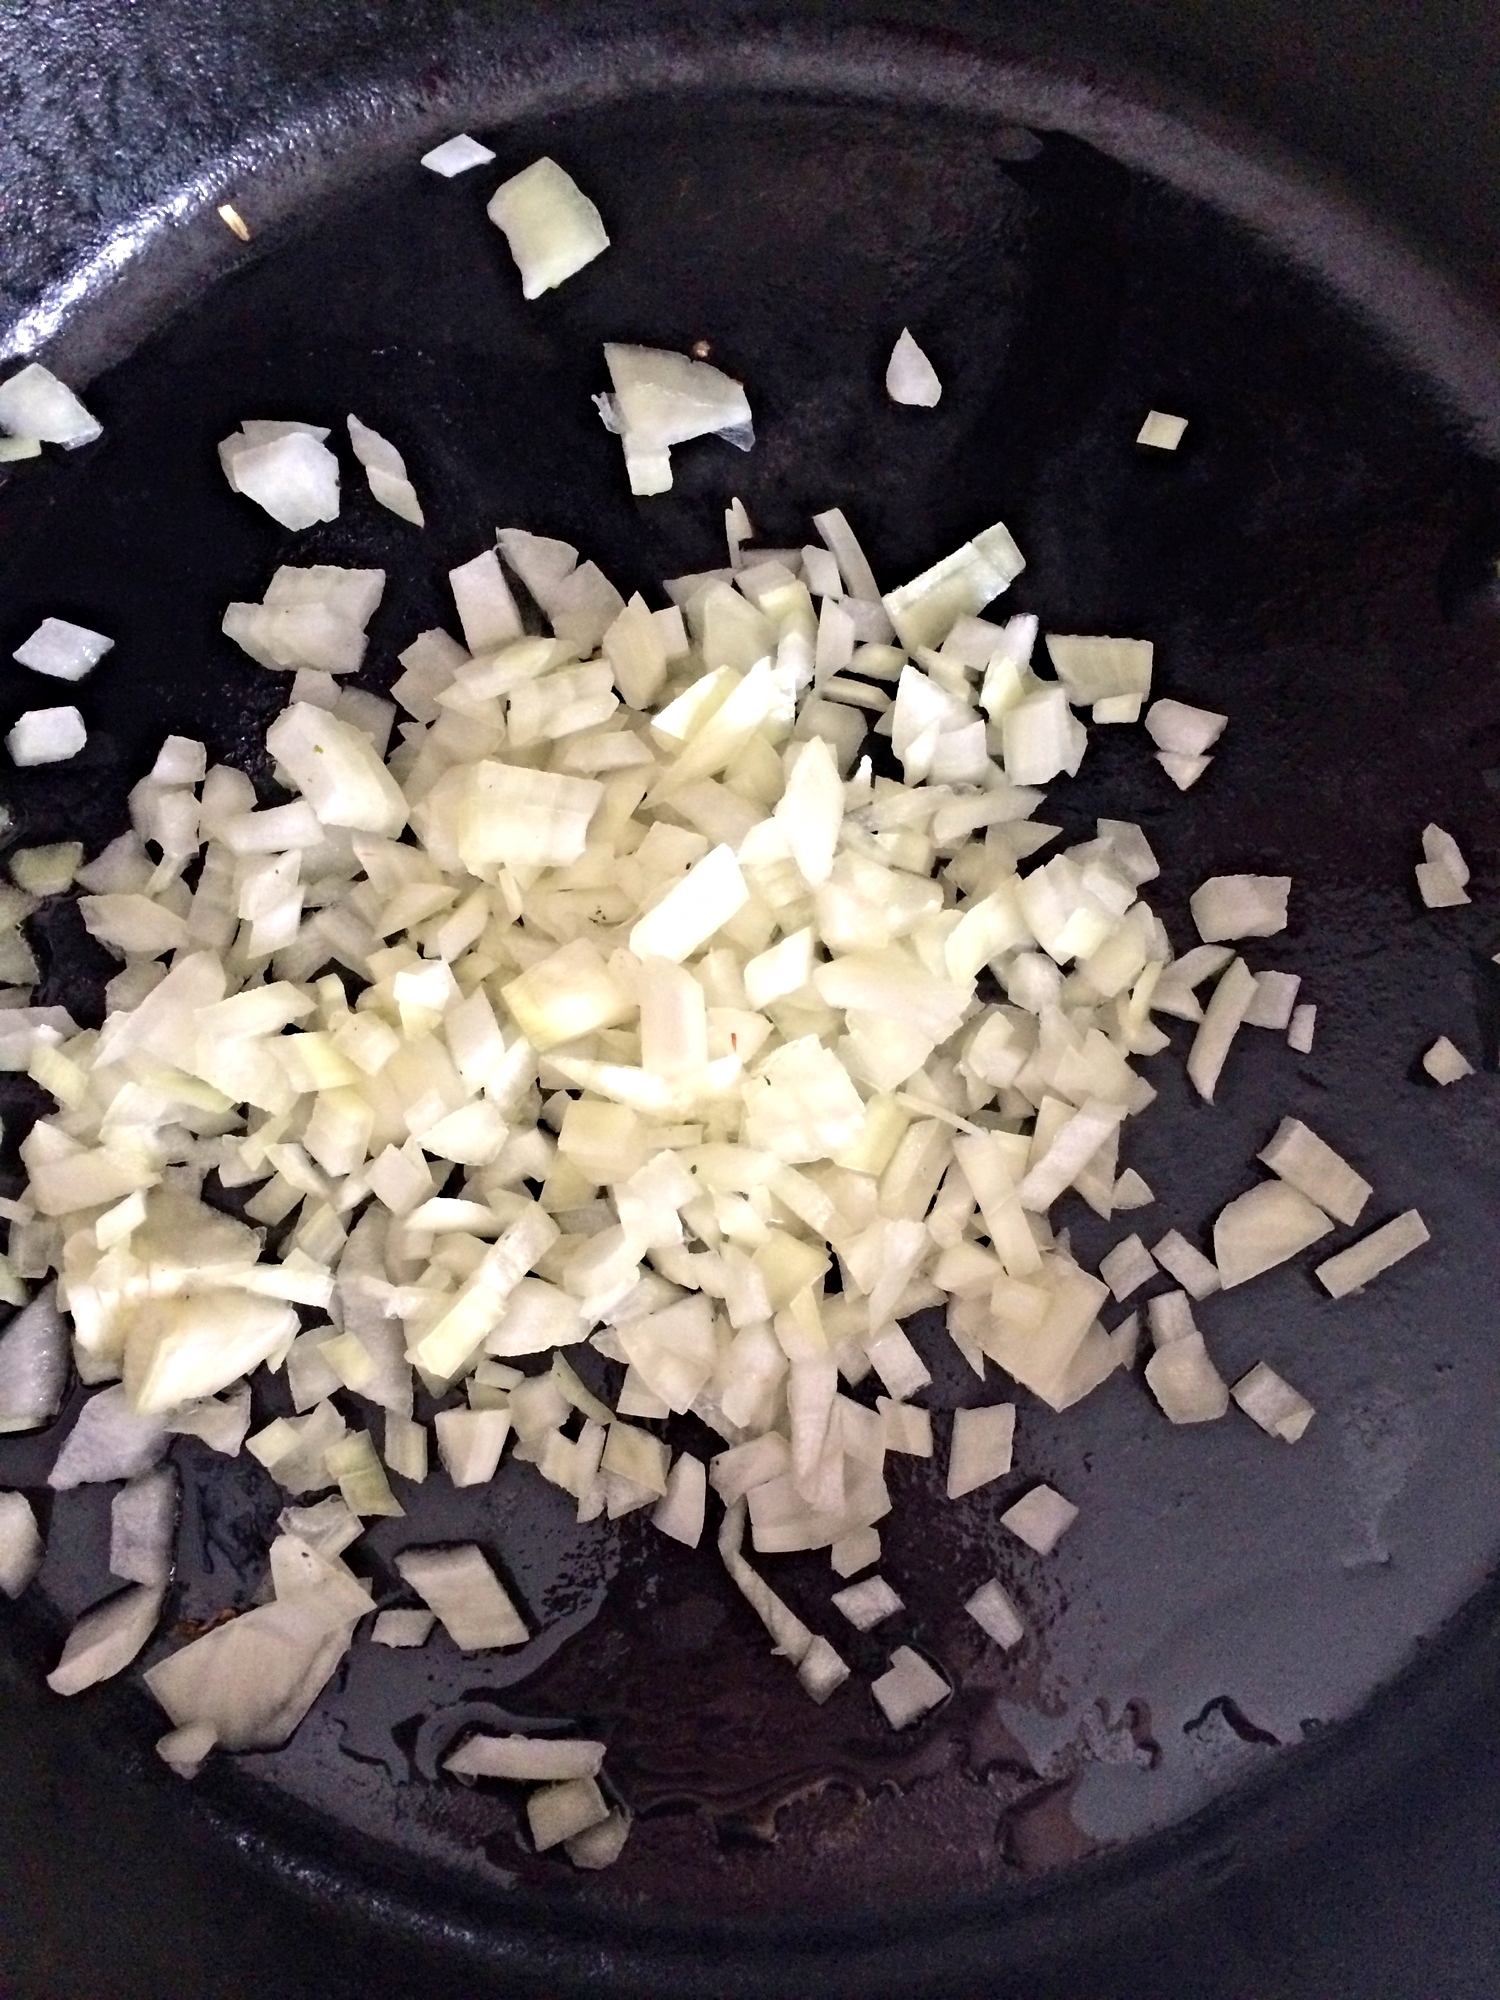
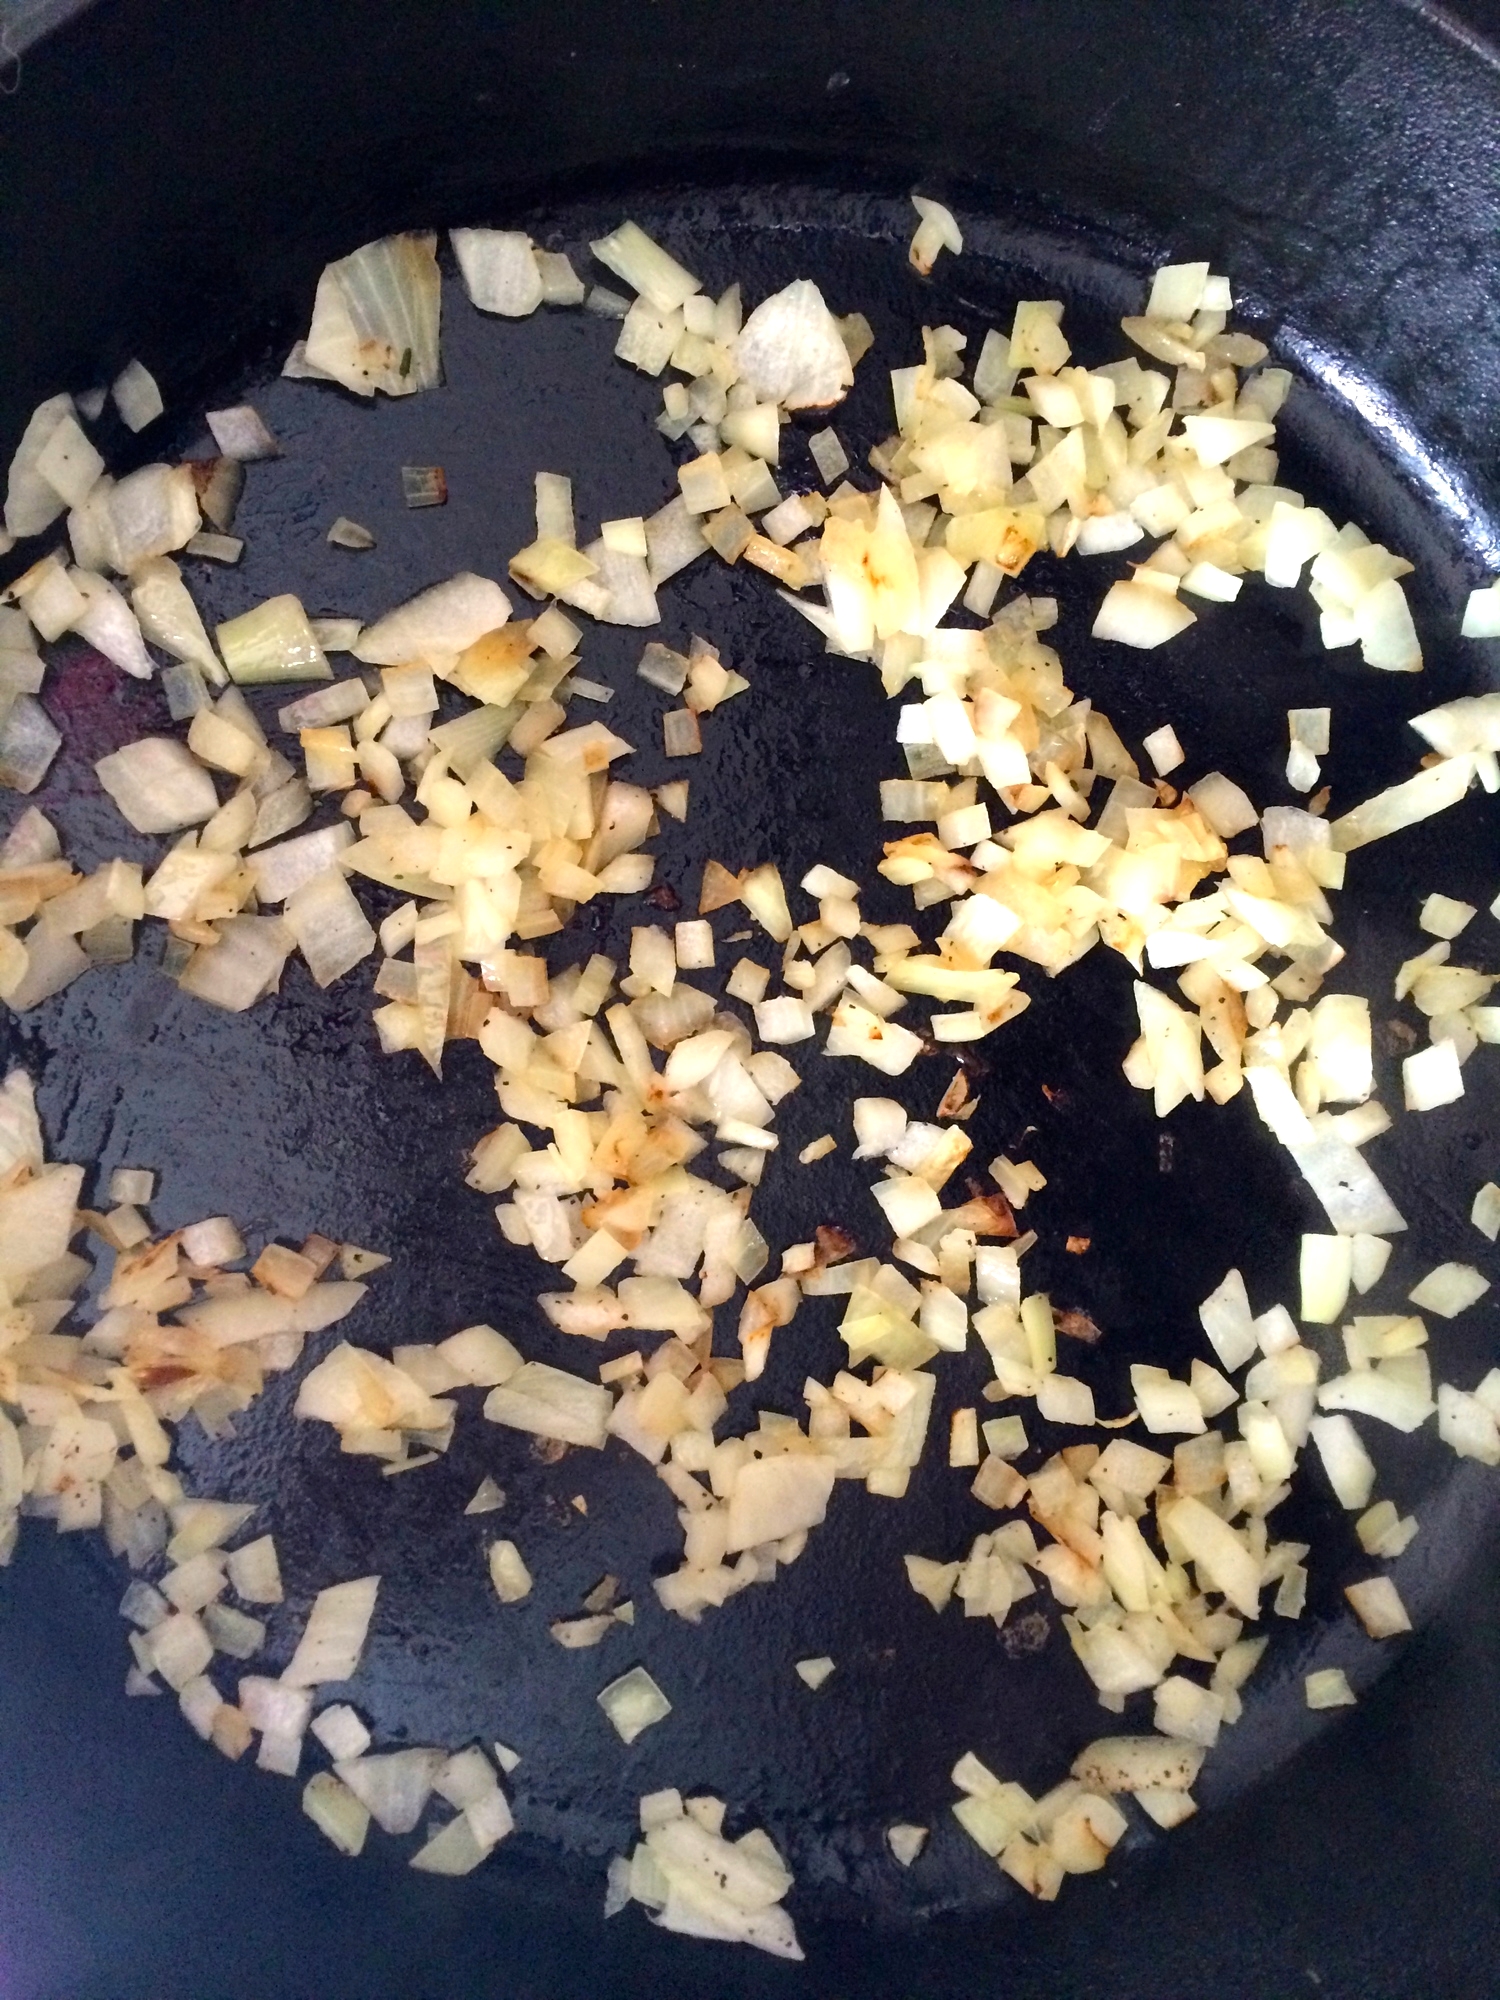
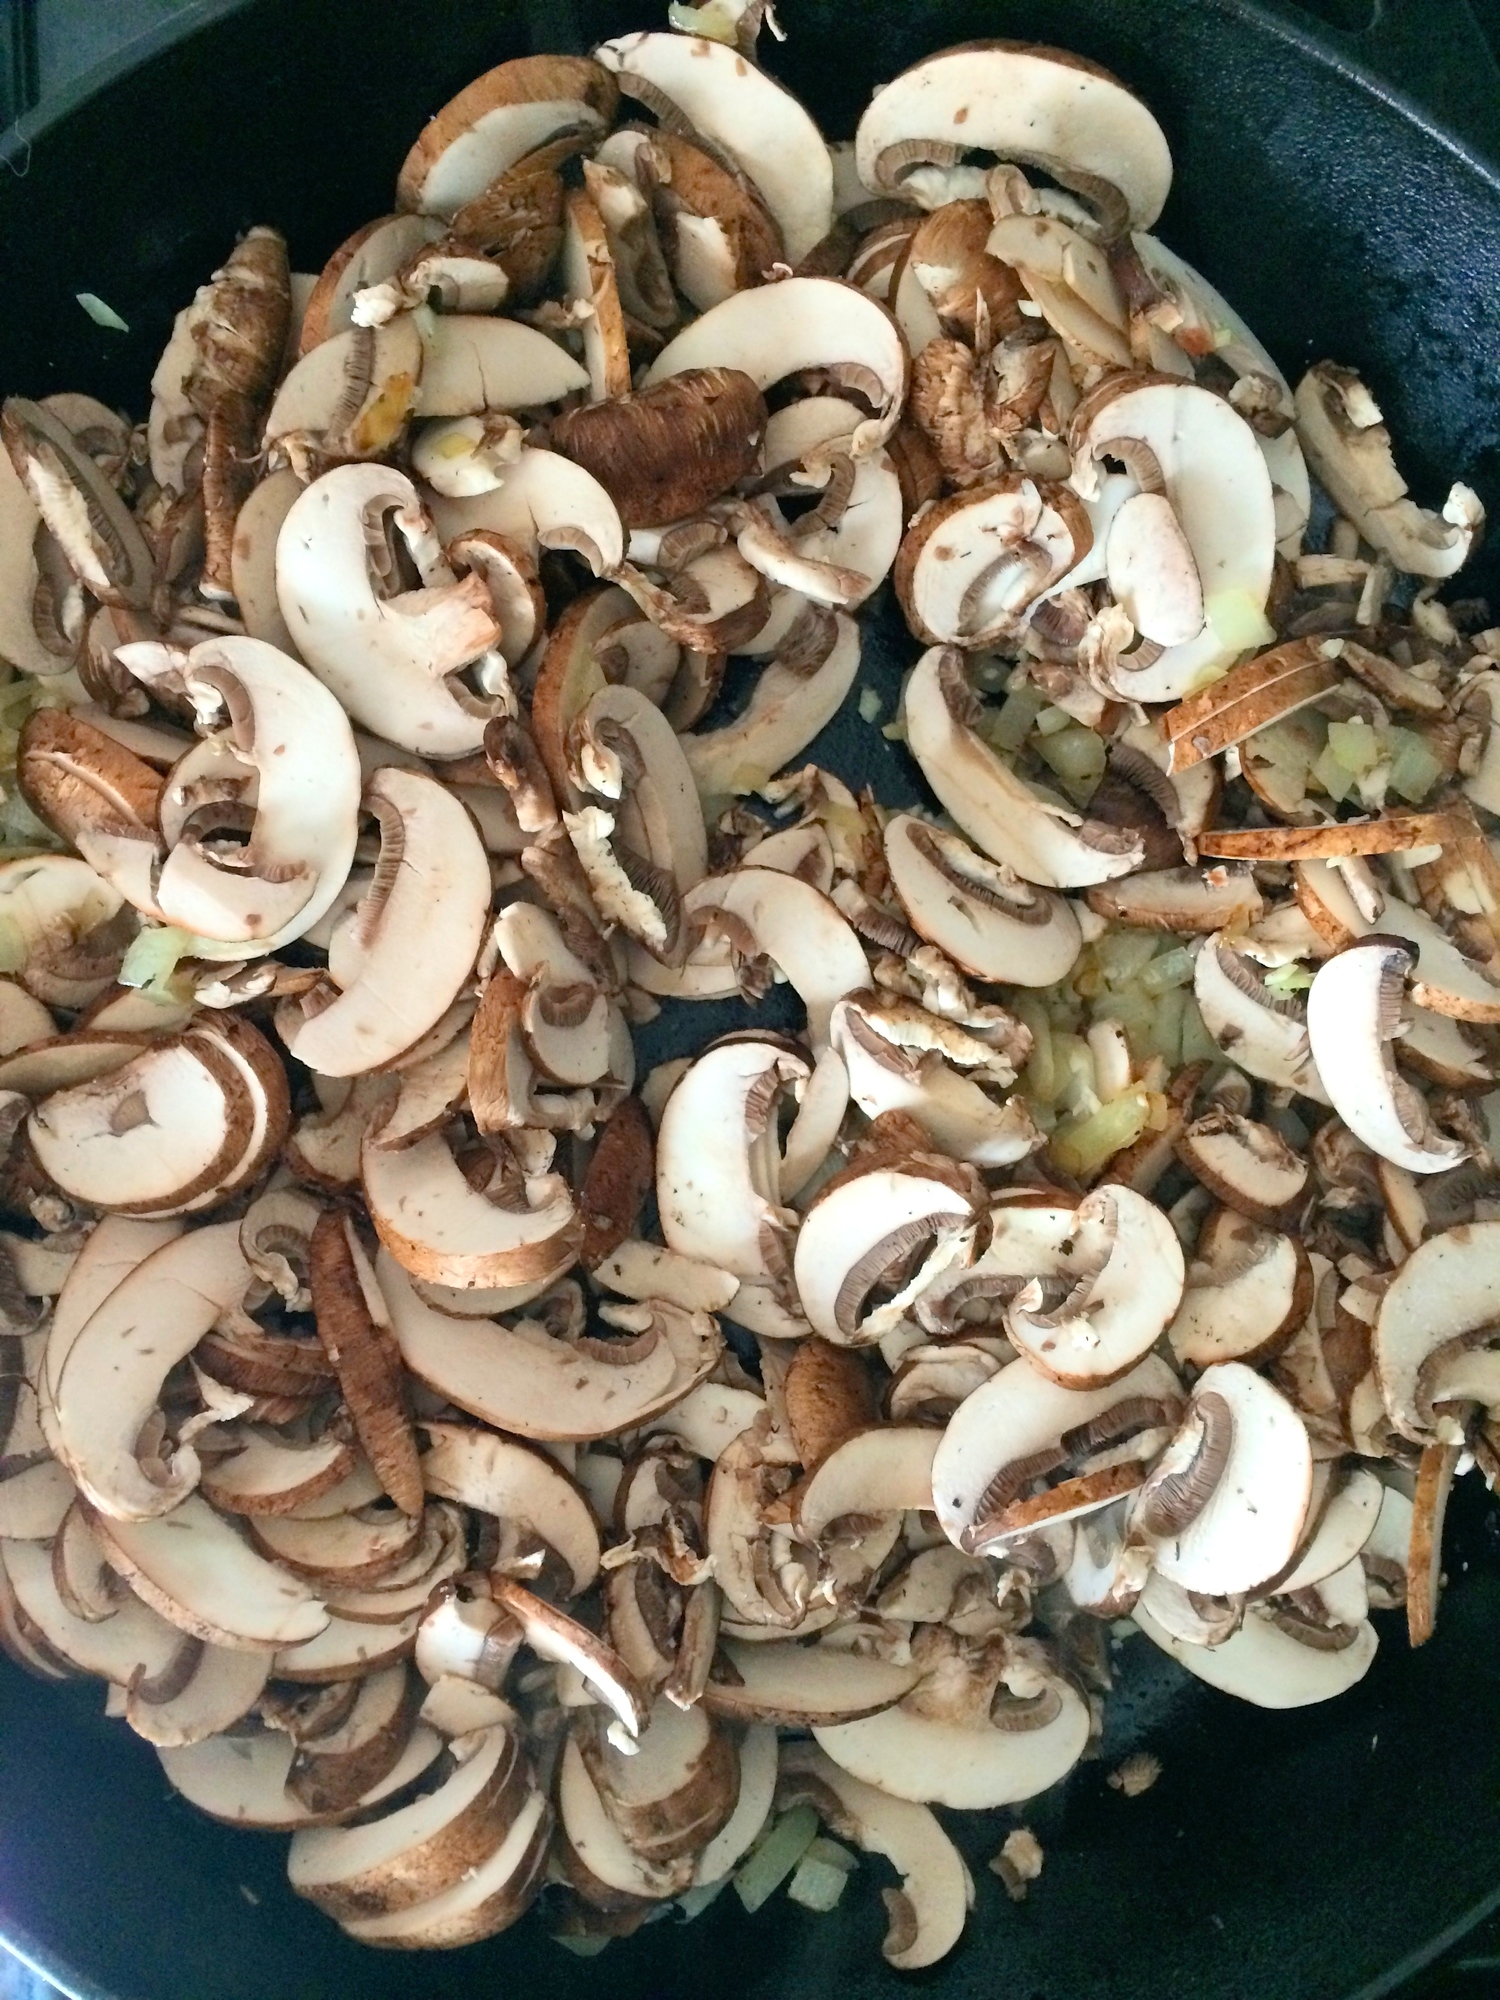
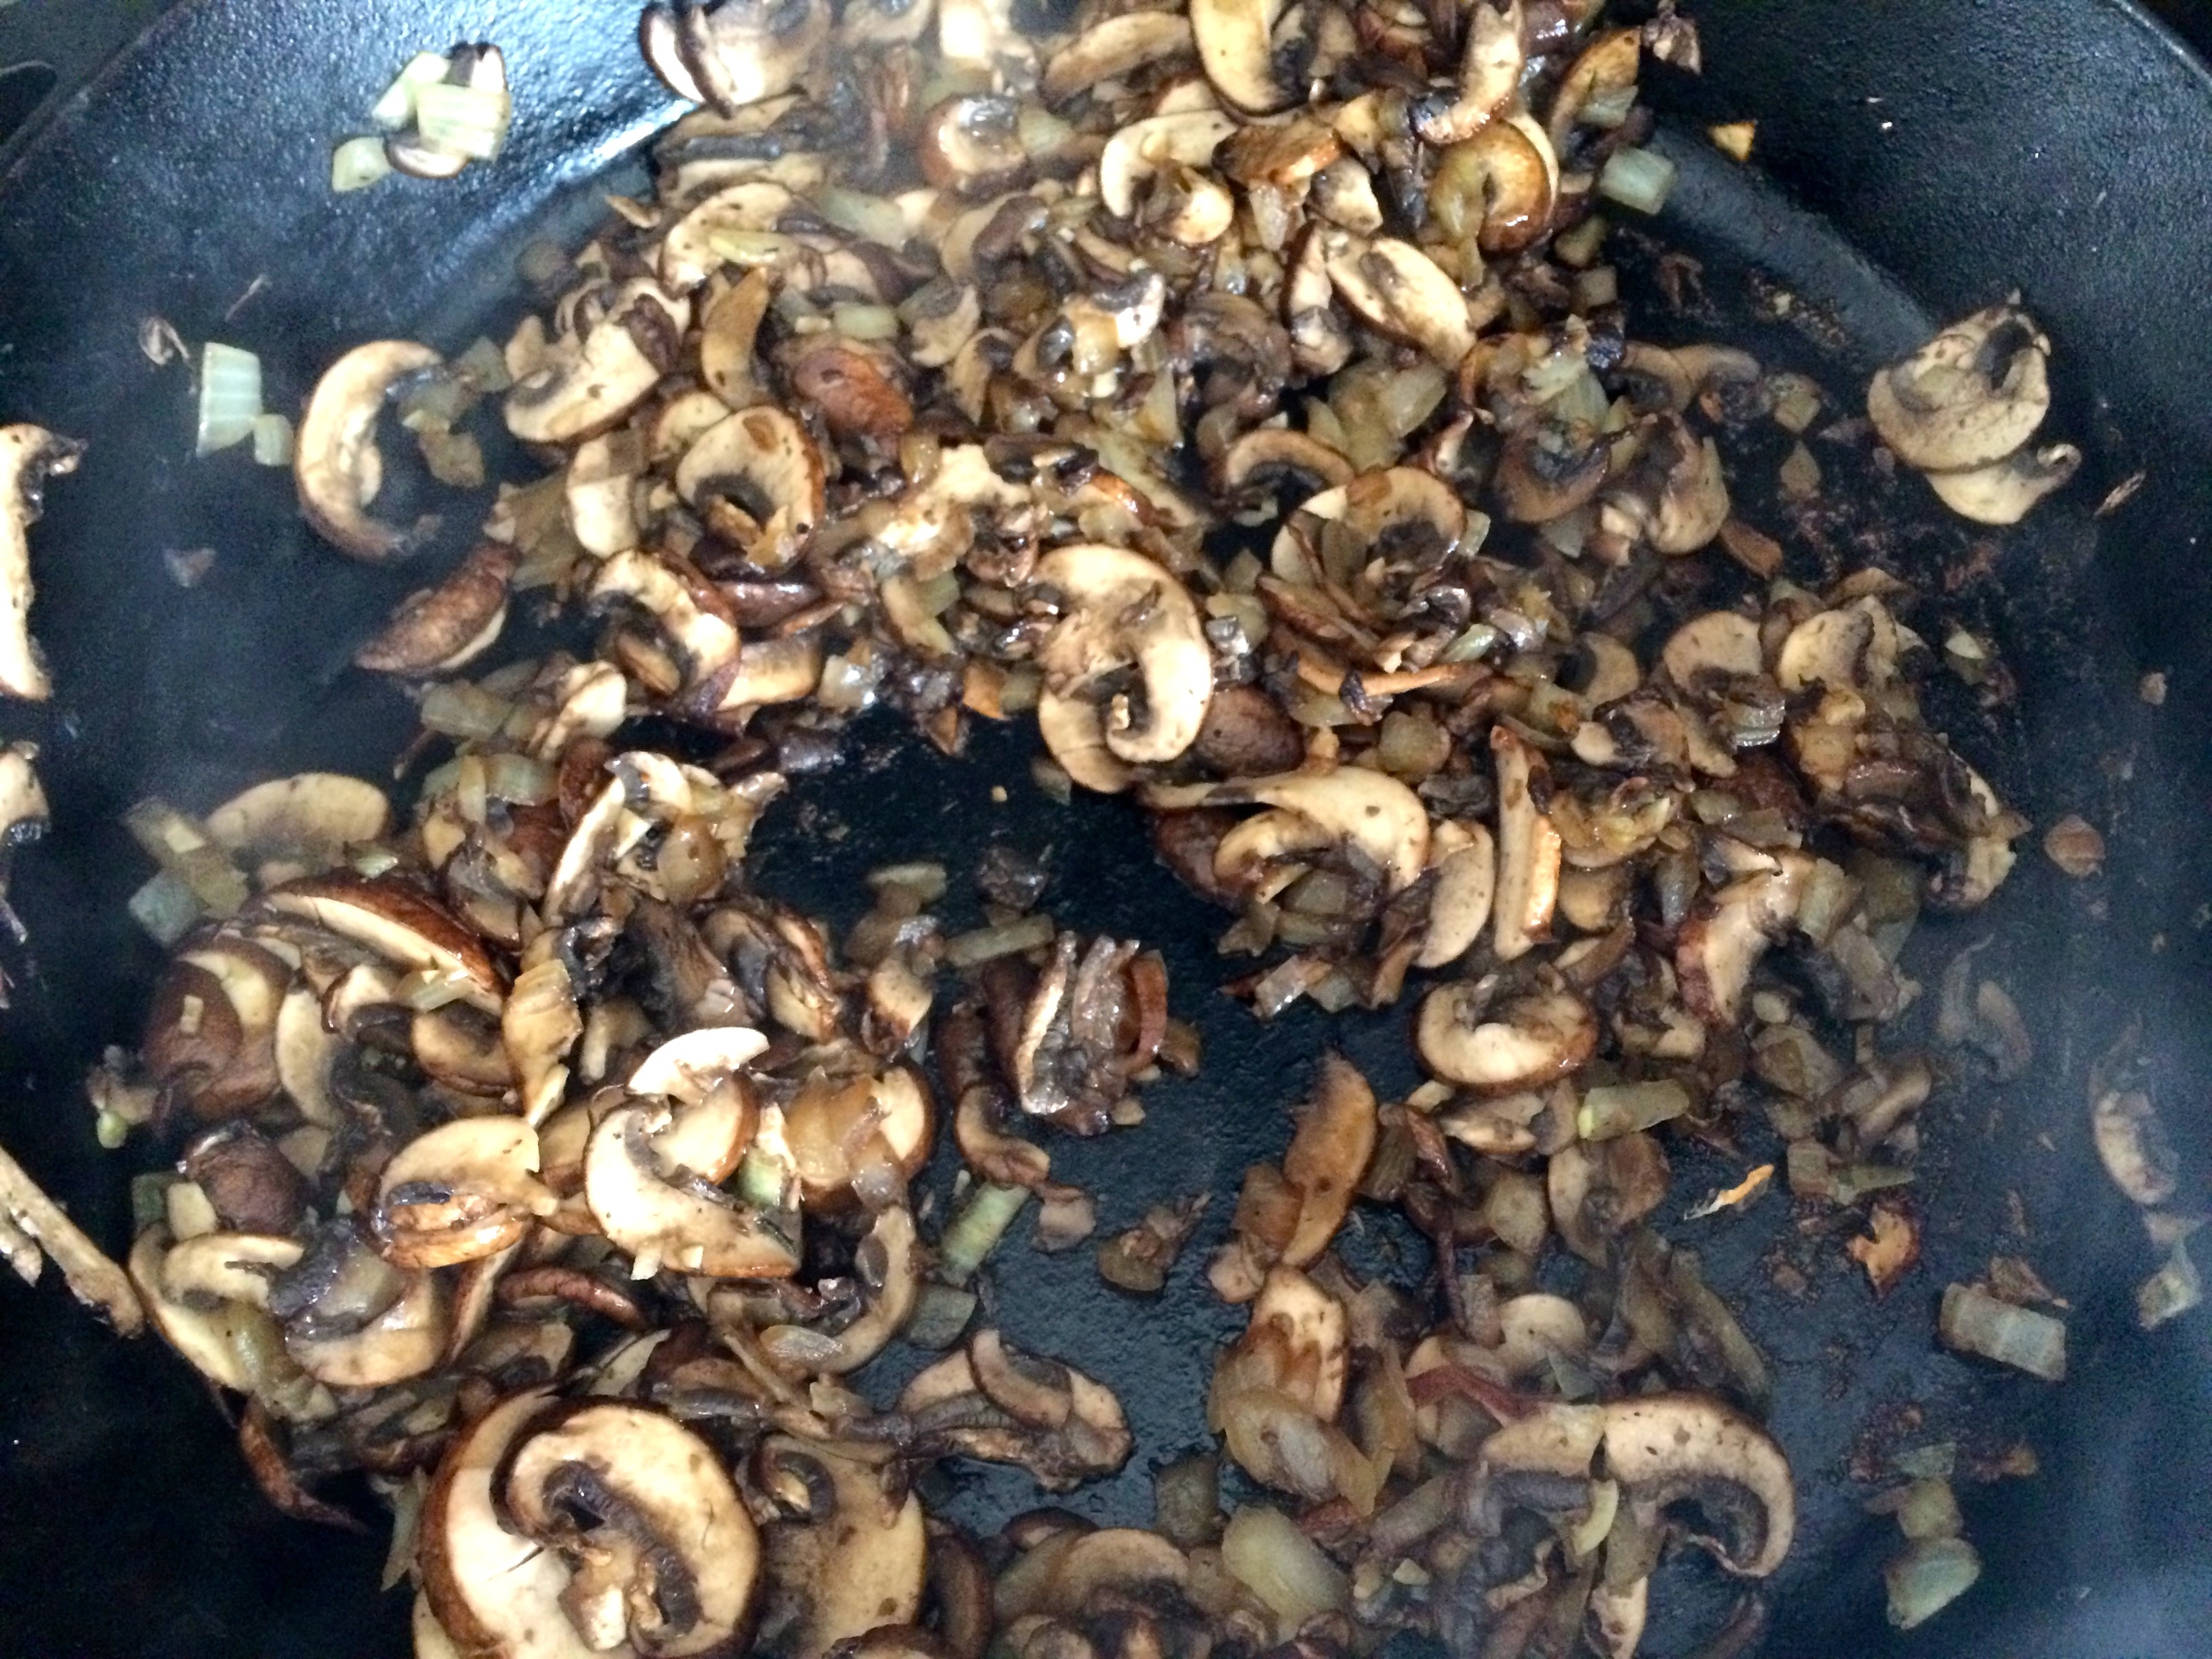
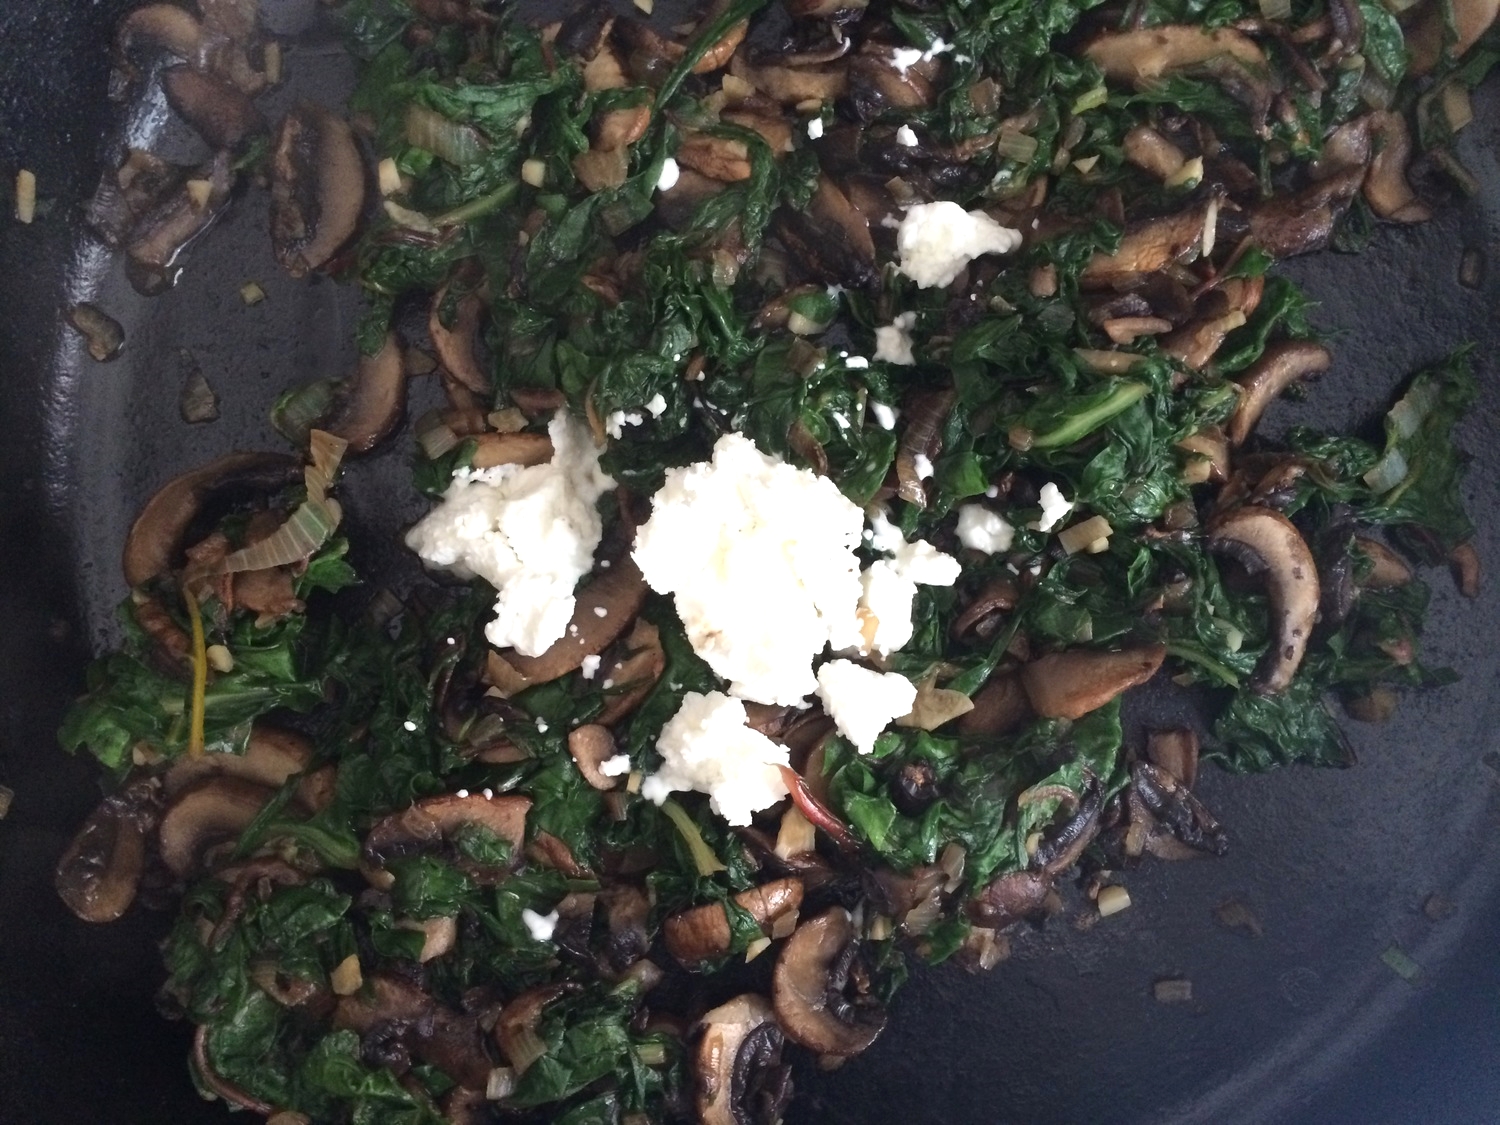
Heat oil and butter in a skillet over medium heat until butter has melted. Add shallots and sweat for 2 minutes or until softened. Add garlic and cook for 1 minute. Add mushrooms and 1/2 teaspoon of salt and allow to cook for 3-5 minutes or until mushrooms have released liquid and being to brown around the edges. Add the cleaned chard. Mix to combine and cook for 8 minutes or until chard has wilted. If there is a lot of liquid remaining in the pan and the chard and mushrooms are cooked, briefly drain it and return mixture to pan. Turn off the heat. While the mixture is hot, add the goat cheese and stir to combine. Taste and adjust for salt and pepper. Set aside.

Toast the walnuts. Place the walnuts in a dry skillet over medium heat and toast for 8-10 minutes, shaking often, or until walnuts are toasted. Add half of the toasted walnuts to the mushroom and chard mixture and stir to combine.

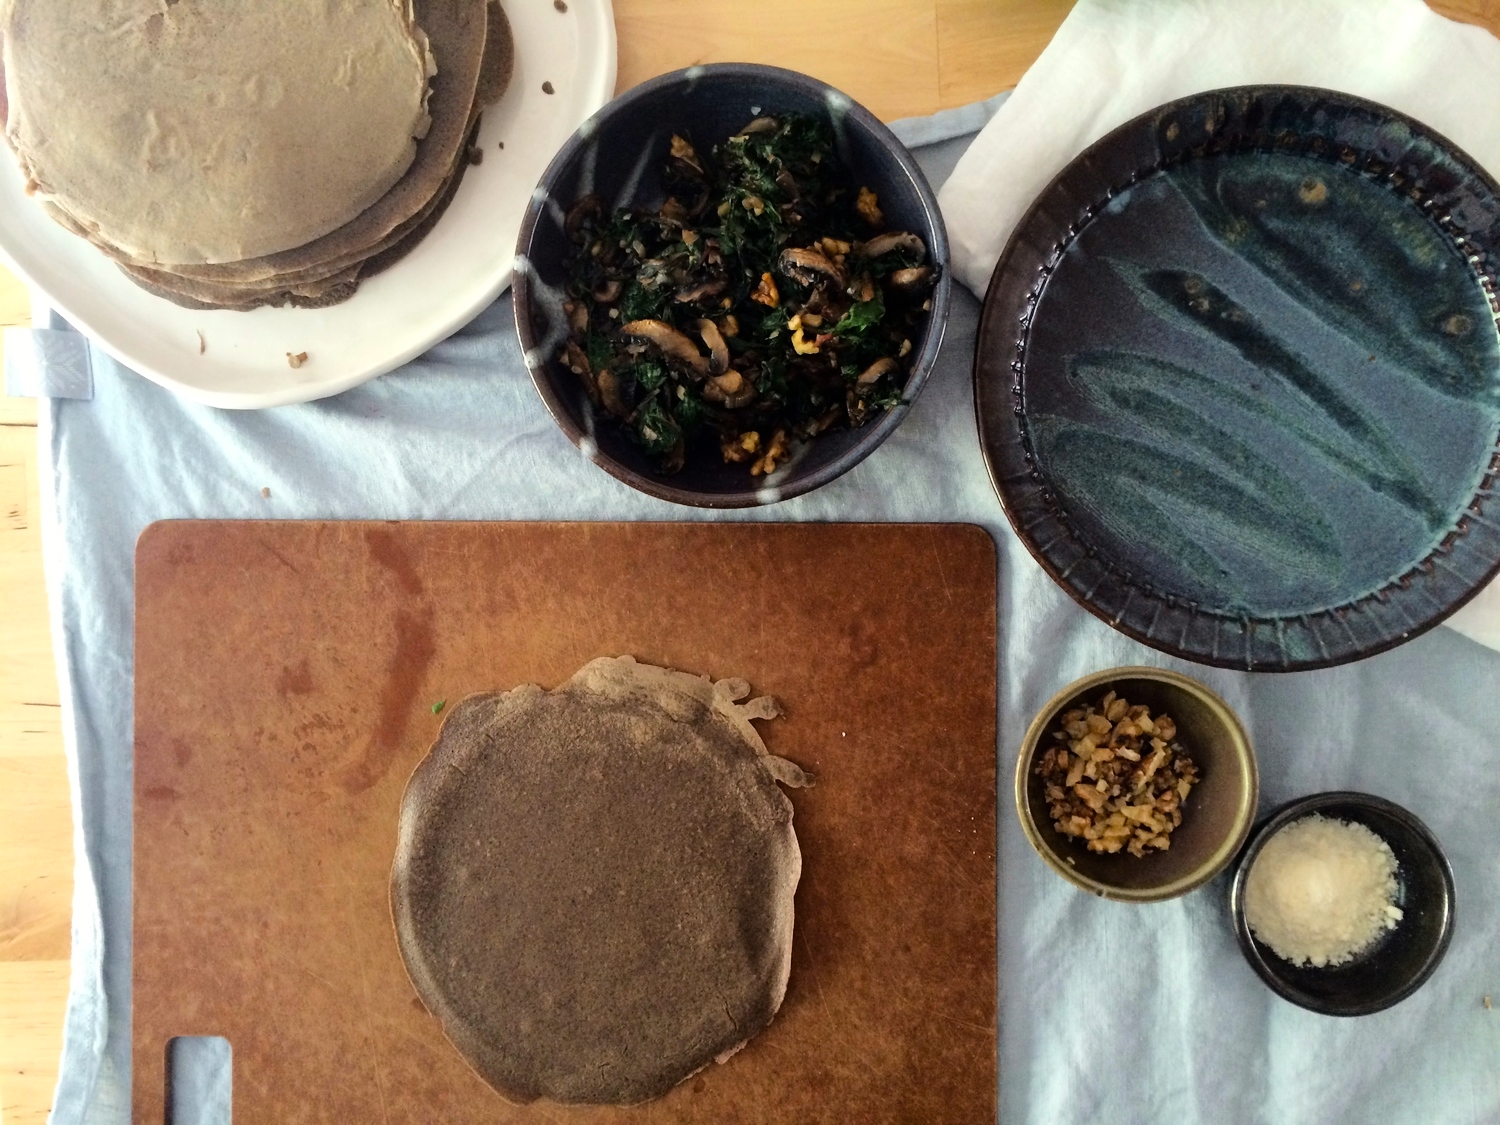
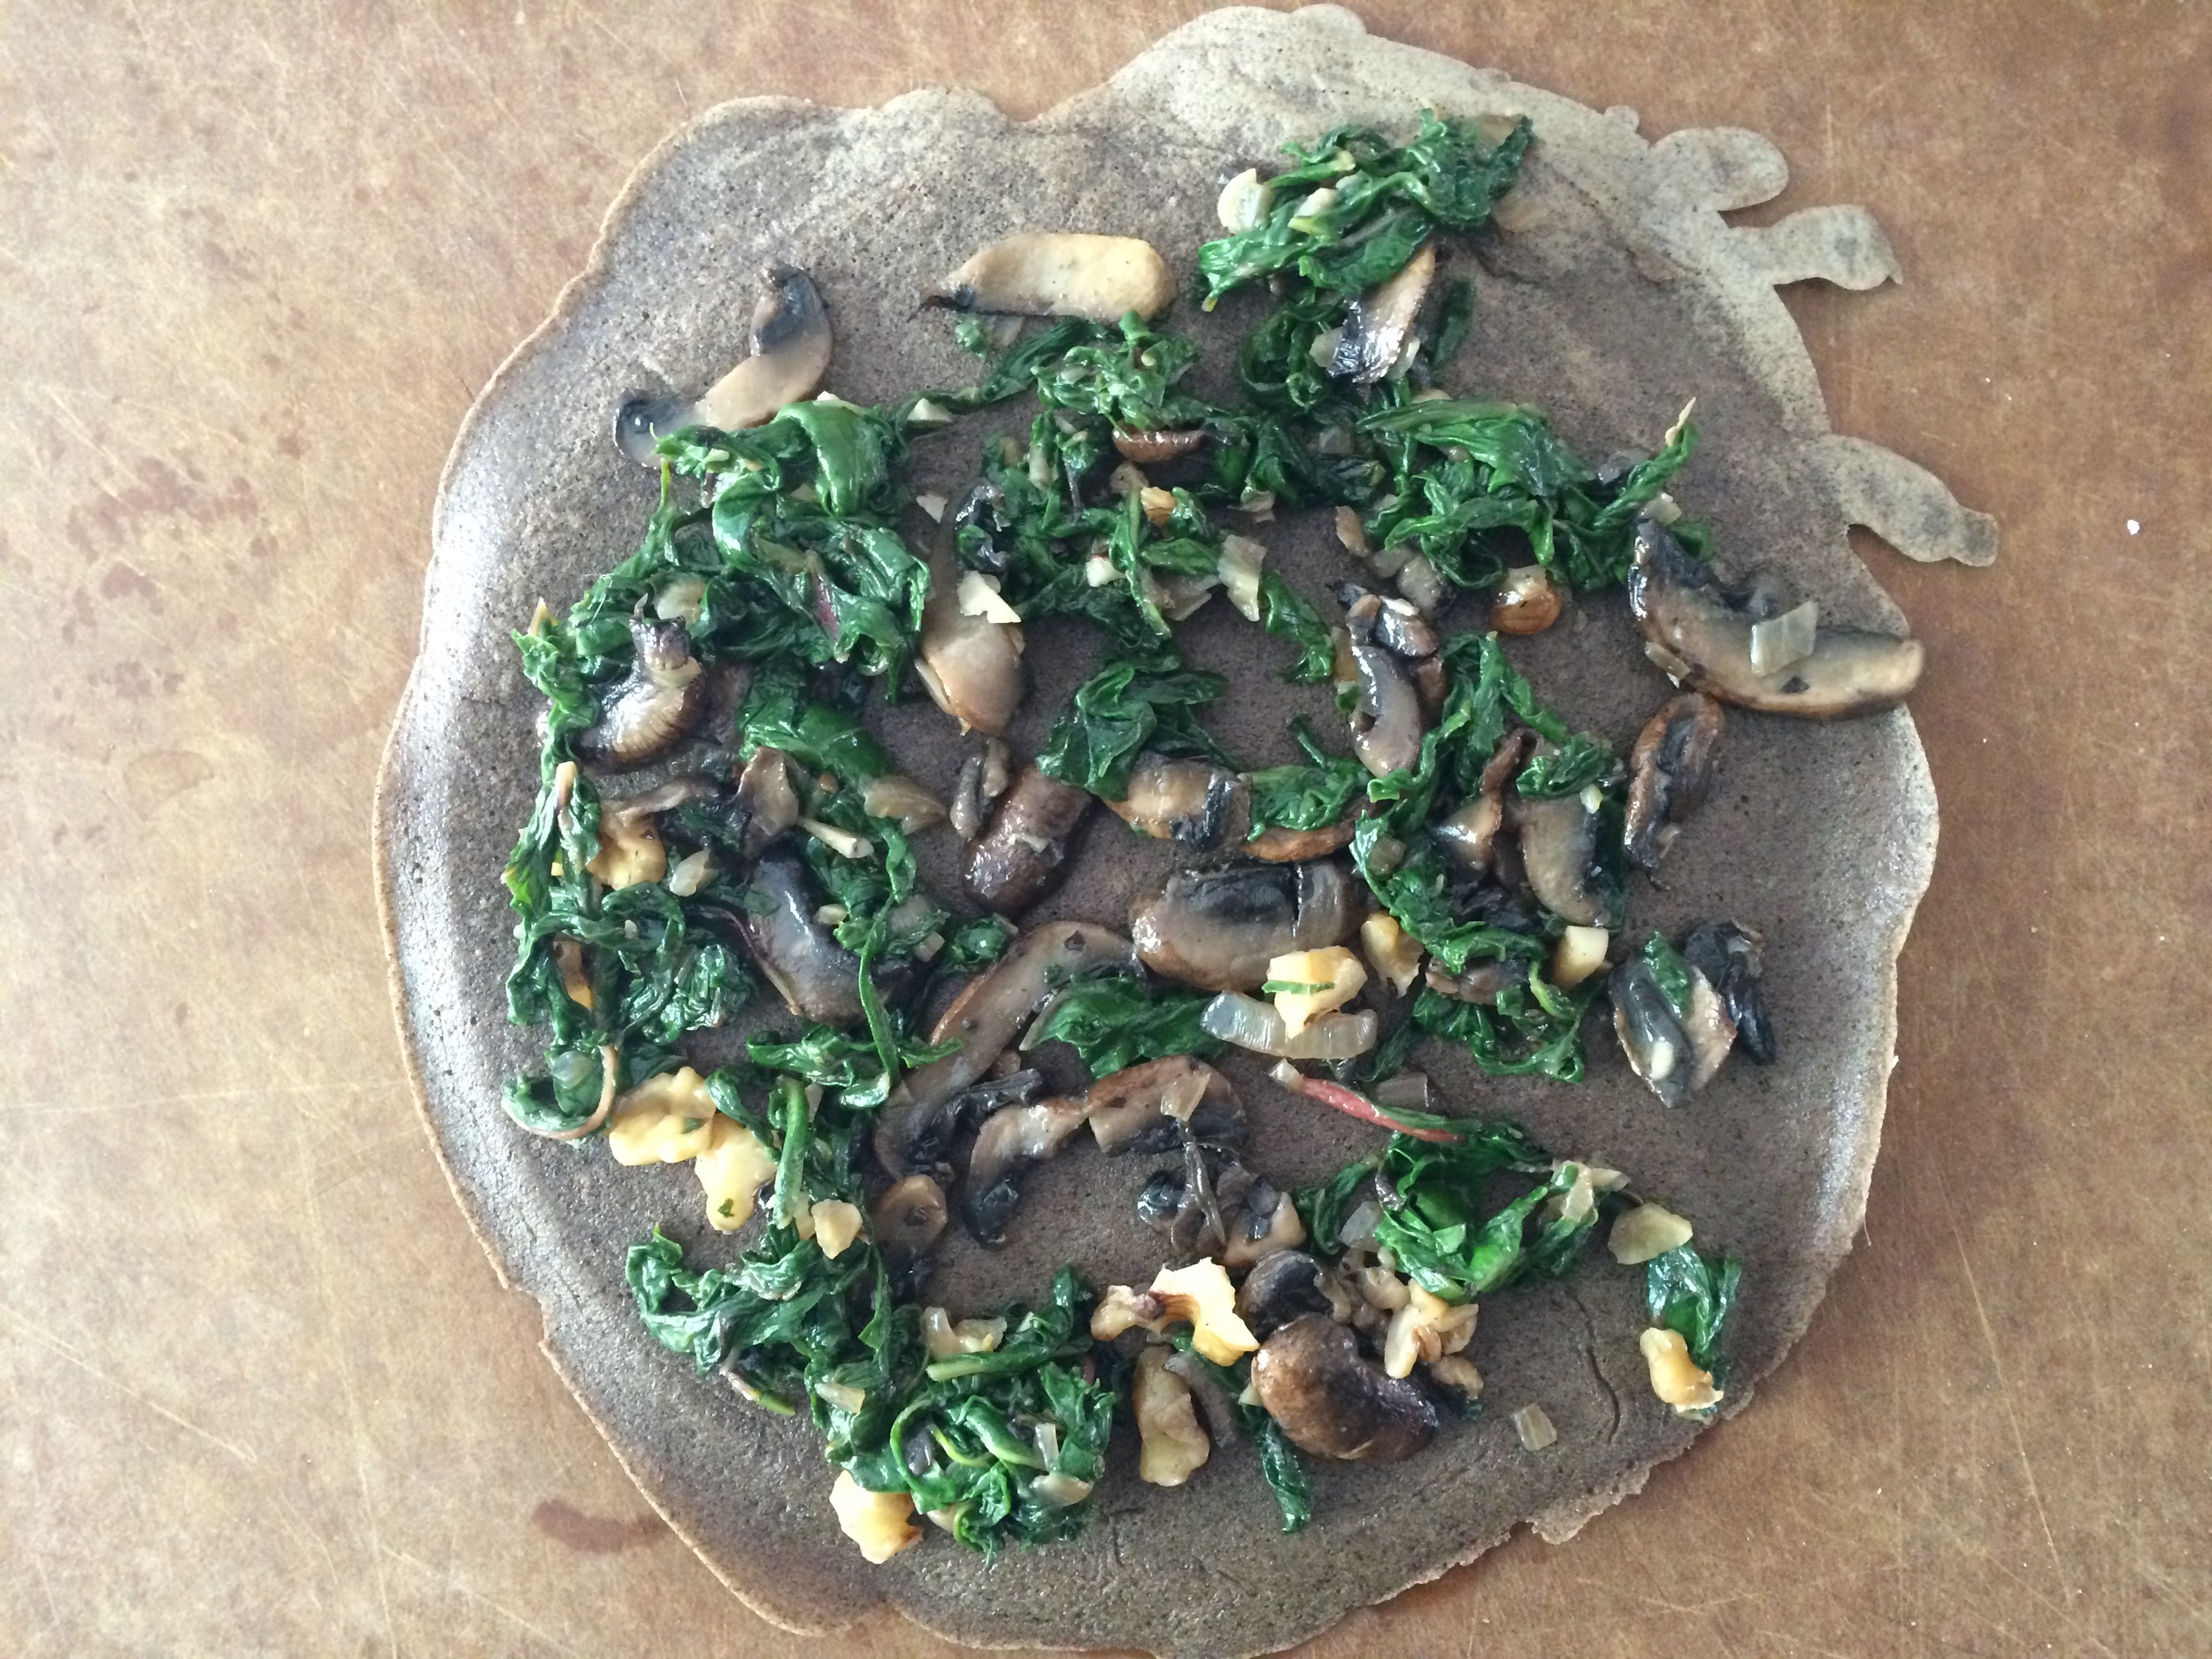
Set up your assembly station. Place one crepe on the surface, sprinkle with about 2-3 tablespoons of the vegetable and nut mixture. Roll up and place seam side down on a plate. Complete with the remaining filling and remaining crepes. Sprinkle with the remaining toasted walnuts, grated pecorino romano, if using, and serve with a hard-boiled egg. Enjoy! Serves 4 people. 

**You can use the stems to make my Pickled Chard Stems recipe for sprinkling on any grain salad or rice bowl.

IMG_5700.jpg
IMG_5704.jpg
IMG_5709.JPG
IMG_5711.JPG
IMG_5732.JPG
IMG_5735.JPG
IMG_5764.JPG

Buckwheat Crepes

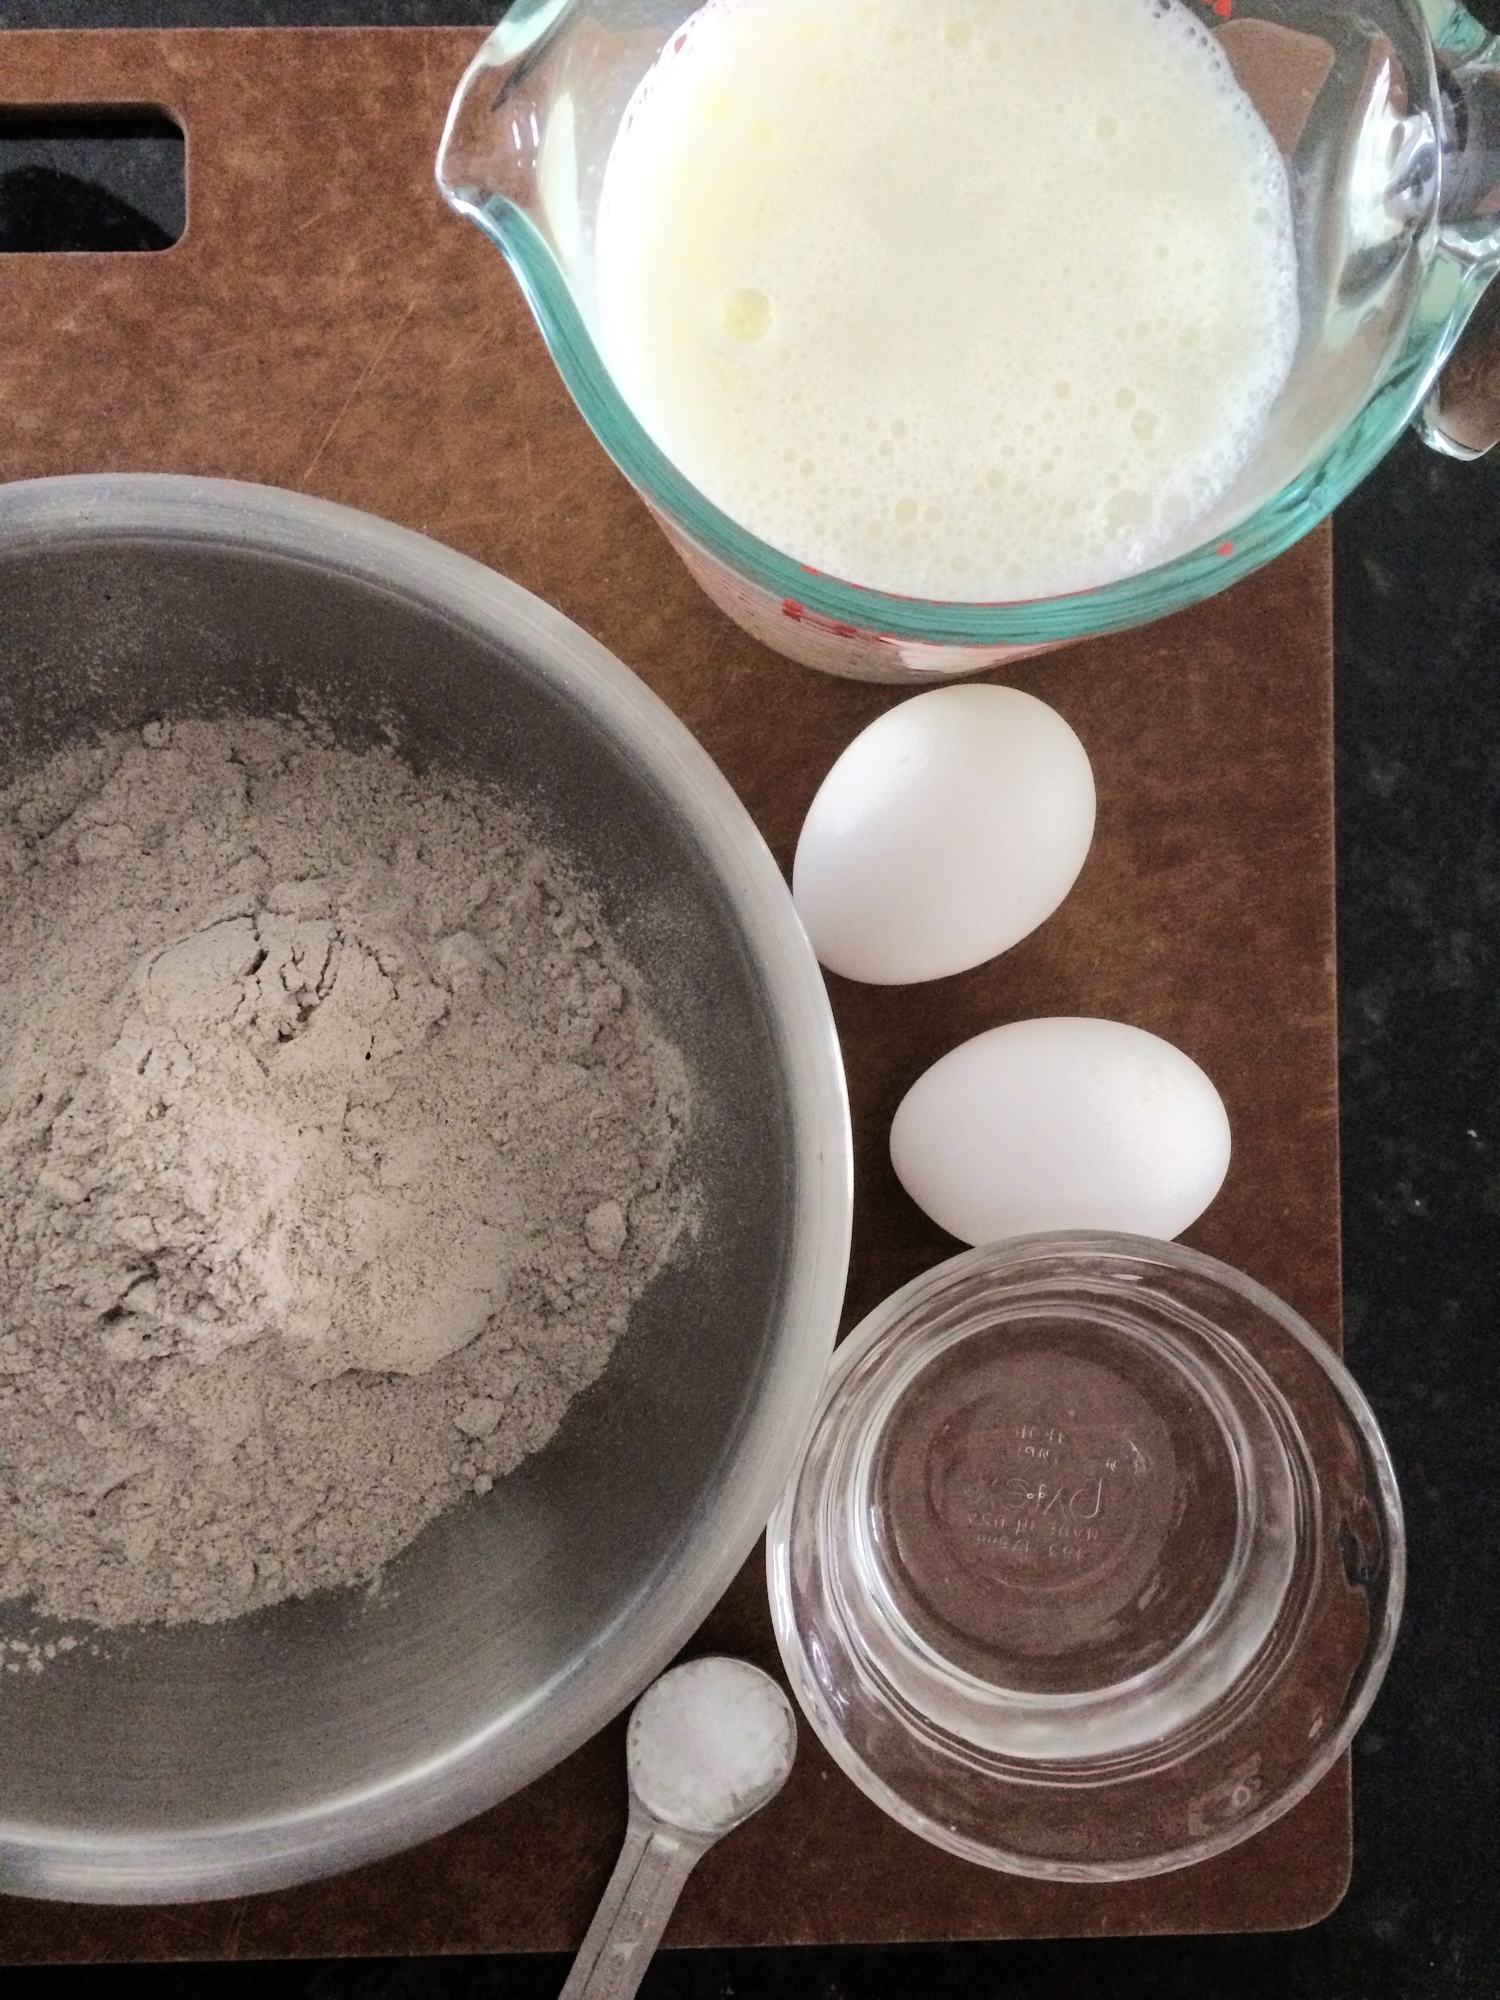
2 cups buckwheat flour
2 eggs
2 tablespoons unsalted butter, melted
2 cups milk (I used 2%)
1/2 cup water
1 teaspoon salt
1-2 tablespoons unsalted butter, divided, for cooking

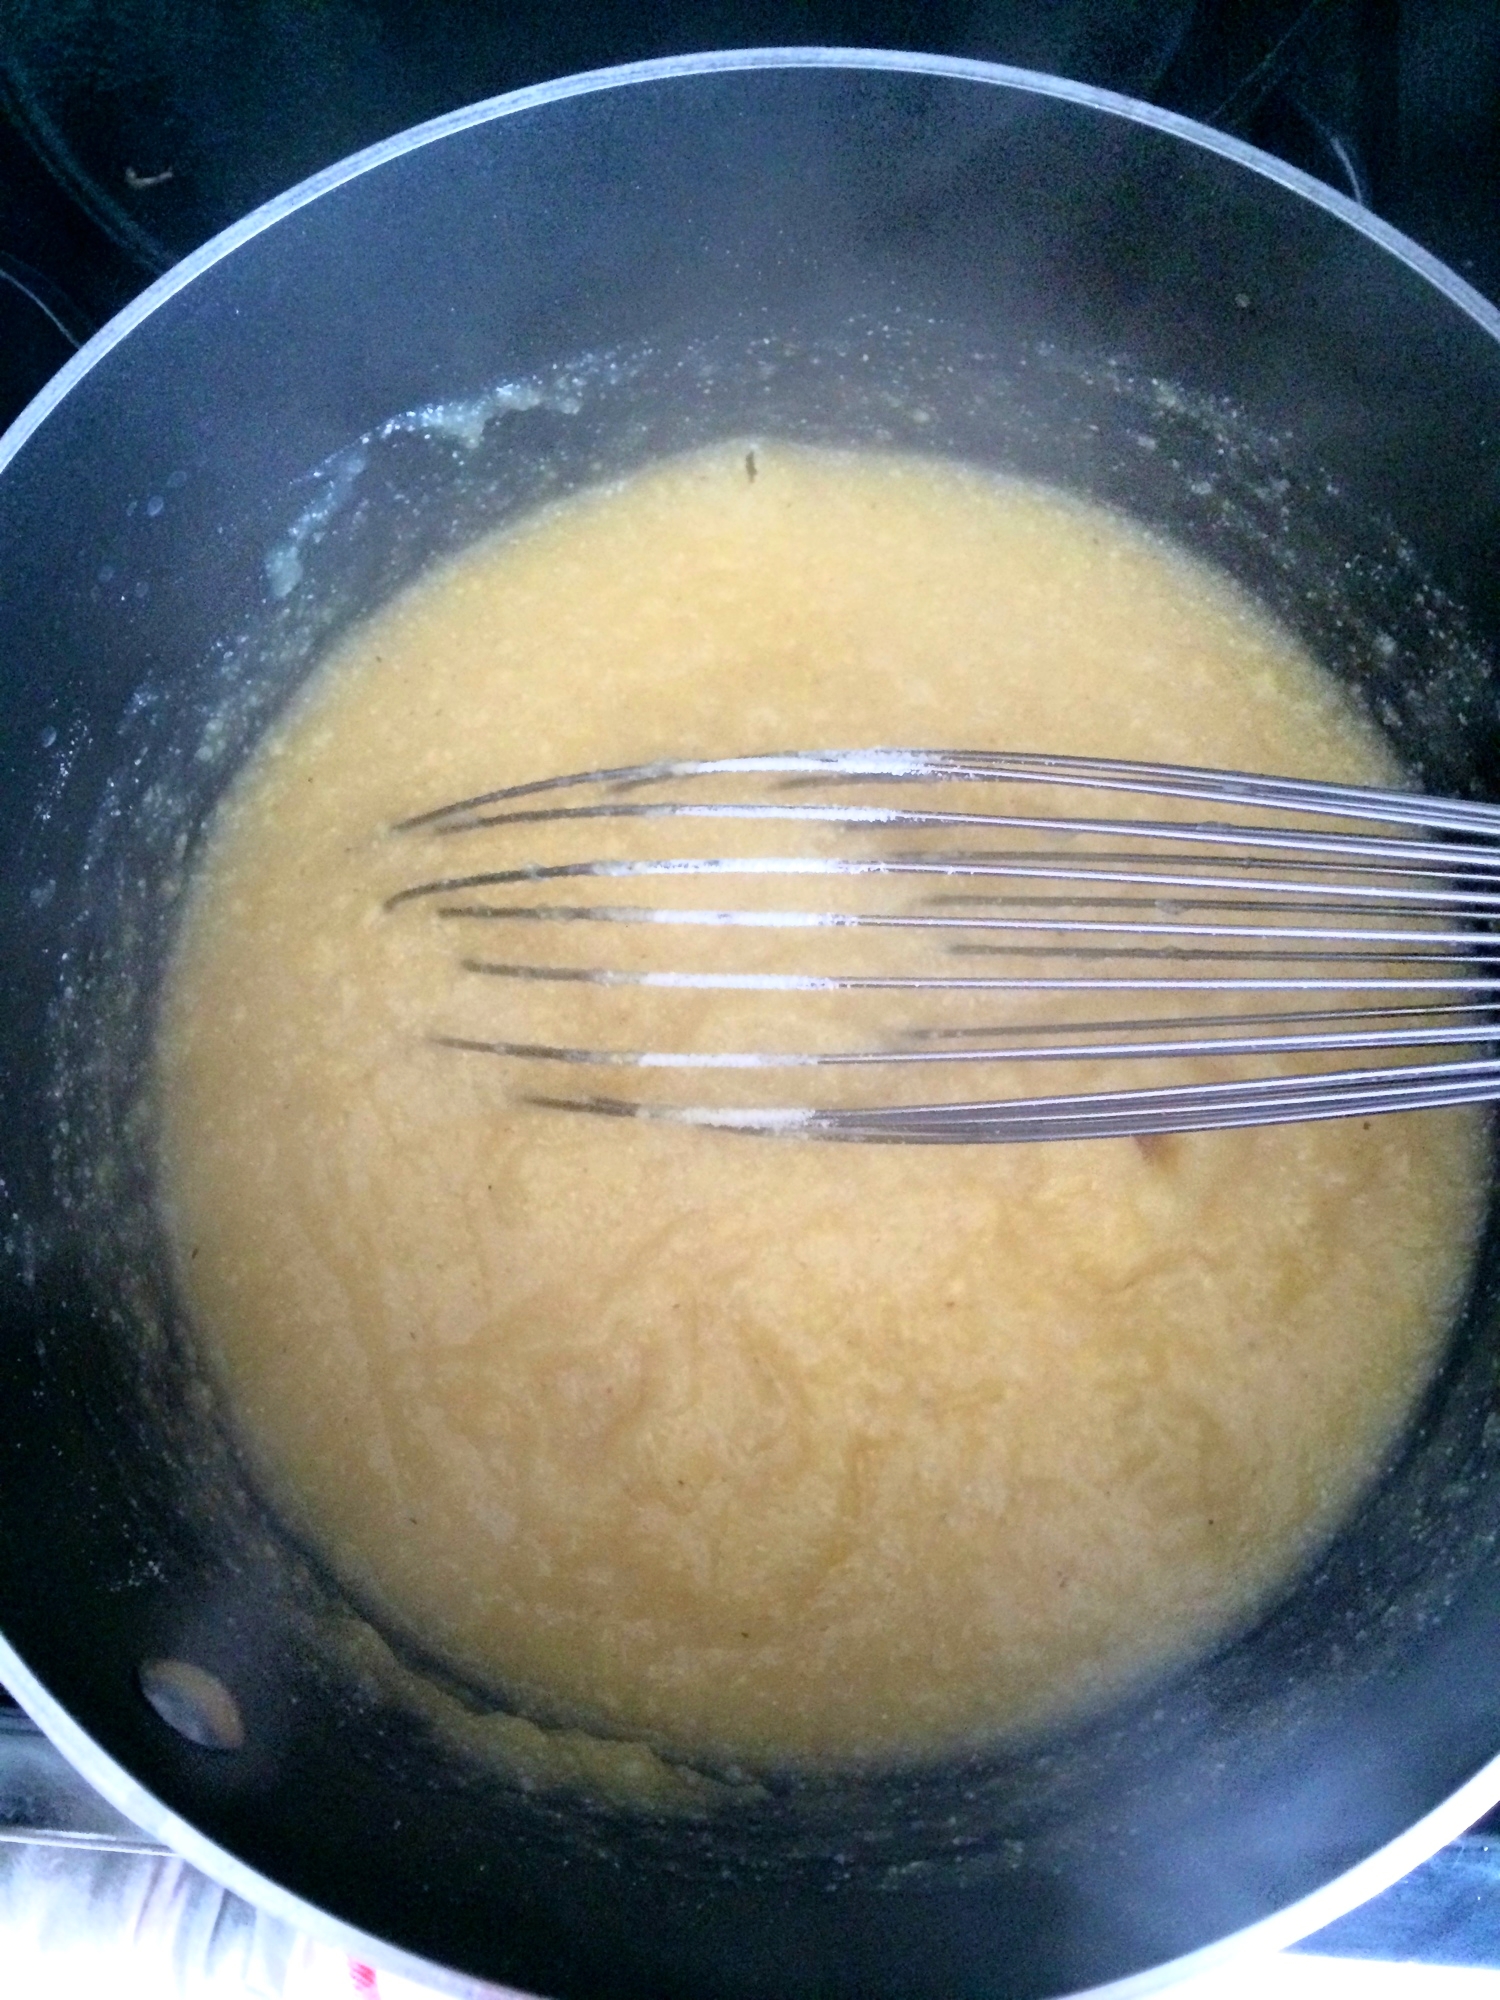
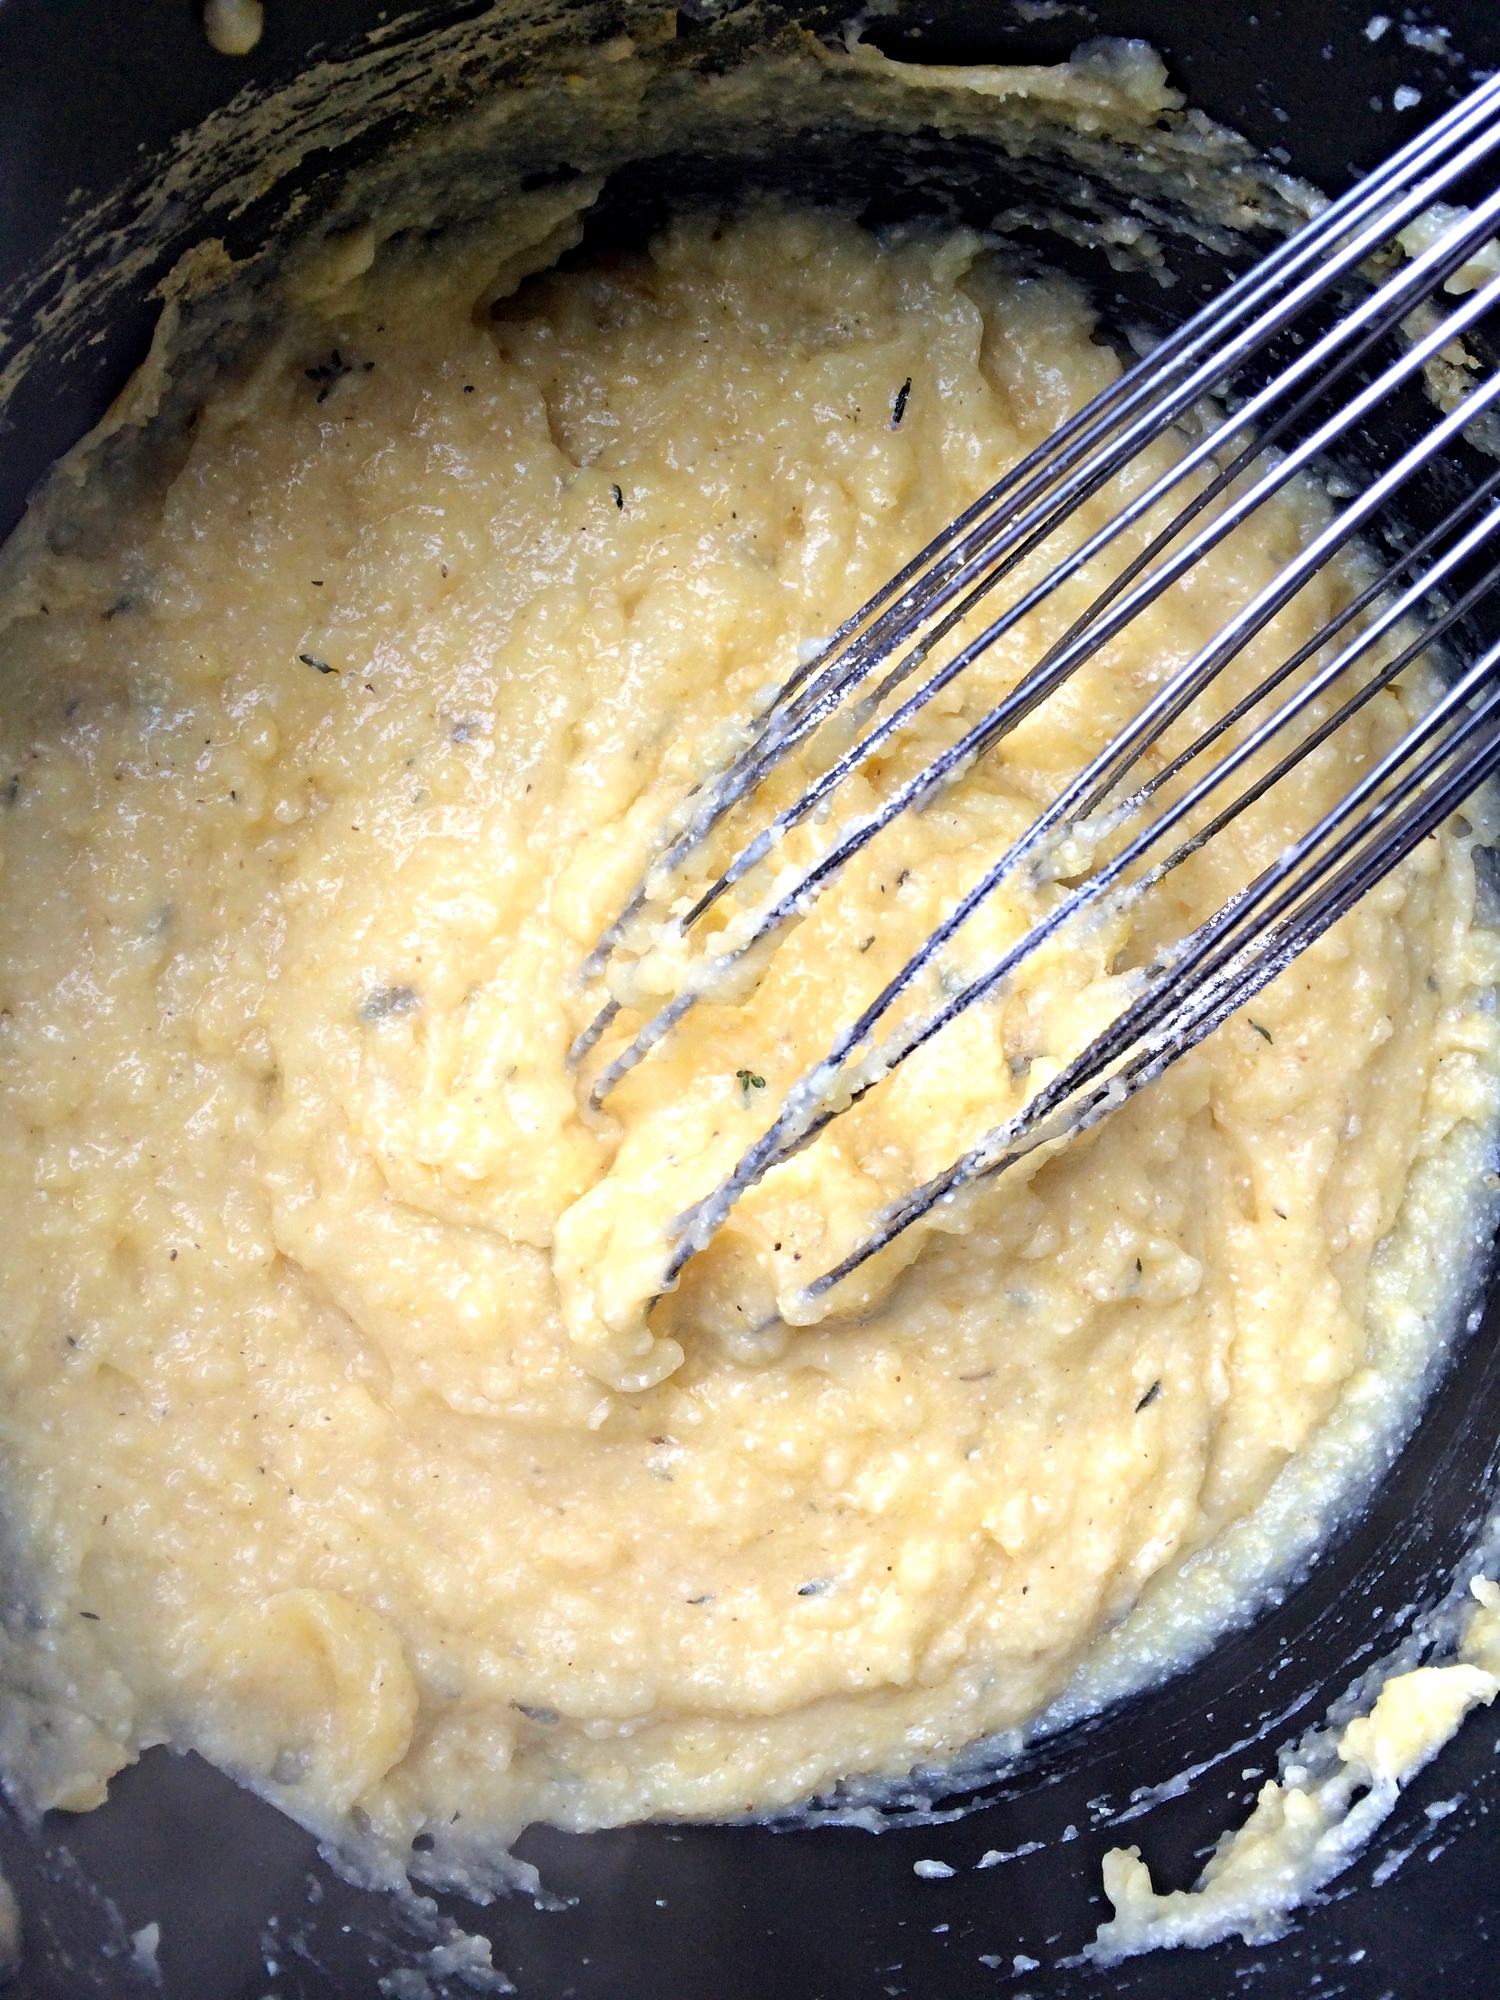
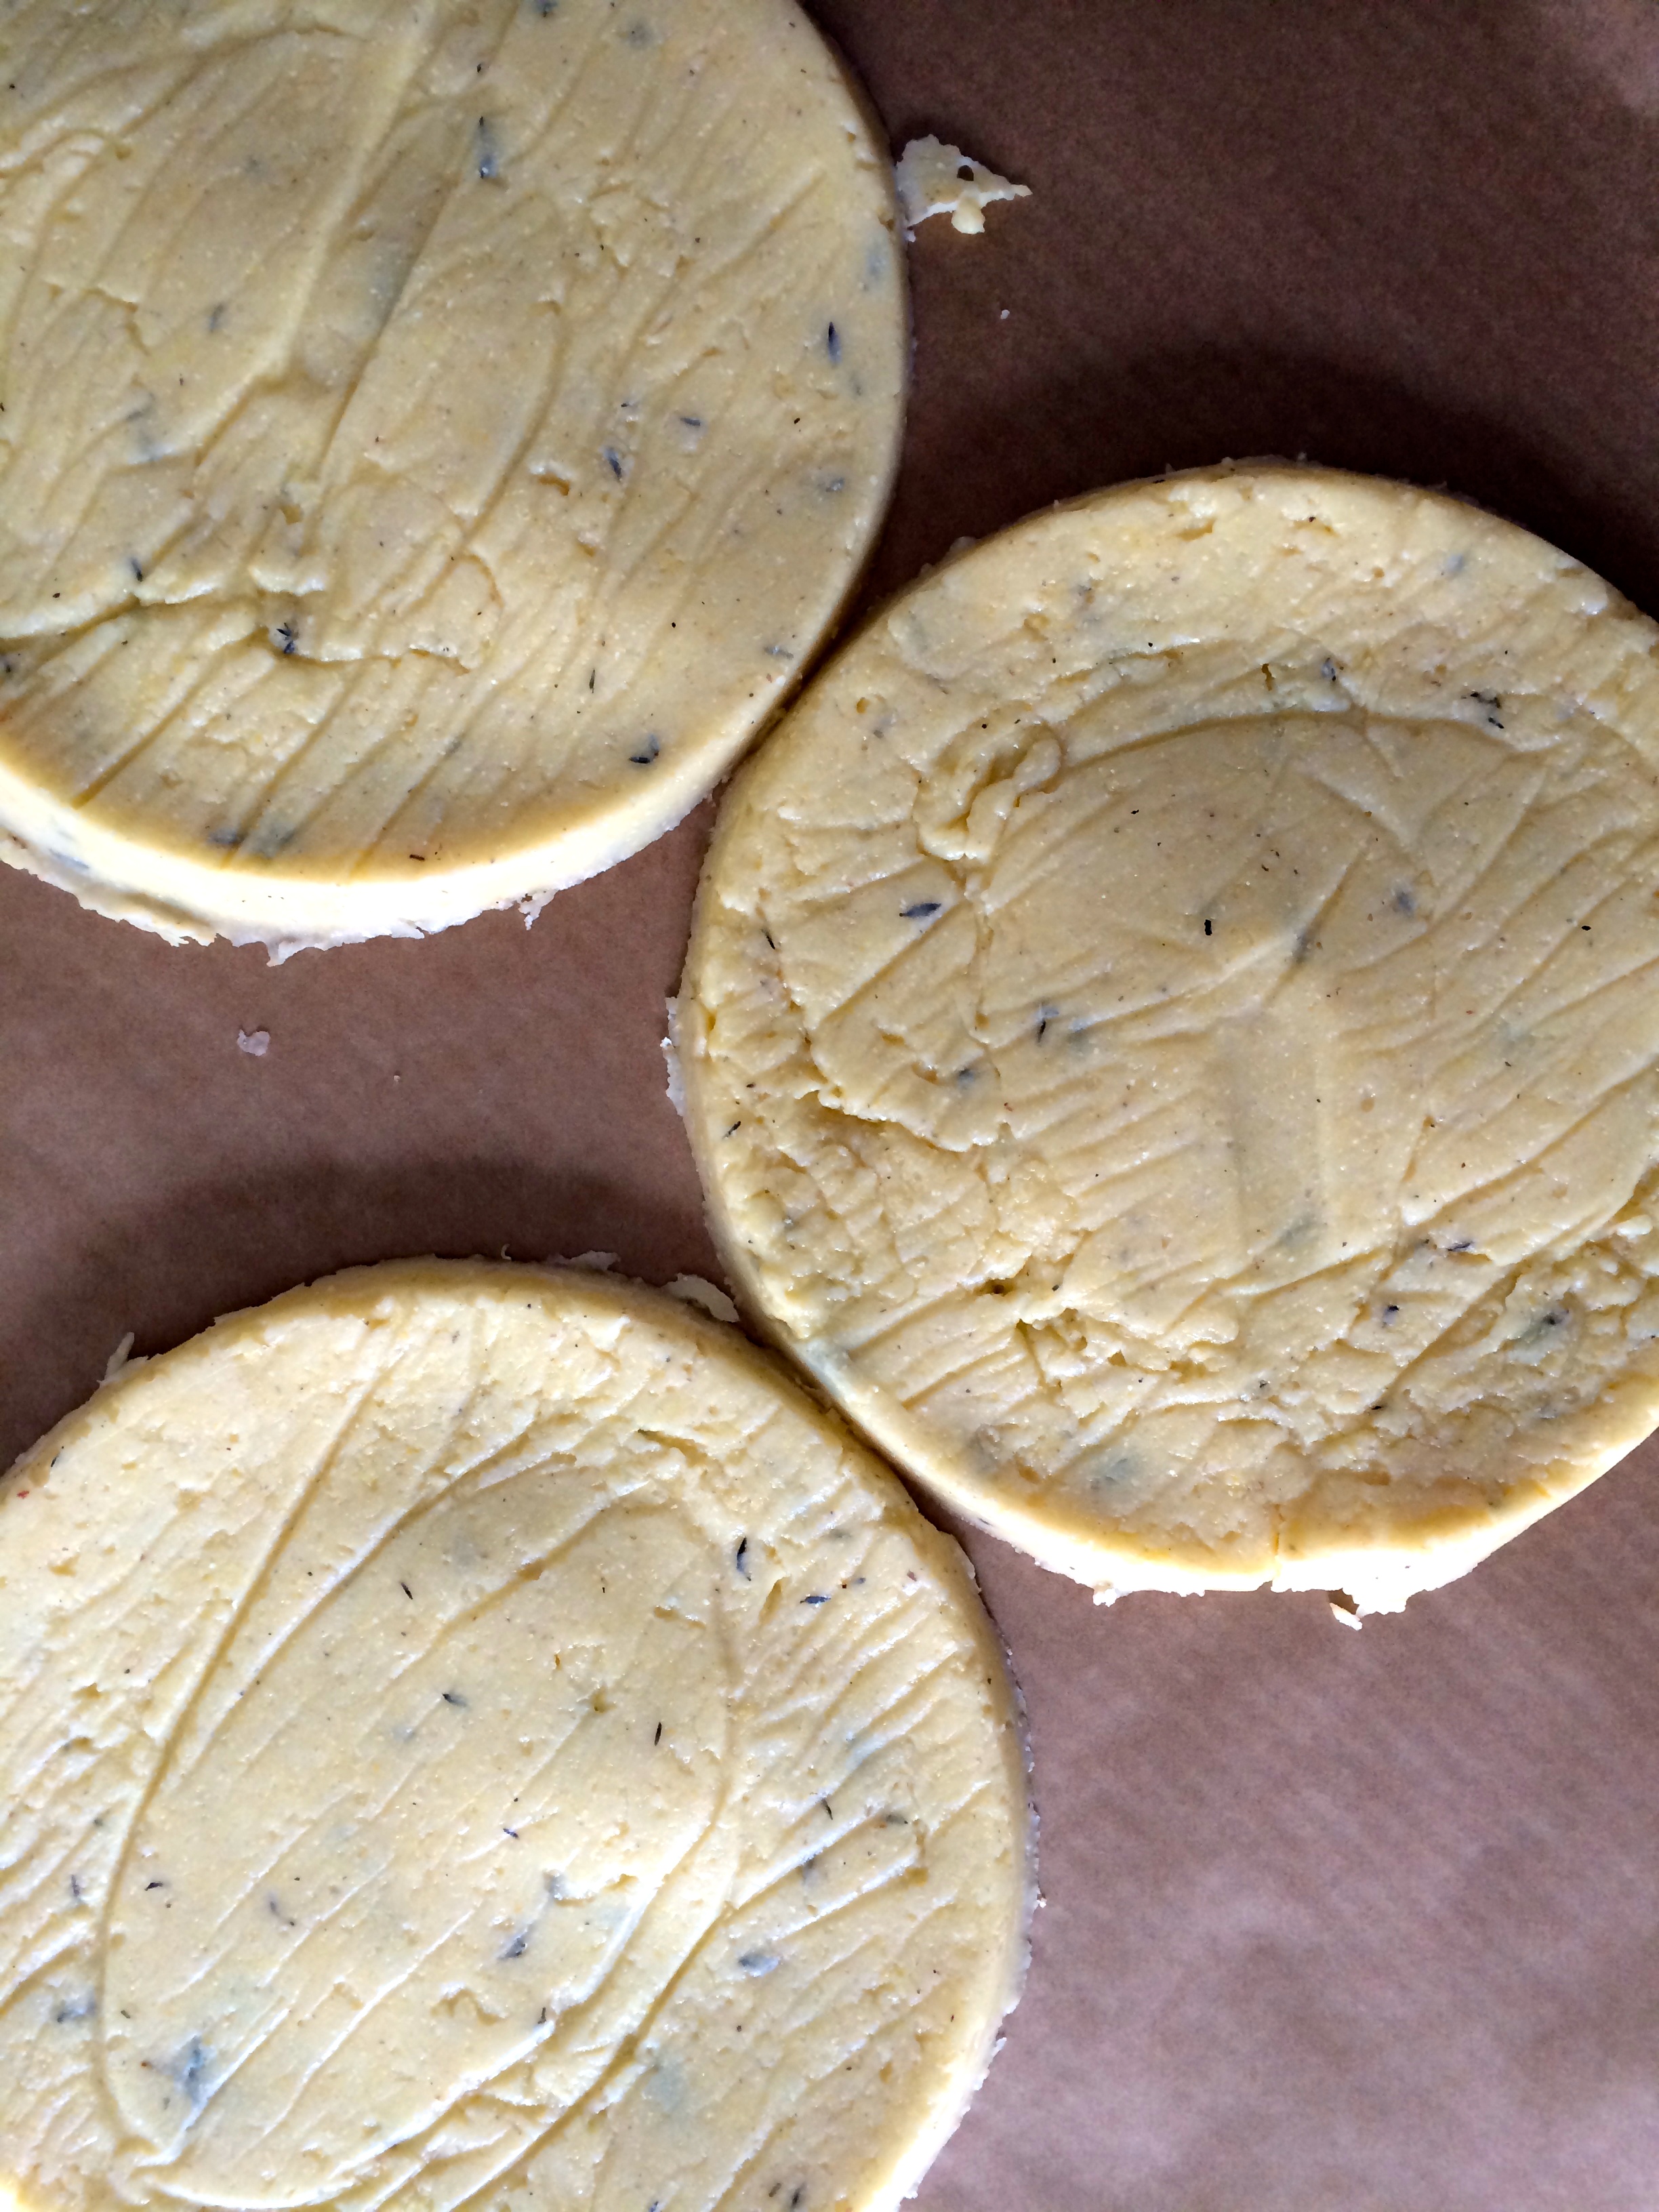
Combine all of the ingredients in a blender, except the 1-2 tablespoons of butter for cooking. Blend for 30-45 seconds or until smooth. Pour the mixture into a bowl, cover with plastic wrap, and allow it to rest in the refrigerator for at least an hour or even overnight. Allow the mixture to sit at room temperature for 15 minutes before proceeding.

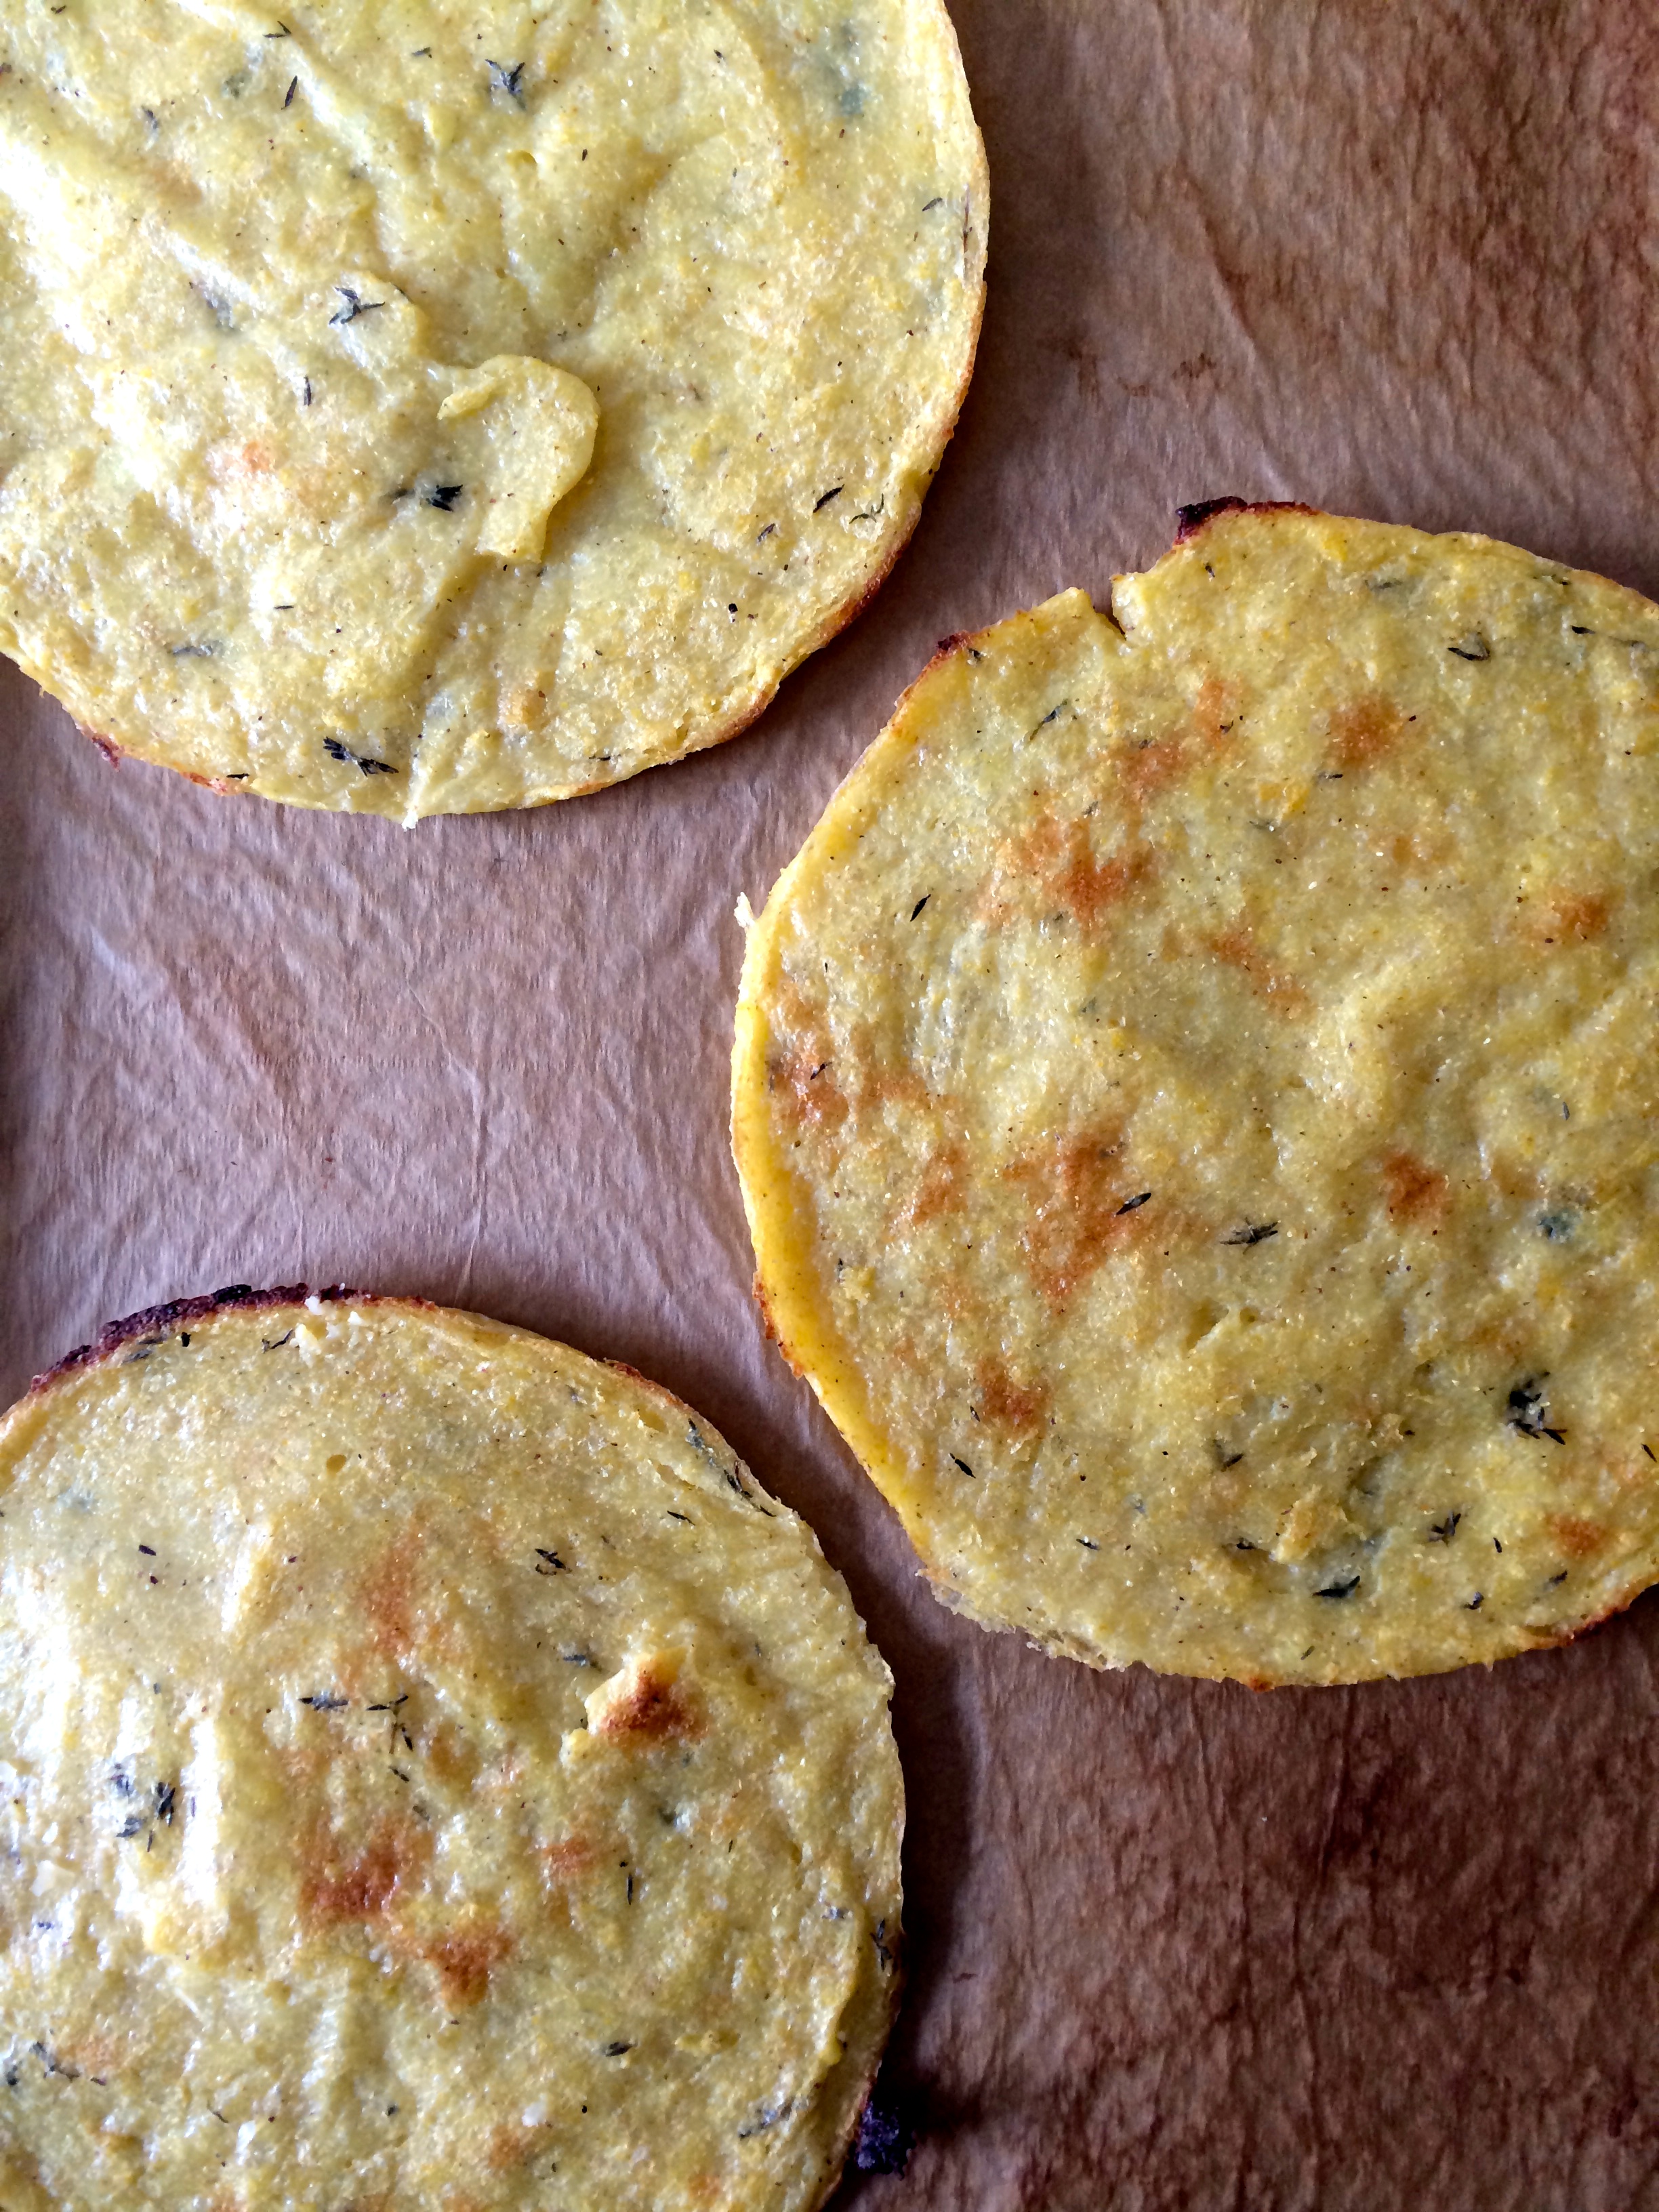
Heat a 10-inch non-stick skillet over medium heat. Add 1/2 teaspoon of butter to the skillet, swirling to coat. I use a pastry brush to make sure the butter is evenly distributed. Use a 1/4 cup measuring cup to scoop the batter and pour it into the pan. Work quickly to swirl the batter all over the pan to create a thin even layer. The first and maybe even second crepe are usually far from perfect as you are still finding a rhythm and finding the right temperature. So do not give up! You can see my first failed attempt in the picture below. Cook the first side about 1 minute or until the edges of the crepe begin to pull away from the pan and then flip to cook the other side about 20 seconds. I use a spatula and my fingers to usually do this. When the crepe is done, move to a plate and continue with the rest of the batter, buttering the pan as necessary. I usually have to re-butter the pan every 2-3 crepes.

IMG_5698.jpg
IMG_5715.jpg
IMG_5719.jpg
IMG_5722.jpg

You can use the crepes immediately, stored in the refrigerator for 2-3 days, or the crepes can be stored in the freezer for about a month with a piece of parchment in between them to prevent sticking. If you want to melt more cheese on them, you can do so like you would a quesadilla. Place the crepe in a hot skillet, layer on the cheese or other fillings and wait for the cheese to melt. Remove it from the skillet, roll or fold, and enjoy! Make about 12-15 crepes, depending on how many you end up using as practice :)

IMG_5726.JPG
In Mains Tags recipe, brunch, breakfast, swiss chard, mushrooms, vegetarian, goat cheese, walnuts, buckwheat flour, gluten-free
1 Comment

Butternut Squash and Chickpea Baked Spanish Rice

April 6, 2015 Emily Watson

Another butternut squash recipe, you ask? I know, I know. You see, I had one lonely butternut squash to use up and wanted to maximize it's use before I would not see it again for another 6-9 months. As much as I love butternut squash and all those other hearty winter squashes, I am ready to move on to new vegetables as warmer weather sets in. So, this will be my last recipe for butternut squash for a long while.

This recipe borrows from one of my favorite summer-time recipes, the Paella with Tomatoes from Mark Bittman I had found in the New York Times a few years ago, and a Curried Butternut Squash Brown Rice Skillet recipe from Erin of Naturally Ella. It is a simple recipe, but one that is comforting, nourishing, and tastes much more complex than the simple steps suggest. You start it on the stove top and then pop it in the oven for almost an hour to finish. Your kitchen will fill with toasty, smoky aromas. Top it with a tangy sour cream, yogurt, or even an egg, poached or fried preferably so that the yolk can run all over it.

The secret ingredients here, or rather the ingredients that contribute the most to this dish, are the smoked paprika, or Spanish pimentón, and the saffron. Regular sweet paprika does not have the same effect, so it is best to invest in a tin of smoked paprika. Regular paprika will do in a pinch, but I promise you will put smoked paprika to very good use. Saffron is one pricey and unique spice. It is magically floral and produces a beautiful sunset yellow-orange hue to any dish to which it is added. You can skip it if you would like, knowing that the flavor will be a little less floral but still delicious. I suggest adding a 1/2 teaspoon turmeric to achieve a earthy flavor and golden hue. Also, a note on the rice. It is important to get short-grain brown rice to achieve the best texture. It has a hint of stickiness that I find most satisfying, and it gets crunchy and toasty on the top and bottom.

Butternut Squash and Chickpea Spanish Baked Rice

1 1/2 T. olive oil, divided
1/2 medium yellow onion, finely chopped
1 garlic clove, minced
3/4 t. smoked paprika or Spanish pimentón
1/4 t. ground cumin
pinch of ground cinnamon
pinch of saffron or 1/2 t. ground turmeric
1 T. tomato paste
zest of 1/2 lemon
juice of 1/2 lemon
1/2 c. short-grain brown rice
1/3 medium butternut squash, peeled, seeded and chopped in 1/2-inch pieces (about 1/2 lb. or 2 c. chopped)
1/2 c. cooked chickpeas
1/2 teaspoon of salt
2 c. water
Sour cream or plain yogurt (at least 2 % fat), for serving

Preheat oven to 450 degrees Fahrenheit. In an 8" cast iron skillet, heat 1 tablespoon olive oil over medium heat. Add onion and garlic and saute until beginning to soften and turn translucent for about 5-7 minutes. Add the smoked paprika, cumin, cinnamon, saffron, and tomato paste and stir to coat the vegetables. Cook for 1 minute or until spices become aromatic. Add the zest of 1/2 lemon and the juice of 1/2 lemon, stirring to loosen any bits stuck to the bottom of the pan. Add the brown rice, butternut squash, chickpeas, and scant 1/2 teaspoon salt, and cook for 2-3 minutes or until everything is evenly coated and the rice begins to toast just a little. Add the water. The water will come up just short of the edge of the pan. Stir very carefully. Drizzle 1/2 T. of olive oil over the top- where it will help the dish toast in the final minutes of cooking.

IMG_4793.JPG
IMG_4791.jpg
IMG_4787.jpg
IMG_4785.JPG

Carefully place the pan in the middle rack of the oven. Allow to cook for 50-55 minutes. The liquid should be fully absorbed, and the top beginning to brown ever so slightly. The rice should be tender. If not, add a little more liquid if no liquid remains, and continue to cook for 10 minutes. Remove the rice from the oven. Allow to rest for 10 minutes before serving. Serve with sour cream or plain yogurt, at least 2% is preferred. Enjoy! Serves 2.

IMG_4814.JPG


In Mains Tags recipe, brown rice, chickpeas, Spanish, butternut squash, gluten-free
7 Comments

Butternut Squash and Black Bean Tacos with Pickled Onions and Pimentón Chimichurri

April 5, 2015 Emily Watson

If I could sum up the majority of my eats in Southern California, it would be....tacos. Fish tacos, chicken tacos, chicken and mole tacos, even mini Wagyu beef and tuna tartare tacos. And I enjoyed each and every one of them. But tacos do not always have to come with fish, chicken, or meat to make them delicious. Nor do they have to be stuffed with just beans and rice to make a passable vegetarian option. I have stuffed these corn tortillas with slices of slightly sweet roasted butternut squash, a creamy schmear of black beans, quick pickled red onions, plump avocado, and drizzled it all with a bright, spiced sauce reminiscent of chimichurri.

I hope no one is offended with me taking a little culinary and poetic license and calling this a chimichurri. It may seem like a far cry from the herby green steak condiment of Latin America, but believe me when I say it packs a similar punch. Traditional chimichurri is practically a vinaigrette with a base of oil and vinegar and lots of garlic and herbs like oregano, parsley, and sometimes even cilantro. I borrow from that concept, swapping smoked paprika for parsley and being generous with the cilantro. I happen to love the combination of smoked paprika and butternut squash, and think this works quite well in these little tacos. I think you may even find other uses for this addicting sauce. Let me know what you end up pouring it on.

The pickled onions that I include here are easy to make and will add new dimensions to many of your favorite dishes. Toss them on sandwiches, chop them and add them to your grainy salads, or garnish a burger or sausage with them.

These tacos are vegetarian as written, but can easily be made vegan by substituting a plain vegan yogurt for the sour cream. If you just must have meat, any simply grilled meat could work, and be generous with the chimichurri. I'm also wishing I would have had some queso fresco slices to add in there to really up the ante.

Served alongside thinly sliced cabbage tossed with salt, olive oil, and a hint of lime juice, these tacos will change your idea of what vegetarian tacos have to be.

Butternut Squash and Black Bean Tacos with Pickled Onions and Pimentón Chimichurri

Tacos:
1/3 medium butternut squash, peeled and seeded and sliced in 1/4 inch slices
2 t. olive oil
1 14.5-ounce can of black beans, drained and rinsed
1 T. sour cream
1 lime, zested and juiced
1/2 t. ground cumin
scant 1/2 t. salt
1 ripe avocado, peeled, pitted, and sliced into 1/4-inch slices
Handful fresh cilantro, rinsed to remove any sand and dried, and leaves separated
1 recipe Quick Pickled Red Onions, recipe below
1 recipe Pimentón Chimichurri, recipe below
8 of your favorite corn tortillas

Roast the squash. Preheat the oven to 400 degrees Fahrenheit. Line a baking sheet with a Silpat or parchment paper. Toss the butternut squash with 2 teaspoons of olive oil and a sprinkling of salt and arrange slices in single layer on baking sheet. Roast for about 25-30 minutes or until tender and a little brown around the edges. Remove from oven and set aside.

IMG_4780.JPG
IMG_4789.JPG
IMG_4844.JPG
IMG_4848.JPG

In the meantime, prepare the black beans. Place the drained and rinsed black beans in a bowl. Add the sour cream, zest and juice of 1 lime, the ground cumin, and salt. Mash the beans with a fork to your liking. I like mine a little chunky, but you can mash them to a smoother puree if you like.

Get all of your ingredients ready. Warm and soften the tortillas by wrapping them in a moist paper towel and microwaving them for 20-30 seconds. Begin assembling the tacos. Smear the black bean mixture on the tortilla, top with a few slices of butternut squash, then avocado, the pickled onion, drizzle with chimichurri, a few cilantro leaves, and drizzle with more chimichurri if desired. Enjoy! Serves 3-4 people.

IMG_4852.JPG
IMG_4855.jpg
IMG_4856.jpg
IMG_4857.jpg
IMG_4859.jpg
IMG_4860.jpg
IMG_4863.jpg

Quick Pickled Onions
1 red onion, peeled and sliced thinly
1/2 c. apple cider vinegar
1/2 c. water, microwaved for about a minute
1 T. honey
1 1/2 t. salt

Combine all of the ingredients in a bowl, stirring to coat evenly. Allow the onions to pickle and slightly wilt for at least 20 minutes, stirring occasionally. This makes a lot more than you need for these tacos, but these onions should last about a week in the fridge so you can find some new uses for them.

IMG_4849.JPG
IMG_4835.jpg
IMG_4833.jpg

Pimentón Chimichurri
3 garlic cloves
1 c. loosely packed cilantro, washed and dried to remove any sand (some stems are fine!)
1 1/2 t. smoked paprika
1 1/2 t. dried oregano
1/4 t. red chili flakes
1/2 t. salt
3 T apple cider vinegar
3 T. extra-virgin olive oil

Combine all ingredients in a mini food processor or blender and blend until smooth, scraping down the sides as needed. Makes about 1/2 cup.

IMG_4836.jpg
IMG_4840.JPG
IMG_4870.jpg
In Mains Tags recipe, butternut squash, avocado, Mexican, black beans, gluten-free, vegetarian, sauce, cilantro
Comment

Potato Patties with Kale Pesto

March 20, 2015 Emily Watson
IMG_4176.jpg

I seem to be seeing green this week. I blame it all on St. Patty's Day. Minty green chocolate puddings were our sweet green eats and these potato patties were the savory green eats. When I was little, my Mom always took the time to prepare corned beef for St. Patty's Day, but I was looking to branch out. I had been reading a lot about different Irish foods, and Colcannon stood out to me as something worth trying in my own kitchen. Colcannon is essentially mashed potatoes with cabbage or kale and typically served alongside ham or corned beef. In my rendition, I decided to use kale, and I further mixed it up by turning the kale into pesto, and then turning the green potato mixture into little potato cakes.

The results? Delicious. Crispy on the outside and tender on the inside, these potato patties are winners. We munched on them with a little sour cream at first and then topped them with a poached egg and a sprinkle of cheese for lunch. There will be lots of leftover kale pesto, but you will find a way to use it up. Think kale pesto tossed with pasta, swirled into polenta, spread on a sandwich, or even drizzled on a pizza. If you already have another type of pesto lying around, like basil pesto or even sundried tomato pesto, feel free to substitute that in as I'm sure the results will be delicious. Let me know in the comments if another pesto works for you!

Looks like I'll still have to try the real Colcannon at some point.

Potato Patties with Kale Pesto

Potato Patties:
1 lb. Yukon gold potatoes, washed and cut into 1 inch pieces*
1 egg
1/3 c. grated sharp cheddar cheese**
2 1/2 T. pesto, see recipe for kale pesto down below
1/4 t. salt
1 T. olive oil, divided, for pan frying

Cook the potatoes. Place the potatoes in a pot and cover with water by 1 inch. Bring the potatoes to a boil over medium-high heat and then reduce to simmer. Check for doneness at 15-20 minutes by sticking a fork into a potato where there should be just a little resistance. You want a consistency in which the potatoes can be mashed with your finger, but not overdone and mushy. Drain completely and place in a large bowl.

Mash the potatoes using a fork or potato masher. I like mine a little lumpy, but they cannot be too lumpy or the patties will not hold their shape well. Add the egg, cheese, pesto, and salt to the bowl and mix everything together until uniform.

IMG_4123.jpg
IMG_4137.jpg
IMG_4141.jpg

Heat a large non-stick or cast iron skillet over medium-high heat. Add 1/2 tablespoon olive oil to the pan and swirl to coat so there is a thin, uniform layer. Using a spoon or small ice cream scoop, scoop about 1 heaping tablespoon portions into the skillet, pressing down gently with a wet finger or the back of a spoon. You will have to do this in multiple batches so do not overcrowd the pan. Cook on one side for 2-4 minutes or until golden brown and flip to cook the other side for 2-3 minutes or until golden brown. Remove the patties from the pan and place on a wire rack. Add more oil to the pan and continue with the remaining potato mixture. Makes about 16 patties or 4 servings.

* I used Yukon gold potatoes because they have a creamier texture, but russets or red potatoes should work too
** I used Cabot extra sharp cheddar cheese, but feel free to try another sharp cheese that you like!

IMG_4144.jpg
IMG_4145.jpg
IMG_4150.jpg
IMG_4157.jpg

Kale Pesto:
4 oz. lacinato kale, ribs removed and discarded and leaves chopped (about 3 1/2 c. chopped)
2 garlic cloves, peeled
1/3 c. walnuts
1/2 t. salt
1 lemon, for zesting and juicing
1/3 c. pecorino romano cheese or parmigiano reggiano cheese
1/3 c. extra virgin olive oil
black pepper, to taste

Toast the walnuts. Preheat the oven to 400 degrees Fahrenheit. Place walnuts on a baking sheet and toast for 8-10 minutes or until golden. Alternatively, toast the walnuts in a skillet over medium-low heat on the stove-top for 8-10 minutes, shaking often.

IMG_4096.jpg
IMG_4106.jpg
IMG_4111.JPG

Place the kale, garlic, walnuts, salt, zest of 1 lemon, and juice of lemon in food processor and pulse until mostly smooth. Add the cheese and pulse to incorporate. You may have to stop and scrape down the sides to make sure everything is consistent. Slowly drizzle in the extra virgin olive oil while the motor is running until the desired consistency is reached. Taste and adjust for salt and pepper. Store in airtight container in the refrigerator or freeze in smaller portions in an ice cube tray for later uses. Makes about 1 cup of pesto.

IMG_4175.jpg


In Mains Tags recipe, kale, potatoes, gluten-free, vegetarian
3 Comments

Polenta Pizzas ai Funghi

March 12, 2015 Emily Watson
IMG_3948.JPG

Pi Day is just around the corner, and in celebration of the good ole 3.1415....I am making pizza! Or at least a dish reminiscent of one of our favorite pie's here in the city. I love mushrooms in nearly every form, but one of my favorite ways comes atop a pizza with a little garlic, some gooey, pungent cheese, and a fried egg at Nomad Roman in Philadelphia. There, they use shiitake mushrooms, two cheeses, and truffle oil. In this rendition, I use polenta as a base and top it with sauteed onion, garlic, and cremini mushrooms, two cheeses, and an oozy egg. The first cheese, the Comte, provides a sharp, nutty bite while the second washed rind Ameribella contributes an earthy sweetness. See the notes down below for other cheese substitutions. If you get the yolk just right, it oozes out and combines with the melted cheeses and mushrooms into sheer deliciousness.

The idea of using polenta as a pizza crust has been around for a while, but I really like it because it can be prepared the day before and because I love the coarse texture and pure corn flavor that it lends, especially to the mushroom topping here. You can find polenta in your local grocery store listed as polenta, coarse grits (not instant), or stone ground cornmeal. I used a stone ground yellow cornmeal that my mom boought me from the farmer's market in my hometown in North Carolina. Whatever you use, be sure to give ample time to let the polenta base cool and stiffen so that it makes a sturdy pizza crust for all of your toppings.

Polenta Pizzas ai Funghi

4 c. water
1 1/2 c. polenta, coarse grits, or stone ground cornmeal
2 T. extra-virgin olive oil
1/2 t. garlic powder
2 t. minced fresh thyme, or 1 t. dried thyme
1 1/4 t. salt

2 T. olive oil
1 small yellow onion or half large yellow onion, peeled and finely chopped
2 garlic cloves, minced
1 lb. cremini mushrooms or a mix of cremini, shiitake, button, maitake mushrooms, sliced in 1/4 inch slices
1 c. grated Comte cheese *
3/4 c. cubed Ameribella cheese **
3 eggs, preferably local or free-range and organic
good quality balsamic vinegar, optional, for drizzling
freshly grated pecorino or parmiggiano-reggiano cheese, option, for sprinkling
salt and pepper to taste

Begin with the polenta crusts. In a medium saucepan, bring 4 cups of water to a boil. Slowly whisk in the polenta, being sure to eliminate any lumps. Reduce the heat to low, and cook, stirring occasionally until the polenta is cooked, about 25 minutes. The polenta may bubble up and pop during cooking so be careful. Remove from the heat after cooking, stir in 2 tablespoons extra-virgin olive oil, garlic powder, thyme, and salt. Set aside.

IMG_3916.jpg
IMG_3921.jpg
IMG_3929.jpg
IMG_3928.jpg
IMG_3932.jpg

Prepare the pans for the crusts. For round crusts, line three 8 or 9-inch round cake pans with parchment. For a rectangular pizza, you can cover a baking sheet with parchment. For whatever method, scoop the polenta from the pot to the pan(s) and flatten into an even layer, about 1/4 inch thick. It helps to use a spatula or lightly wet your fingers for this part. Cover each crust with plastic wrap or parchment paper, ensuring that it sticks directly to the surface, and place in the refrigerator for at least an hour or preferably overnight to stiffen.

IMG_3922.jpg
IMG_3923.jpg
IMG_3925.jpg
IMG_3931.jpg

To prepare the topping, heat 2 tablespoons olive oil in a large saute pan over medium high heat. Add the finely chopped onion and saute for 8-10 minutes or until softened and a little brown around the edges. Add the minced garlic, saute for 30 seconds or until aromatic, and then add the sliced mushrooms. Sprinkle everything generously with salt, a little black pepper, and stir to combine. Saute for about 20 minutes or until the mushrooms release their liquid and begin to dry out again and become golden around the edges. Taste and adjust for salt and pepper. Remove from heat. This can be done the day before you plan to cook the pizzas.

IMG_3934.jpg
IMG_3935.jpg
IMG_3938.jpg
IMG_3942.JPG

To assemble and bake the pizzas, preheat the oven to 425 degrees Fahrenheit. Make sure that the baking rack is placed in the middle of the oven. Remove the polenta from the refrigerator while the oven preheats. Remove the plastic wrap or parchment from the surface and place the crusts in the oven. Bake for 20 minutes or until the top begins to dry out and become slightly golden. Remove from oven, and carefully flip the crusts over. I placed a piece of parchment on a baking sheet, placed the baking sheet parchment paper side down atop the polenta pans, and quickly inverted everything. The uncooked side of the polenta should now be facing up.

Return the crusts to the oven for another 20 minutes. In the meanwhile, grate the cheeses and get your mushrooms and eggs ready. When the crusts come out of the oven, turn the oven to broil (on high). Evenly distribute the cheeses, then the mushroom topping atop the crusts. Carefully crack an egg, if using, in the center of each pizza. Alternatively crack 3 eggs atop a large rectangular pizza. Return the pan to the oven and broil for 8-10 minutes or until the cheese is bubbly and the egg whites are cooked and yolks are just becoming firm on their outer surface. This step often depends on how strong your broil setting is, so keep an eye out on the egg, being careful not to burn the cheeses in the process. Remove the pizzas from the oven, drizzle lightly with a syrupy balsamic vinegar if it is available, and a dusting of pecorino or parmiggiano-reggiano. Serves 3-4 people.

IMG_3944.JPG
IMG_3951.JPG

* If you can't find Comte, you can substitute another firm, nutty cheese such as Gruyere (a bit stronger) or Emmental (a bit milder).
**If you can't find Ameribella, Taleggio is an excellent substitute. I just stumbled upon Ameribella, a pungent, slightly sweet washed-rind cheese from Jacobs and Brichford in Indiana at my local Di Bruno Bros. If you can find it, check it out because it is fantastic!   
  

IMG_3957.JPG


In Mains Tags pizza, recipe, eggs, mushrooms, cheese, make ahead
1 Comment
← Newer Posts Older Posts →
Hi! I'm Emily. I love to cook whole, nourishing foods, and this is where I share my kitchen experiments and sometimes a little bit of life.

Hi! I'm Emily. I love to cook whole, nourishing foods, and this is where I share my kitchen experiments and sometimes a little bit of life.

Featured
  • July 2017
  • May 2017
  • April 2017
  • March 2017
  • February 2017
  • January 2017
  • December 2016
  • November 2016
  • October 2016
  • September 2016
  • August 2016
  • July 2016
  • June 2016
  • May 2016
  • April 2016
  • March 2016
  • February 2016
  • January 2016
  • December 2015
  • November 2015
  • October 2015
  • September 2015
  • August 2015
  • July 2015
  • June 2015
  • May 2015
  • April 2015
  • March 2015
  • February 2015

  • Appetizers 18
  • Breakfast 18
  • Life 4
  • Mains 39
  • Miscellaneous 2
  • Salads 21
  • Sandwiches 6
  • Side Dishes 8
  • Smoothies 4
  • Snacks 10
  • Soups 14
  • Spreads Dips Sauces 5
  • Sweets 6
  • Vegetarian 1

  • almonds
  • appetizers
  • autumn
  • avocado
  • breakfast
  • brown rice
  • chickpeas
  • chocolate
  • cilantro
  • coconut
  • coconut milk
  • fall
  • gluten-free
  • kale
  • lentils
  • make ahead
  • mint
  • oatmeal
  • recipe
  • salad
  • snack
  • soup
  • spring
  • summer
  • sweet potatoes
  • tahini
  • vegan
  • vegetarian
  • walnuts
  • winter

subscribe

Sign up with your email address to receive new posts directly

We respect your privacy.

Thank you!

All photographs, recipes and content are property of Nourishing Matters, unless otherwise noted. Please do not redistribute without my permission. Thank you!

Powered by Squarespace