• Home
    • About Nourishing Matters
    • About Emily
    • Frequently Asked Questions
  • Recipes
    • Offerings
    • Past Programs and Events
    • Experience and Teaching Style
    • Articles and Features
    • Travel
Menu

nourishing matters

Street Address
City, State, Zip
Phone Number
where wholesome meets delicious

Your Custom Text Here

nourishing matters

  • Home
  • About
    • About Nourishing Matters
    • About Emily
    • Frequently Asked Questions
  • Recipes
  • Work with Me
    • Offerings
    • Past Programs and Events
  • Yoga
    • Experience and Teaching Style
  • Press
    • Articles and Features
  • Adventures
    • Travel

Swiss Chard and Apple Socca Bites

December 15, 2015 Emily Watson

We finally got around to decorating our little home for the holidays! Lights are up on the windows, garland and bows are strewn on the staircase, and our tree is chilling in its new corner home. Yes, we are proud parents of the cutest little tree there ever could be! We figured we are almost a real family now, so we need to start building our own holiday traditions. With those traditions, come a bit of compromise. I grew up with real Christmas trees. The kind that shed tiny needles everywhere, that are always a bit crooked and a little uneven but that are perfectly imperfect because they smell of Christmas. My fiance, on the other hand, grew up with a fake tree that gets dragged from the basement every year and has perfect little branches for hanging ornaments, and smells of...nothing. Our family tree looks like a Jackson Pollack while his family's tree looks like it came straight out of the Sears catalog. Nothing wrong or right with either of those things, but certainly different takes on what makes a Christmas tree tradition.

So this brings me back to our humble tree and the beginning of our new family traditions. I figured our tree is a compromise between the two family traditions. Yes, it is artificial, but it is a bit sparse and awkward. I was even fooled by its lack of authenticity when I picked it out at the nursery. Draped in itty-bitty lights and just two ornaments, it has not yet been a victim of the cats' curiosity. I give it another day or two before our terrifically I-am-pretty-sure-I-saw-that-inanimate-object-move-therefore-I-must-attack-it cat goes after it.

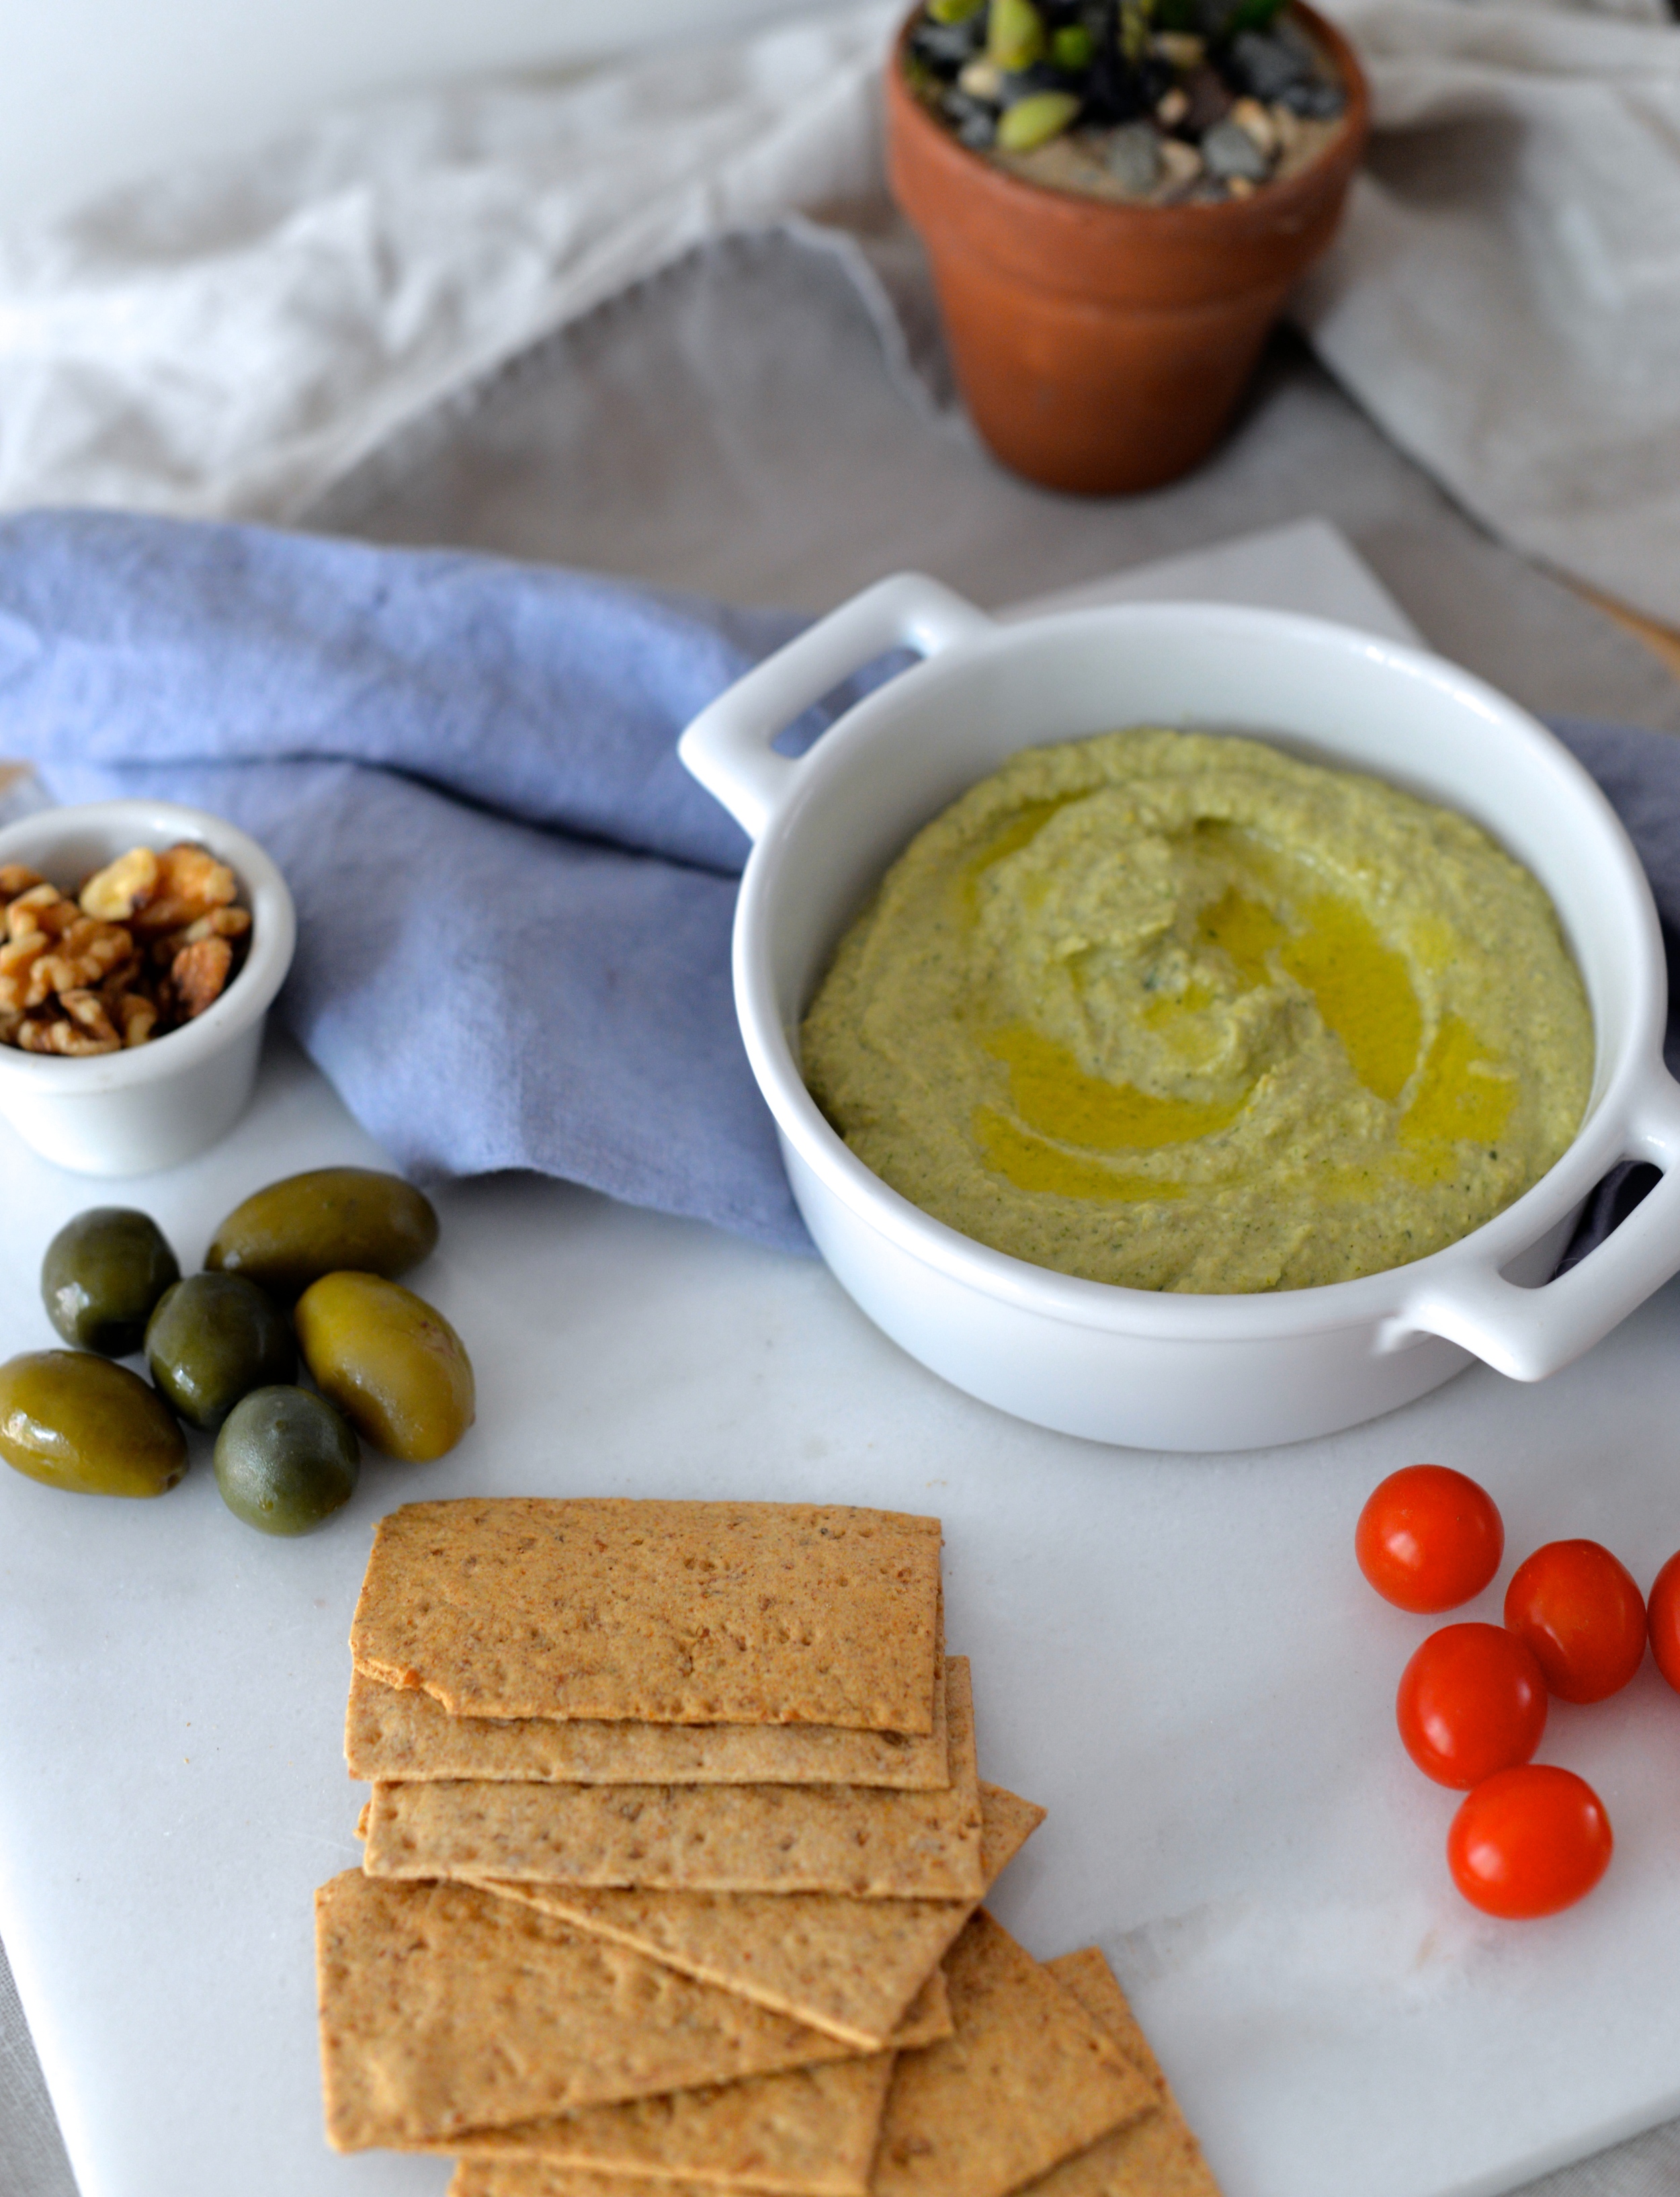
Now that our house is decorated, I am feeling festive! So festive in fact, we decided to throw a Christmas party by inviting probably way too many people. The more the merrier, right? For this party, we are going to need food, and this is where this nibble comes in. Green and red from the chard and red and white from the bits of apple, it is the perfect holiday bite.

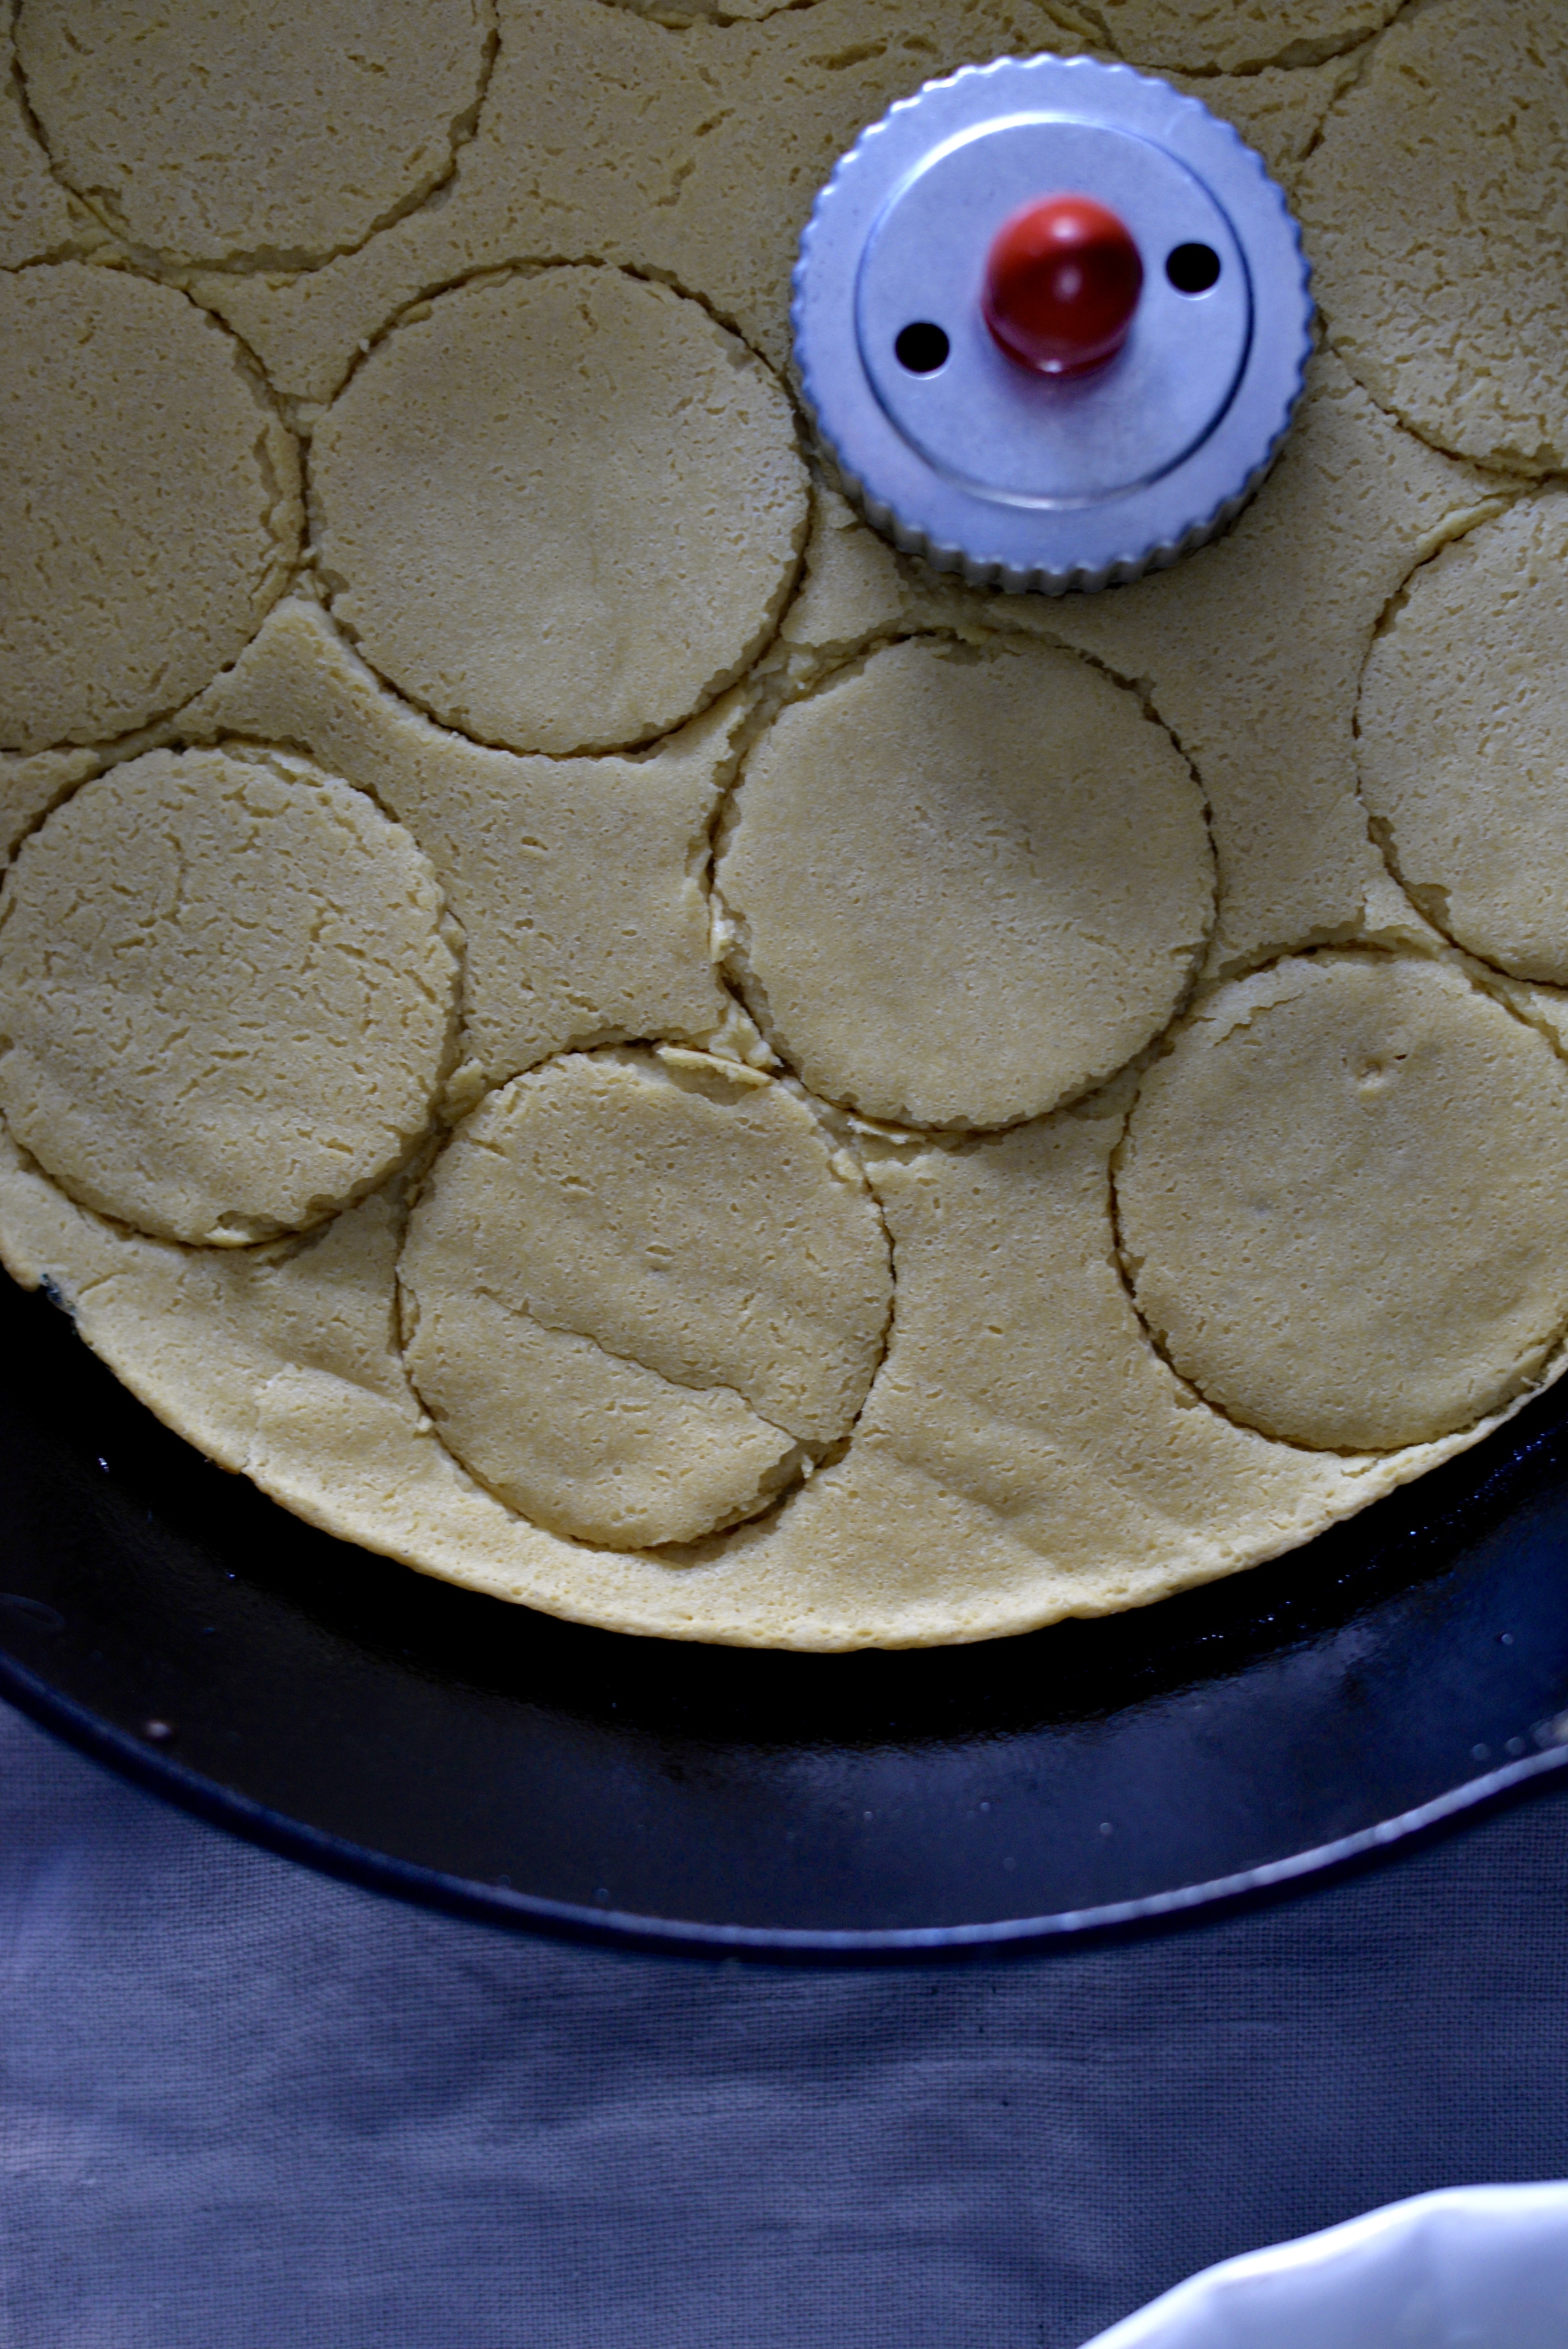
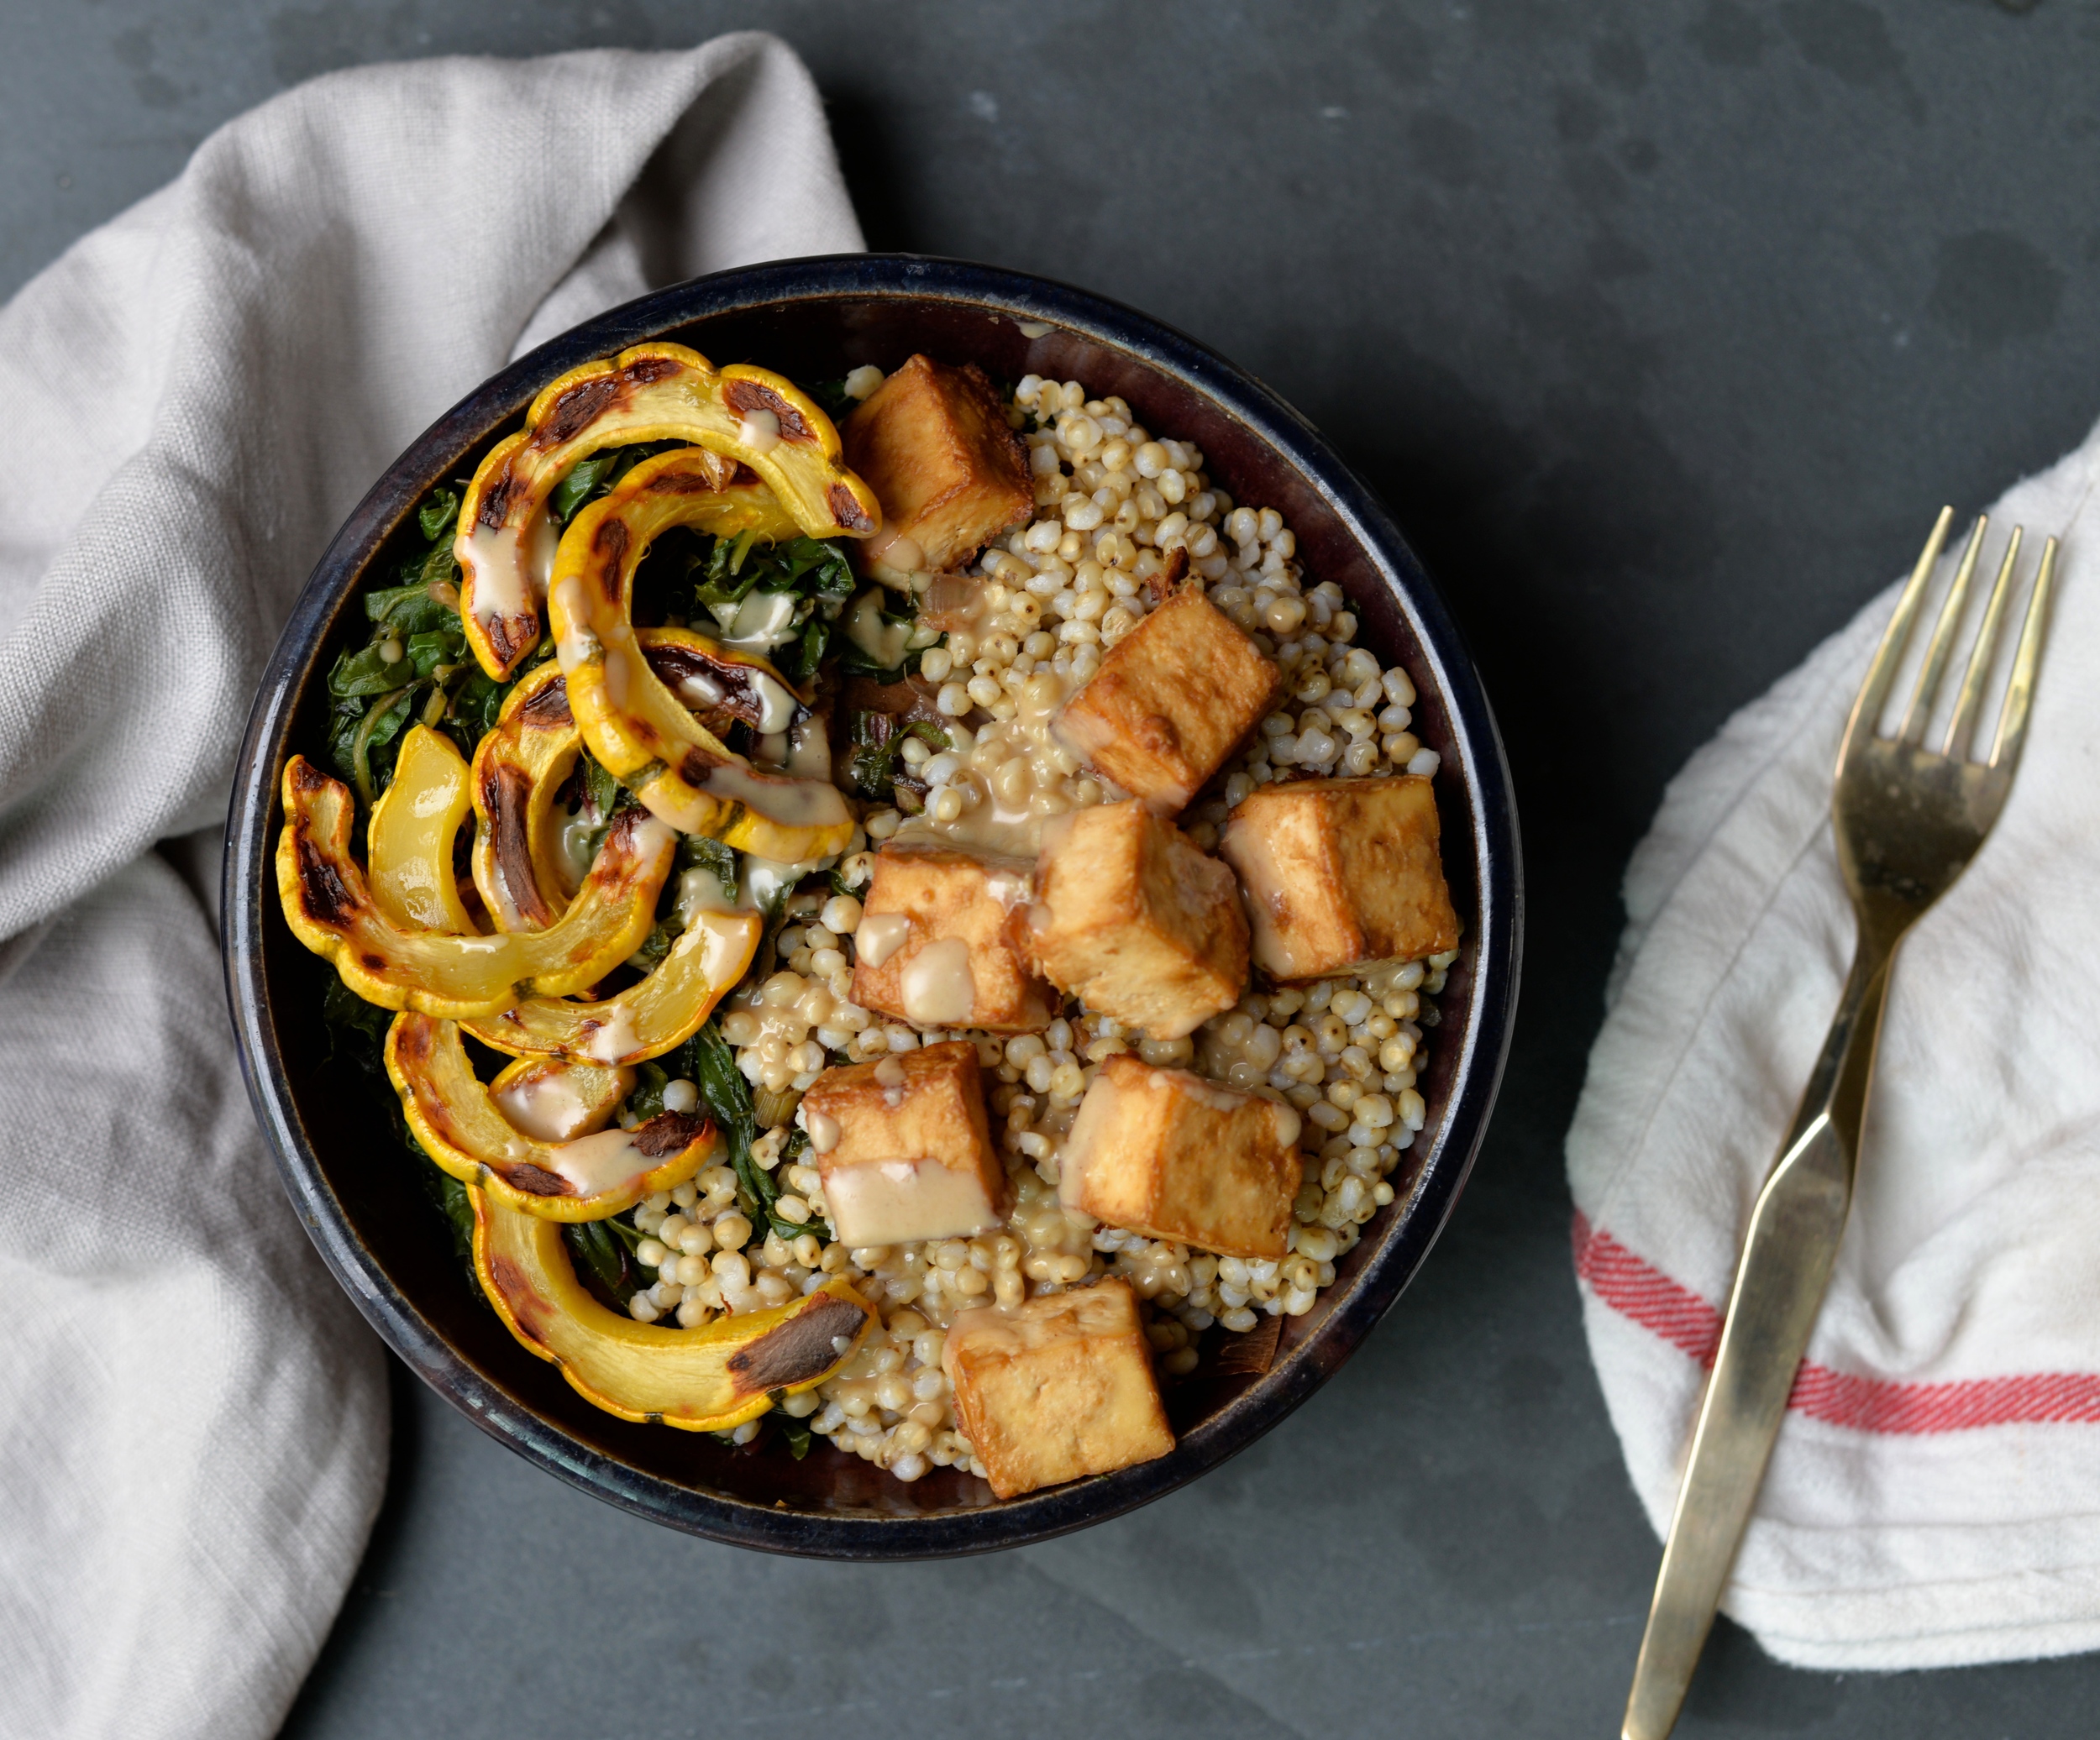
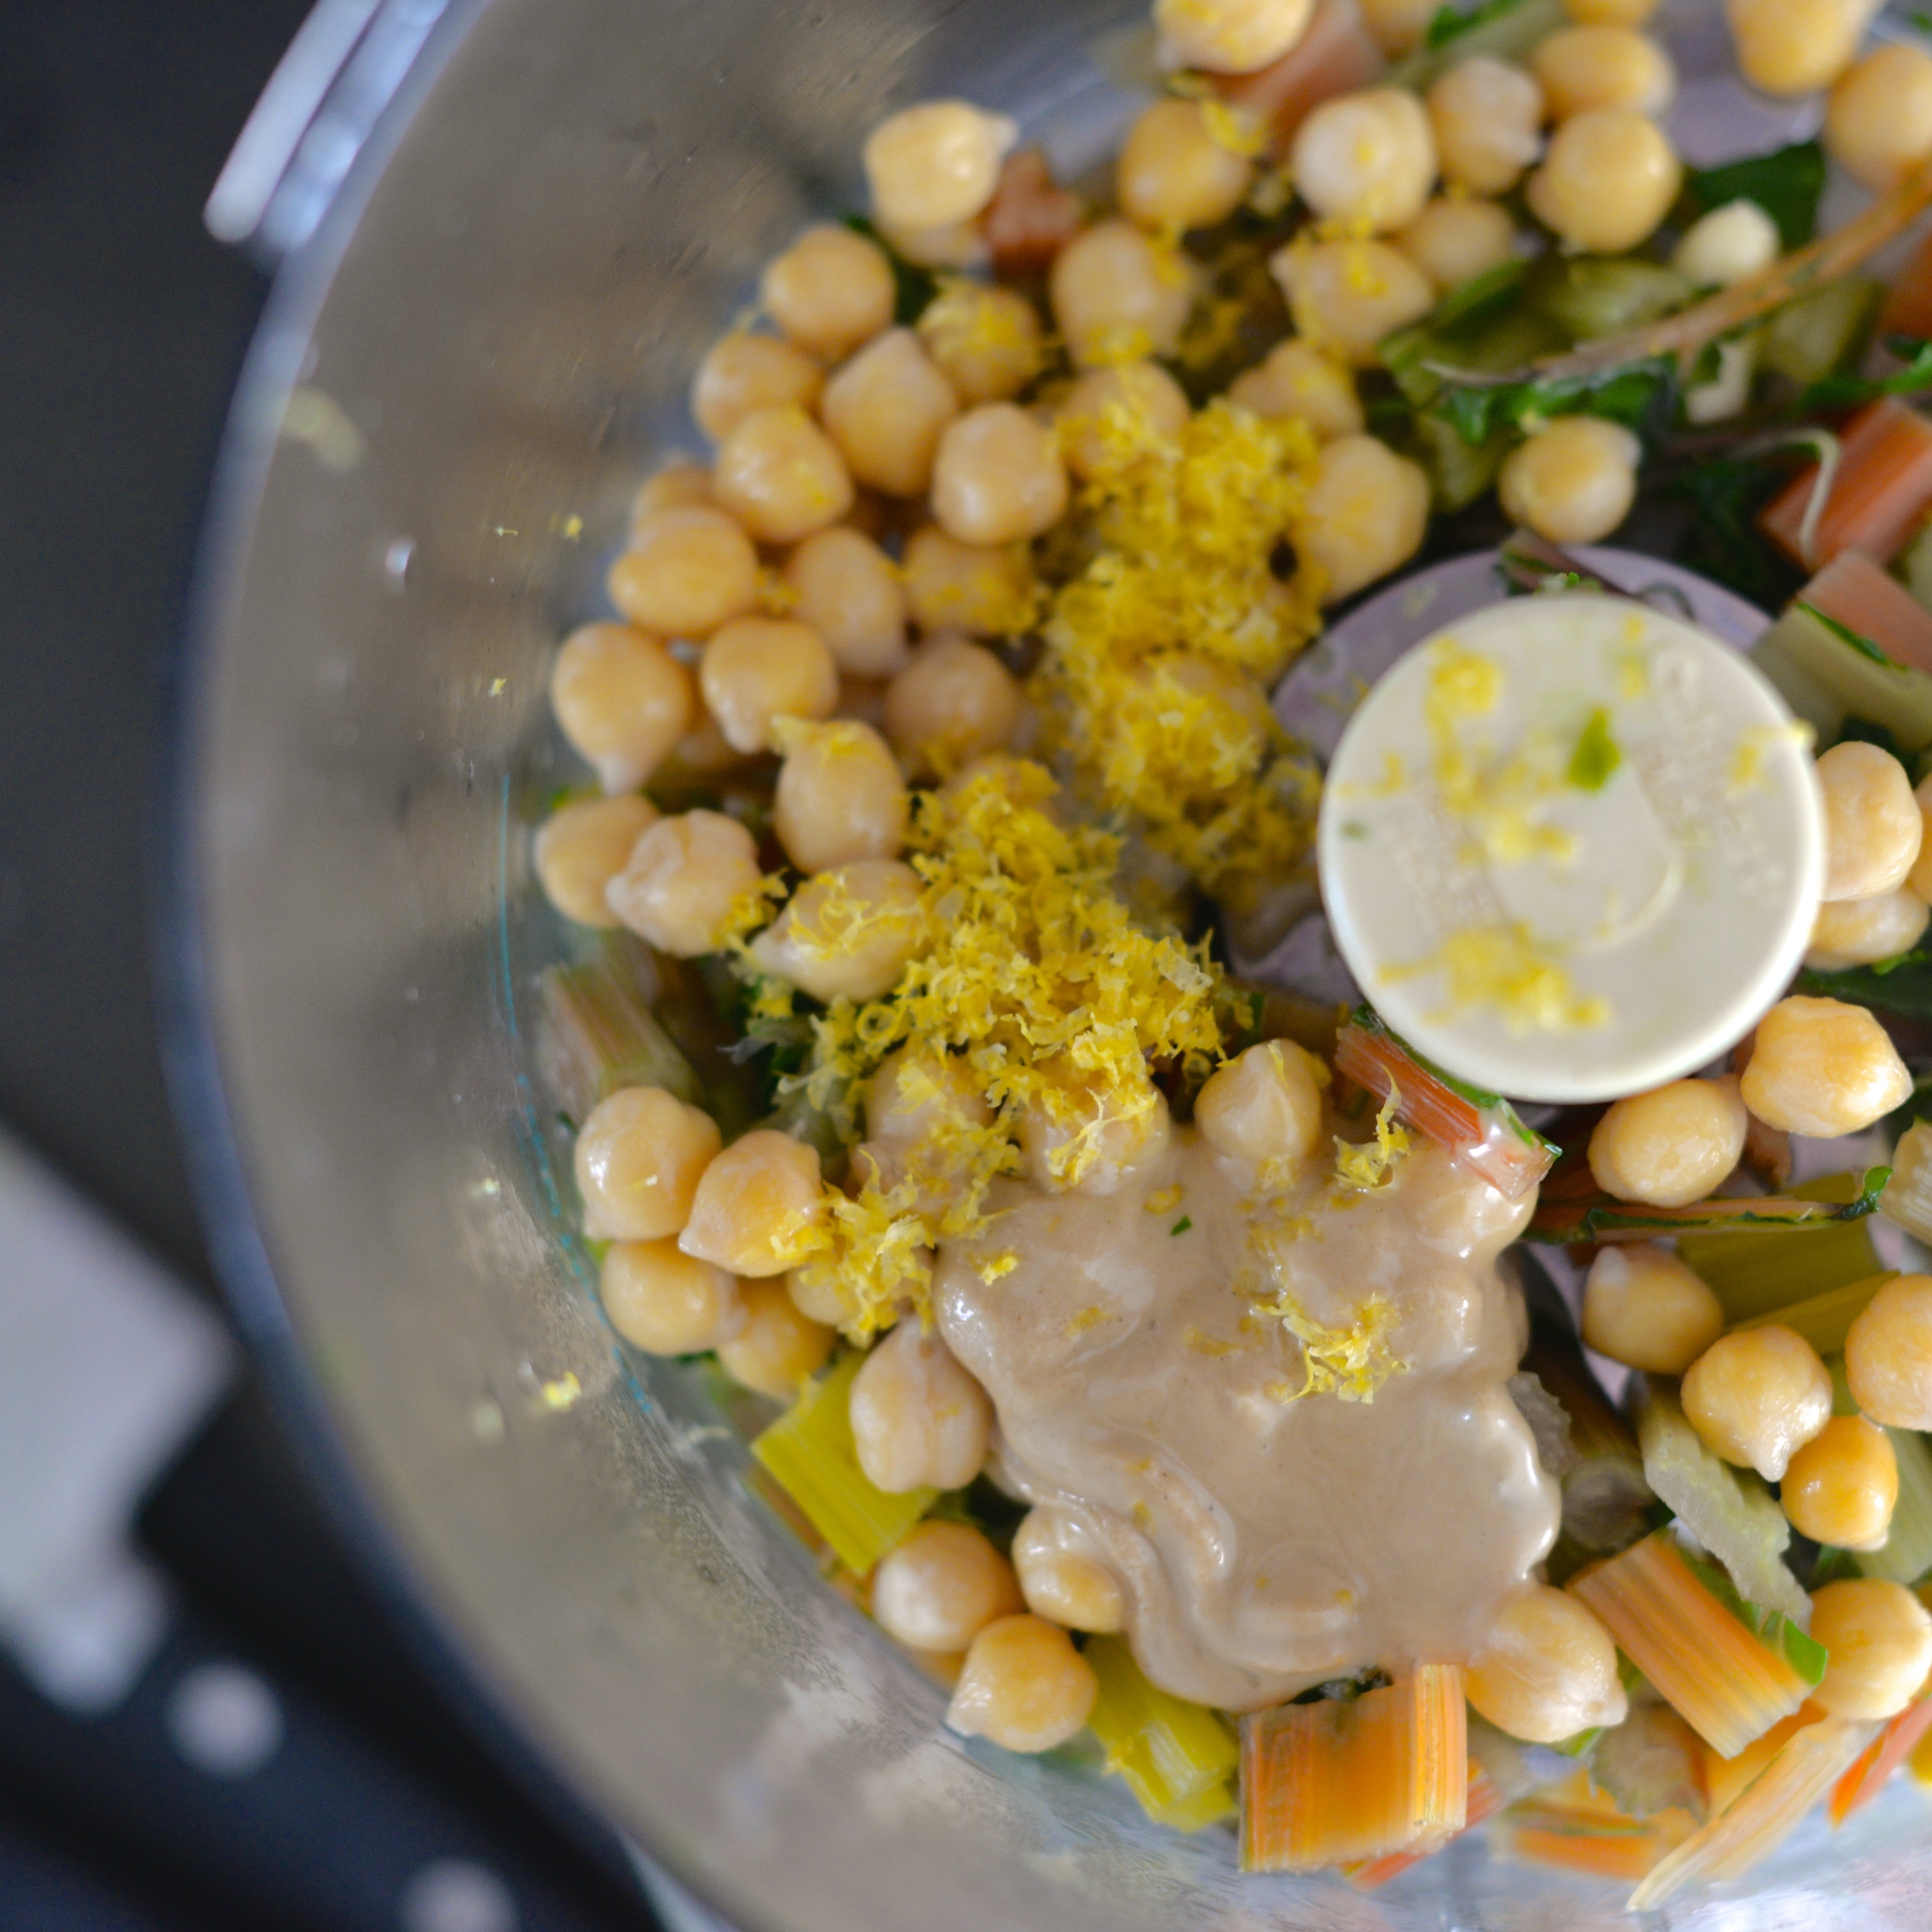
Socca, if you have never heard of it, is a quick flatbread made with chickpea flour. It leans towards the savory side and is quite dense, but if you are thinking it tastes like chickpeas or hummus in baked form, you would be surprised at how different in flavor it is. I dare compare it to a really finely ground polenta with some addicting nuttiness going on. While it can certainly be eaten in pizza form, I make bite-size finger appetizers by using a small biscuit cutter to cut out little rounds. Sure, there are scraps of socca that remain from all of the hole-punching, but they are much appreciated thrown into a bowl of roasted root vegetables and topped with goat cheese. Waste not, want not.

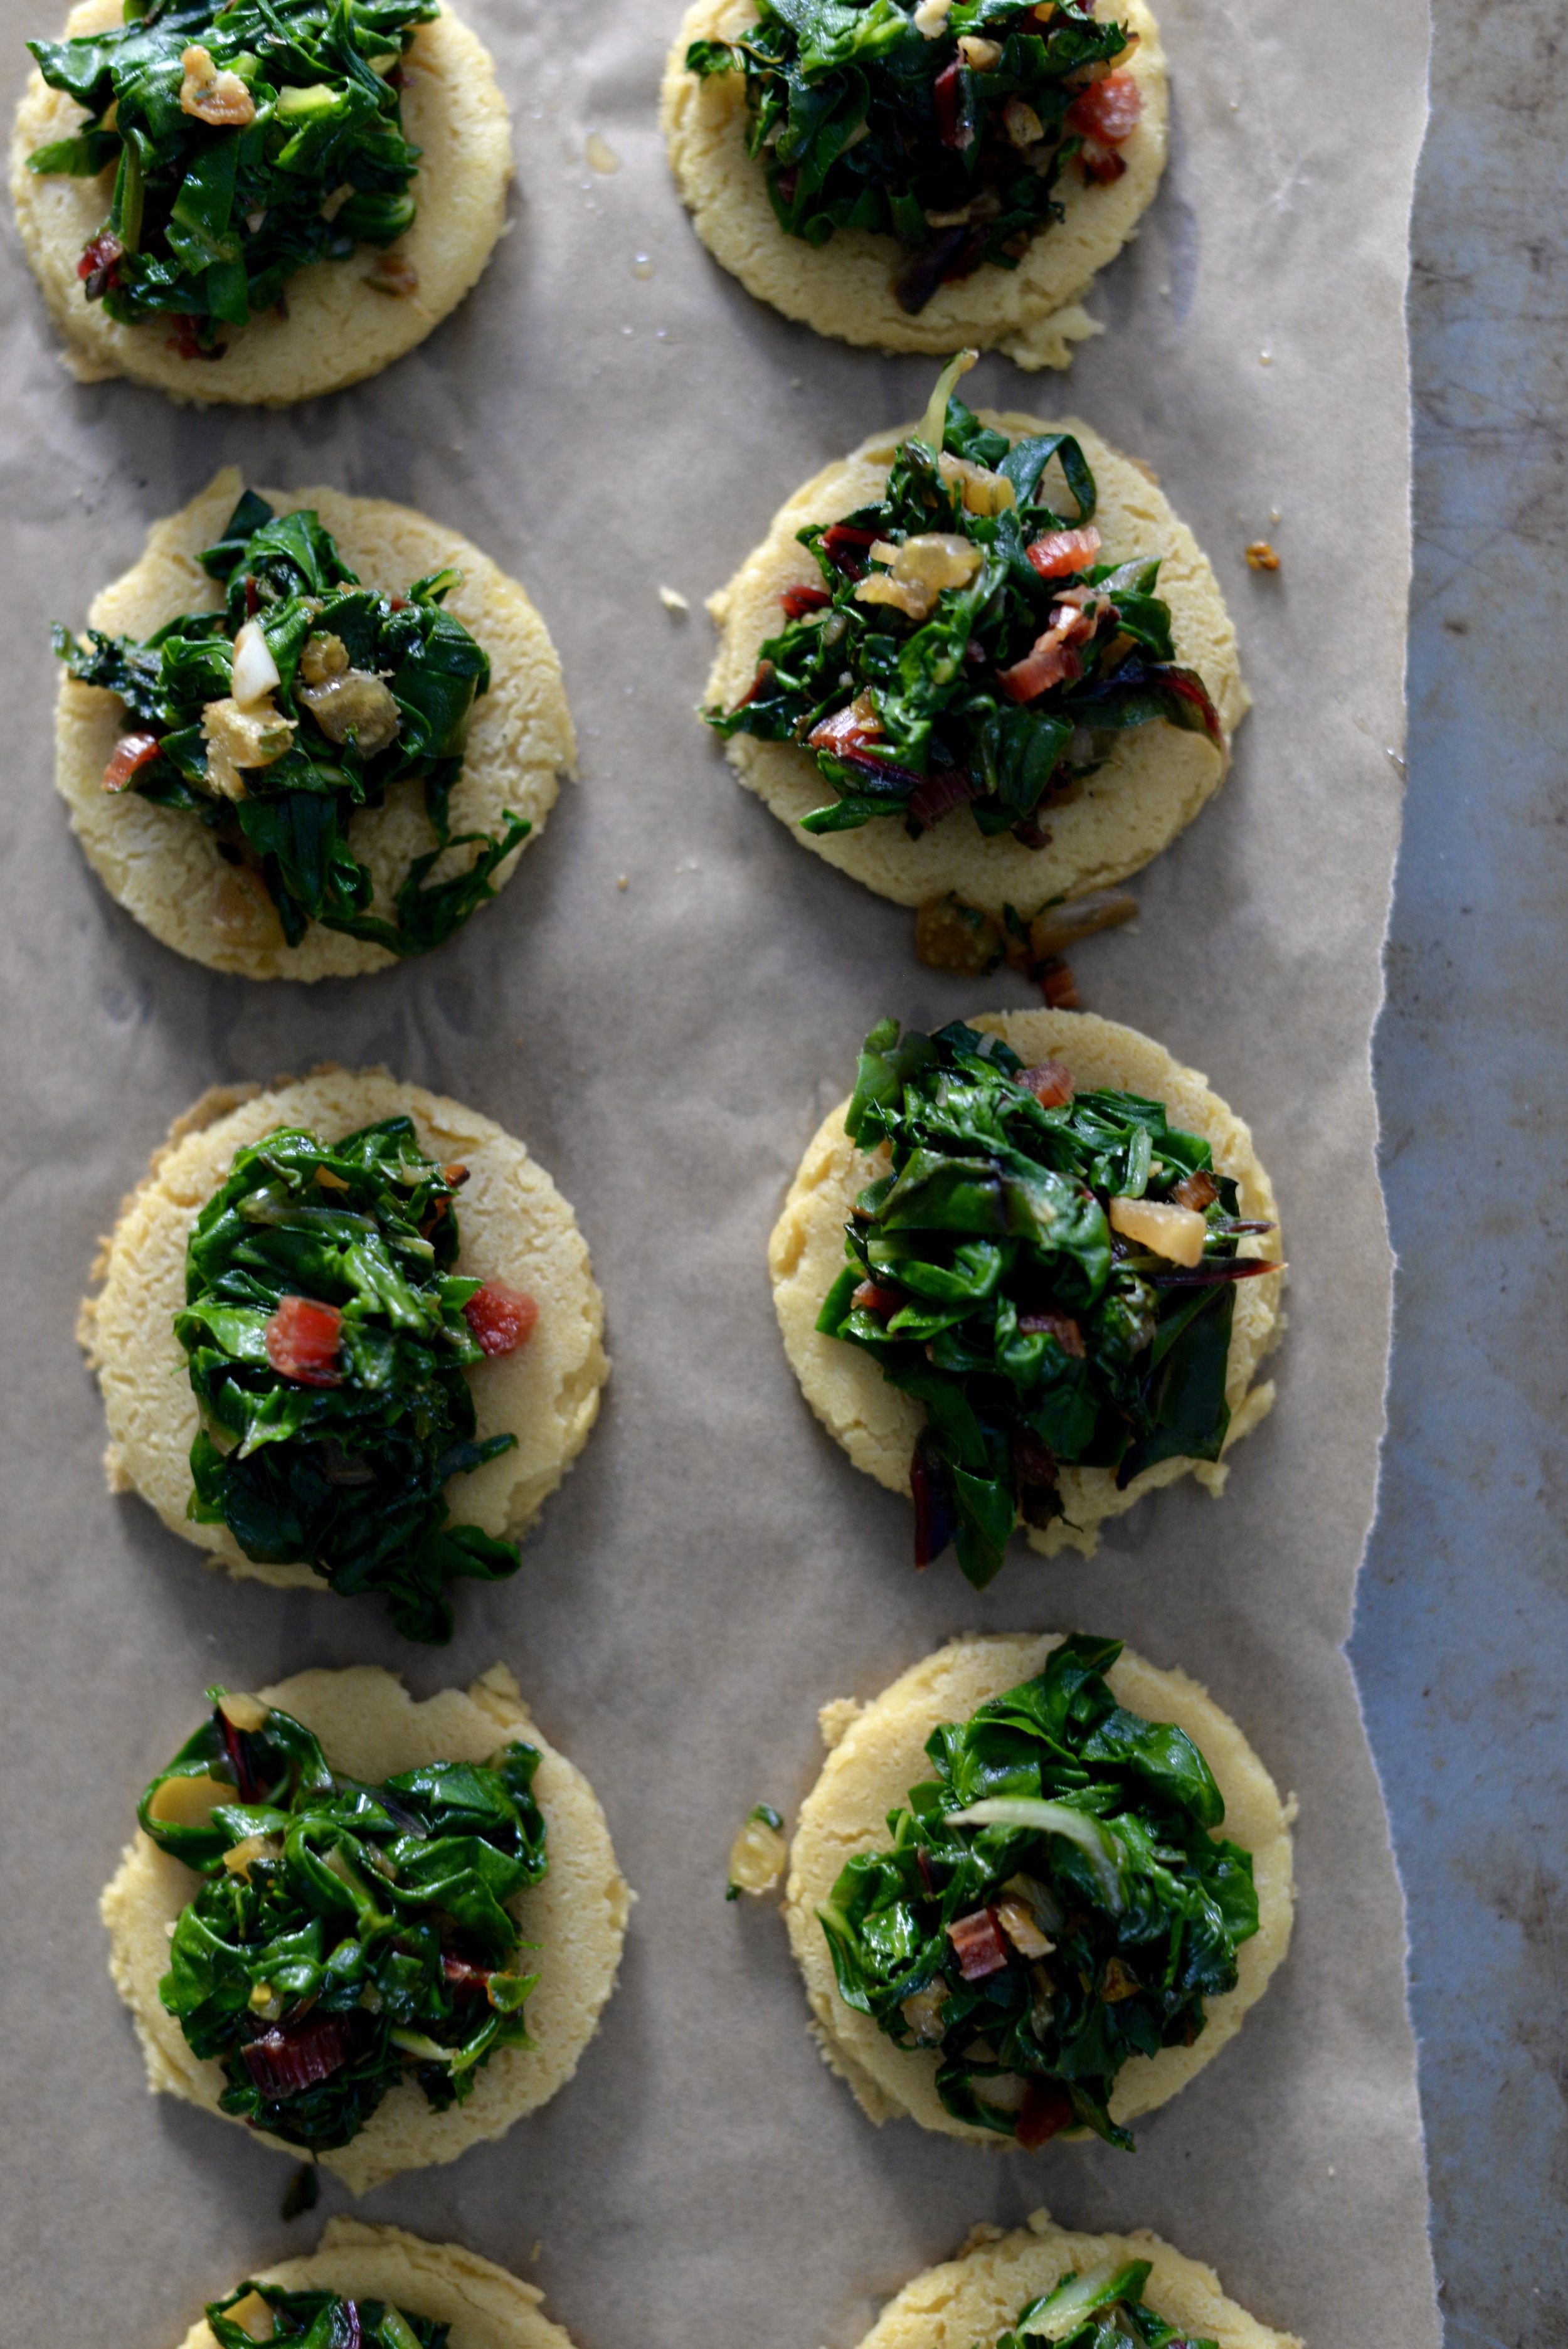
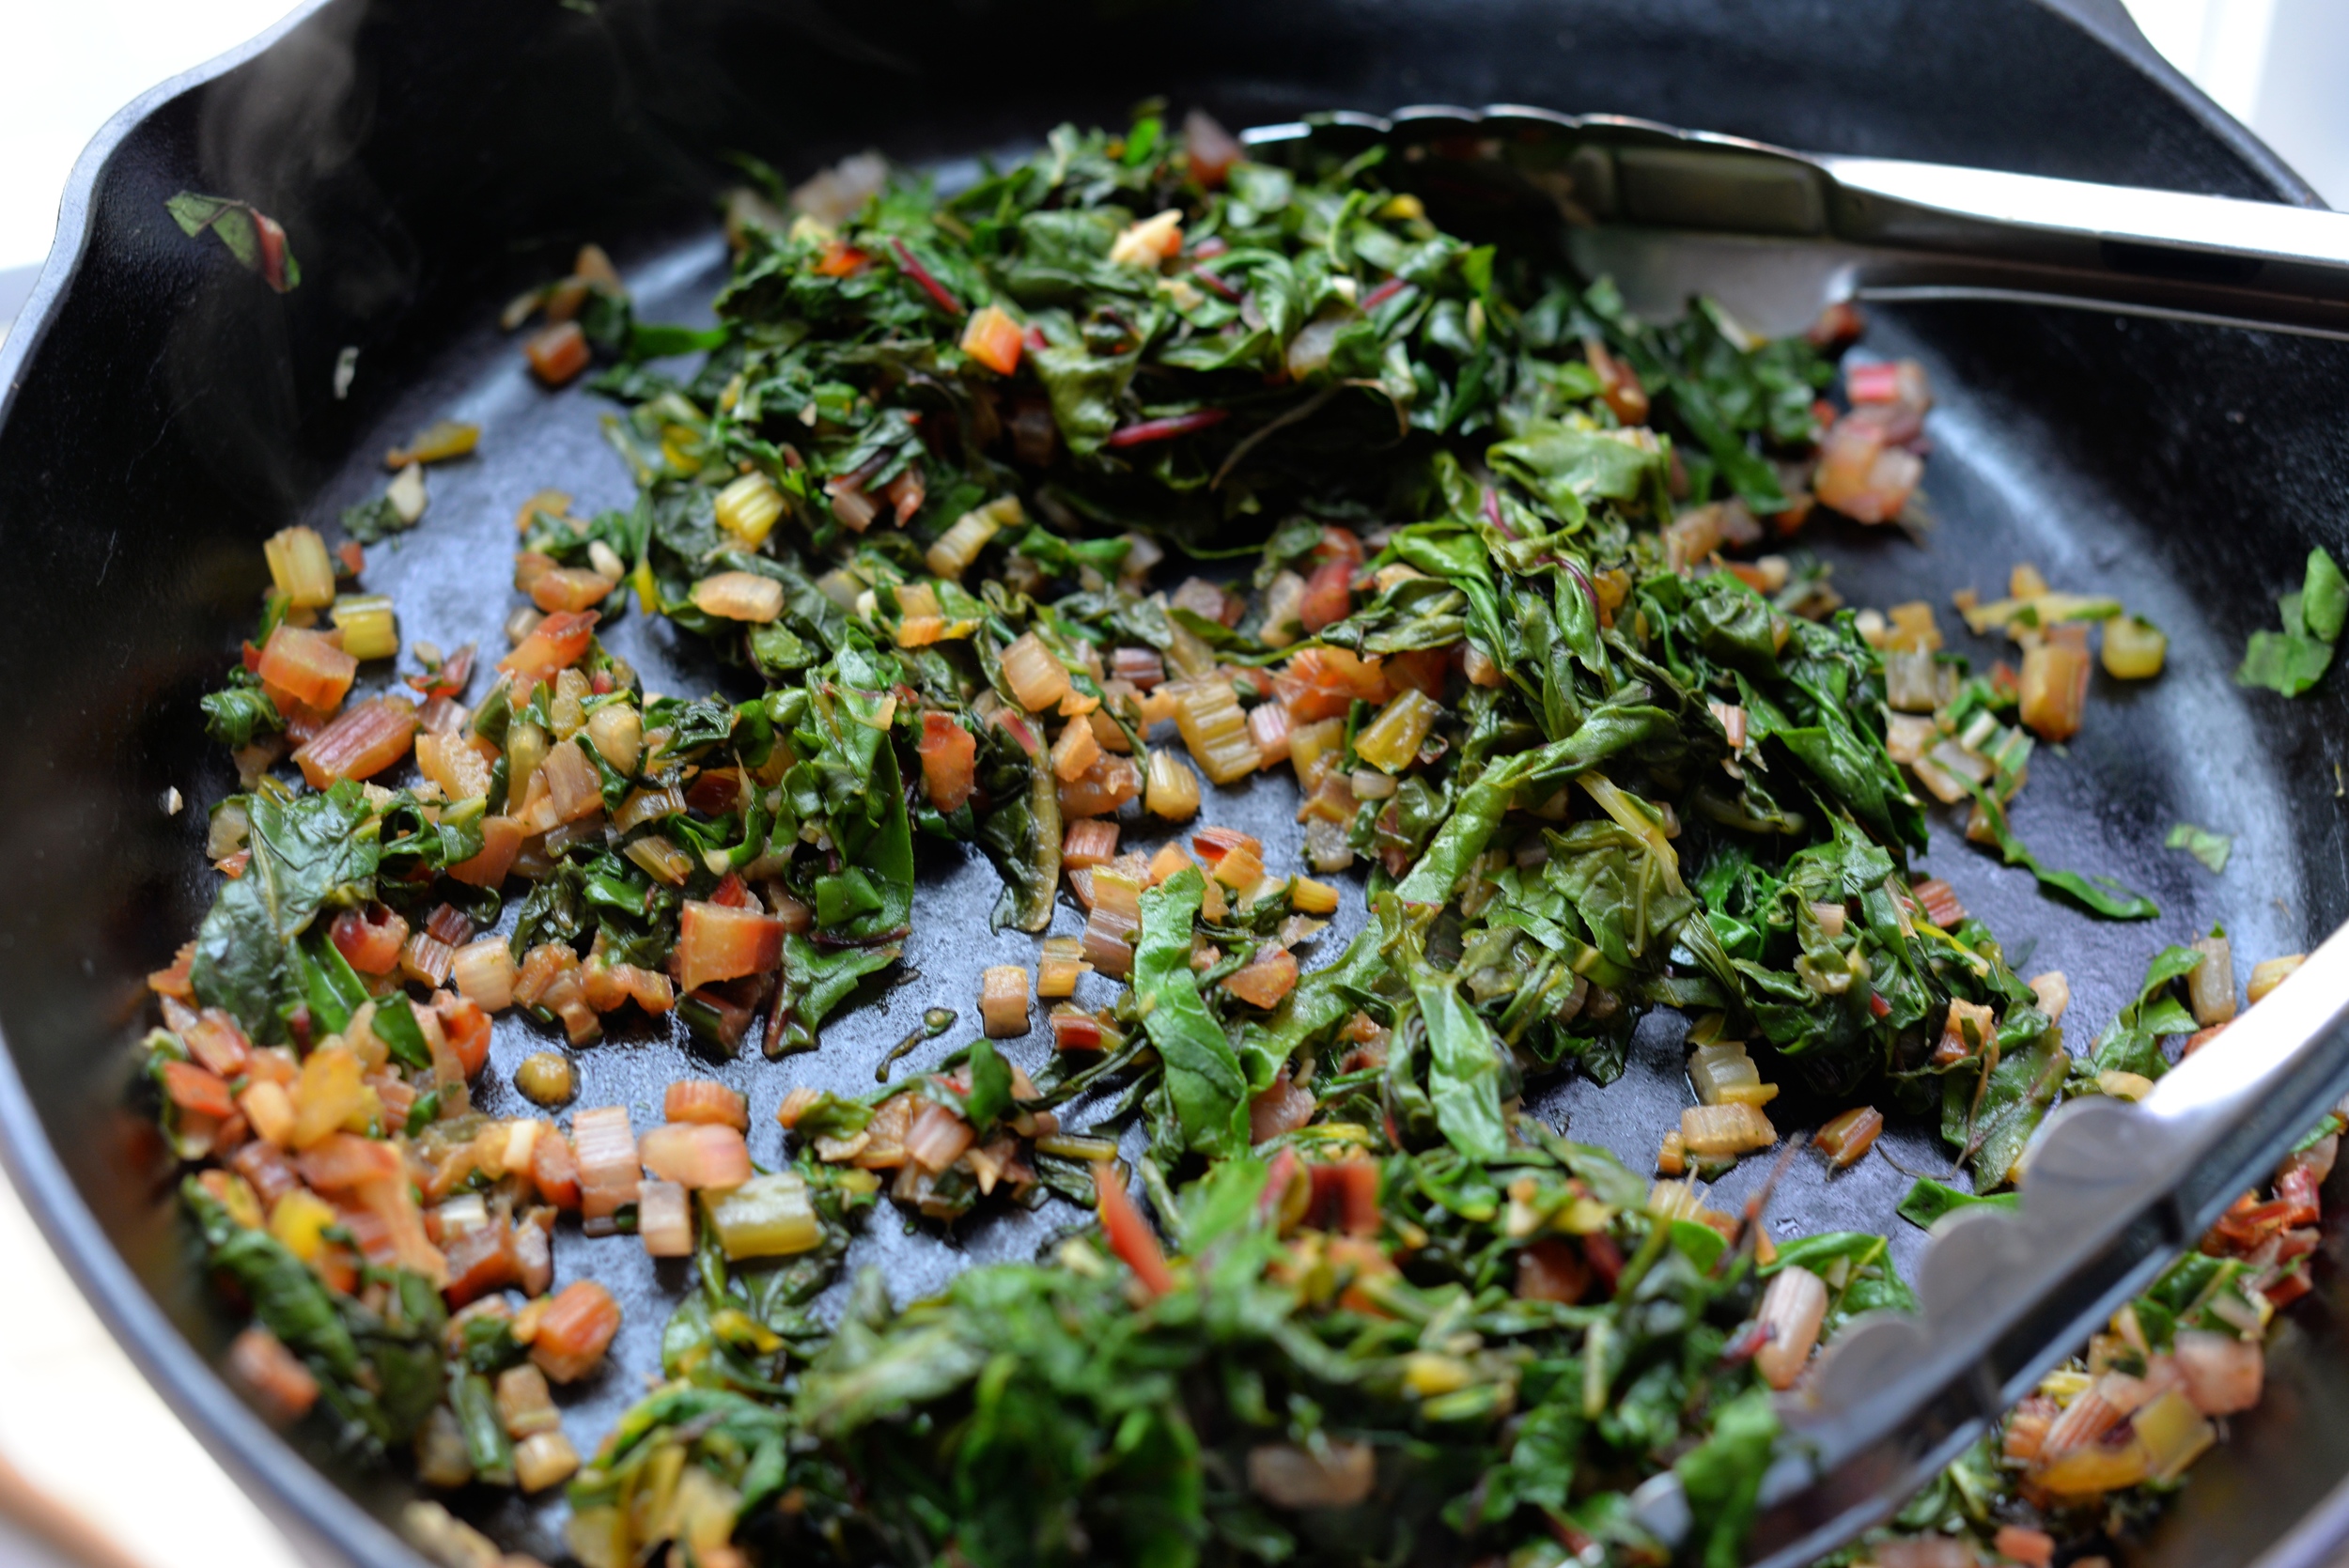
The top is a bit of simply sauteed chard stems and garlic, wilted chard leaves, and a spattering of toasted walnuts. The addition that made this not just beautiful but quite a bit fancy feeling was the apple. I draped julienned apple pieces over top that offered just enough sweet and tart crunch to balance the earthy chard.

This is perfect party food because it is mostly make-ahead. The socca, chard, and toasted nuts can all be prepared ahead of time. Warm the socca and chard topping through, assemble with the walnuts, and top with apple, and you are ready for your holiday shindig.

Swiss Chard and Apple Socca Bites

Socca:
2 cups chickpea flour
2 1/4 cup water
1/2 teaspoon salt
3 1/2 + tablespoons olive oil, divided

Chard:
1 tablespoon olive oil
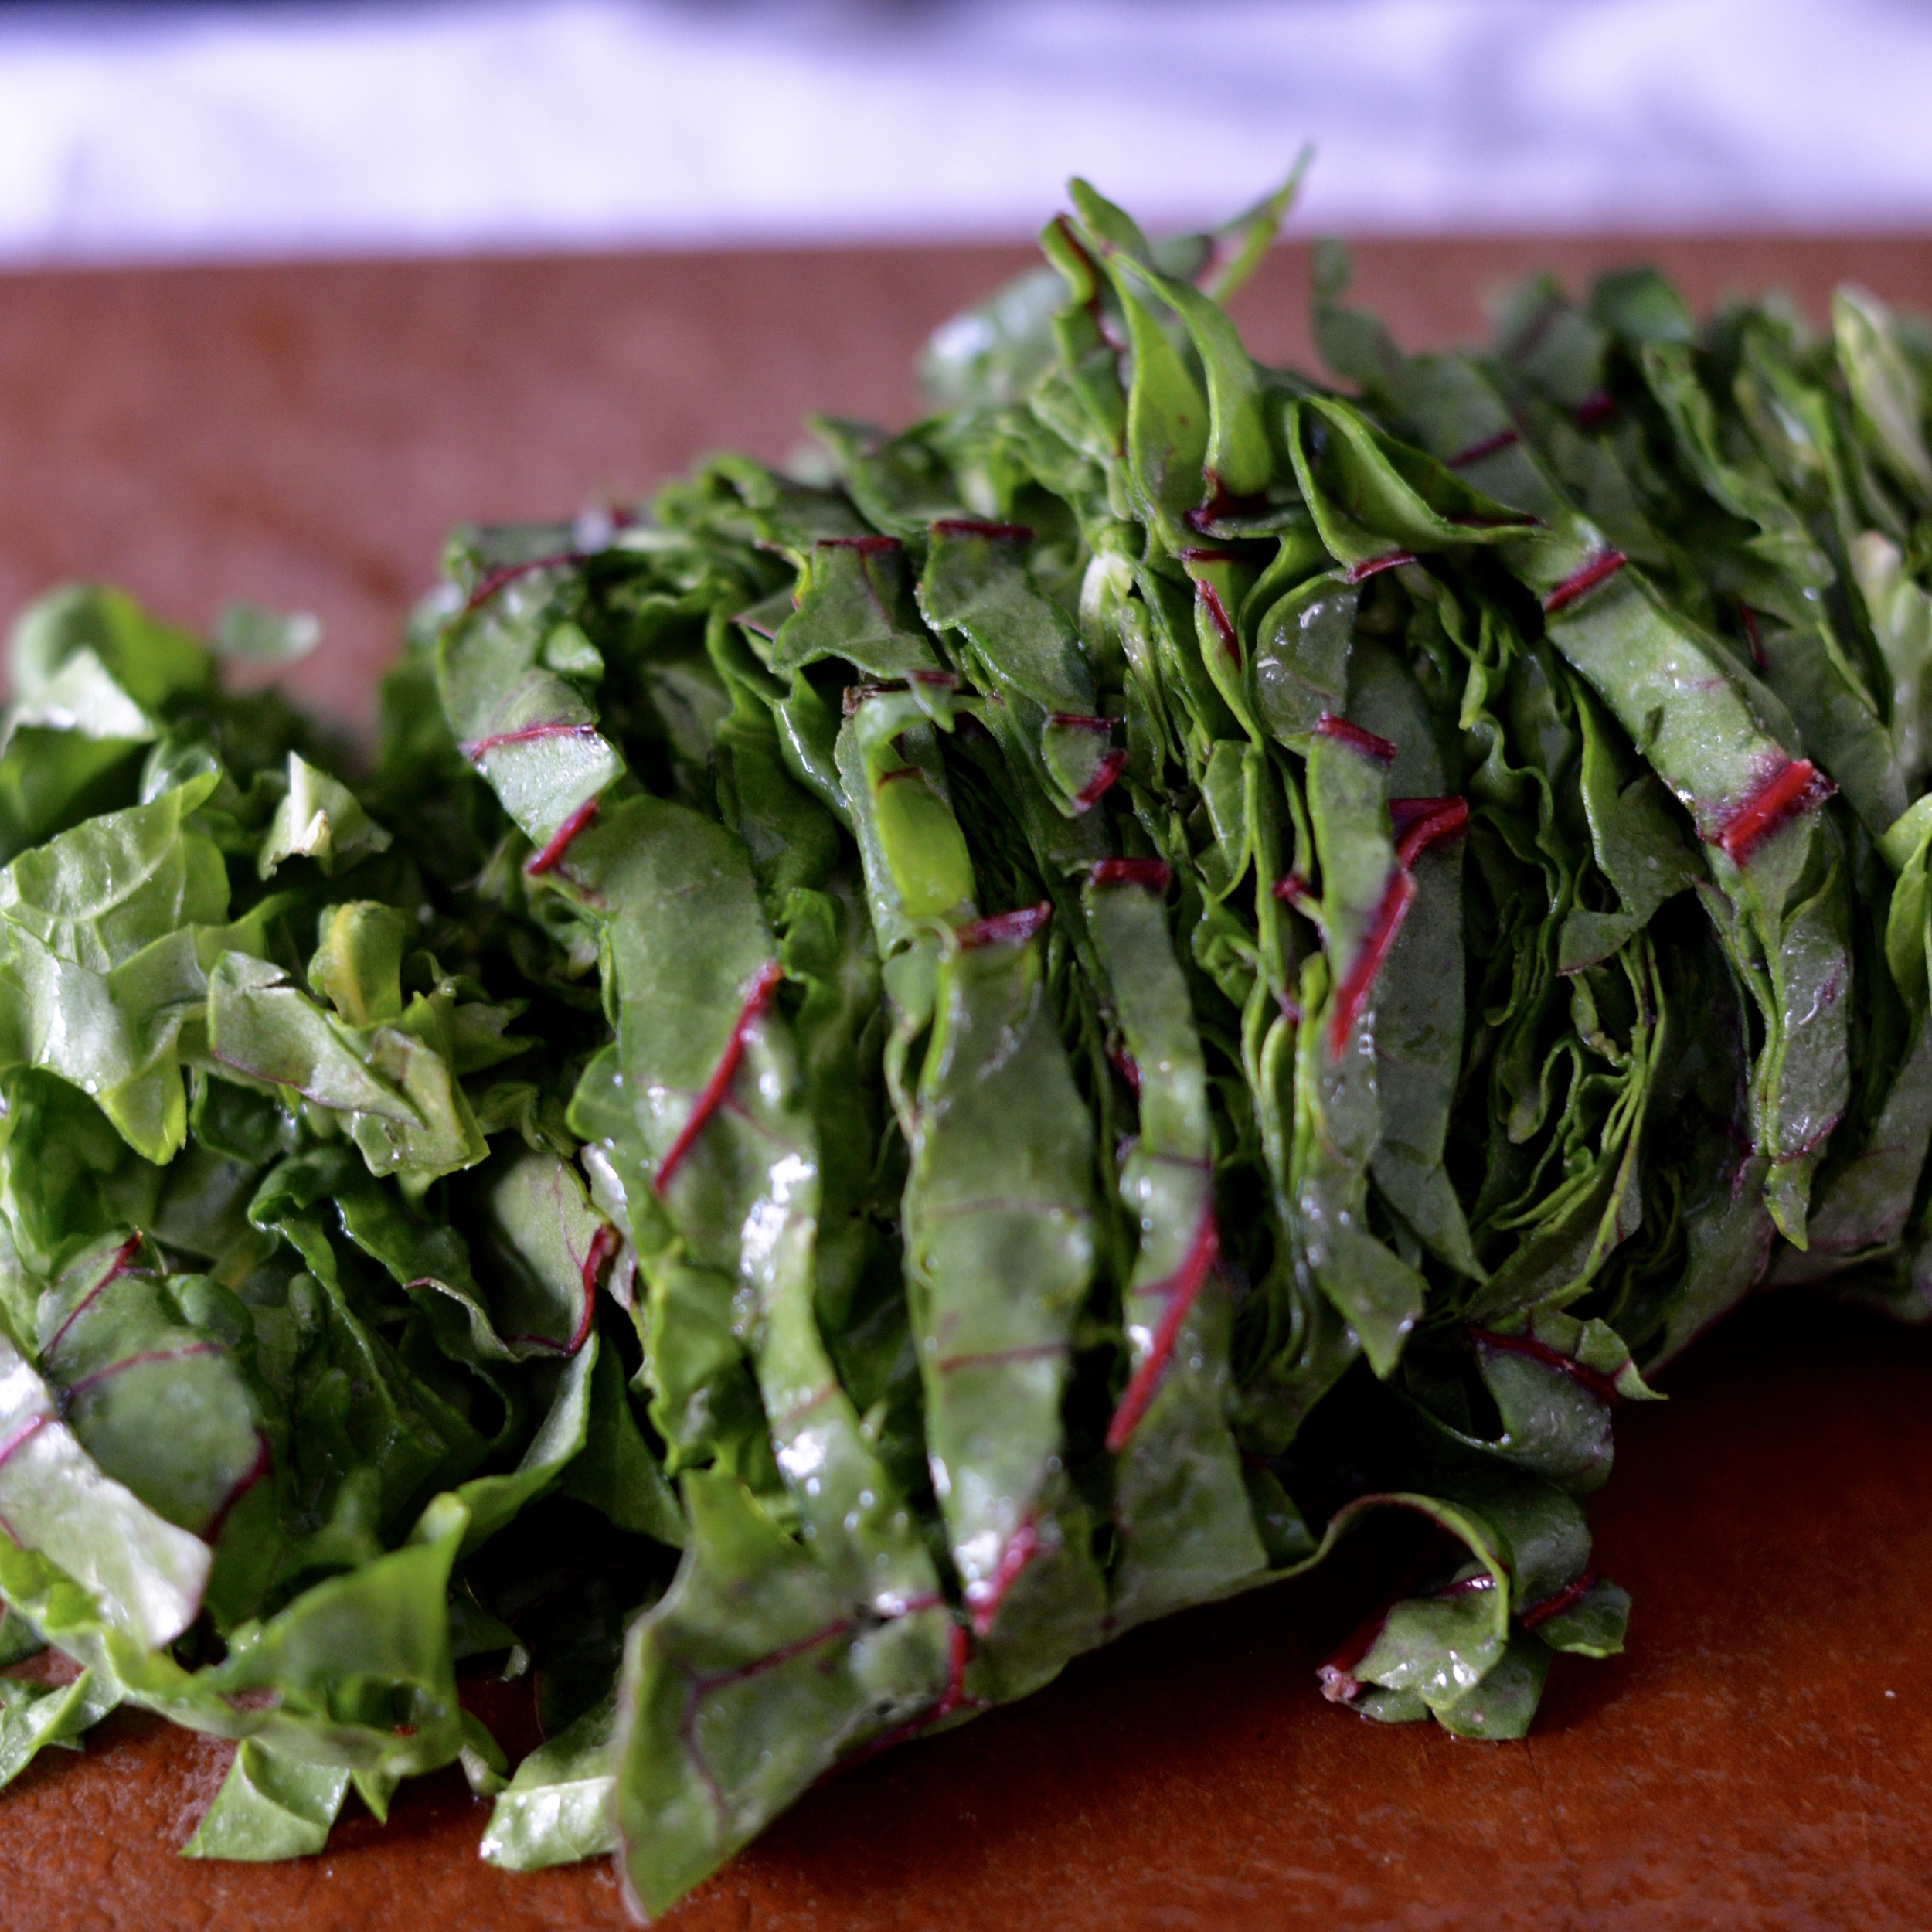
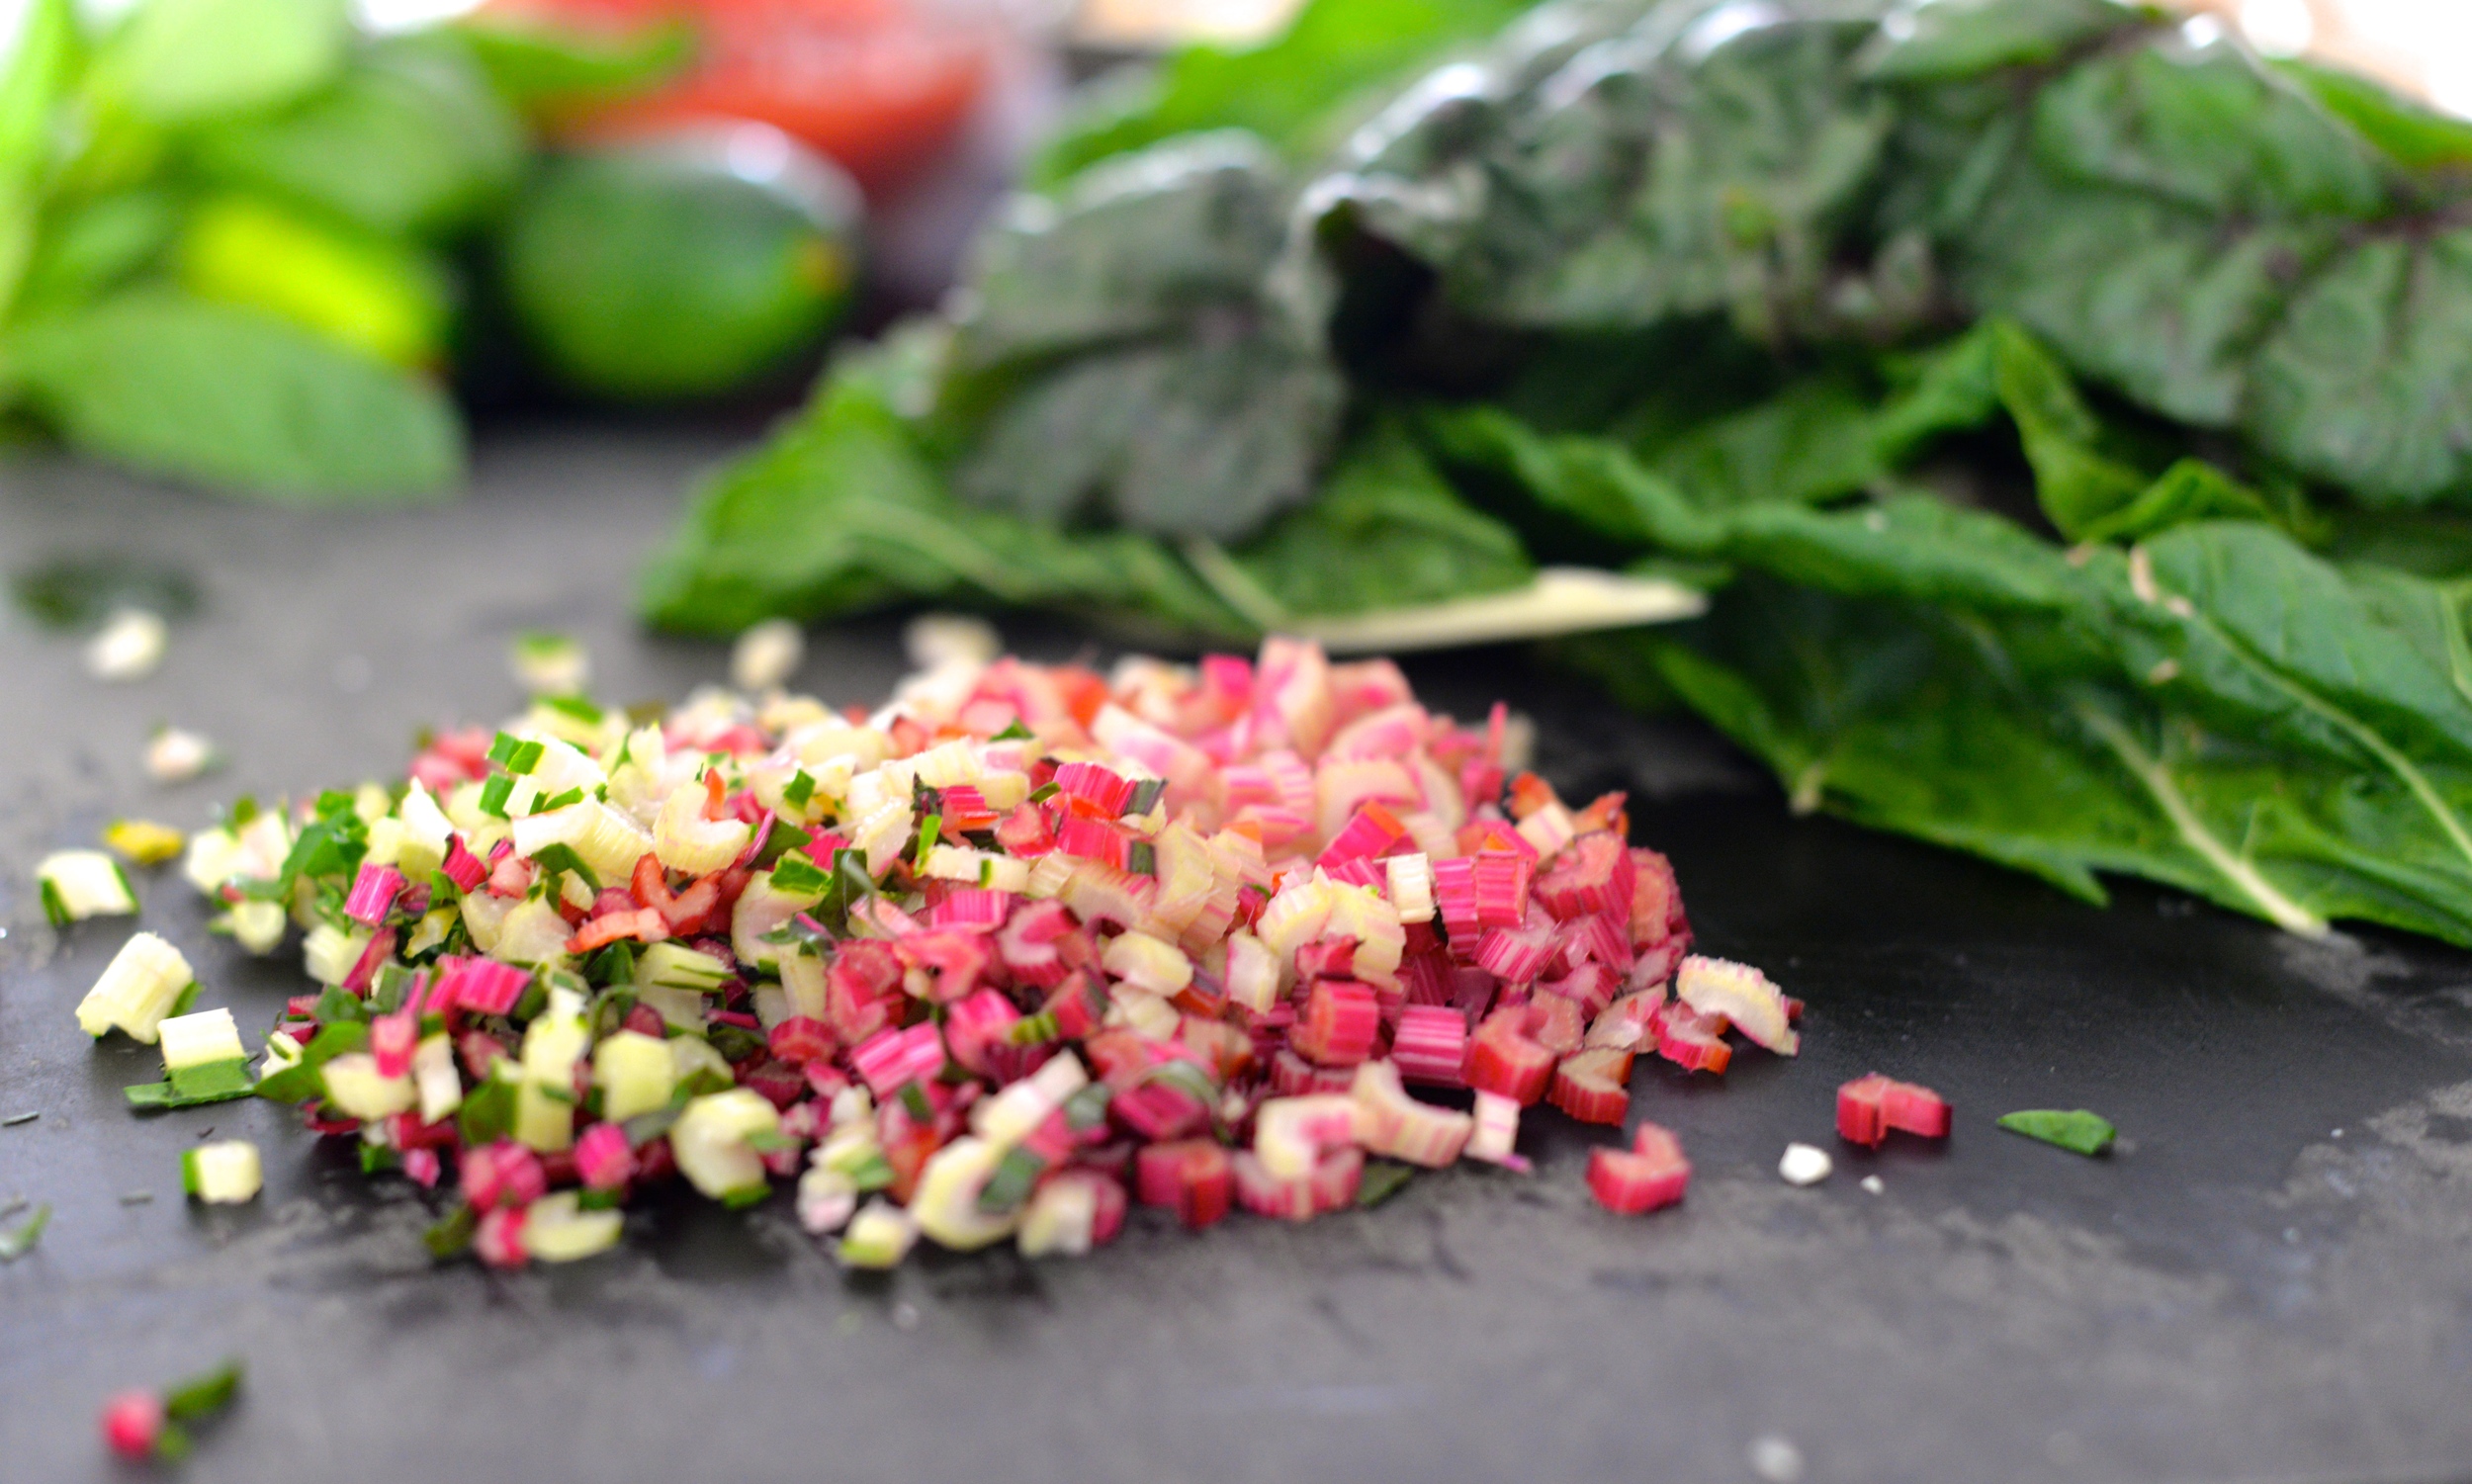
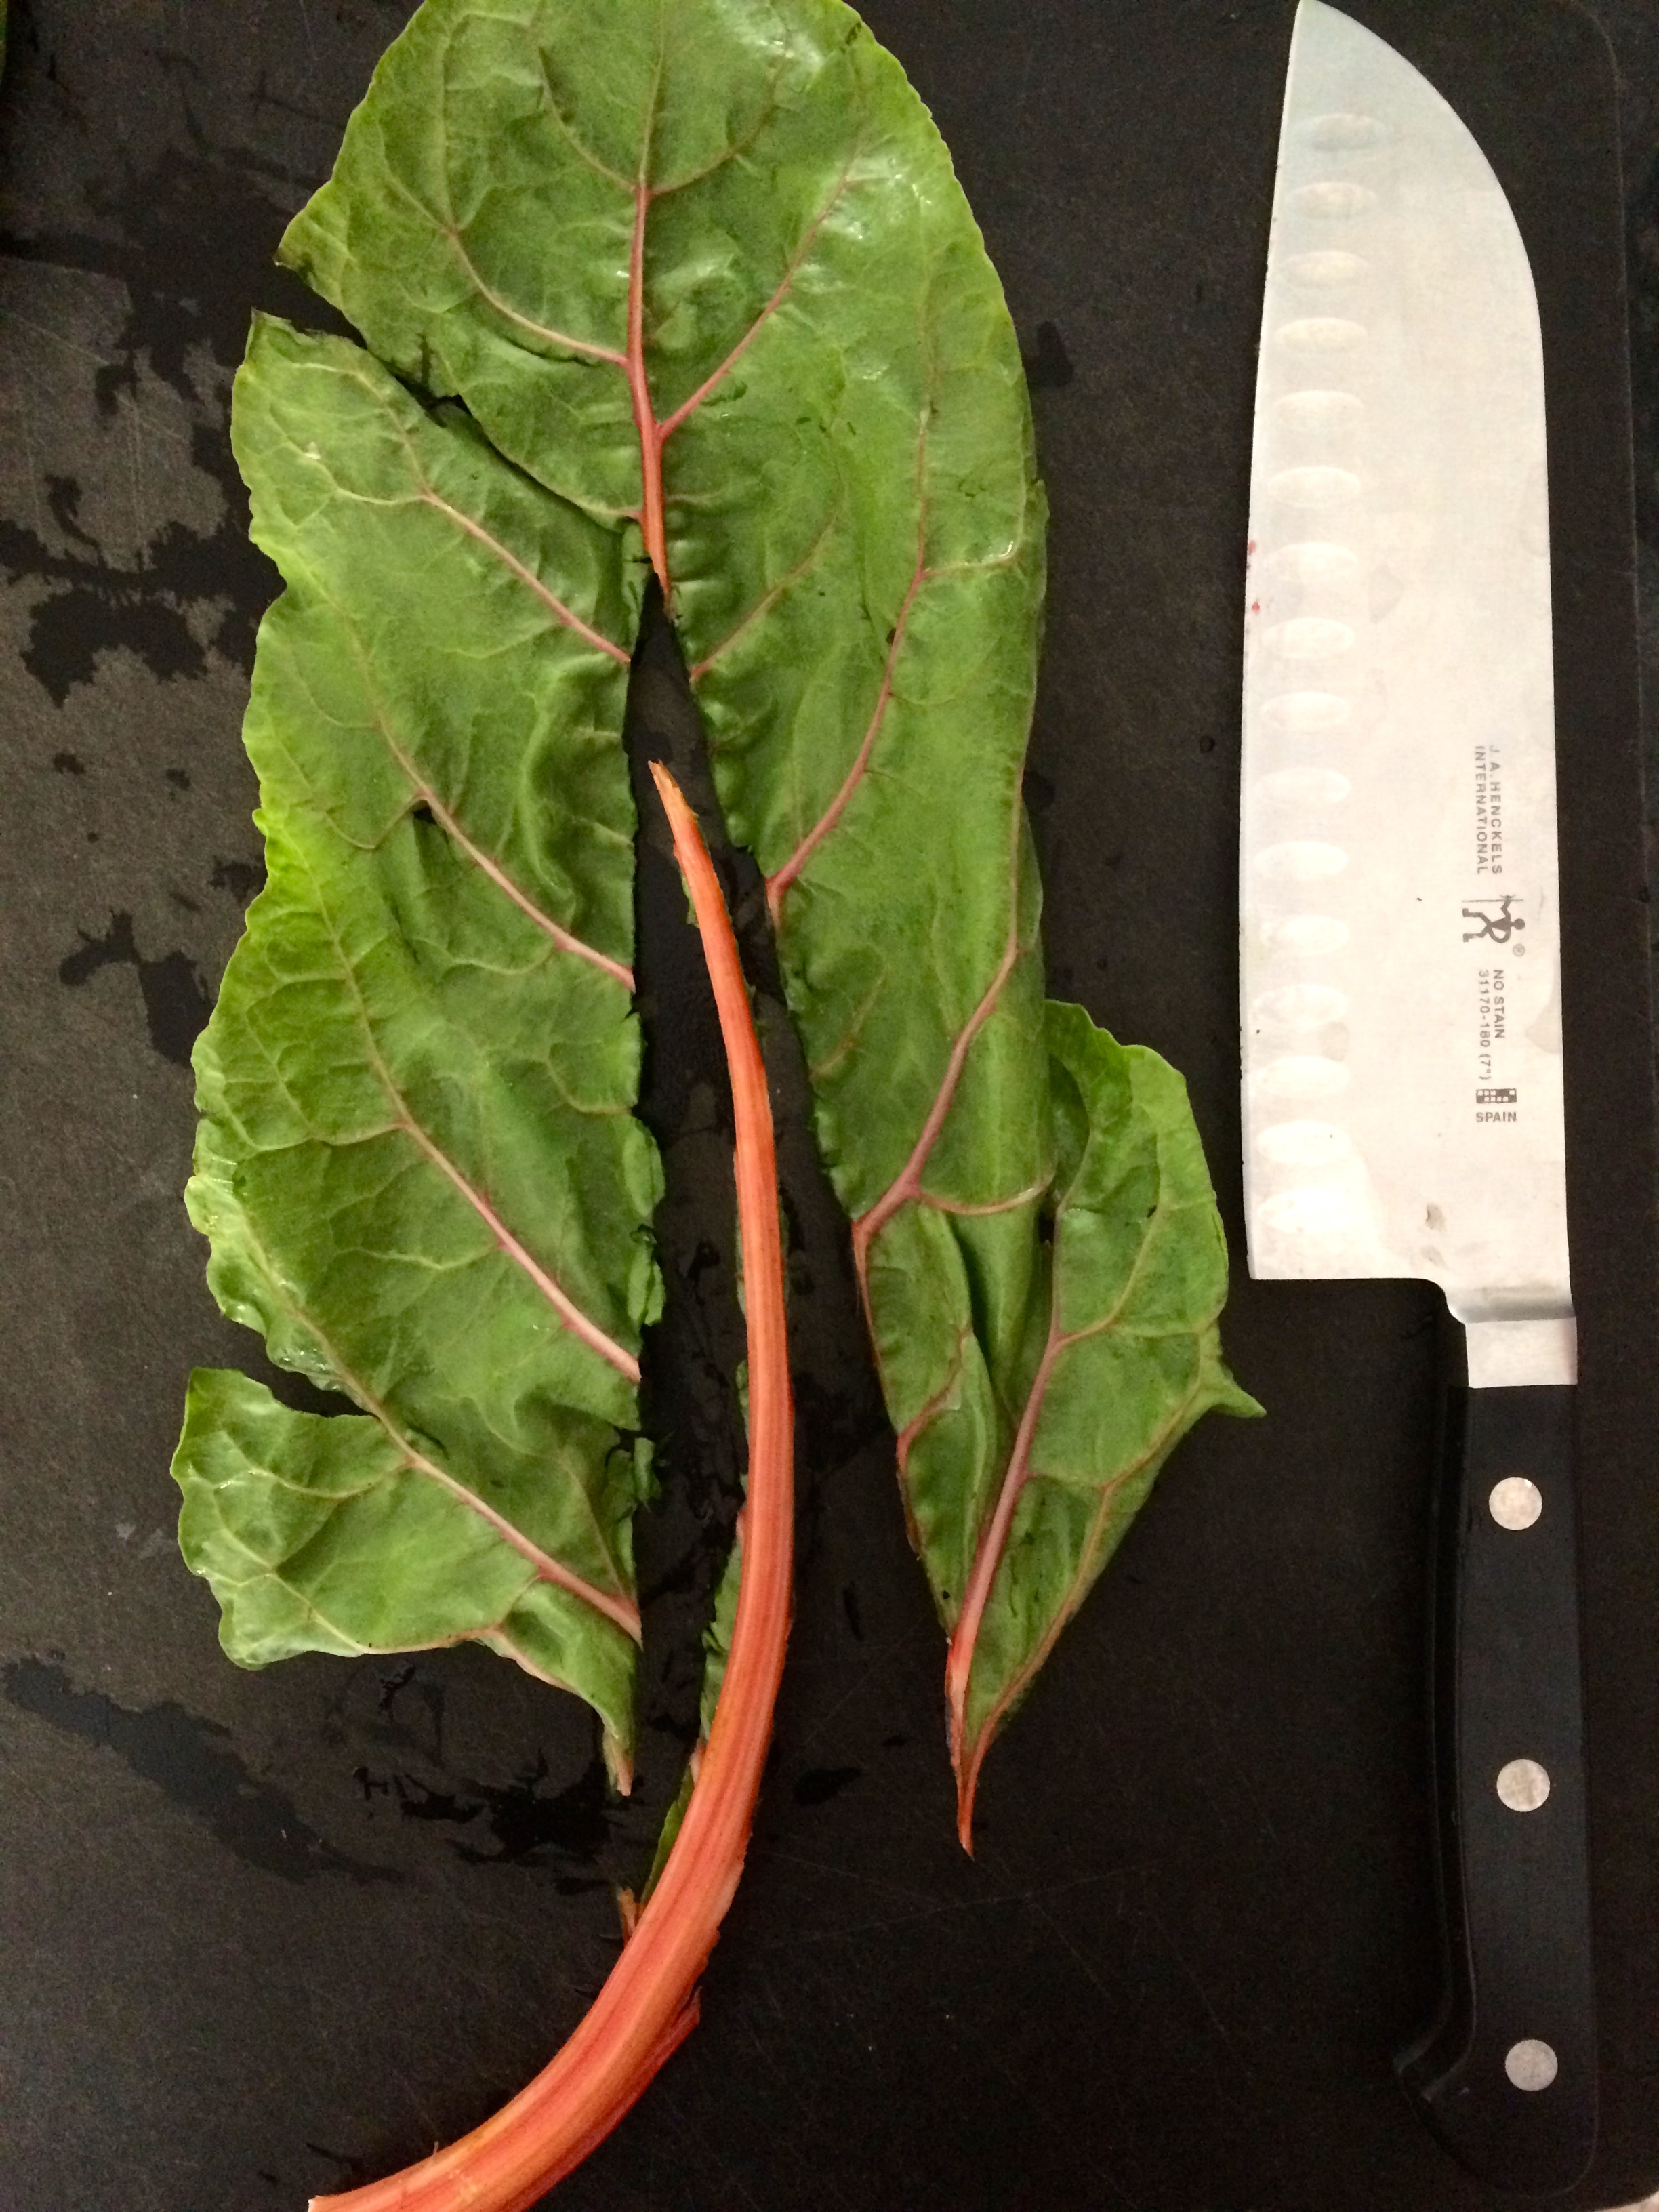
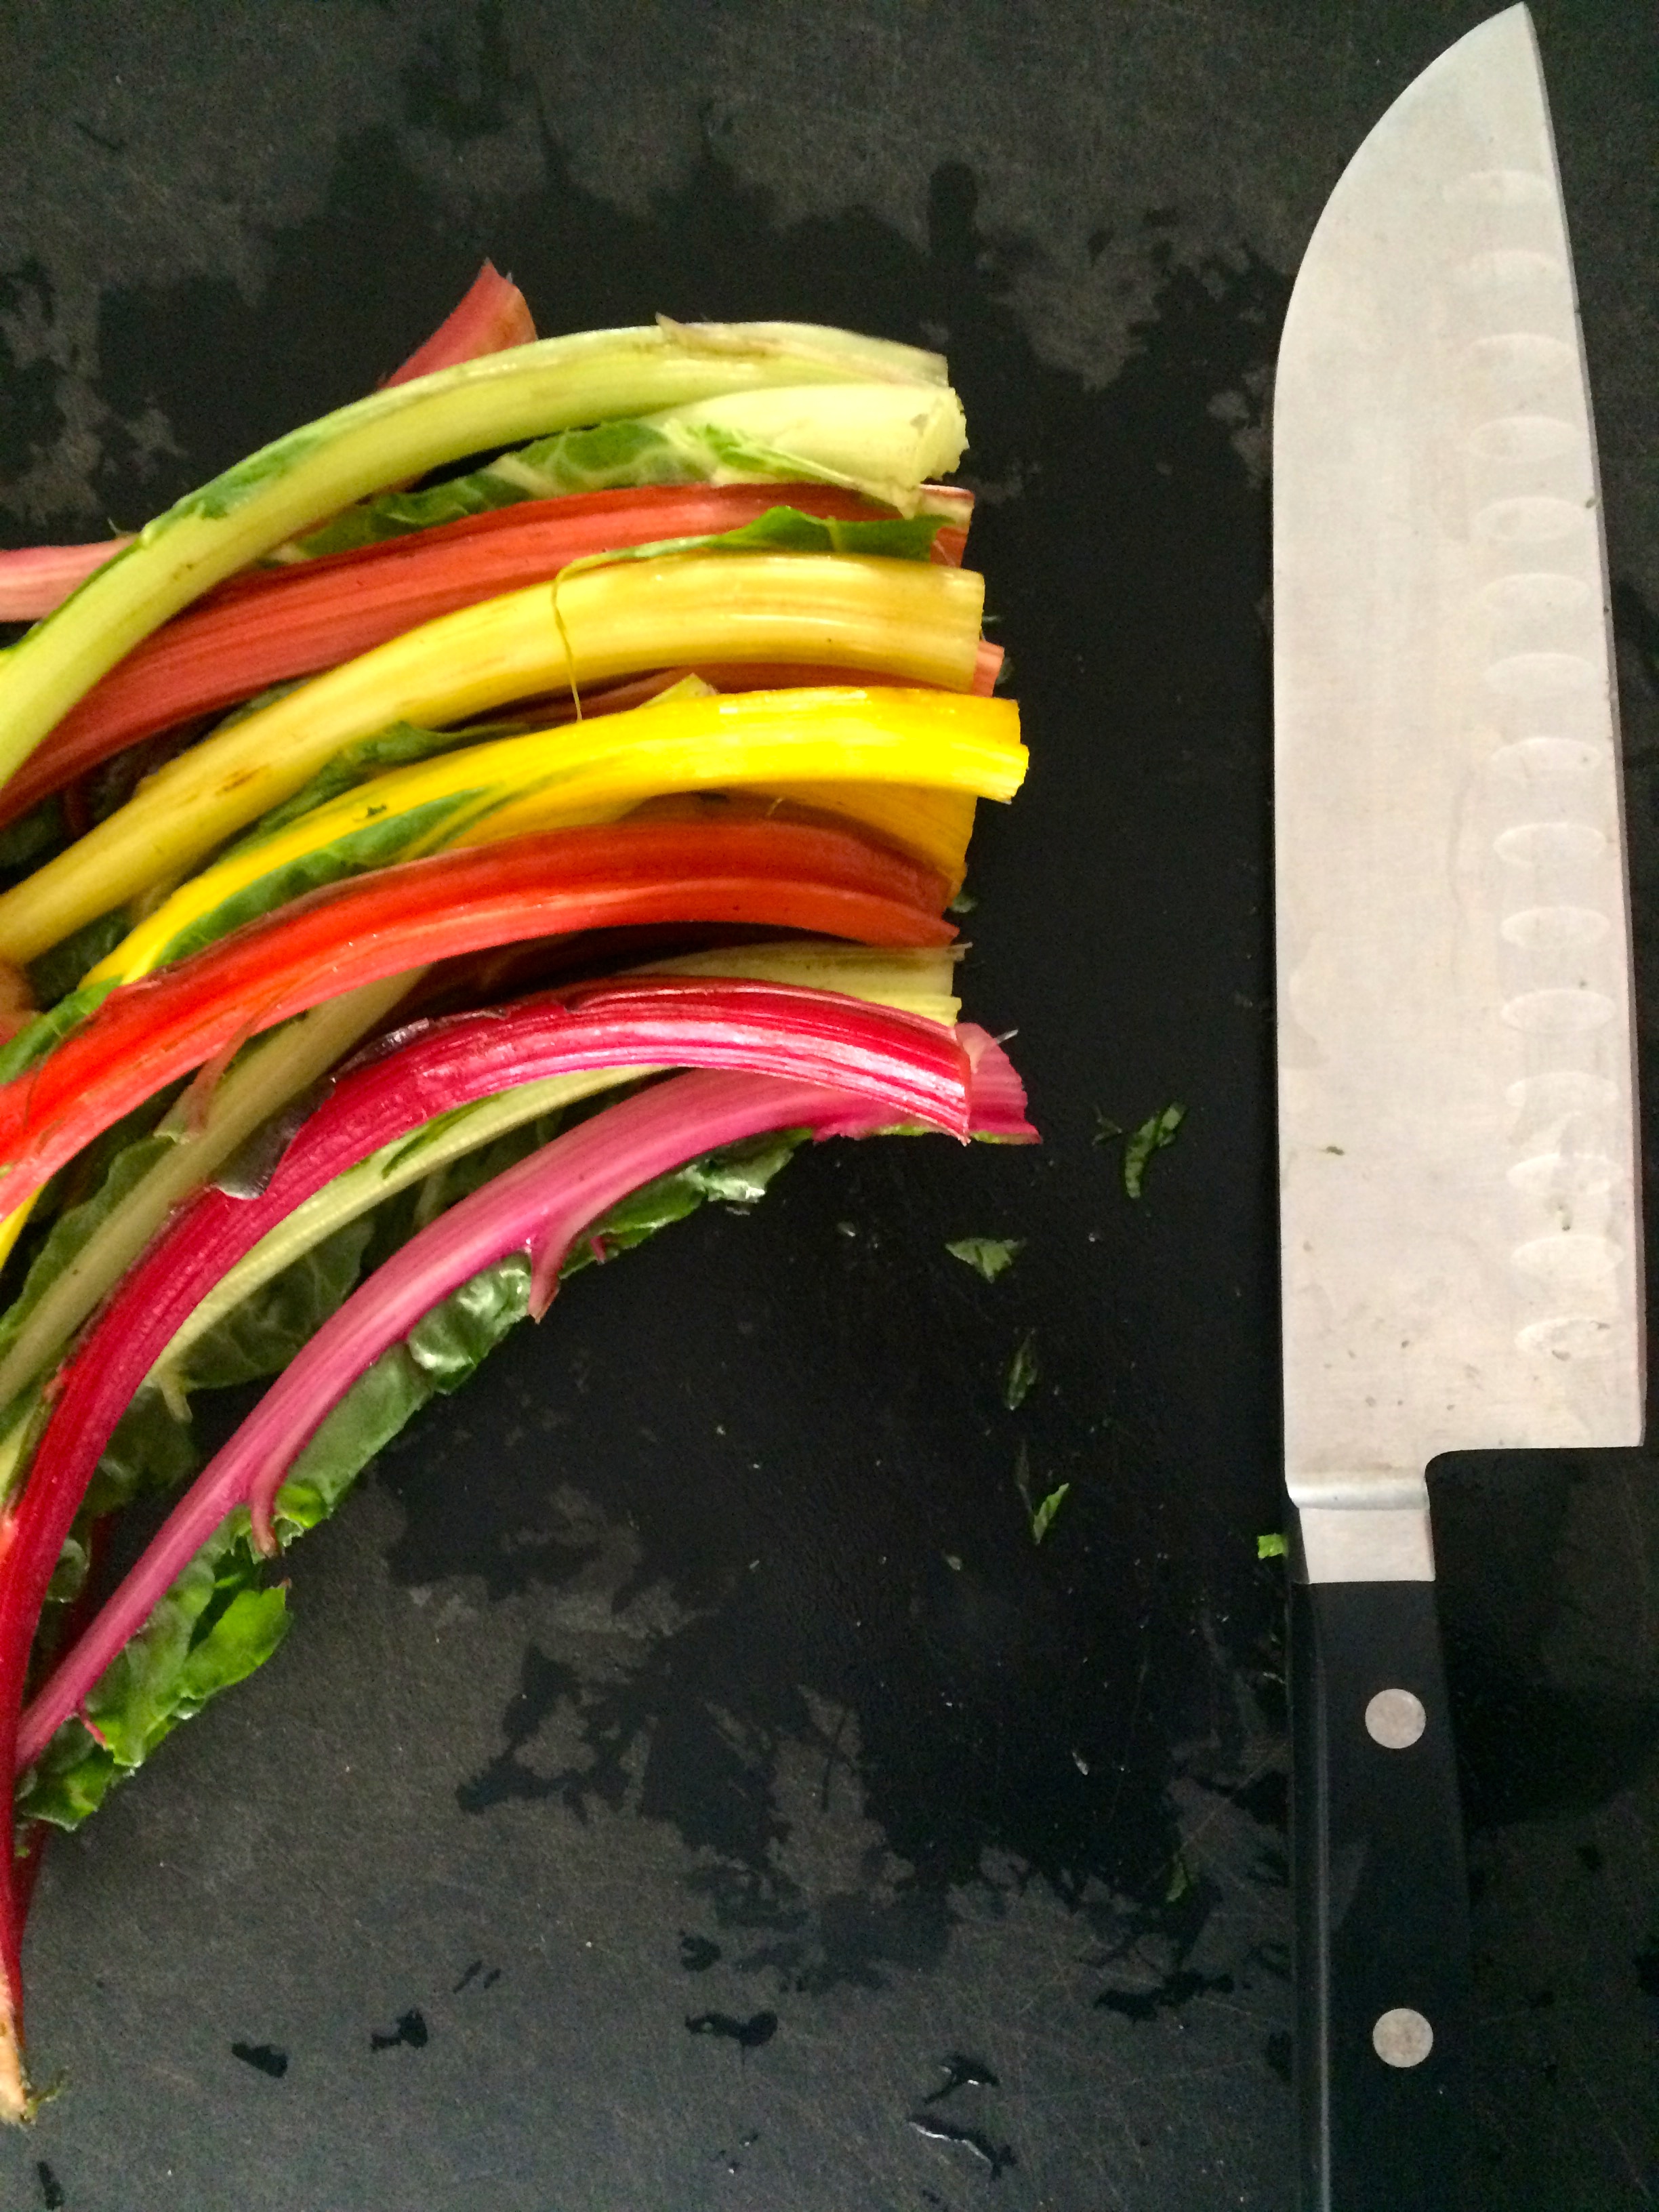
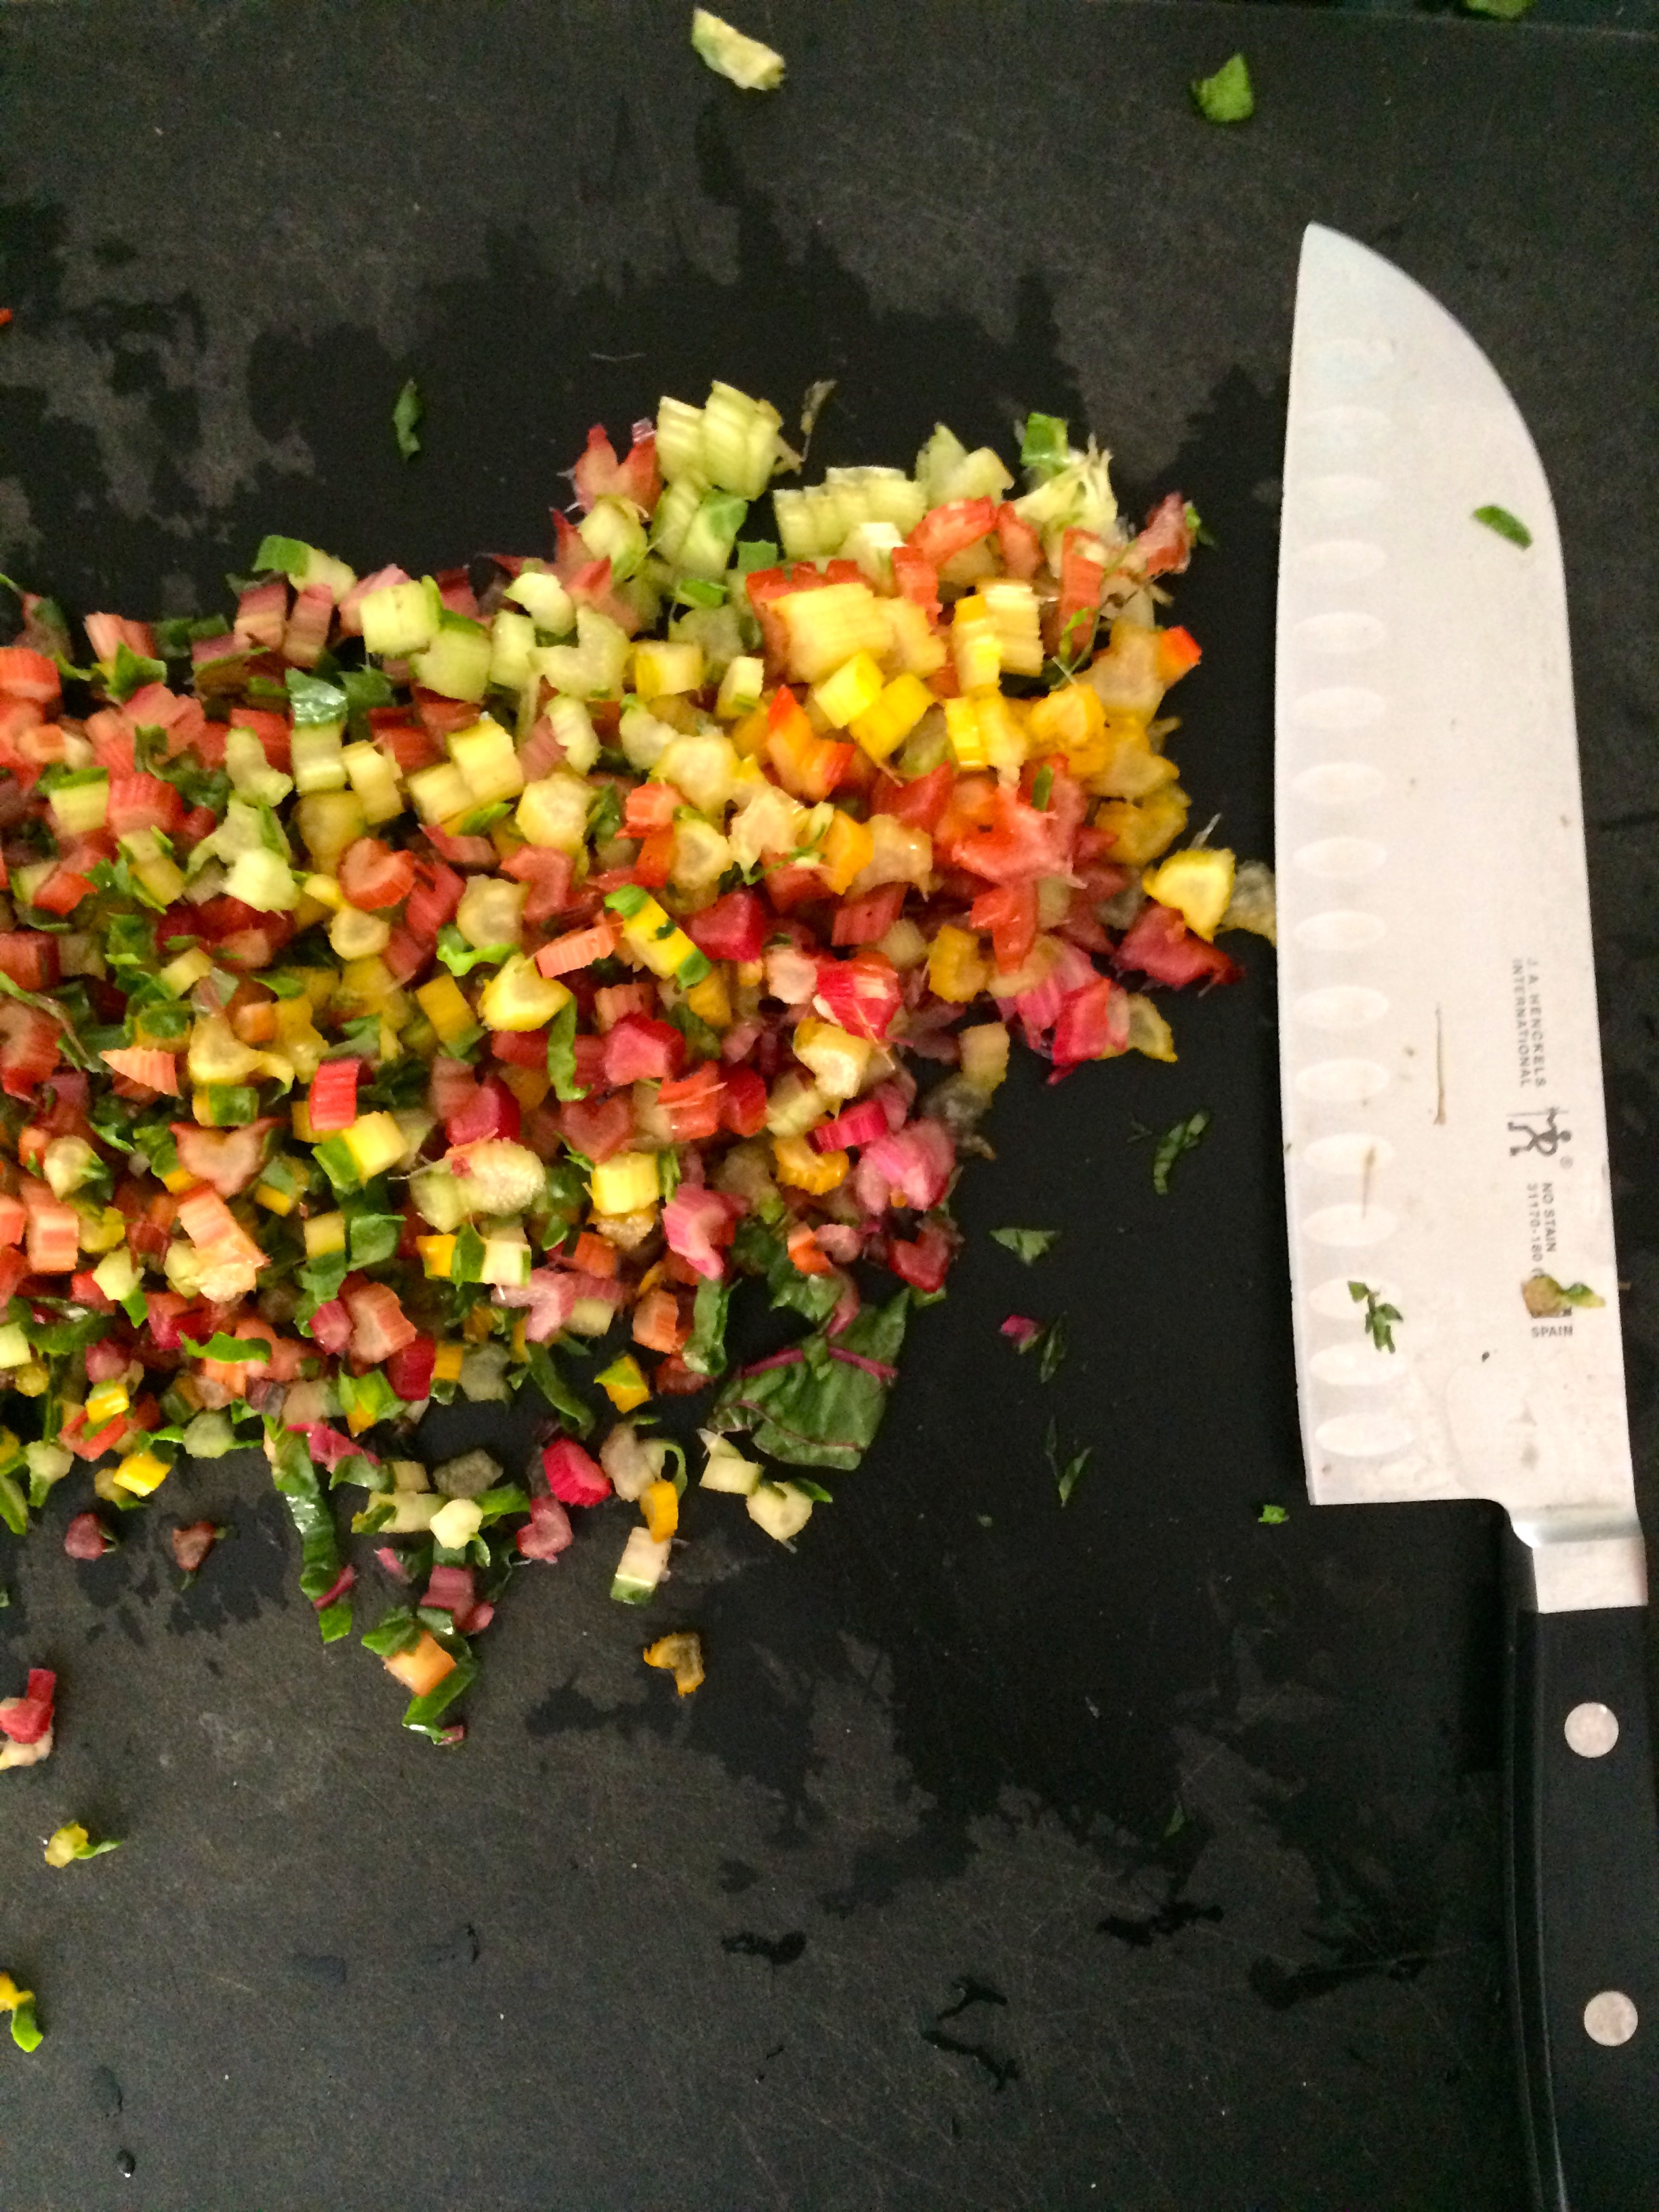
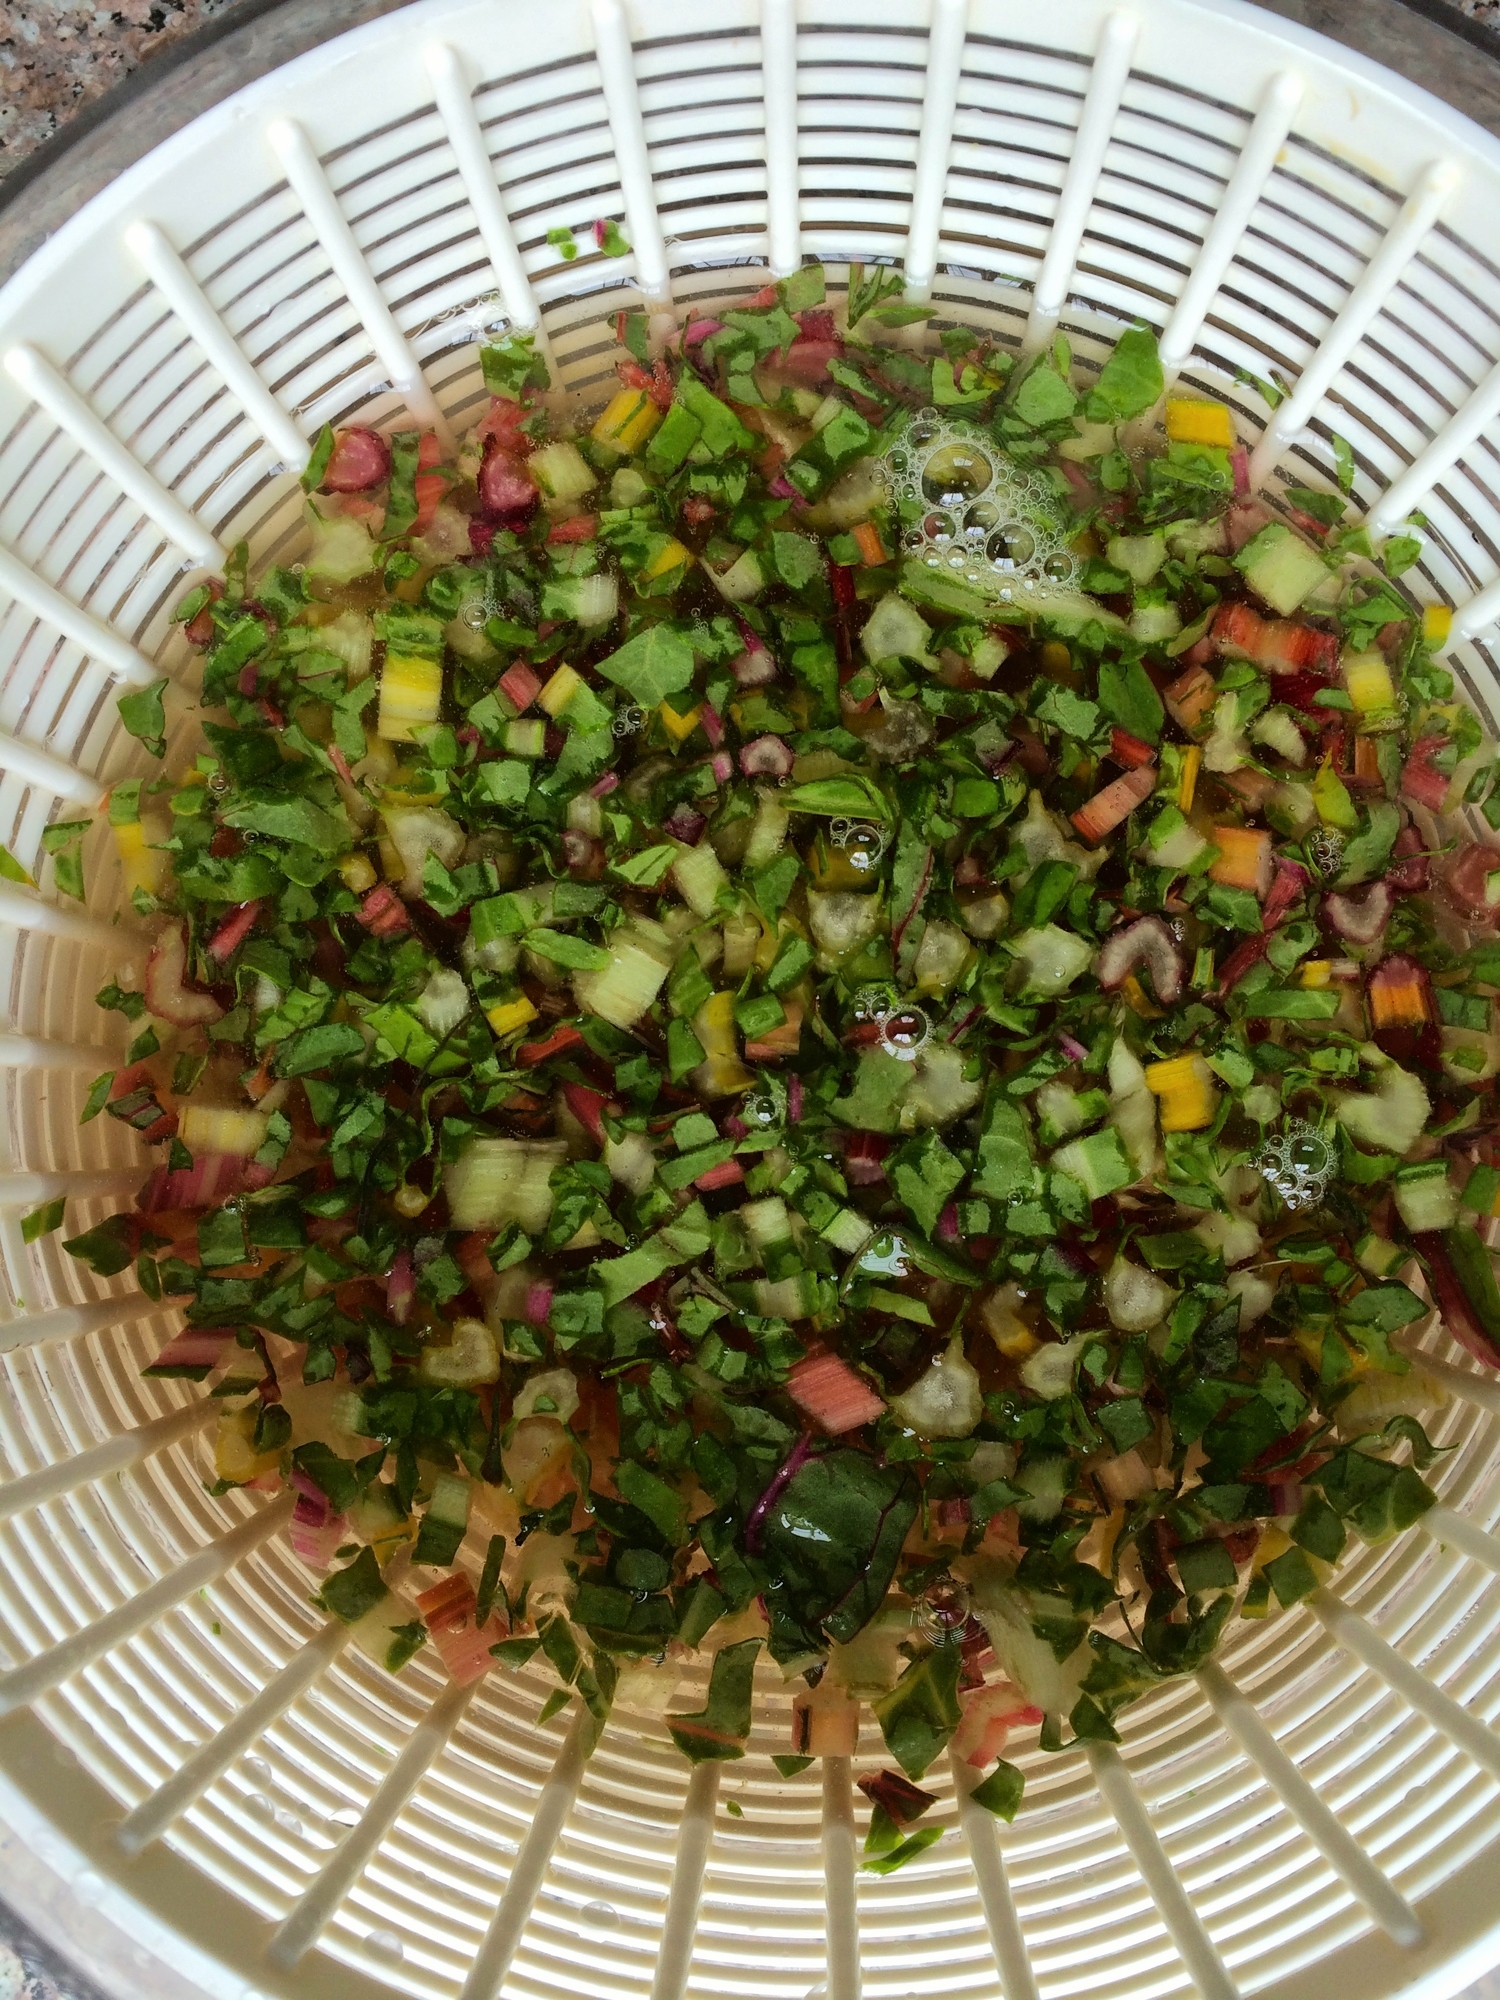
12 ounces Swiss chard (I used rainbow), washed and stems diced and leaves cut into chiffonade
2 garlic cloves, minced
salt and pepper, to taste

1/2 cup chopped walnuts, toasted
1/2 small apple, julienned

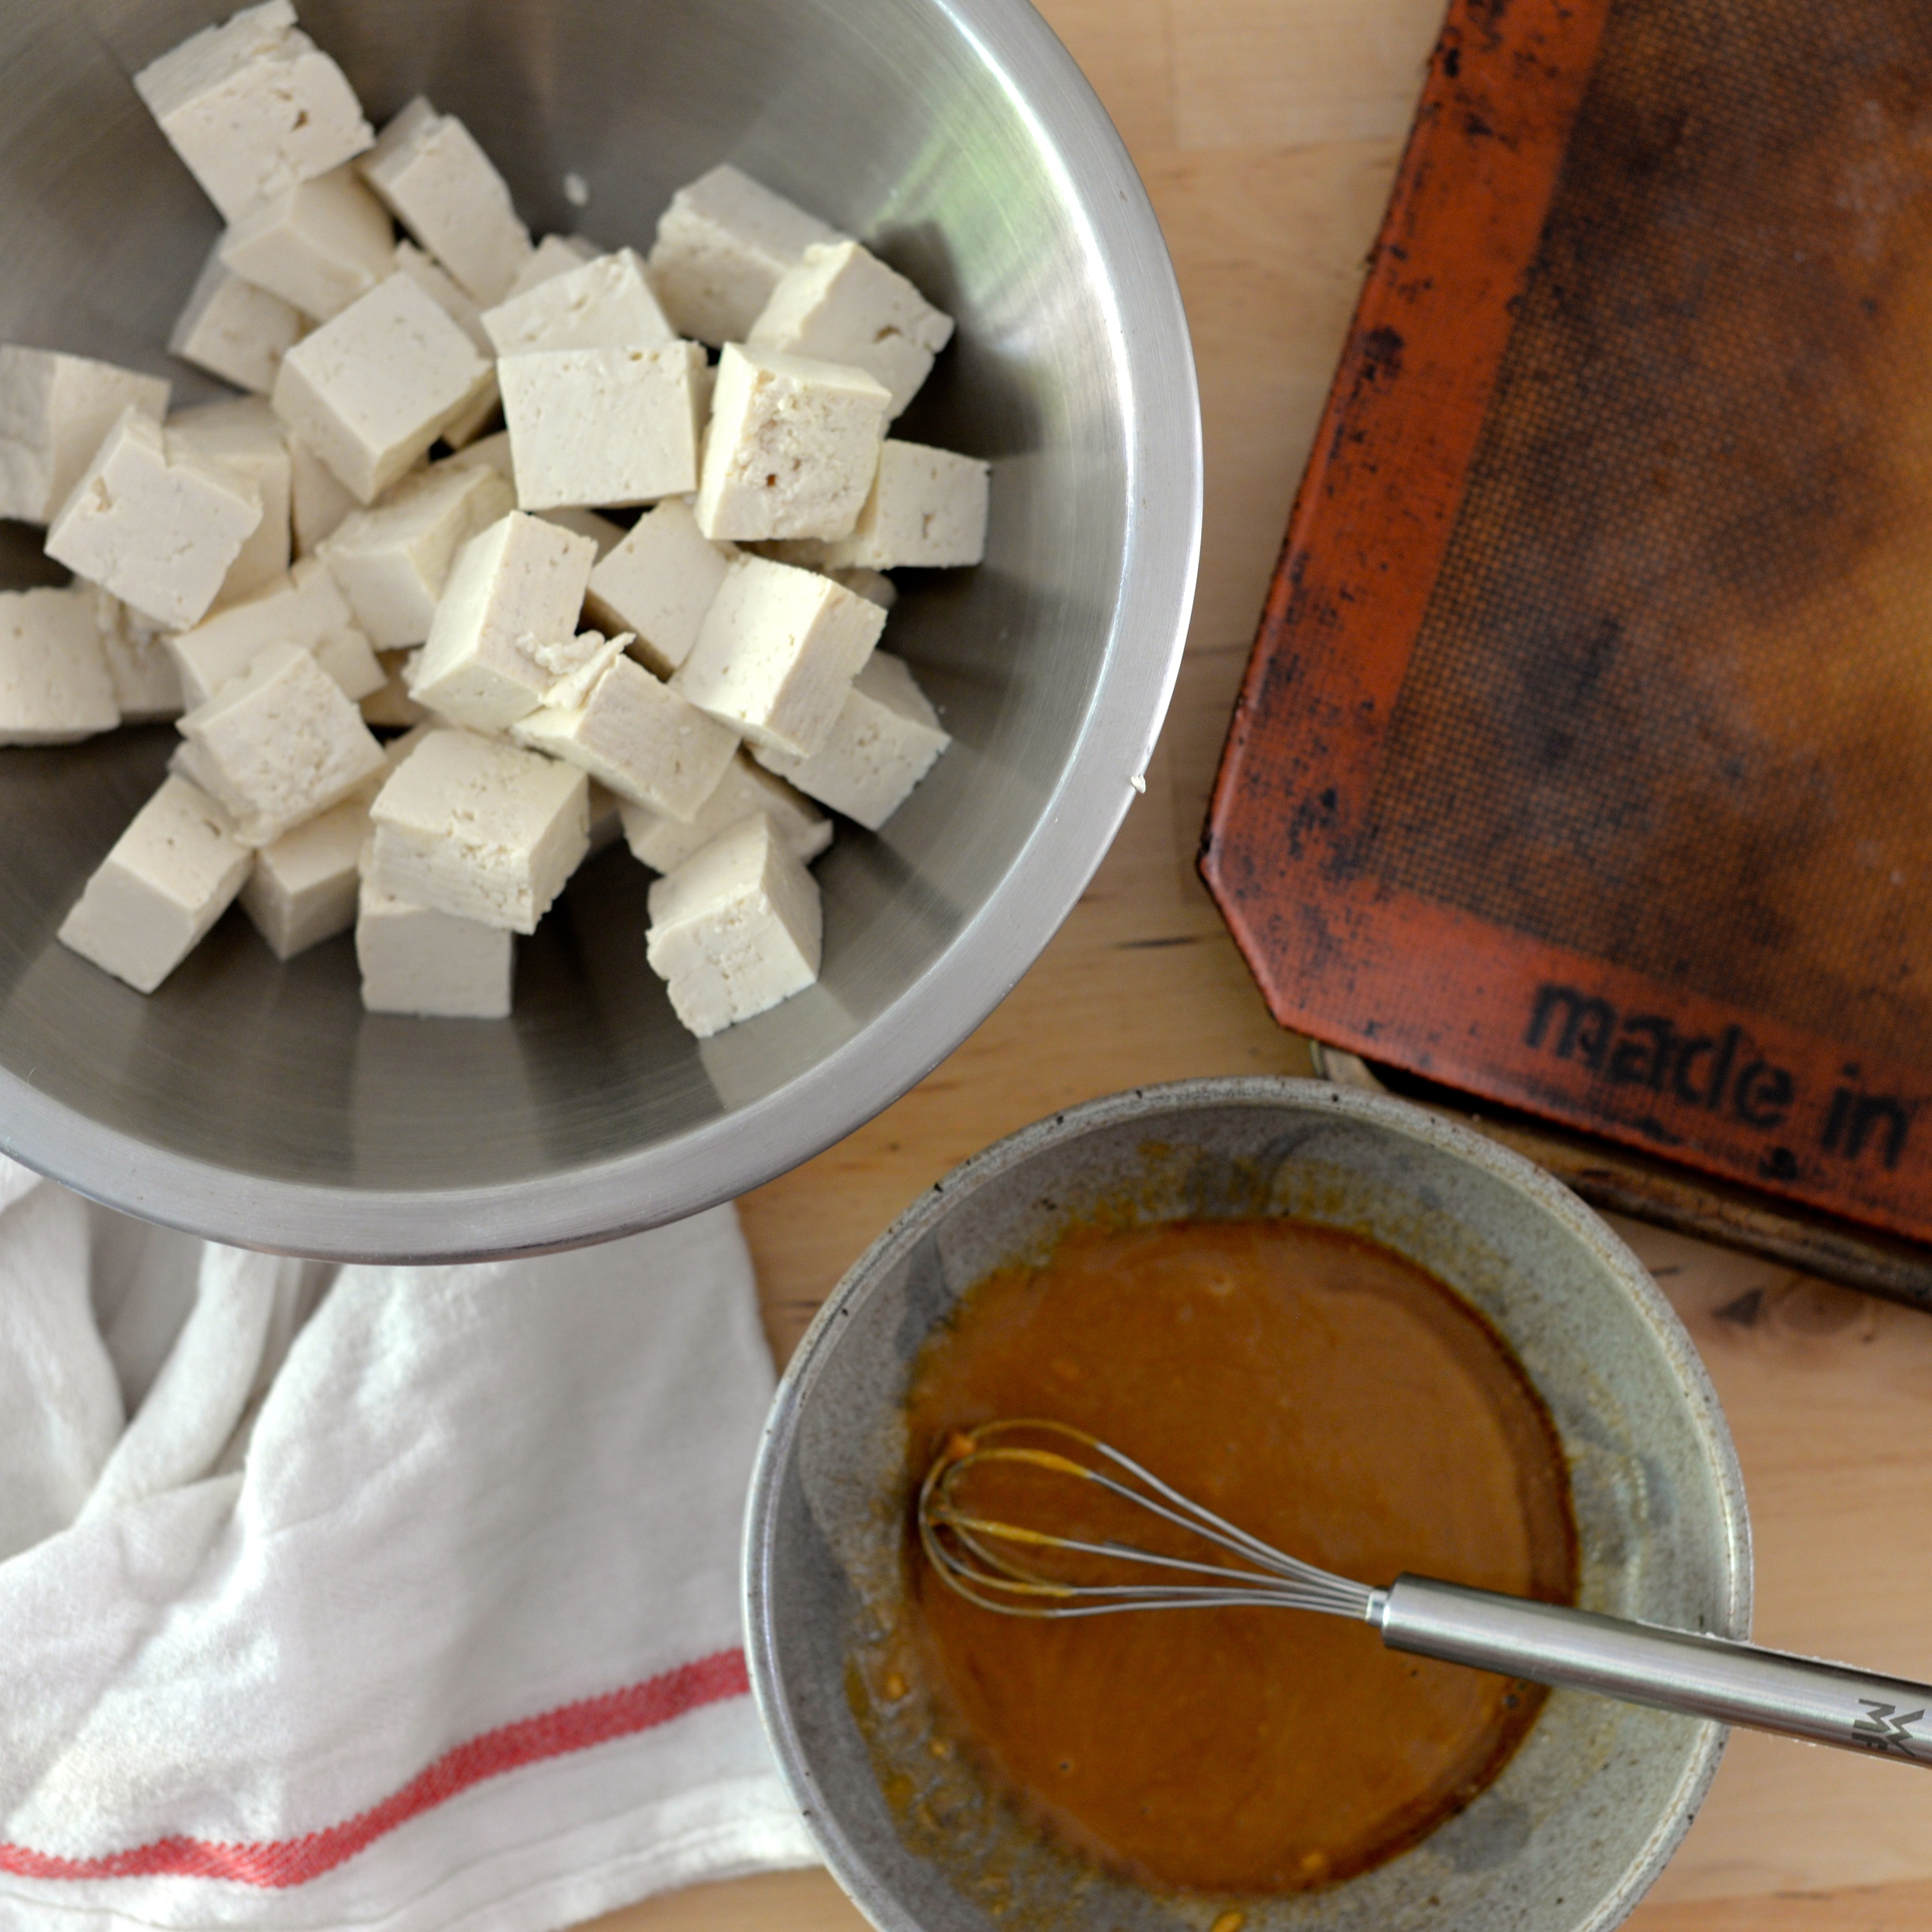
Prepare socca. Whisk chickpea flour with water, salt, and 2 1/2 tablespoons olive oil until smooth. You can adjust seasoning by tasting batter here if you would like. Allow batter to rest for at least 15 minutes, but up to 1 hour.

Preheat oven to 450 degrees Fahrenheit. Place large cast iron skillet in oven on center rack to heat while oven preheats. Remove pan from oven when hot and pour in 1 tablespoon olive oil, swirling to coat. I used a 12-inch pan, but you could do multiple batches in a smaller skillet. Add batter to thickness of scant 1/4-inch (this was all of batter in my 12-inch), and return pan to oven. Allow to cook 15-20 minutes or until golden and starting to pull away from sides. Remove from oven and allow to cool before using a spatula to loosen batter from pan. Cut socca into circles, either with a cookie cutter or by tracing a small cup.

Prepare Swiss chard while socca cooks. Heat 1 tablespoon olive oil over medium heat. Add chard stems and garlic and cook until softened, about 5 minutes. Add chard leaves and toss to combine, cooking for just a few minutes or until leaves have wilted but still have a little bite. Season to taste with salt and pepper.

Assemble bites. Top a socca round with a little pile of chard, sprinkle with toasted walnuts, and top with apple slivers. Enjoy! Makes about 12-15 bites.

DSC_2530.jpg
DSC_2535.jpg
DSC_2558.jpg
DSC_2591.jpg
DSC_2606.jpg
DSC_2631.jpg
Print Friendly and PDF
In Appetizers Tags appetizers, recipe, fall, autumn, swiss chard, vegan, vegetarian, gluten-free, chickpea flour
2 Comments

Chard, Delicata Squash, and Tahini Tofu Bowl with Sorghum

September 30, 2015 Emily Watson

Have you ever heard of sorghum? If not, not to worry. You are probably not alone. I made a big pot of it a few days ago, and my fiance asked me if I was serving little eyeballs for dinner. Probably not the best image to leave you with if I want you to give it a go, but it is a pretty unique little thing. I had read about sorghum in some magazine several months ago and waited to get my hands on a bag when it went on sale. Well I finally snagged a bag, and I feel like this recipe really accentuates all of its wonderfully delicious qualities.

So what is it? It is a round grass reminiscent in shape of Israeli couscous, the fat couscous you may have come across (Moroccan couscous is itty bitty), but it has a little black dot on each kernel, hence the eyeball comparison. It is native to Africa and has the most delightful chewy texture and subtle sweetness. Maybe you have heard of sorghum molasses? It is also high in fiber and iron, making it even more worth incorporating into your diet.  Sorghum does take a little while to cook- about 50 minutes in fact- so if you are short on time, you can substitute another grain of your choice as the base or even use Israeli couscous.

The slight sweetness of the sorghum pairs beautifully with the earthy chard and delicata squash and the slightly sweet but nutty tahini tofu. This bowl provides a rainbow of colors and textures, so it is super satisfying. The ingredients can be doubled or even tripled because it makes delicious leftovers.

Have you ever tried sorghum? If so, what is your favorite way to cook with it?

Chard, Delicata Squash, and Tahini Tofu Bowl with Sorghum

Bowl:
1 cup sorghum
2 1/2 cups water
1 delicata squash, washed, seeds removed, and sliced into 1/4-inch half-moons
2 teaspoons olive oil + 1 tablespoon
1 recipe Tahini Tofu (recipe below)
1 bunch Swiss chard (I used rainbow, but any type will do)
2 garlic cloves, minced
2 teaspoons red wine vinegar
salt and pepper to taste
2-3 tablespoons tahini, for drizzling (I like Philly's local Soom tahini because it is so wonderfully nutty)

Cook sorghum. Combine sorghum and water in a pot. Bring to a boil over high-heat. Reduce heat to low and cover, and allow sorghum to cook for 50 minutes. After 50 minutes, keep covered and remove from heat and allow to rest for about 10 minutes. Remove lid, stir, drain any excess water, and then sprinkle with a pinch or two of salt, and set aside.

Roast squash. Preheat oven to 400 degrees Fahrenheit. Line a baking sheet with parchment paper. Toss squash with two teaspoons olive oil and salt. Roast in single layer for 25 minutes or until squash is tender and beginning to brown.**You can also bake the tofu as the squash is cooking**

Prepare Swiss chard. Wash and loosely dry chard. It is okay if some water lingers on the leaves. Remove the stems from the chard leaves, and finely chop. Roll the leaves into a cylinder and cut into 1/2-inch ribbons like you were going to chiffonade basil. Heat 1 tablespoon olive oil over medium-high heat. Add chopped chard stems and cook until softened, about 5 minutes. Add garlic and cook for 30 seconds or until fragrant. Add sliced chard leaves, a generous pinch of salt, and stir. Cook until chard wilts and is tender, about 6-8 minutes, tossing occasionally. Add red wine vinegar, stir, and then remove pan from heat. Season to taste with salt and pepper. Set aside when done.

Assemble the bowls. Use a few scoops of sorghum as the base and top with roasted squash, sauteed chard, tahini tofu, and a drizzle of tahini. Enjoy! Serves 3-4.   

DSC_1216.JPG
DSC_1219.JPG
DSC_1223.JPG
DSC_1225.JPG
DSC_1231.JPG

Tahini Tofu:
1 package extra-firm tofu, drained
1 tablespoon low sodium soy sauce or low-sodium tamari, if gluten-free
1 tablespoon olive oil
2 teaspoons maple syrup
2 teaspoons Dijon mustard
1 tablespoon tahini

Preheat oven to 400 degrees Fahrenheit. Line a baking sheet with parchment or a Silpat. Remove the tofu from the package, drain, and set on a plate. Take a cutting board or plate and press gently and evenly on the tofu to expel a little of the soaking water. Set the tofu on a cutting board and cut into 16 cubes. In a small bowl, whisk the remaining ingredients together. Add the tofu to the bowl, mix gently to coat, and spread in an even layer on the parchment. Bake for 30 minutes or until golden on the edges and firm. Remove from oven, and allow to cool for about 5 minutes (this will also help them hold their shape), before scooping from the tray.

DSC_1210.JPG
DSC_1213.JPG
DSC_1233.JPG
DSC_1256.JPG
In Mains Tags recipe, vegan, vegetarian, tofu, sorghum, swiss chard, tahini, delicata squash, fall, bowl
2 Comments

Late Summer Minestrone

September 9, 2015 Emily Watson

My favorite soup of all time is my late grandmother's minestrone soup. Studded with everything from cabbage to white beans to potatoes to little pasta, it is a whole meal in a bowl. The best part is always topping it with a sprinkling of super sharp, aged Italian cheese- either pecorino romano or Parmigiano-reggiano. I could eat it anytime of year. It is light enough for summer but hearty enough for winter. It just makes me think of all of those visits to her house as a kid. The only problem is that it requires a whole grocery cart full of ingredients and half of your day. There is a reason it is so delicious and so coveted by my family. When you order a minestrone soup in a restaurant, however, it is always a bit of a surprise what you get. The only somewhat predictable things you can expect when your bowl arrives to the table are a tomato-based broth, some vegetables, beans, and pasta in a tomato-based broth. All the little details are up to the chef. At home, minestrone soup's versatility is what makes it so great for using up odds and ends of vegetables you have left in the fridge. You throw in some beans, some pasta, and some tomatoes and you have got yourself a minestrone.

This is a pretty low maintenance soup. In my version here, I love how the zucchini and macaroni noodles soak up the broth as it cooks. I used Swiss chard, sauteing the stems in with the onions, but any greens could do. The little something that gives this soup some real body and deliciousness is the finely grated cheese thrown in just before serving. In most soups that I am simmering for a long time, I like to throw in a rind from a hunk of Parmiggiano-reggiano, a trick I learned from my Italian host mother several years ago, but I wanted this to be quick. And instead of just sprinkling some on each bowl at the end like my Grandma would do, I mix it all together to create a rich broth flavor in no time. Sprinkle some fresh basil to give it a bright, fresh note at the end, and you have dinner.

My only cautionary note here is that the pasta will continue to soak up all of the broth as it is sits, so be sure to check the doneness of the noodles often to avoid overcooking them. This is a fabulous soup to make ahead of time and in large batches to freeze for those nights when a big bowl of soup is the only thing that will do.

Late Summer Minestrone

3 tablespoons olive oil
1 medium yellow onion, diced
2 garlic cloves, peeled and minced
1 14-ounce can diced tomatoes
4 cups water or vegetable broth
2/3 cup whole wheat elbow macaroni
1 bunch of Swiss chard, washed, stems finely chopped and leaves cut in 1/2-inch wide strips
2 medium zucchini, washed and diced into 1-centimeter cubes
1 cup cooked and drained chickpeas (canned are fine although I used ones I had previously cooked and frozen)
1/2 cup finely grated Parmigiano-reggiano cheese, plus more for serving
1 large handful of basil, leaves cut in chiffonade
salt and pepper, to taste

In a large pot, heat olive oil over medium-high heat. Add onion, garlic, and chard stems. Sprinkle with salt and pepper. Saute about 8-10 minutes or until vegetables have softened and onions are translucent.

Add diced tomatoes and water to the pot. Bring to a boil and add pasta, chard, zucchini, and chickpeas. Stir to mix and allow to cook at low boil for 7-10 minutes or until vegetables are soft and pasta is al dente. Stir often during this time to ensure even cooking of the vegetables. Remove from heat. Pasta and vegetables will continue to cook a little more.

Add finely grated cheese to pot and stir until thoroughly combined, and broth slightly thickens and cheese has melted completely. Sprinkle soup with basil pieces. Season to taste with salt and pepper. Serve with additional cheese and a drizzle of extra-virgin olive oil if desired. Enjoy!  Serves 4-6.

DSC_0950.JPG
DSC_0967.JPG
DSC_0960.jpg
DSC_0956.JPG
DSC_0989.JPG
In Soups Tags recipe, soup, summer, zucchini, vegetarian, chickpeas, swiss chard
2 Comments

Magical Hummus

July 20, 2015 Emily Watson

Really delicious hummus is hard to come by. Mediocre hummus seems to be everywhere, taking up grocery store refrigerators and lounging in vegetable platters at barbecues and potlucks. The problem with most hummus dips is that they tend to be too thick and taste a bit tinny. One solution to this "tinny" problem is to cook your own chickpeas rather than rely on the canned version. If you have the time to cook your own chickpeas from the dried bean, it makes a world of difference. Every few weeks, I cook a large potful of chickpeas. I drain them, freeze them in a single layer on a baking sheet, and then pour them into a freezer bag for easy scooping into recipes. To thaw, I just pour hot water over them and let them sit for a few minutes. This method is even easier than using the canned version once you get used to it.

The canned chickpea problem solved, the other problem is often the texture of the hummus is way too dense. I like a smooth, pillowy hummus, almost fluffy. I find that a generous amount of tahini whipped into hummus can help achieve this fluffiness while adding a rich flavor. Yotam Ottolenghi's homemade hummus, one of my favorites, for example, has just under 1/4 cup of tahini per 1 cup of chickpeas. My favorite hummus here in Philadelphia is Michael Solomnov's hummus. He even has a whole restaurant devoted to hummus, called Dizengoff. I have a feeling that the ratio of tahini to chickpeas in his version is fairly high as well since it taste prominently of sesame.

This magical version has a surprise ingredient that gives this hummus a luscious texture that does not sacrifice on flavor. It takes a few notes from a hummus that appears on the amazing Food52 website in their Genius Recipes column. It was inspired by a recipe from Tara Duggan who wrote Root to Stalk Cooking and draws from other recipes like babaganoush and roasted red pepper spread that use softened vegetables as their base.

The original recipe calls for no chickpeas- just Swiss chard stems, garlic, olive oil, tahini, salt, and lemon juice, but I think that chickpeas are a must if you are going to call it hummus. I also like the extra bulk and protein they provide. And again, if you manage to cook your own chickpeas, even better. I also add lemon zest and an extra garlic clove because I like the zing they both give. I love that I have a new use for my chard stems- not just in pickled form! 

Magical Hummus

1 pound Swiss chard stalks, washed and chopped (I used rainbow chard)
1/2 cup cooked chickpeas
2 small garlic cloves, peeled
1/4 cup tahini (sesame paste)
1 lemon, zested and juiced
1/4 cup extra-virgin olive oil
1/2 teaspoon salt, plus more to taste

Bring a large pot of water to boil over high heat. Add the chopped chard stems, and cook for 15-20 minutes over medium heat or until chard stems are very tender. Remove from heat and drain.

In a food processor, combine chard stems and remaining ingredients. Process until smooth consistency is reached. Add more salt as necessary. Drizzle with a little extra-virgin olive oil before serving. Enjoy! Makes a little over 1 cup.


DSC_0271.JPG
DSC_0277.jpg
DSC_0286.jpg
In Appetizers, Spreads Dips Sauces Tags vegetarian, vegan, spreads, chickpeas, tahini, swiss chard, appetizers, gluten-free, recipe
Comment

Pickled Chard Stems

April 30, 2015 Emily Watson

One of the things I am constantly working on is limiting my food waste. A few things I do to help reduce waste are:

  • freeze produce that is about to spoil (washing, peeling, chopping if need be before freezing)
  • make soups or smoothies with produce that is about to spoil
  • make pesto with herbs that are about to spoil and the freeze the pesto in ice cube trays
  • freeze leftovers that we are tired of eating
  • make breadcrumbs or croutons with bread that is about to go stale
  • re-purpose leftovers (for example, pasta sauce or sauteed vegetables on pizza, roasted vegetables on a sandwich, grilled meat or vegetables in a taco)

The other way of reducing food waste is to use parts of vegetables that normally get discarded. Broccoli stems can be peeled and the tender part used just as you would the broccoli florets. Beet greens can be sauteed and treated like spinach. Mushroom stems and vegetable scraps can be used to make an umami-rich mushroom stock.

When I saw that Jeanine of Love and Lemons made Pickled Chard Stems, I knew that I had to try them. Not only are they beautiful, especially if you are able to get rainbow chard, but the recipe could not be easier. It is a genius way to use up the tougher stems of Swiss chard that are not always preferable in certain dishes. I made some minor changes to the recipe based on what I had on hand and what I thought I would prefer, and the result is delicious. I especially like them sprinkled on brown rice with toasted nuts and a salty cheese. Talk about flavor-packed.

Pickled Chard Stems

1 1/2 cups chopped Swiss chard stems (this was one bunch of chard at the grocery store)
1/2 teaspoon salt
1 tablespoon mustard seeds
3/4 cup Champagne vinegar or white wine vinegar
1/4 cup honey

Clean the chard stems by placing them in a bowl with enough water so that they are floating. Swish them around so that the dirt sinks to the bottom, and scoop them out to drain. I did this in a salad spinner which made quick work for washing and draining. Sprinkle the chard with salt and place into a clean jar. I used a 16 ounce jar.

IMG_5554.jpg
IMG_5556.jpg
IMG_5557.jpg
IMG_5561.jpg

Heat a small saucepan to medium heat. Add the mustard seeds and allow to toast until fragrant, about 1 minute. Add the vinegar and honey to the pan. Bring to a boil and then reduce heat to simmer. Simmer for 2 minutes. Remove the mixture from the heat and allow to cool.

IMG_5564.jpg

When cool, pour liquid over chard stems in jar. Make sure the stems are covered. Refrigerate for at least a few hours, but overnight is even better. Sprinkle on grain salads or rice dishes for added crunch and a bit of zest. Makes about 1 1/2 cups.


In Miscellaneous Tags recipe, swiss chard, condiment
Comment
Older Posts →
Hi! I'm Emily. I love to cook whole, nourishing foods, and this is where I share my kitchen experiments and sometimes a little bit of life.

Hi! I'm Emily. I love to cook whole, nourishing foods, and this is where I share my kitchen experiments and sometimes a little bit of life.

Featured
  • July 2017
  • May 2017
  • April 2017
  • March 2017
  • February 2017
  • January 2017
  • December 2016
  • November 2016
  • October 2016
  • September 2016
  • August 2016
  • July 2016
  • June 2016
  • May 2016
  • April 2016
  • March 2016
  • February 2016
  • January 2016
  • December 2015
  • November 2015
  • October 2015
  • September 2015
  • August 2015
  • July 2015
  • June 2015
  • May 2015
  • April 2015
  • March 2015
  • February 2015

  • Appetizers 18
  • Breakfast 18
  • Life 4
  • Mains 39
  • Miscellaneous 2
  • Salads 21
  • Sandwiches 6
  • Side Dishes 8
  • Smoothies 4
  • Snacks 10
  • Soups 14
  • Spreads Dips Sauces 5
  • Sweets 6
  • Vegetarian 1

  • almonds
  • appetizers
  • autumn
  • avocado
  • breakfast
  • brown rice
  • chickpeas
  • chocolate
  • cilantro
  • coconut
  • coconut milk
  • fall
  • gluten-free
  • kale
  • lentils
  • make ahead
  • mint
  • oatmeal
  • recipe
  • salad
  • snack
  • soup
  • spring
  • summer
  • sweet potatoes
  • tahini
  • vegan
  • vegetarian
  • walnuts
  • winter

subscribe

Sign up with your email address to receive new posts directly

We respect your privacy.

Thank you!

All photographs, recipes and content are property of Nourishing Matters, unless otherwise noted. Please do not redistribute without my permission. Thank you!

Powered by Squarespace